How to Use Proxies with Hidemyacc Browser
Hidemyacc is designed to improve user privacy and security by hiding IP addresses and blocking tracking through advanced proxy settings and multiple browser profiles. Users can easily set up and manage separate profiles without leaving any traces. This is especially useful for professionals like marketers and researchers who need high levels of anonymity. Its user-friendly interface and simple installation make it accessible to everyone, regardless of technical skill.

What is Hidemyacc?
Hidemyacc browser is a cross-platform browser compatible with Windows and macOS, focusing on online anonymity. Users can switch between different online identities via its multi-profile system. This browser supports a wide range of proxies, including residential, datacenter, and mobile. Hidemyacc also has advanced ad and tracker blocking so the browsing speed is at a high level. The browser is perfect for those who look for better online anonymity and control over their digital footprint.
Main features of this browser:
- unique browser fingerprints for each profile;
- ad and tracker blocking;
- multiple profiles;
- Record mode;
- automated tasks;
- flexible settings;
- strong encryption methods;
- 7-day free trial!
Set Up Proxies in Hidemyacc
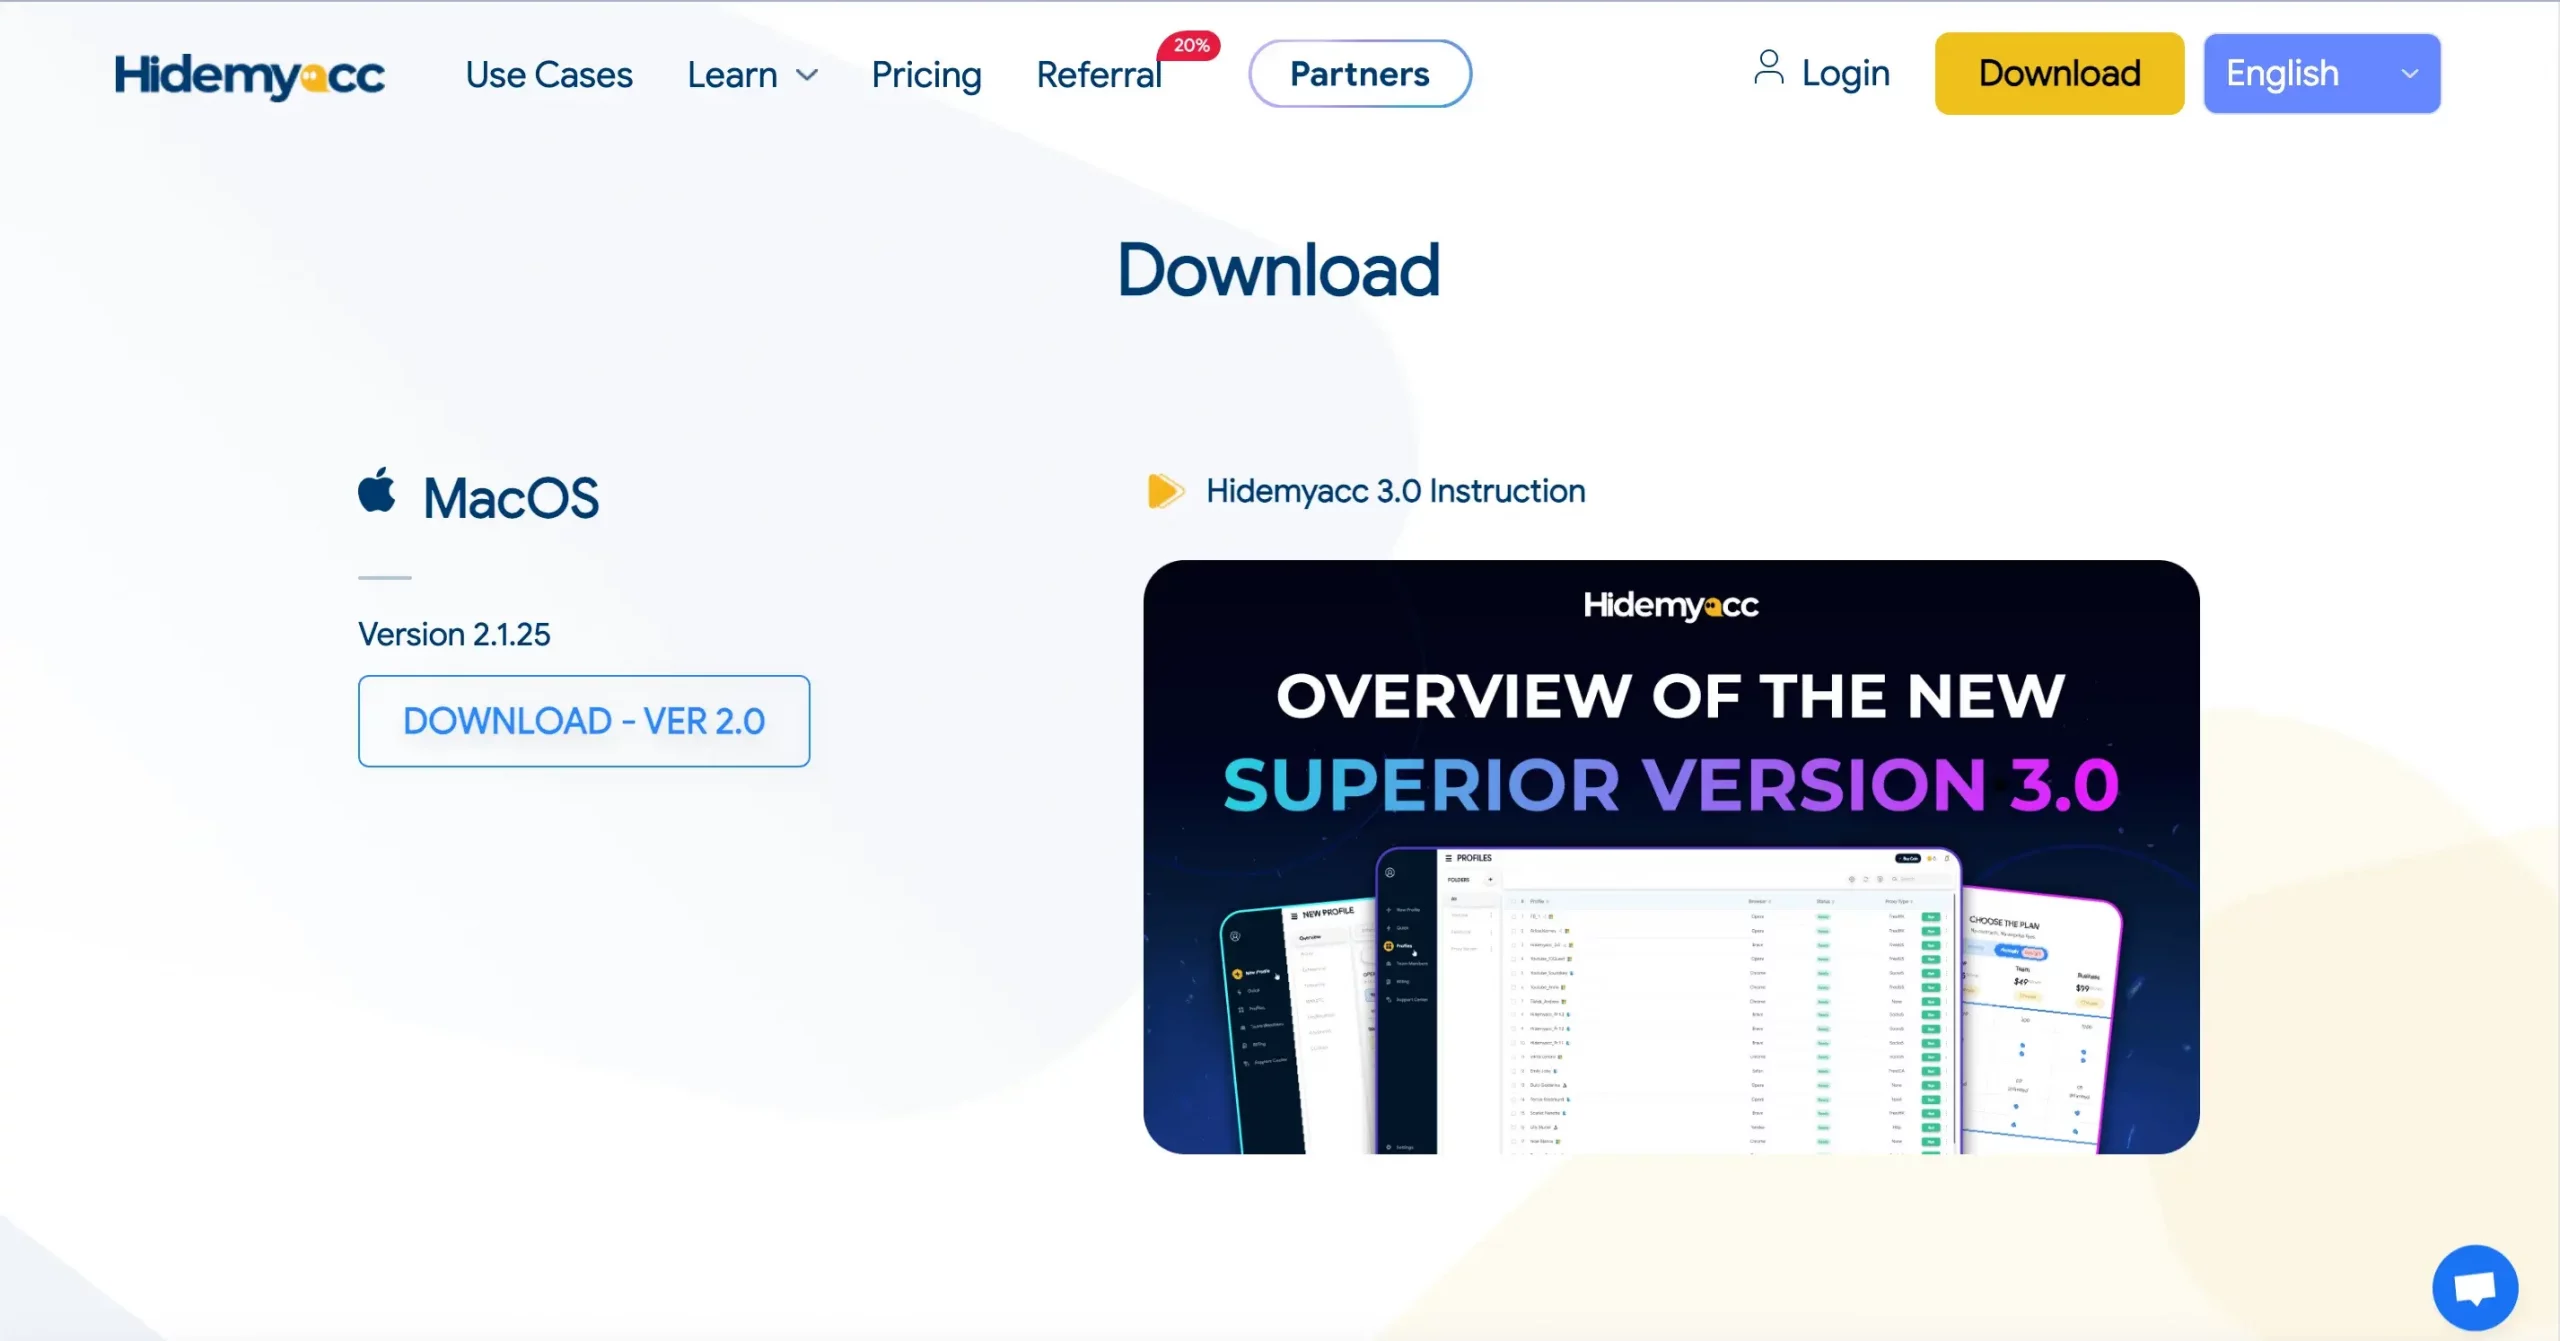
- To set up proxies in the Hidemyacc browser we have to visit this website https://hidemyacc.com/ and download the program for the relevant operating system. It is available for Windows and macOS. In our case, it’ll be macOS. If you have any issues with the downloading process, then use a chat in the right corner of the website. The support team will send you the appropriate link after you text them the version of your Mac.
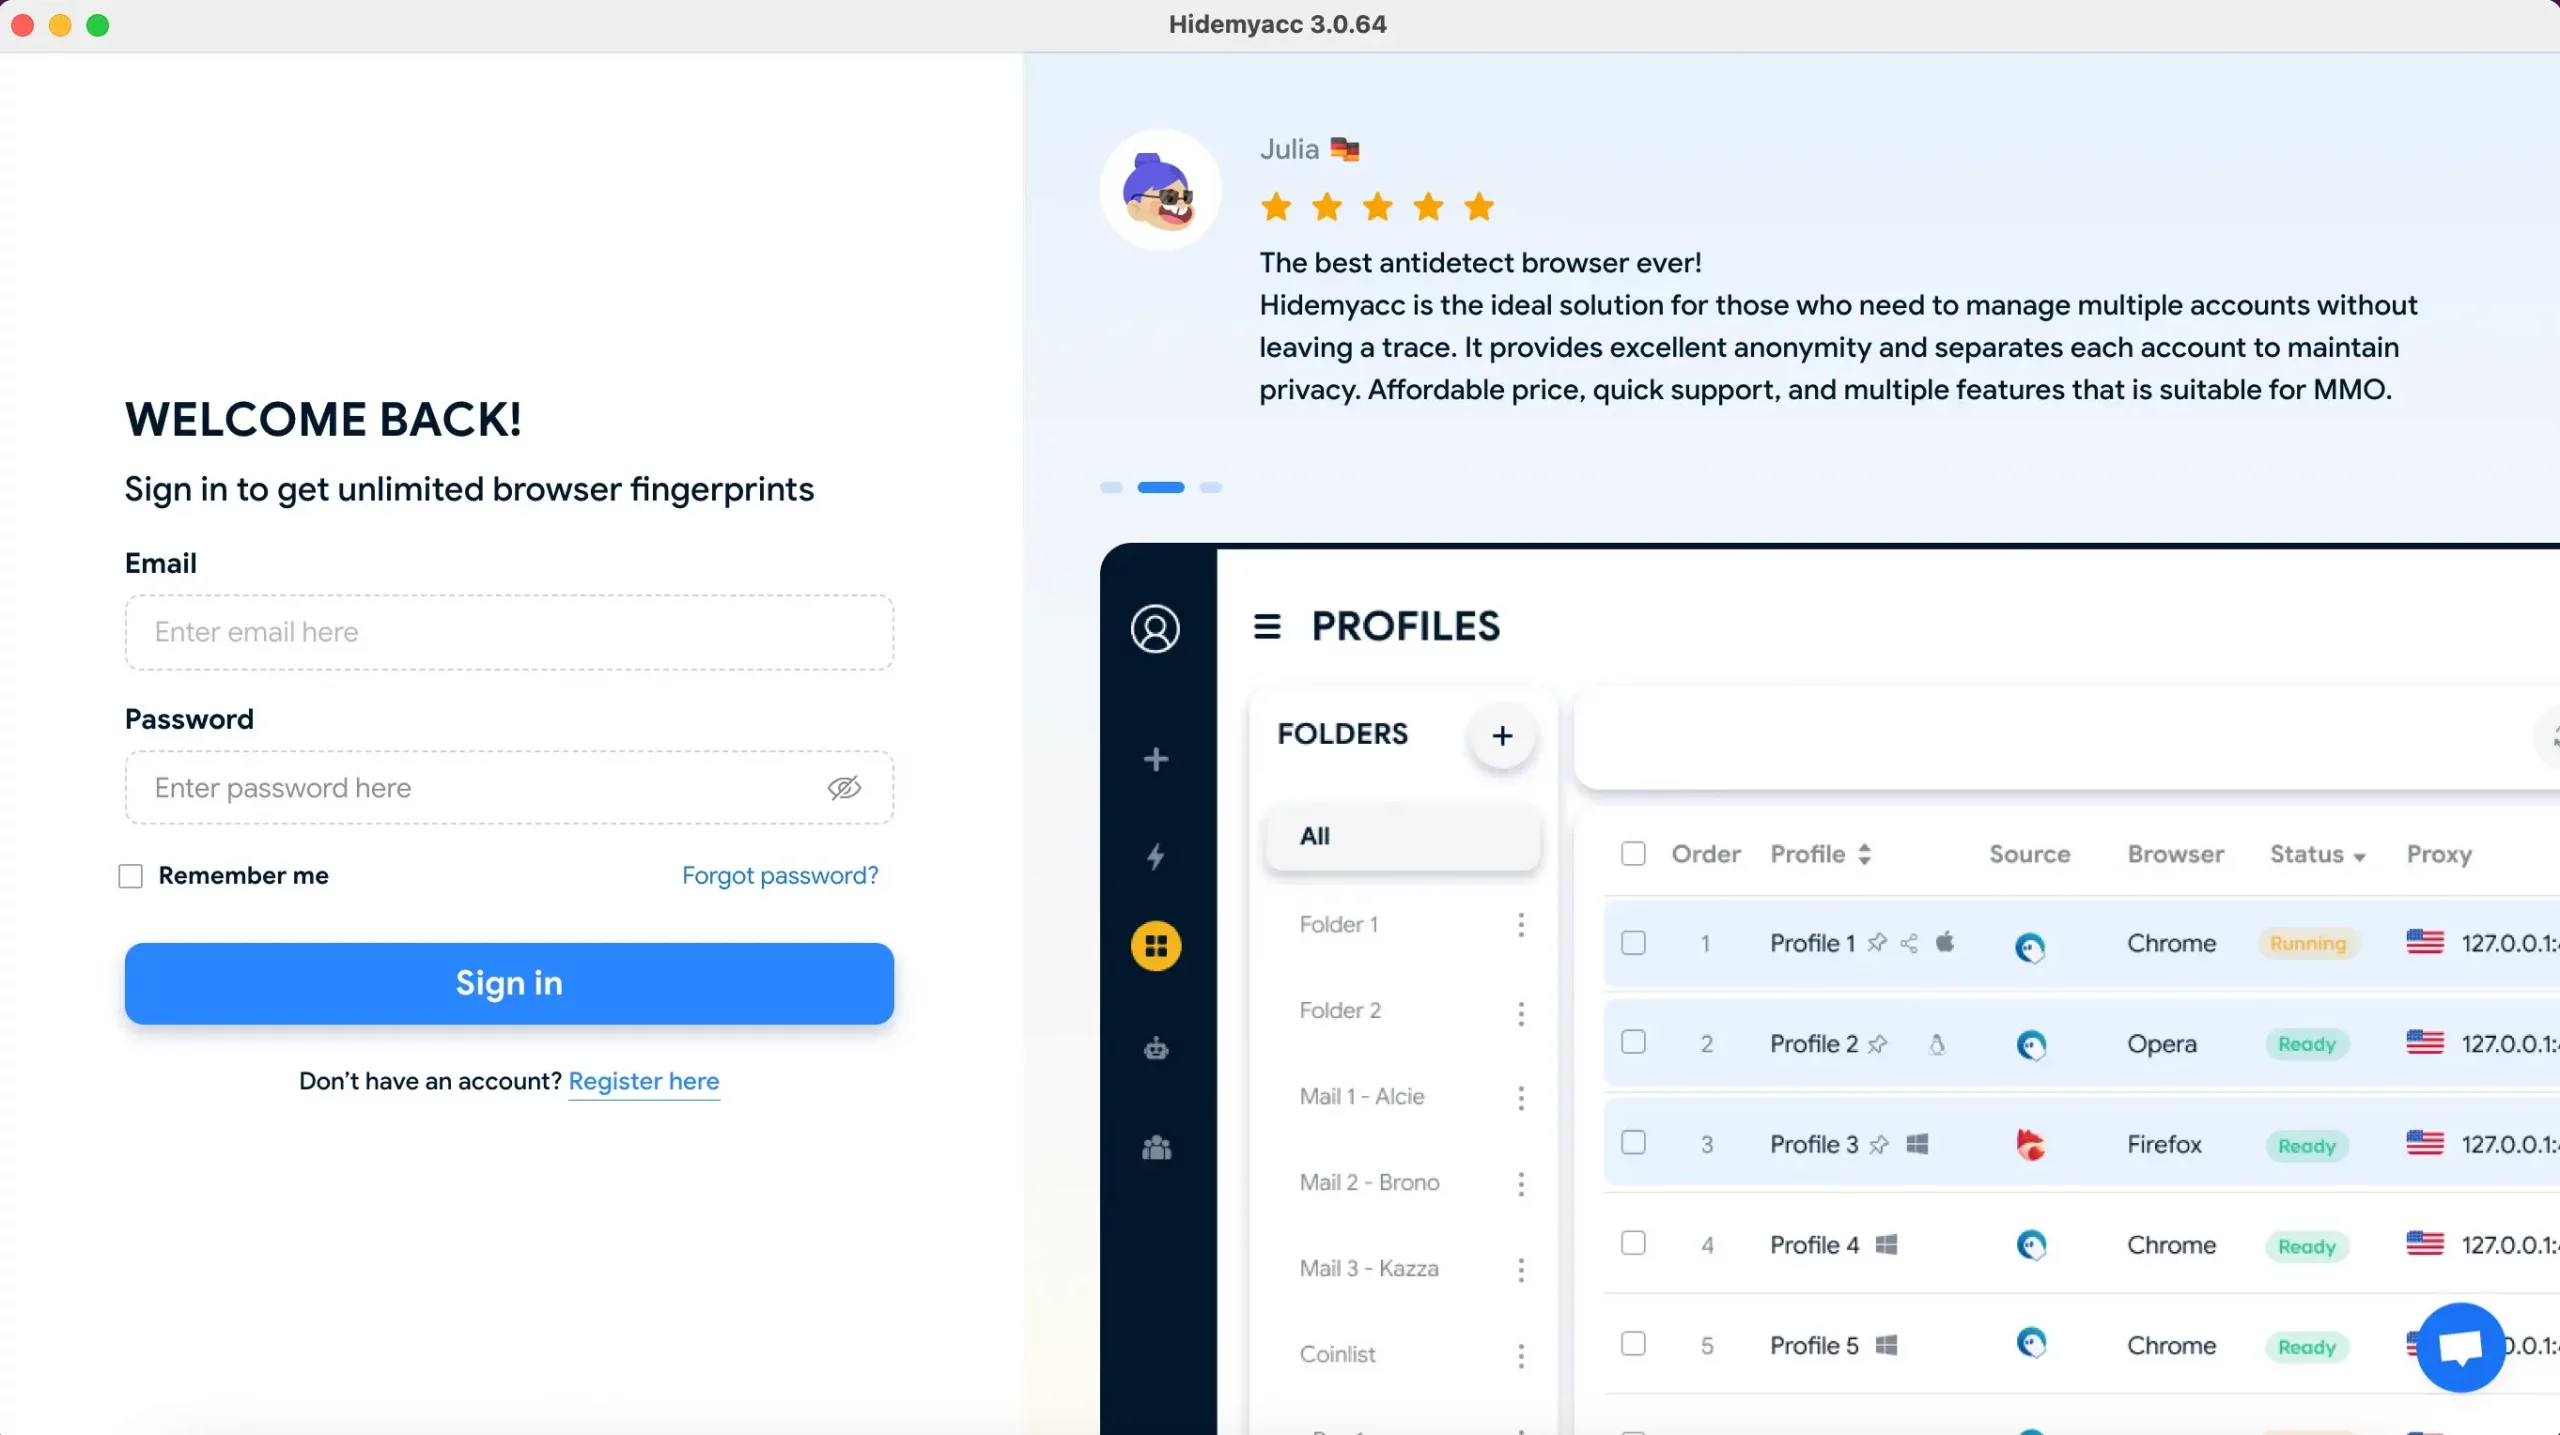
- After installation, you’ll need to register, or if you already have an account just sign in.
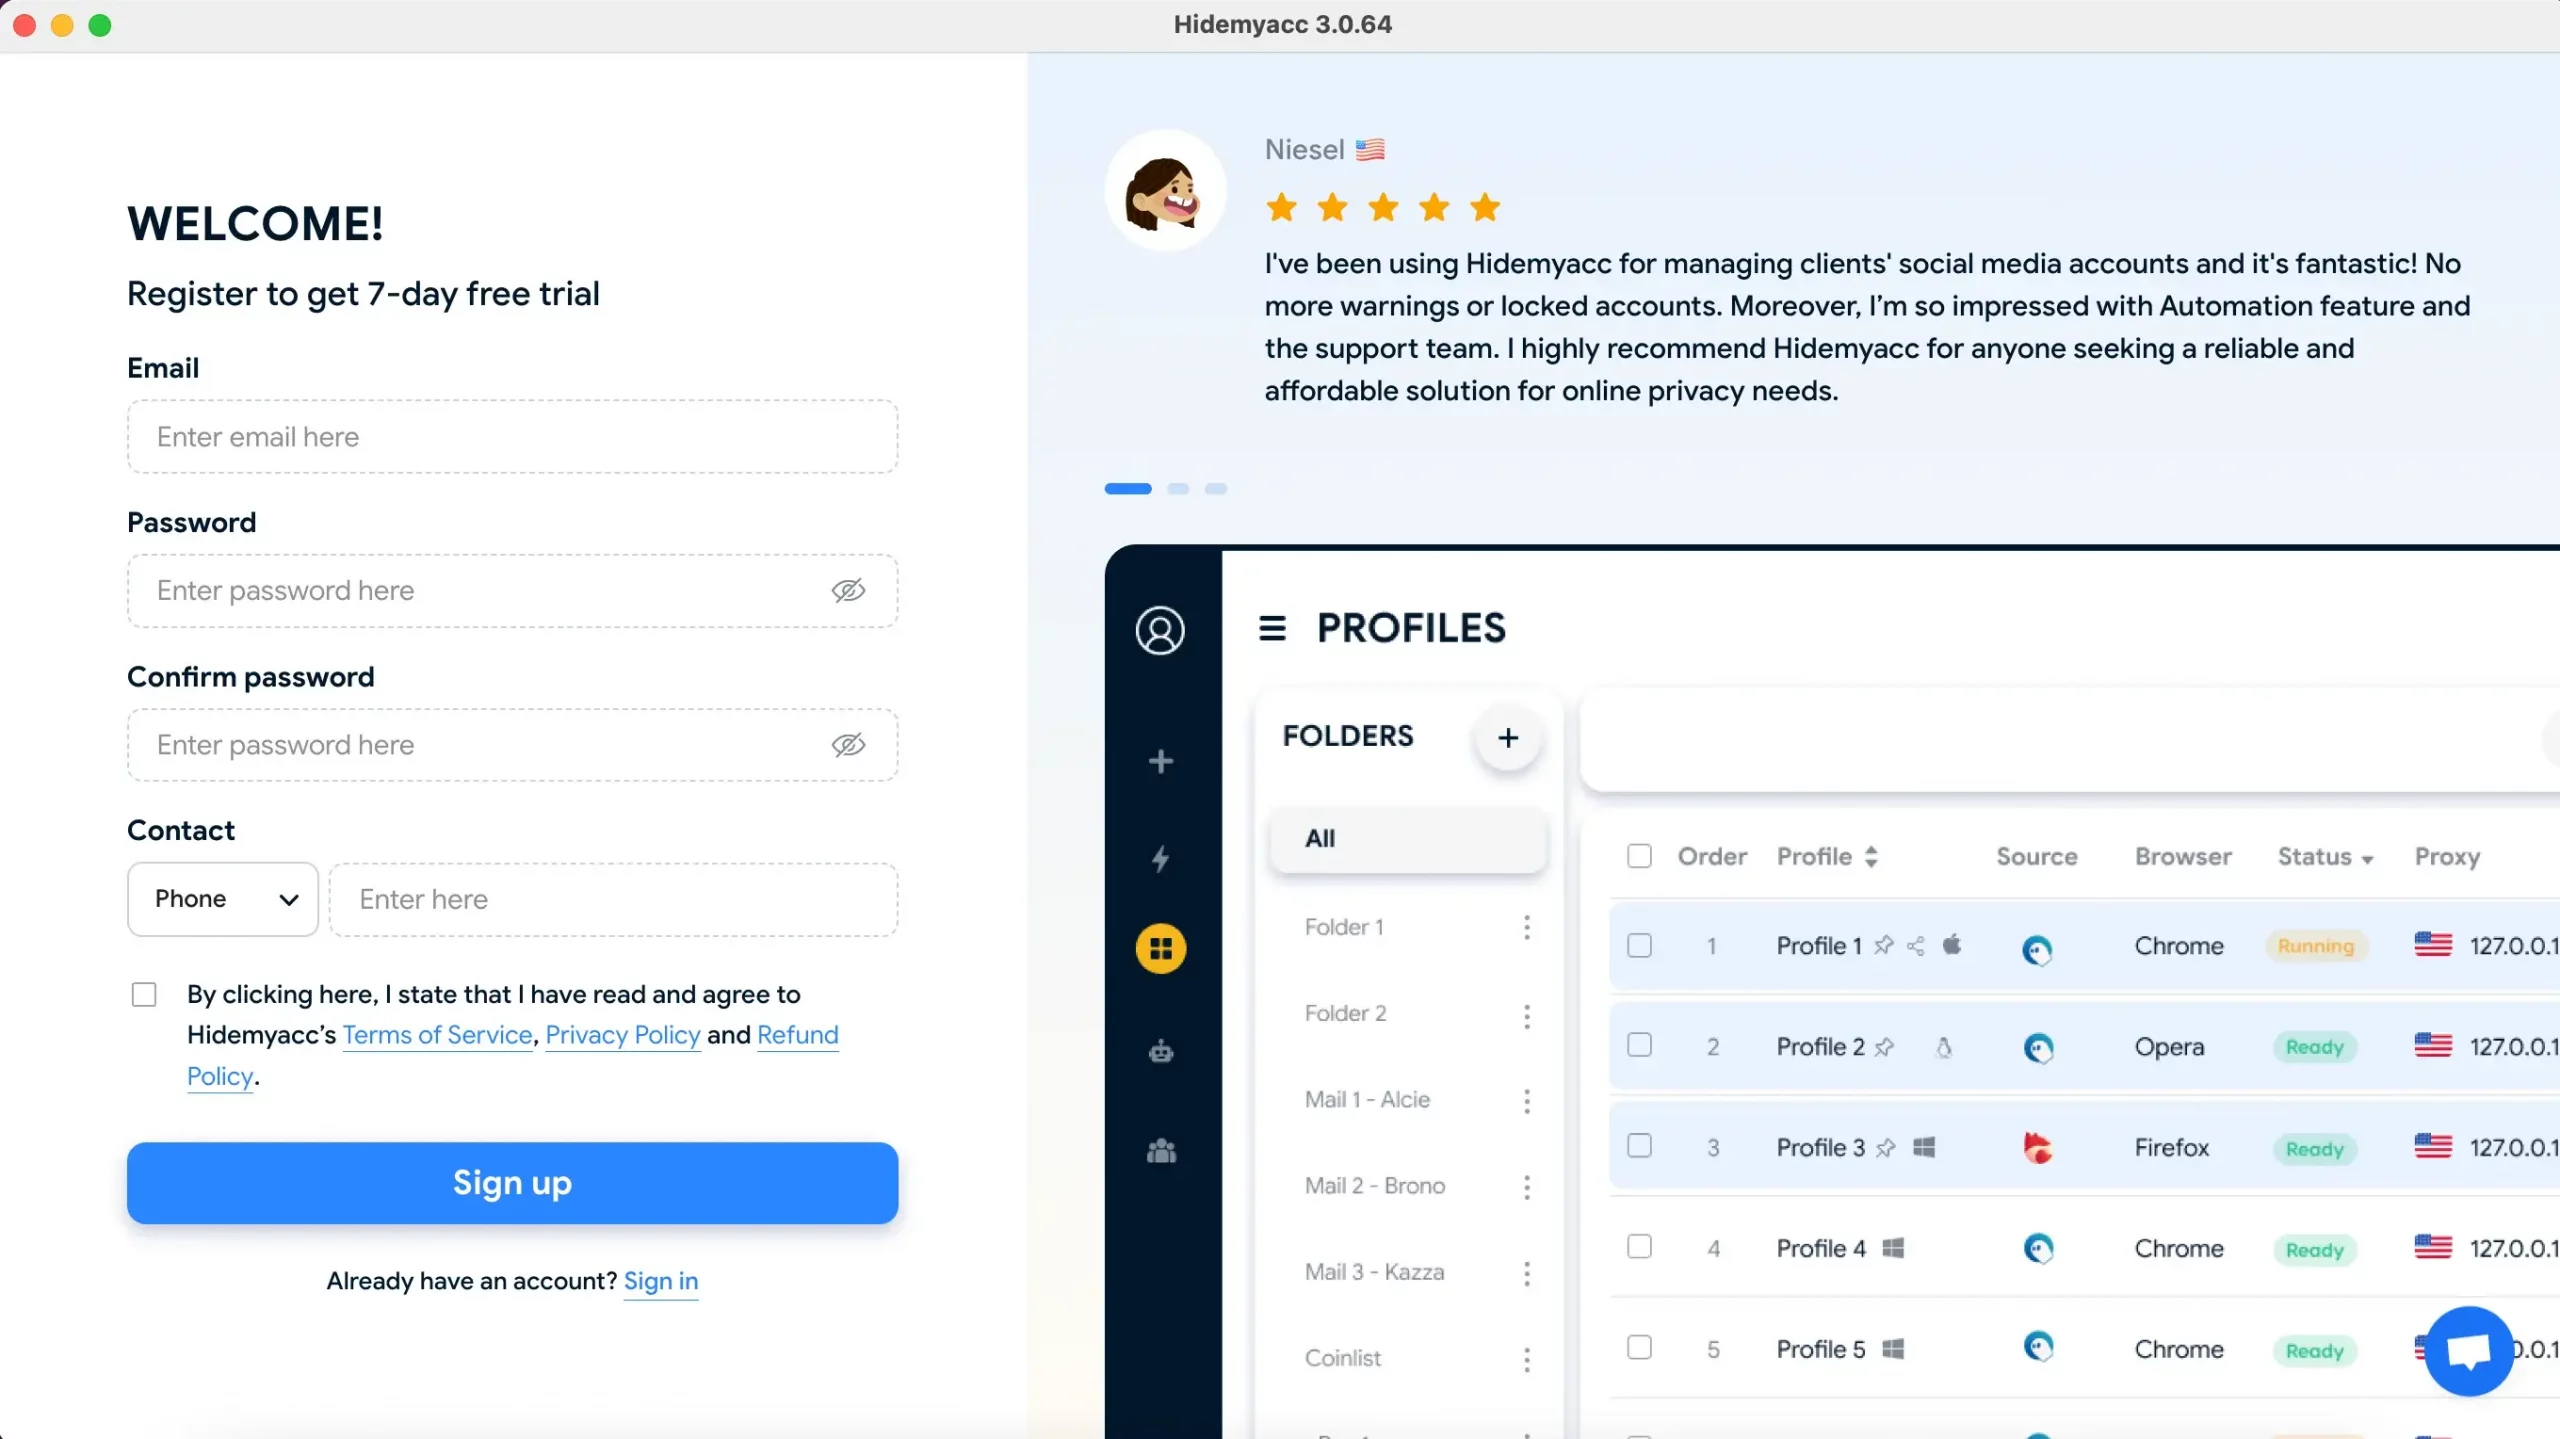
- For the registration, you’ll have to fill in your email address, create a password, and choose another possible way of getting in touch with you. There are options such as Phone, Skype, or Telegram. Choose what is more convenient for you.
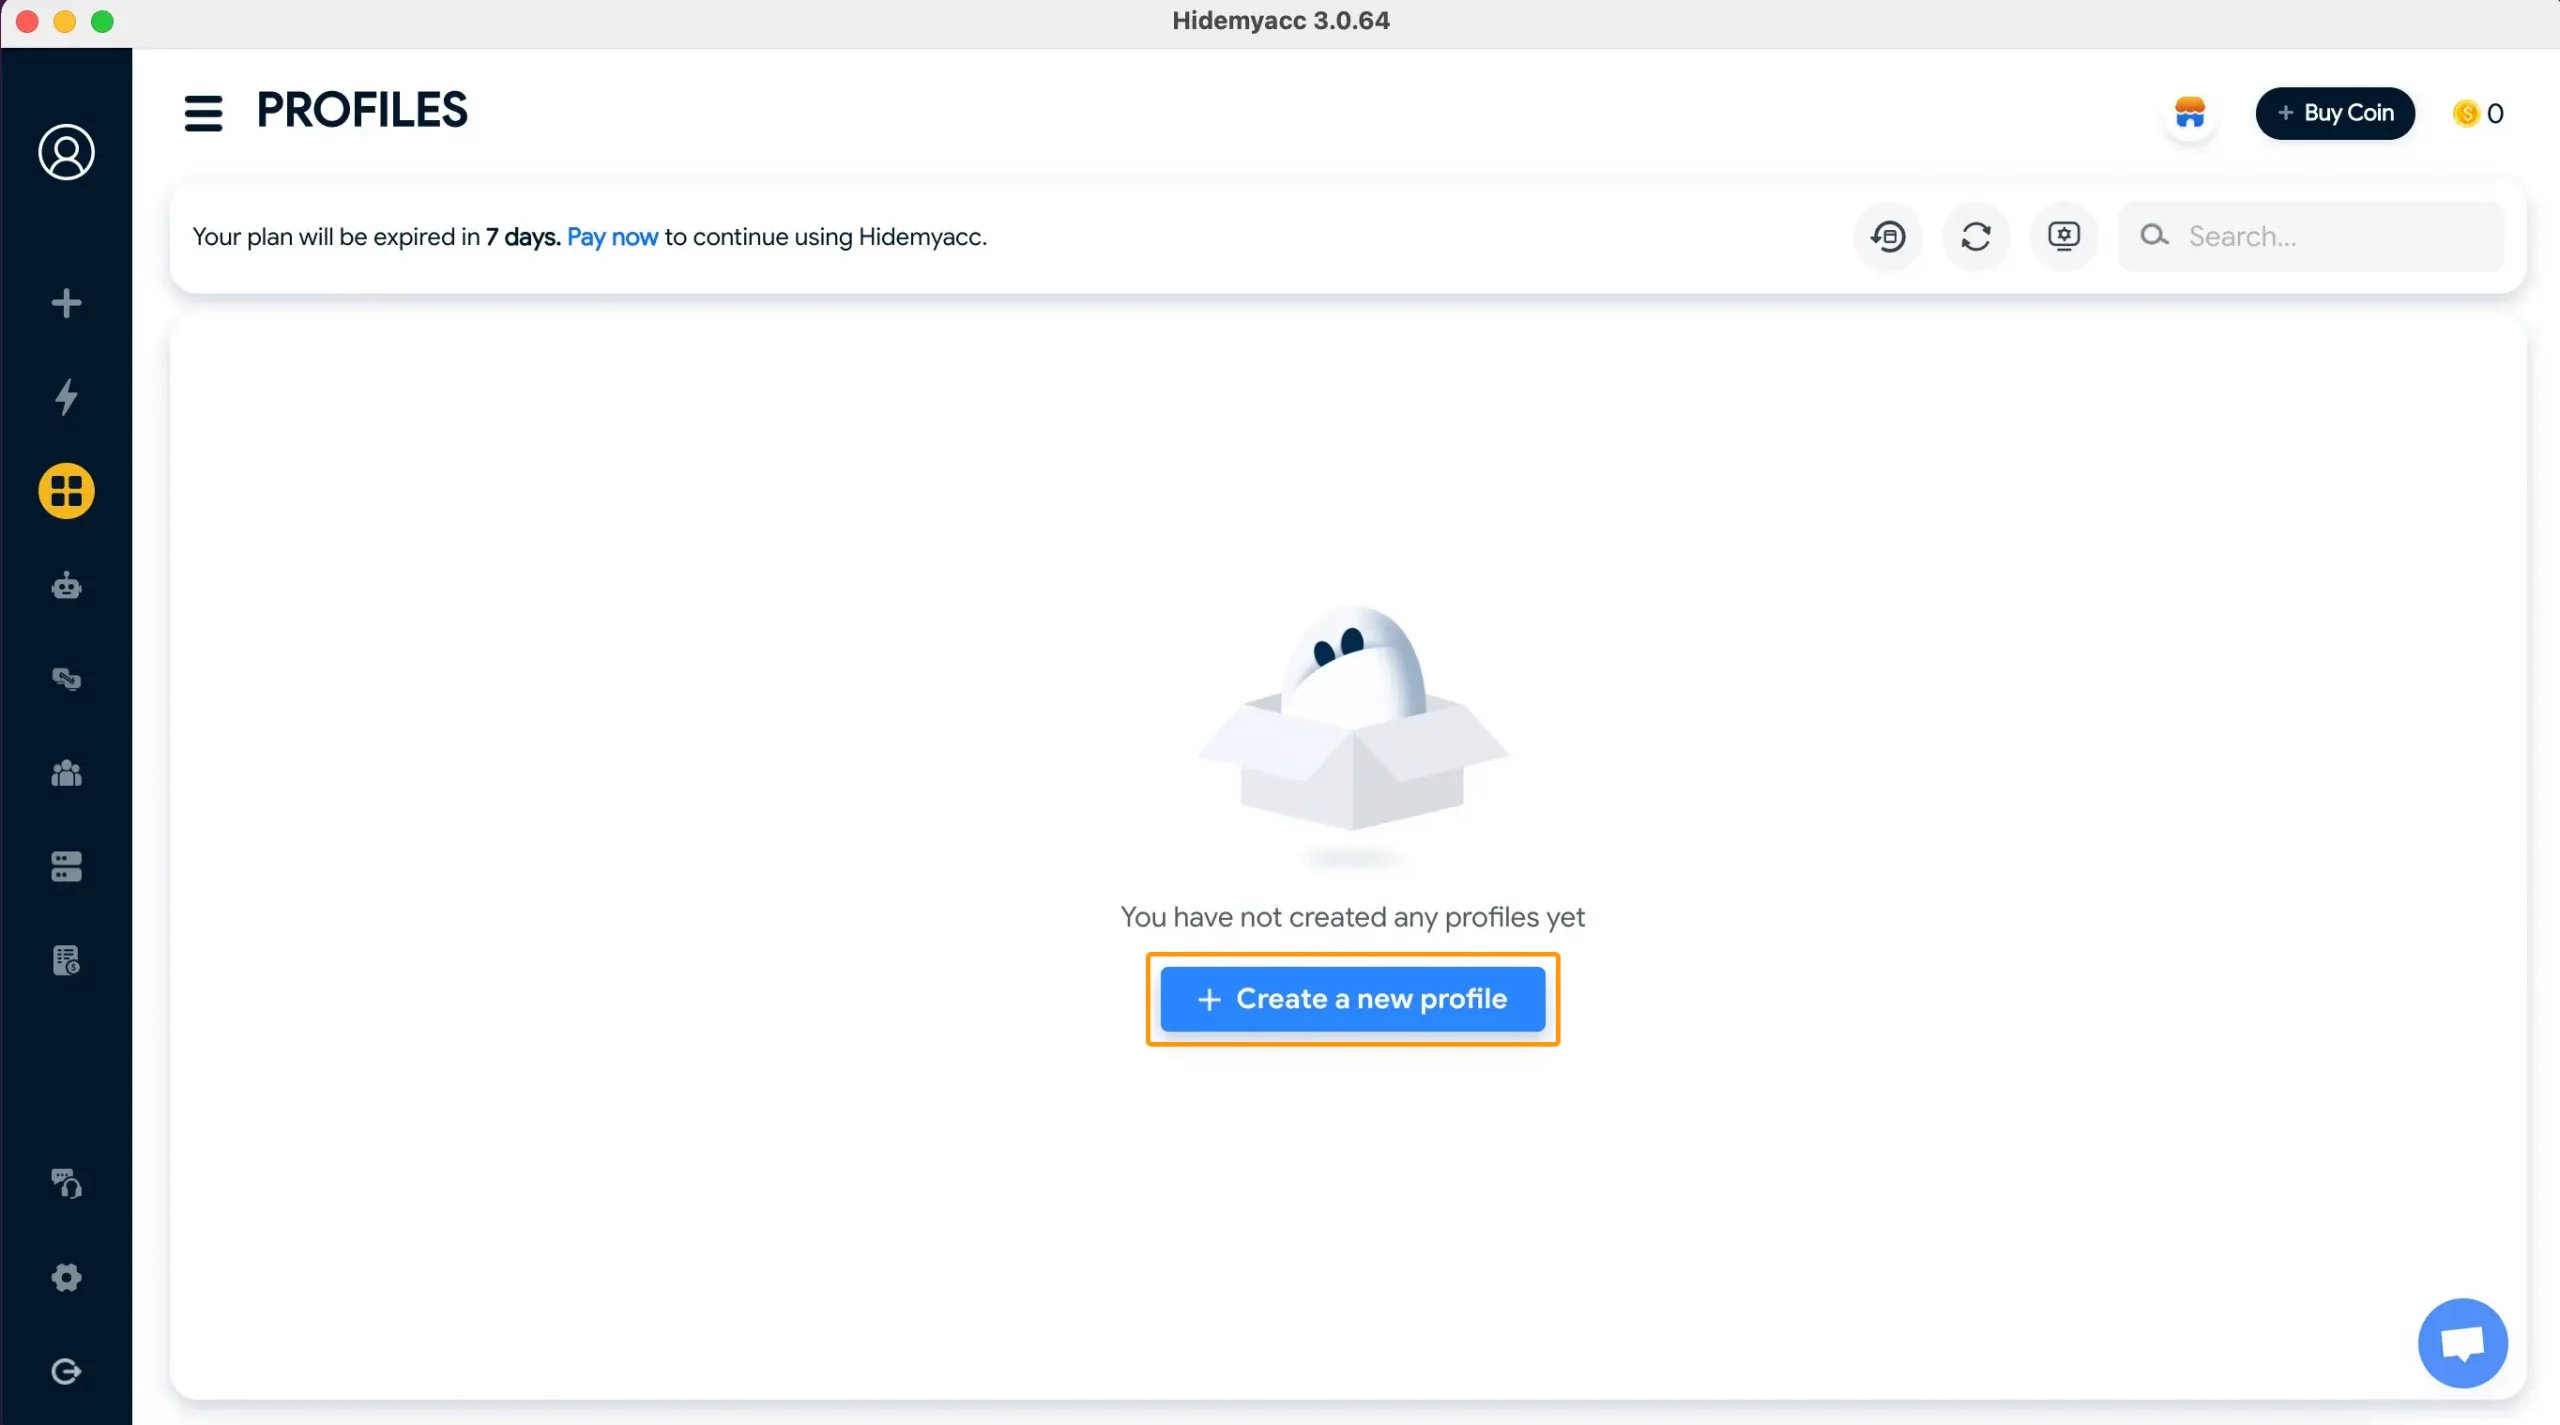
- After successful registration, the next step is to click the ‘Create a new profile’ button.
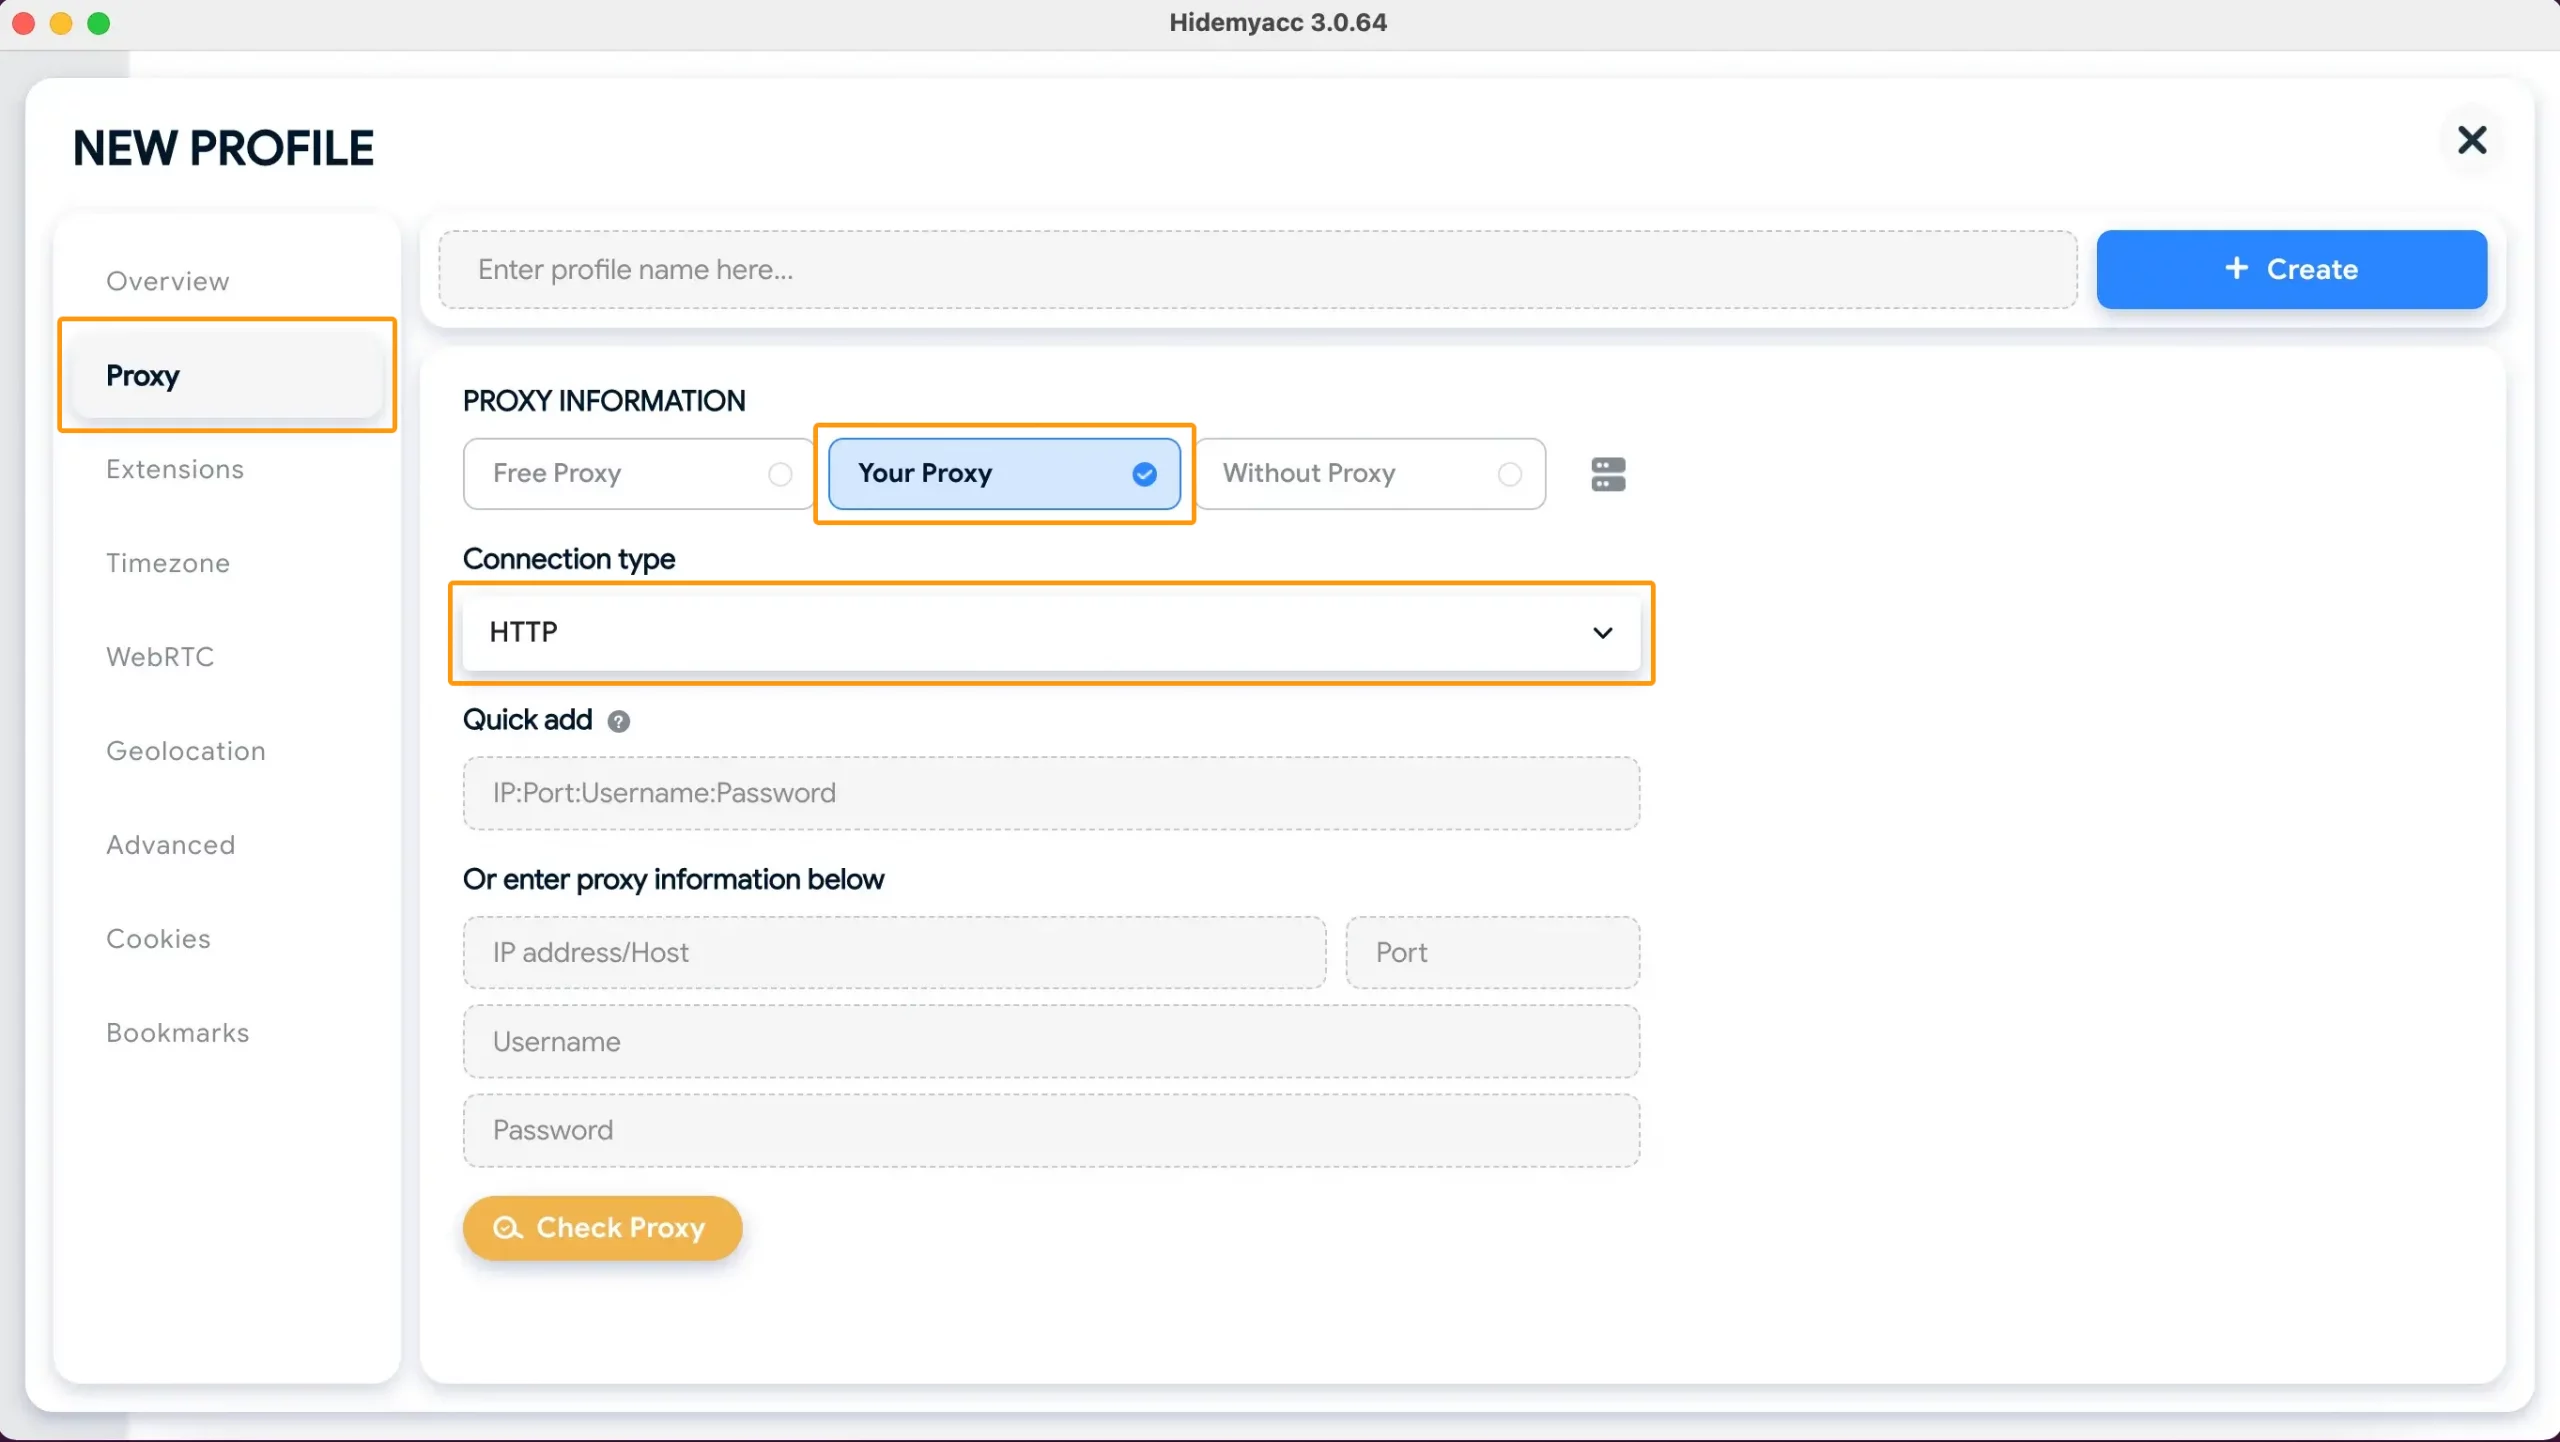
- You’ll see the sidebar on the left side. There are sections like Overview, Proxy, Extensions, Timezone, WebRTC, Geolocation, and much more. We need the section Proxy for further steps. Select ‘Your Proxy’ and choose the relevant ‘Connection type’ from the list.
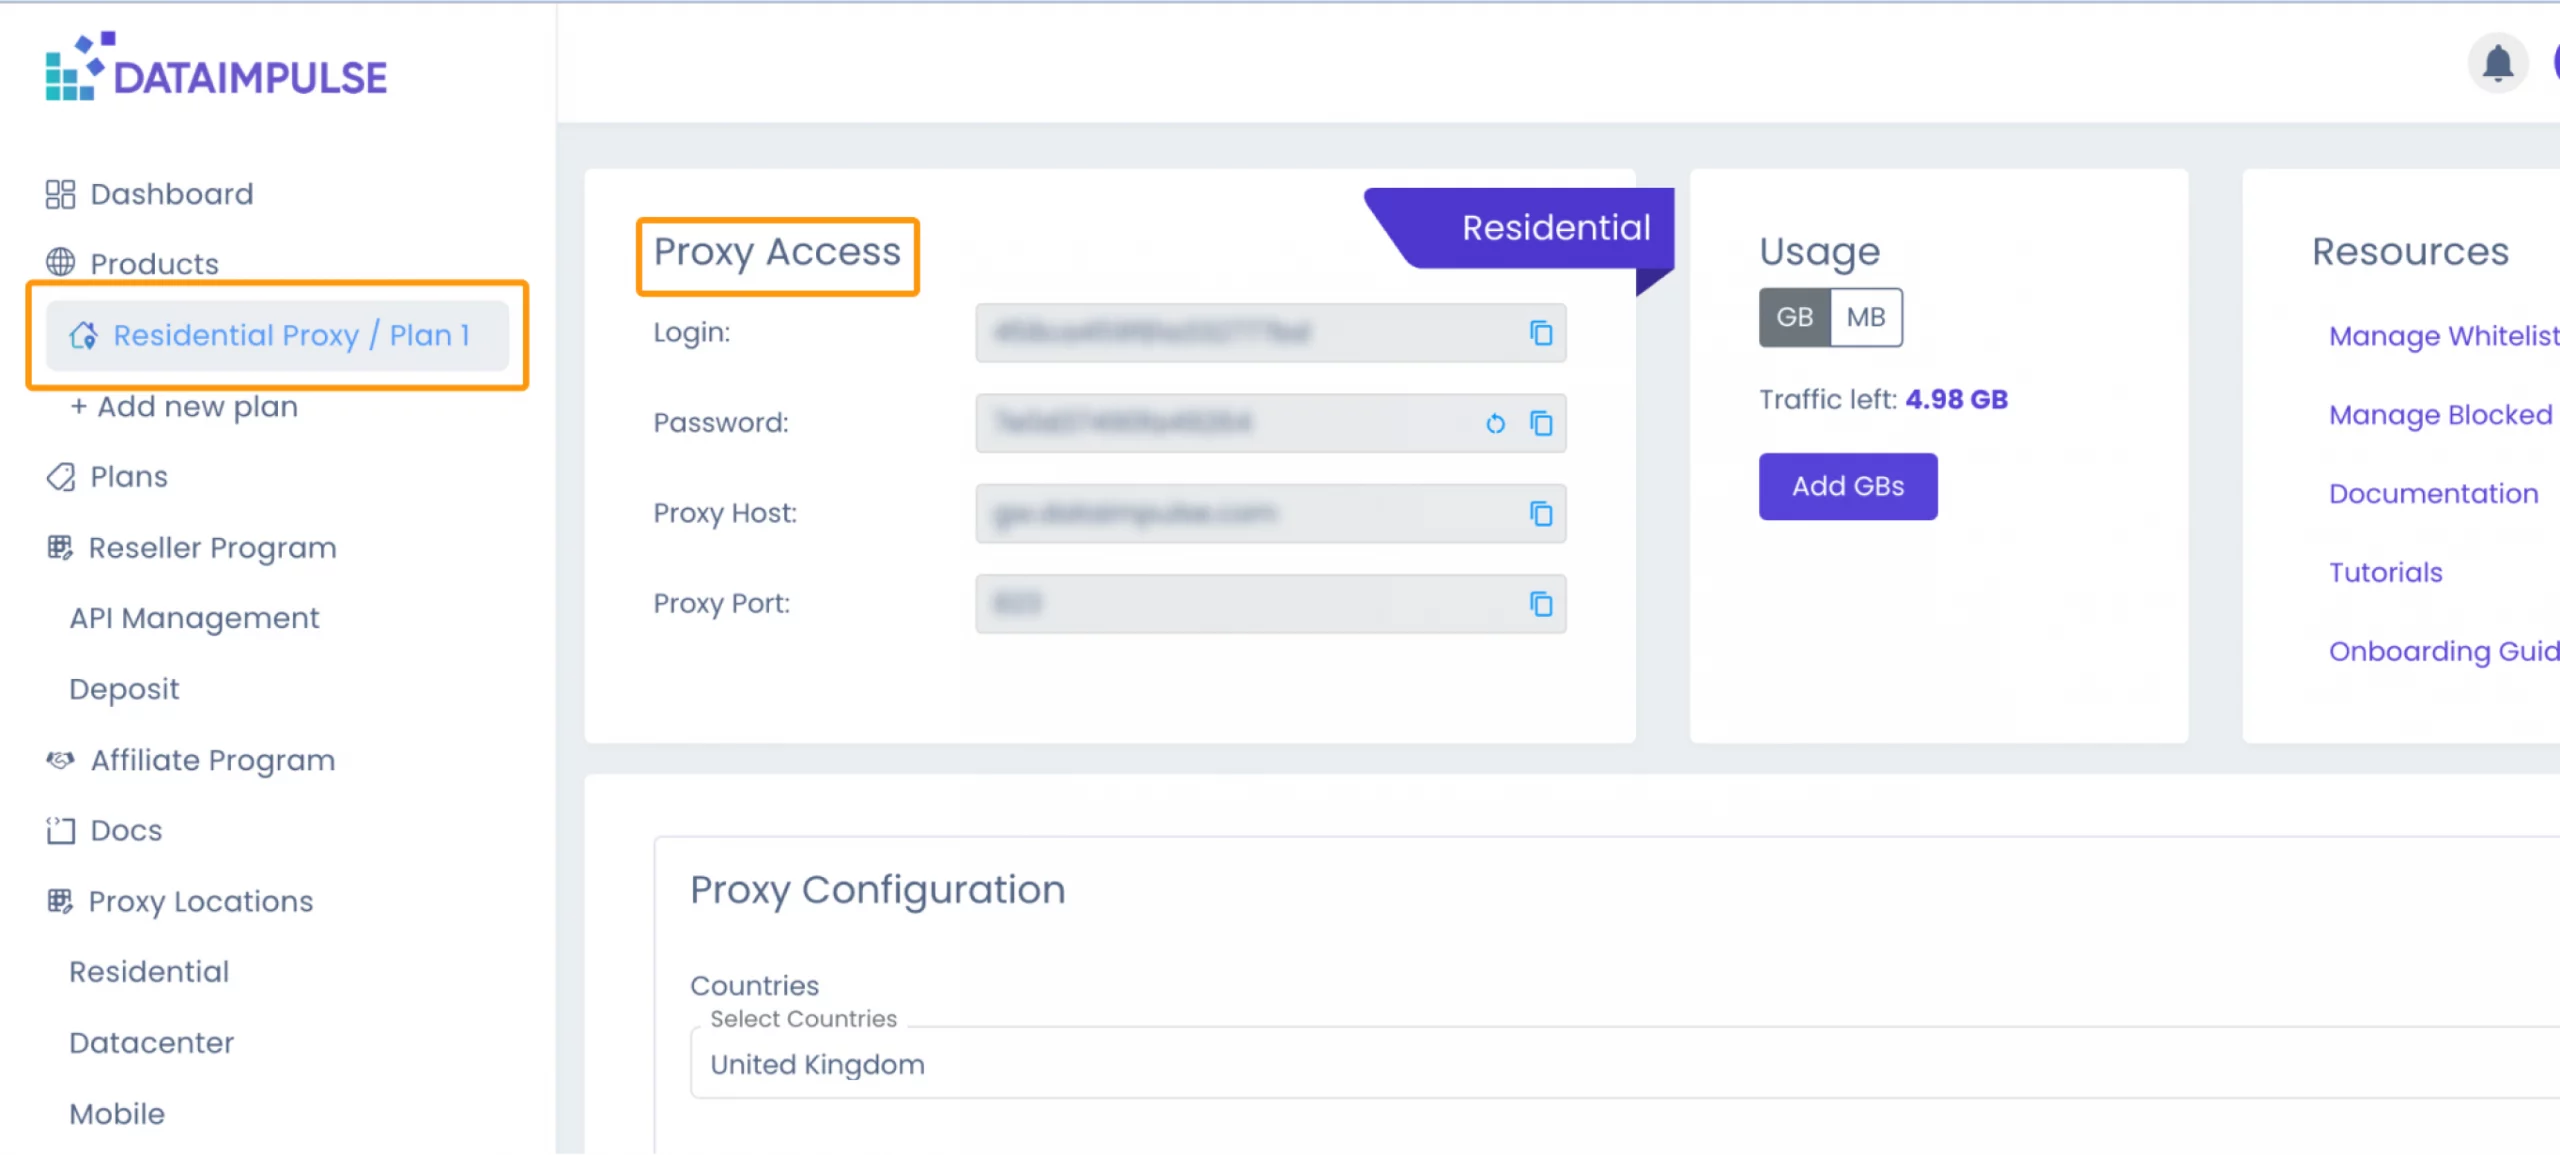
- To integrate DataImpulse proxies with Hidemyacc, check your DataImpulse Plan with the proxy login, password, host, and proxy port.
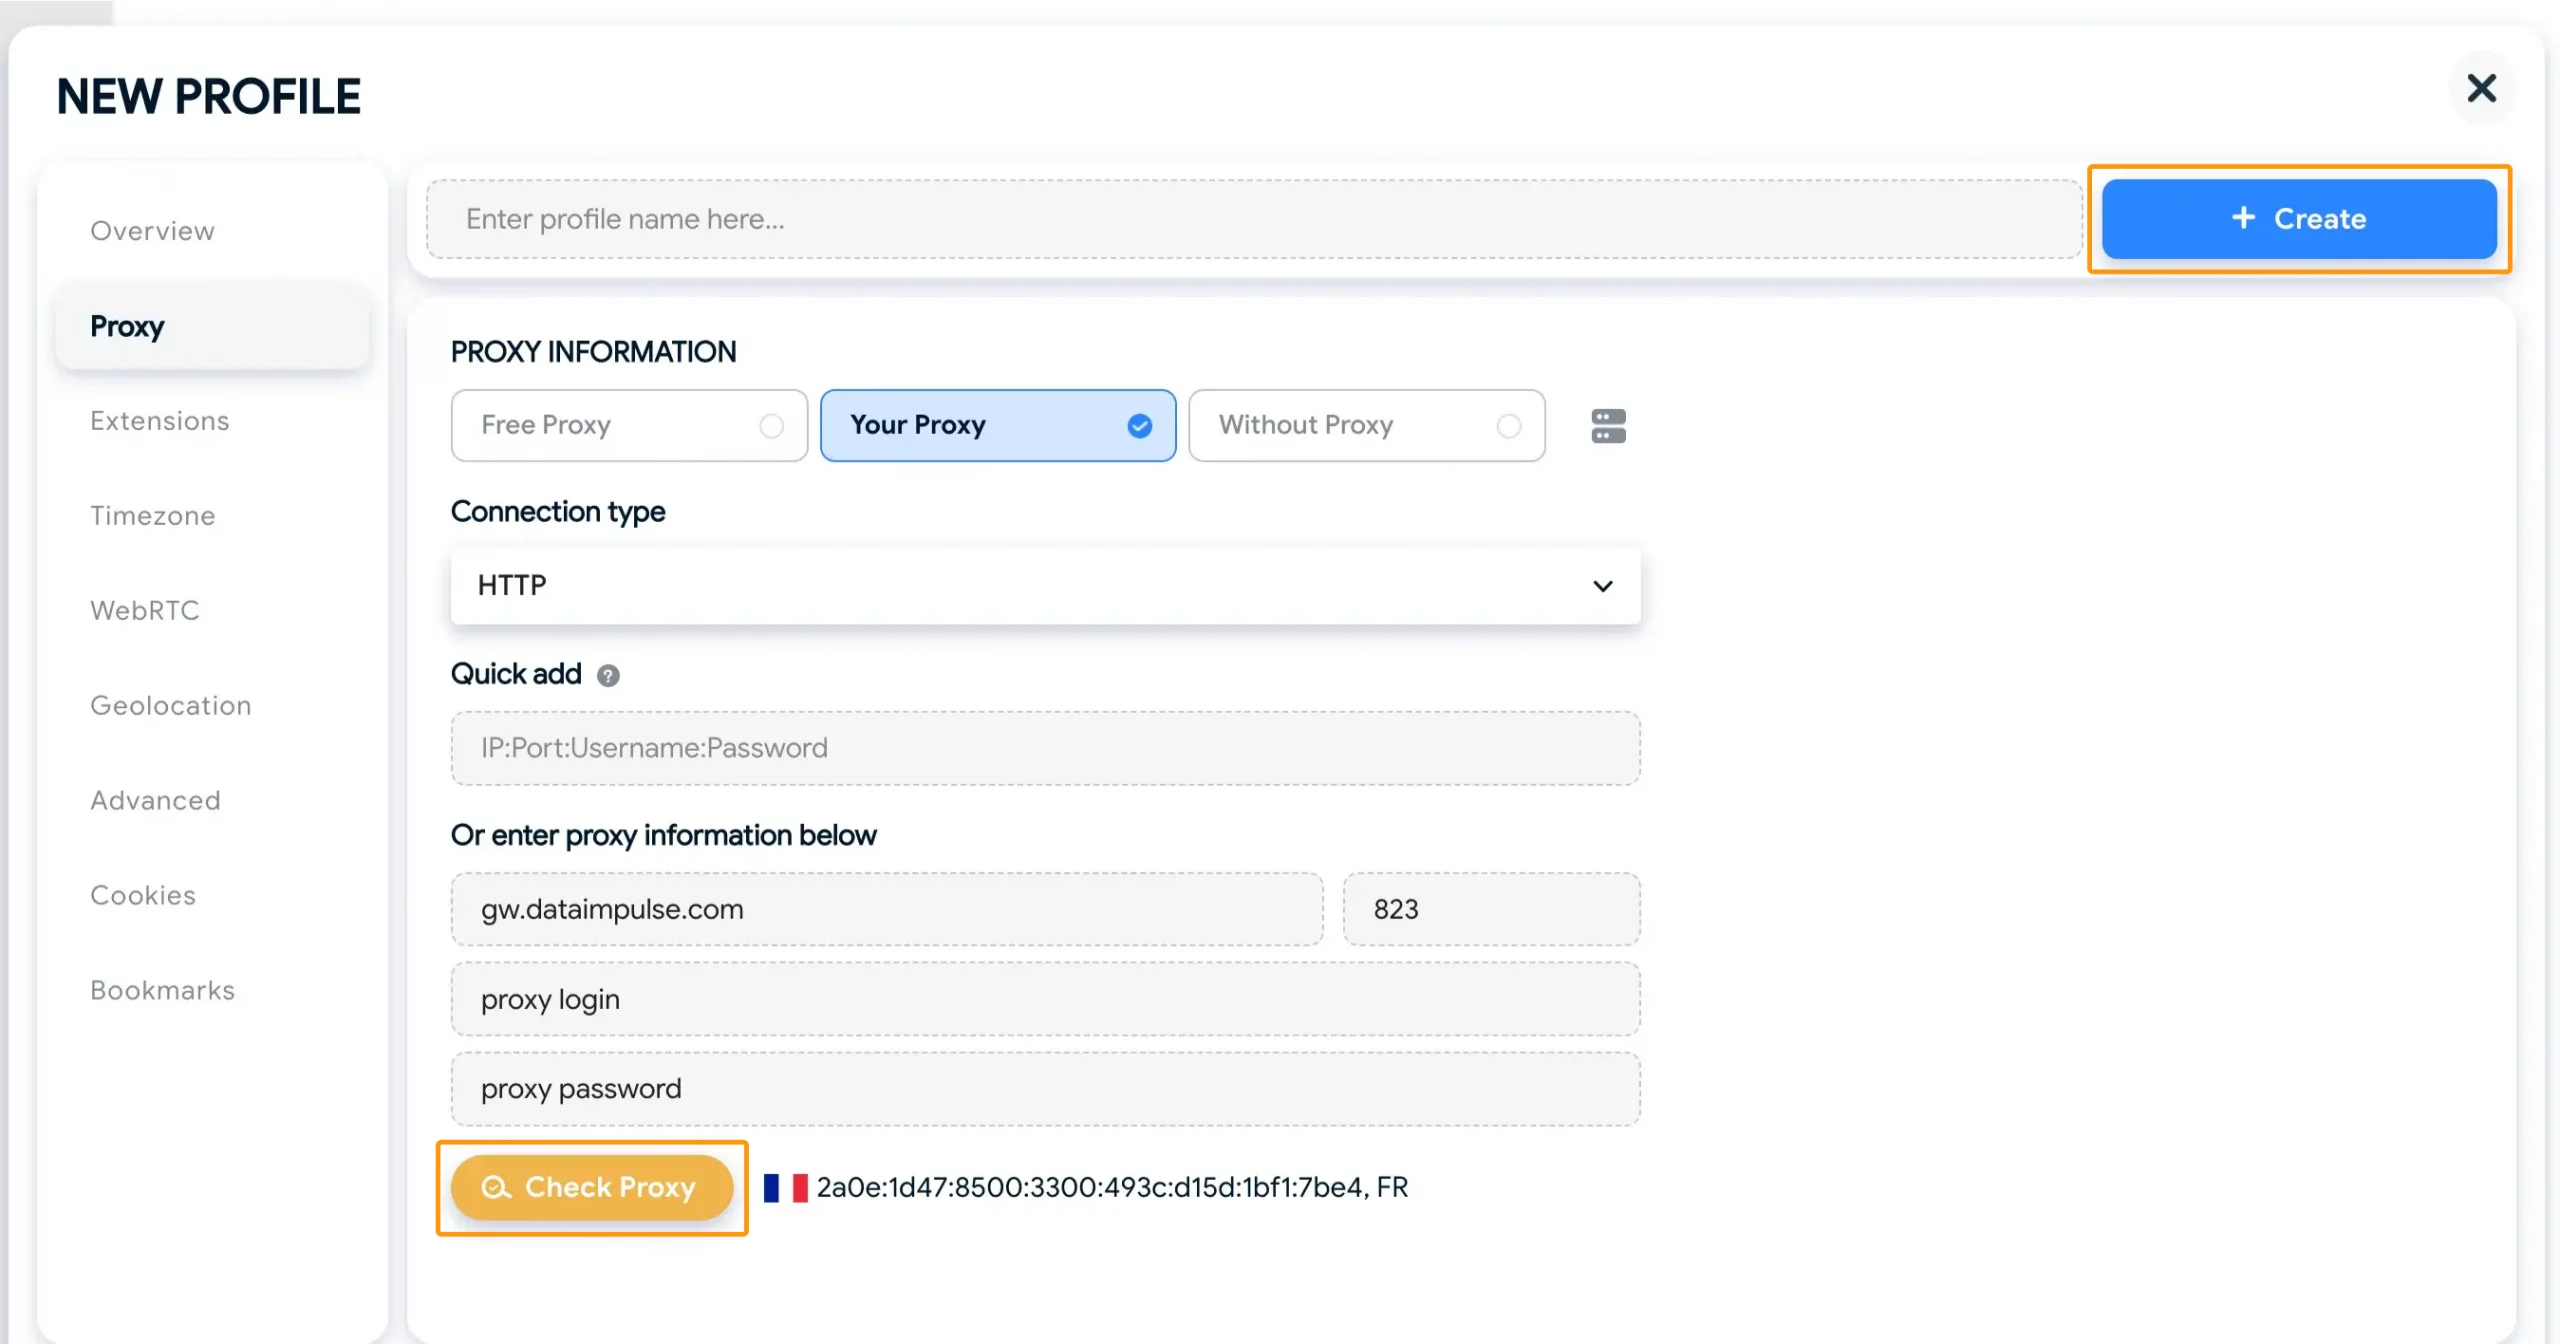
- Enter all the necessary proxy information and click ‘Check Proxy’. If your proxy works, you’ll see the info about your current IP address. After that, click ‘+Create’. You can either come up with the profile name you’d like to have, or the app will suggest one for you.
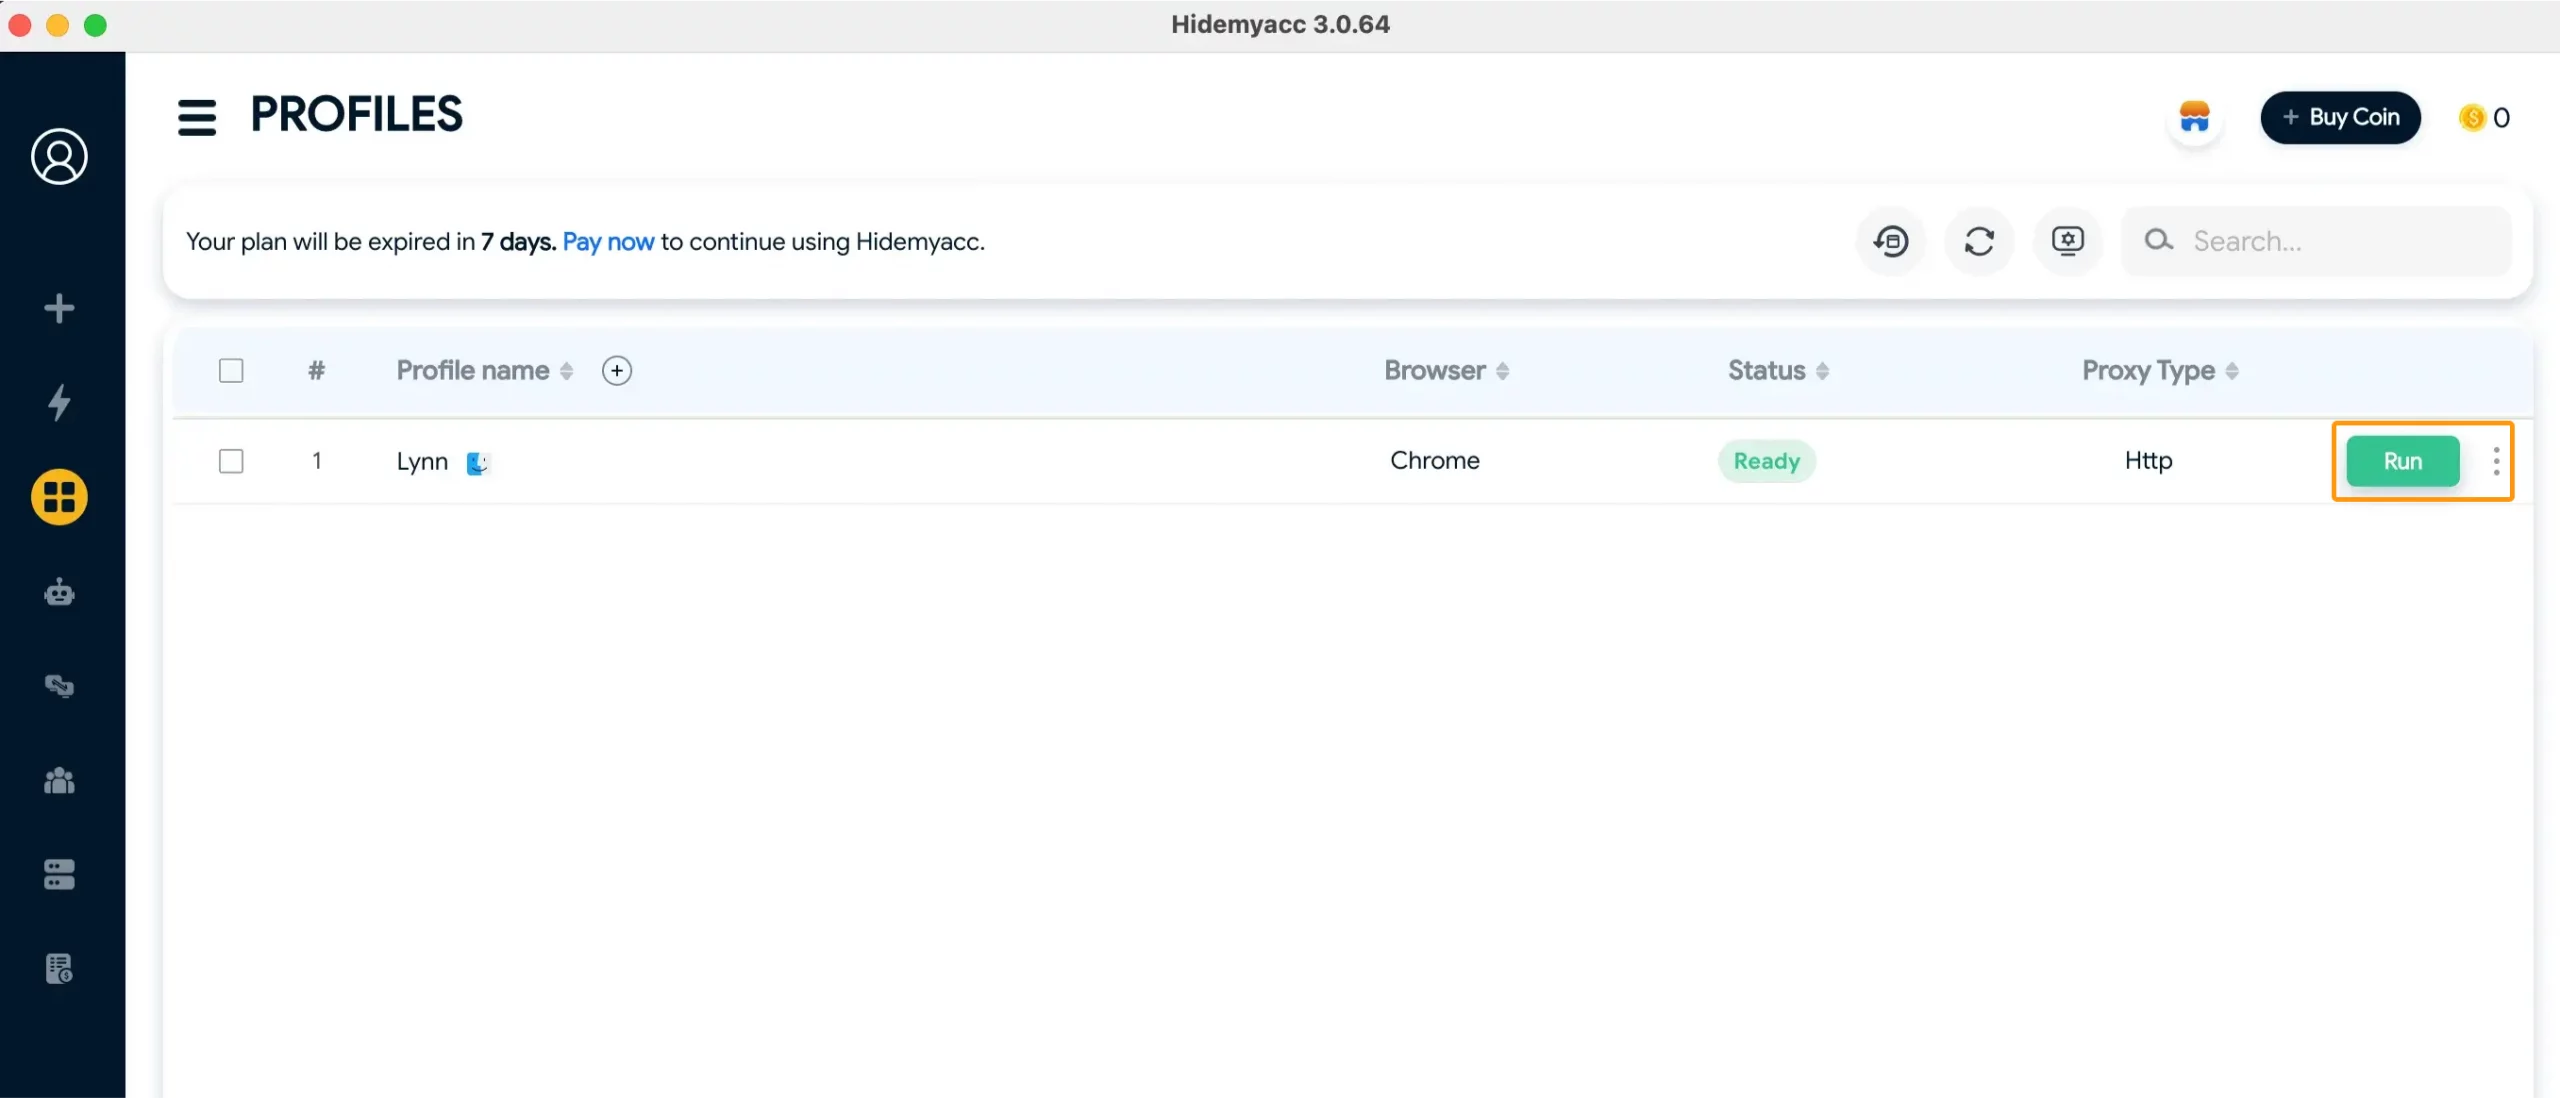
- You’ll see your new profile on the main page. To finish the integration just click ‘Run’.
That’s it, these are the main steps for setting up proxies in the Hidemyacc browser. If you have any questions, simply click the widget in the bottom right corner of the screen, choose the ‘Send Us Message’ option, and our pro support team will assist you.

