How to manage DataImpulse proxies in Undetectable.io?
What is Undetectable.io?
Undetectable.io – is an anti-detect browser that protects your online identity by altering your device’s digital fingerprint, including OS, cookies, languages, fonts, User-Agent, and even mobile device data. Paired with a proxy, it allows the creation of unique browser profiles with individual settings and extensions, making them appear as real users. This advanced fingerprint-switching technology offers heightened security and anonymity, surpassing regular proxies or VPNs by preventing websites from detecting any connections between profiles. Perfect for multi accounting, crypto wallets, and web scraping.
Advantages of the Undetectable browser:
- 99.99% of uptime during the year;
- Easy export and import of proxies, cookies, bookmarks;
- Automatic cookie farming for warming up profiles;
- Managers for bulk work with proxies and extensions;
- Automation of actions via API;
- Synchronizer for simultaneous management of multiple browser profiles;
- “Paste like a human” function that imitates human behavior when pasting text.
Proxy Setup Guide
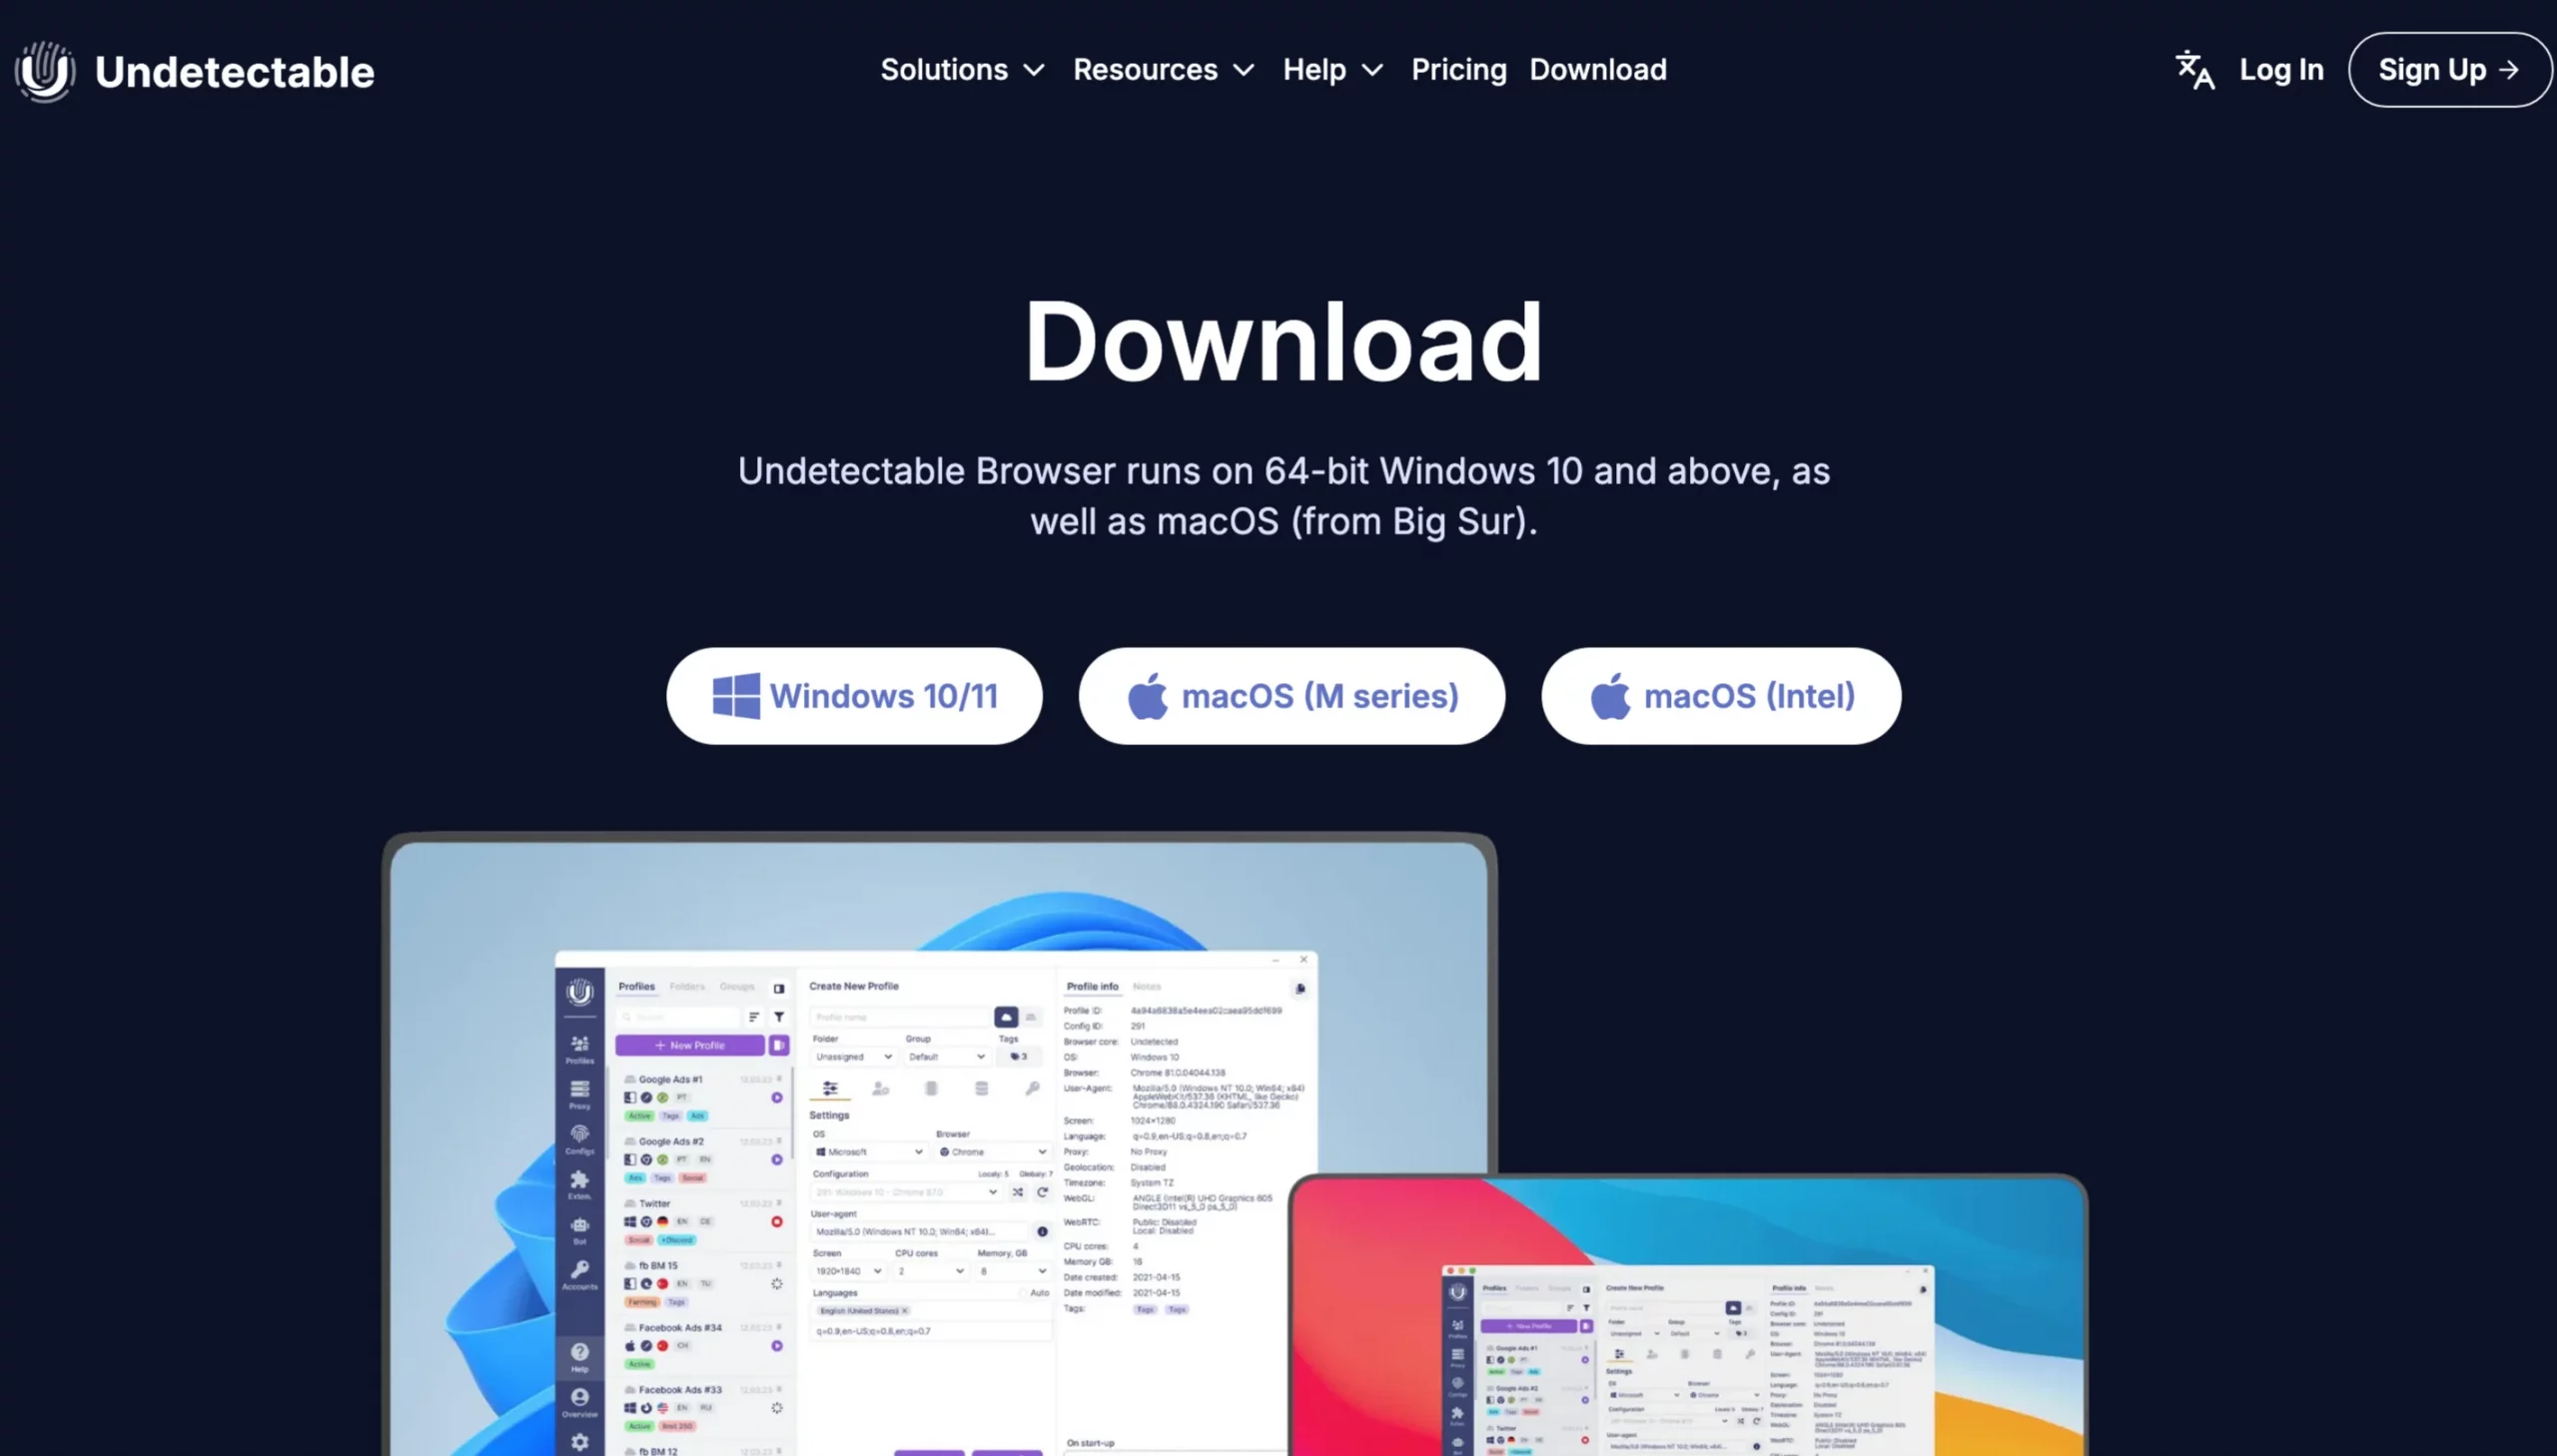
1. Visit the official site to download the Undetectable browser. Select your operating system; we’re using macOS (M series) for this tutorial. Click the appropriate button, and the download will begin instantly.
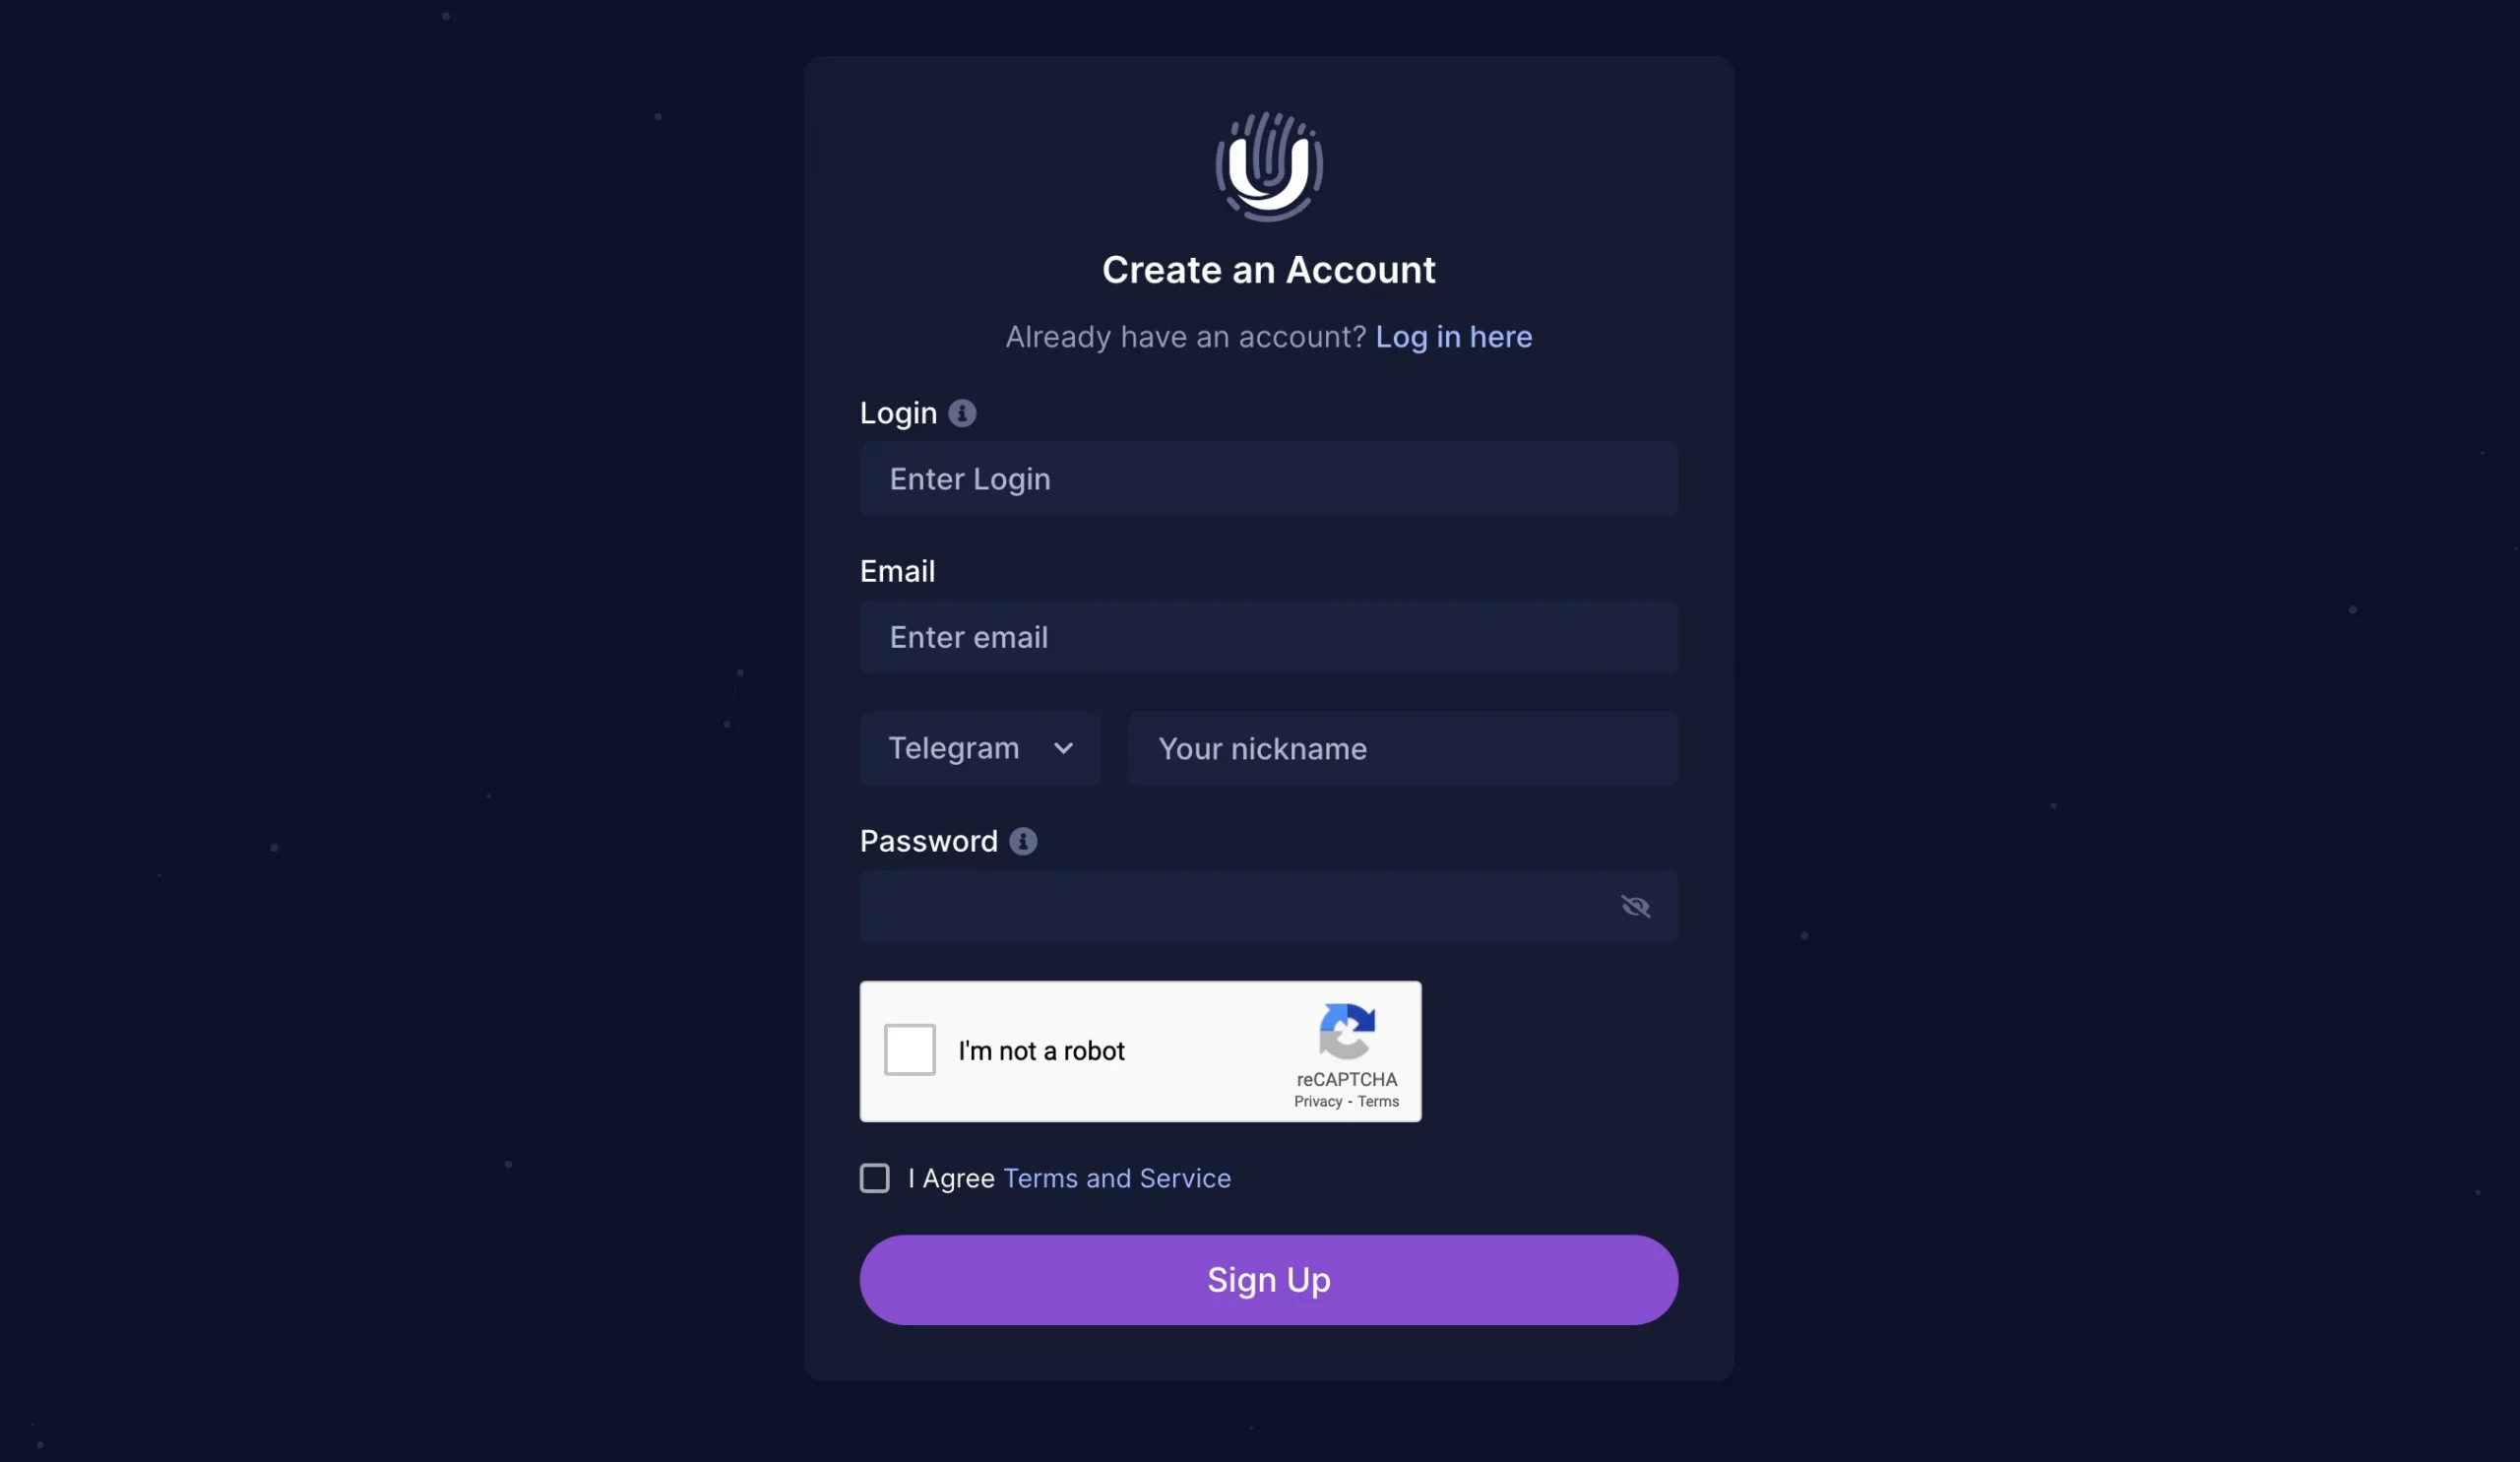
2. Next, create your account. You must fill in Login, Email, Telegram/Skype, and Password fields. If you already have an account, just log in there.
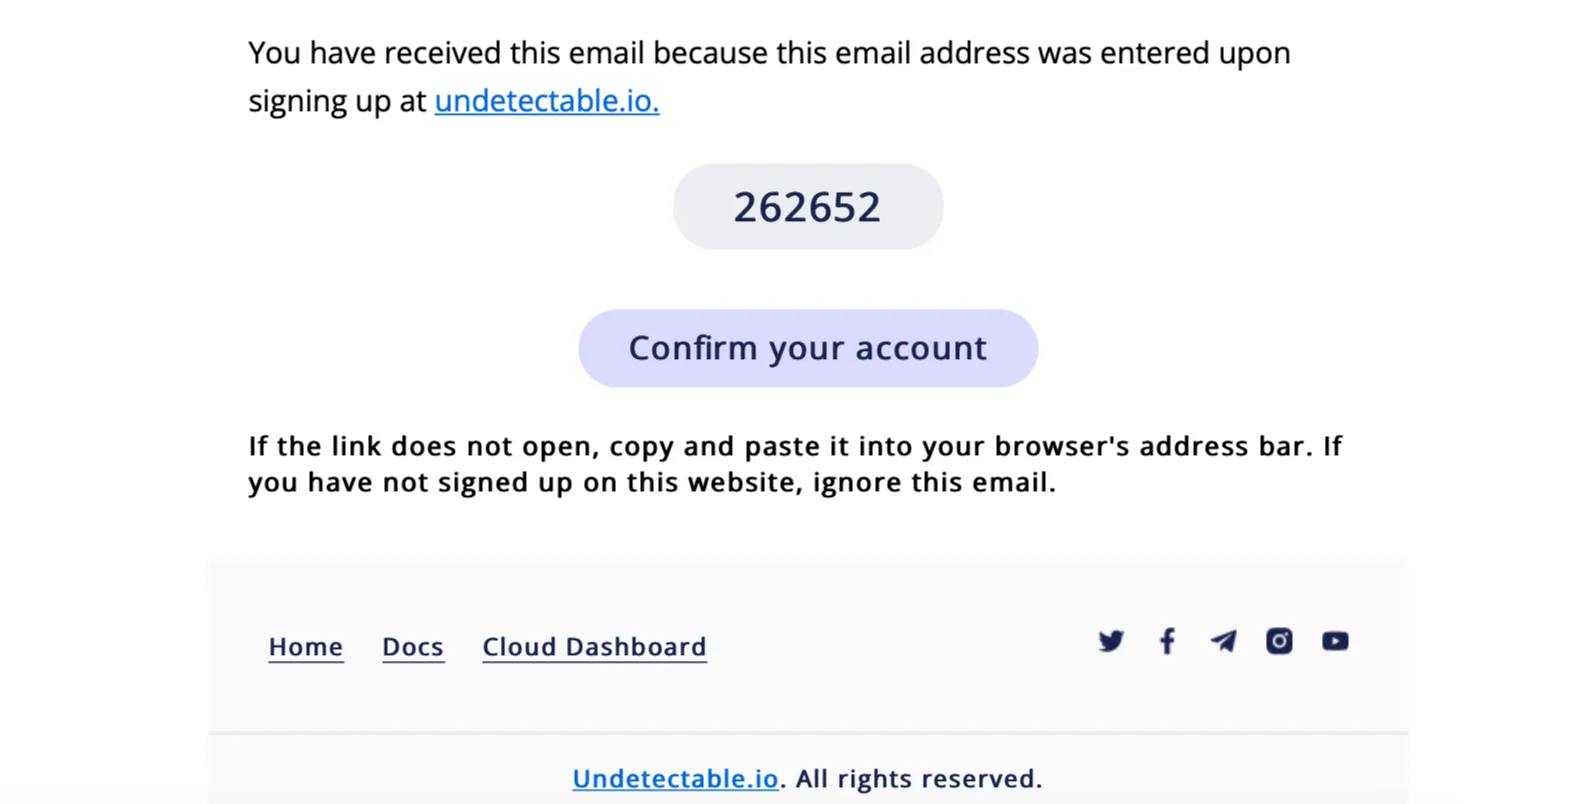
3. Check your inbox and confirm your account by entering the correct code.
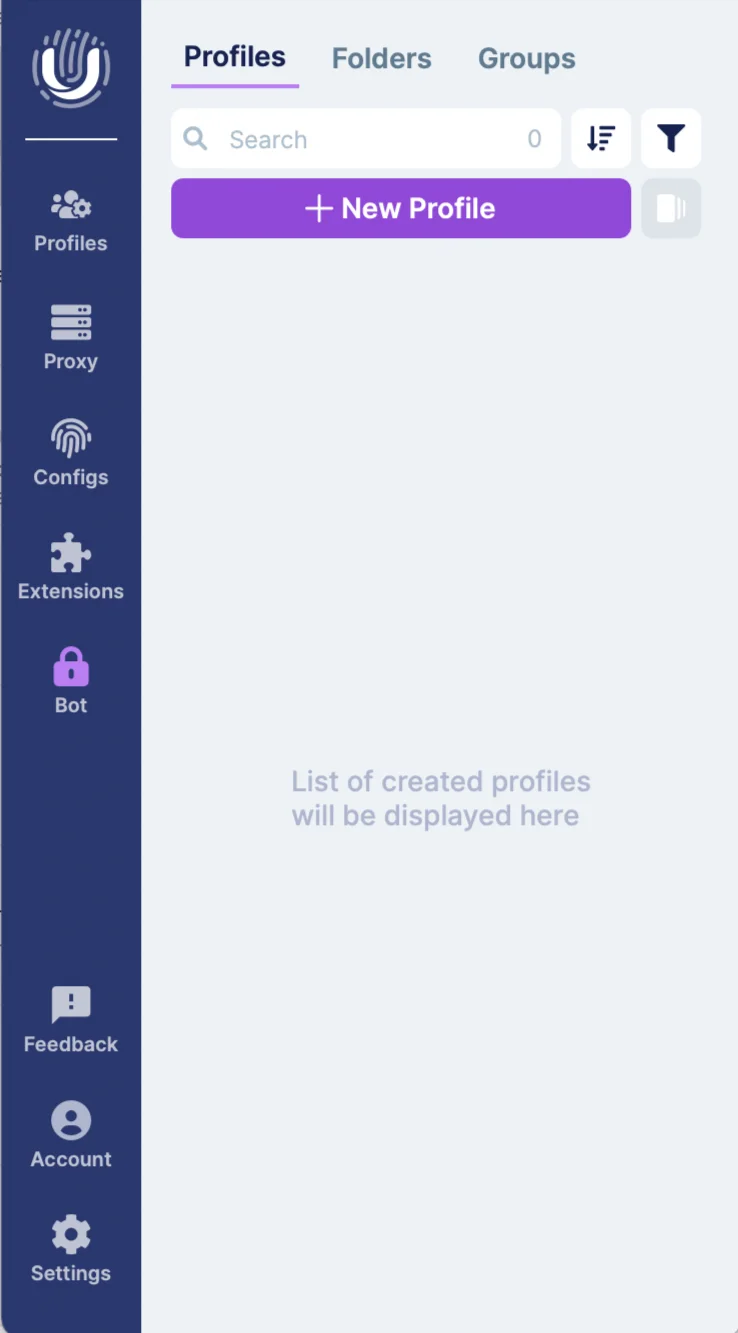
4. Once you’ve confirmed your account, a small window with various icons will appear. The left menu features sections like Profiles, Proxy, Configurations, Extensions, and Bot. At the bottom, you’ll find Settings, Account, and Feedback.
5. Click ‘+ New Profile’ button.
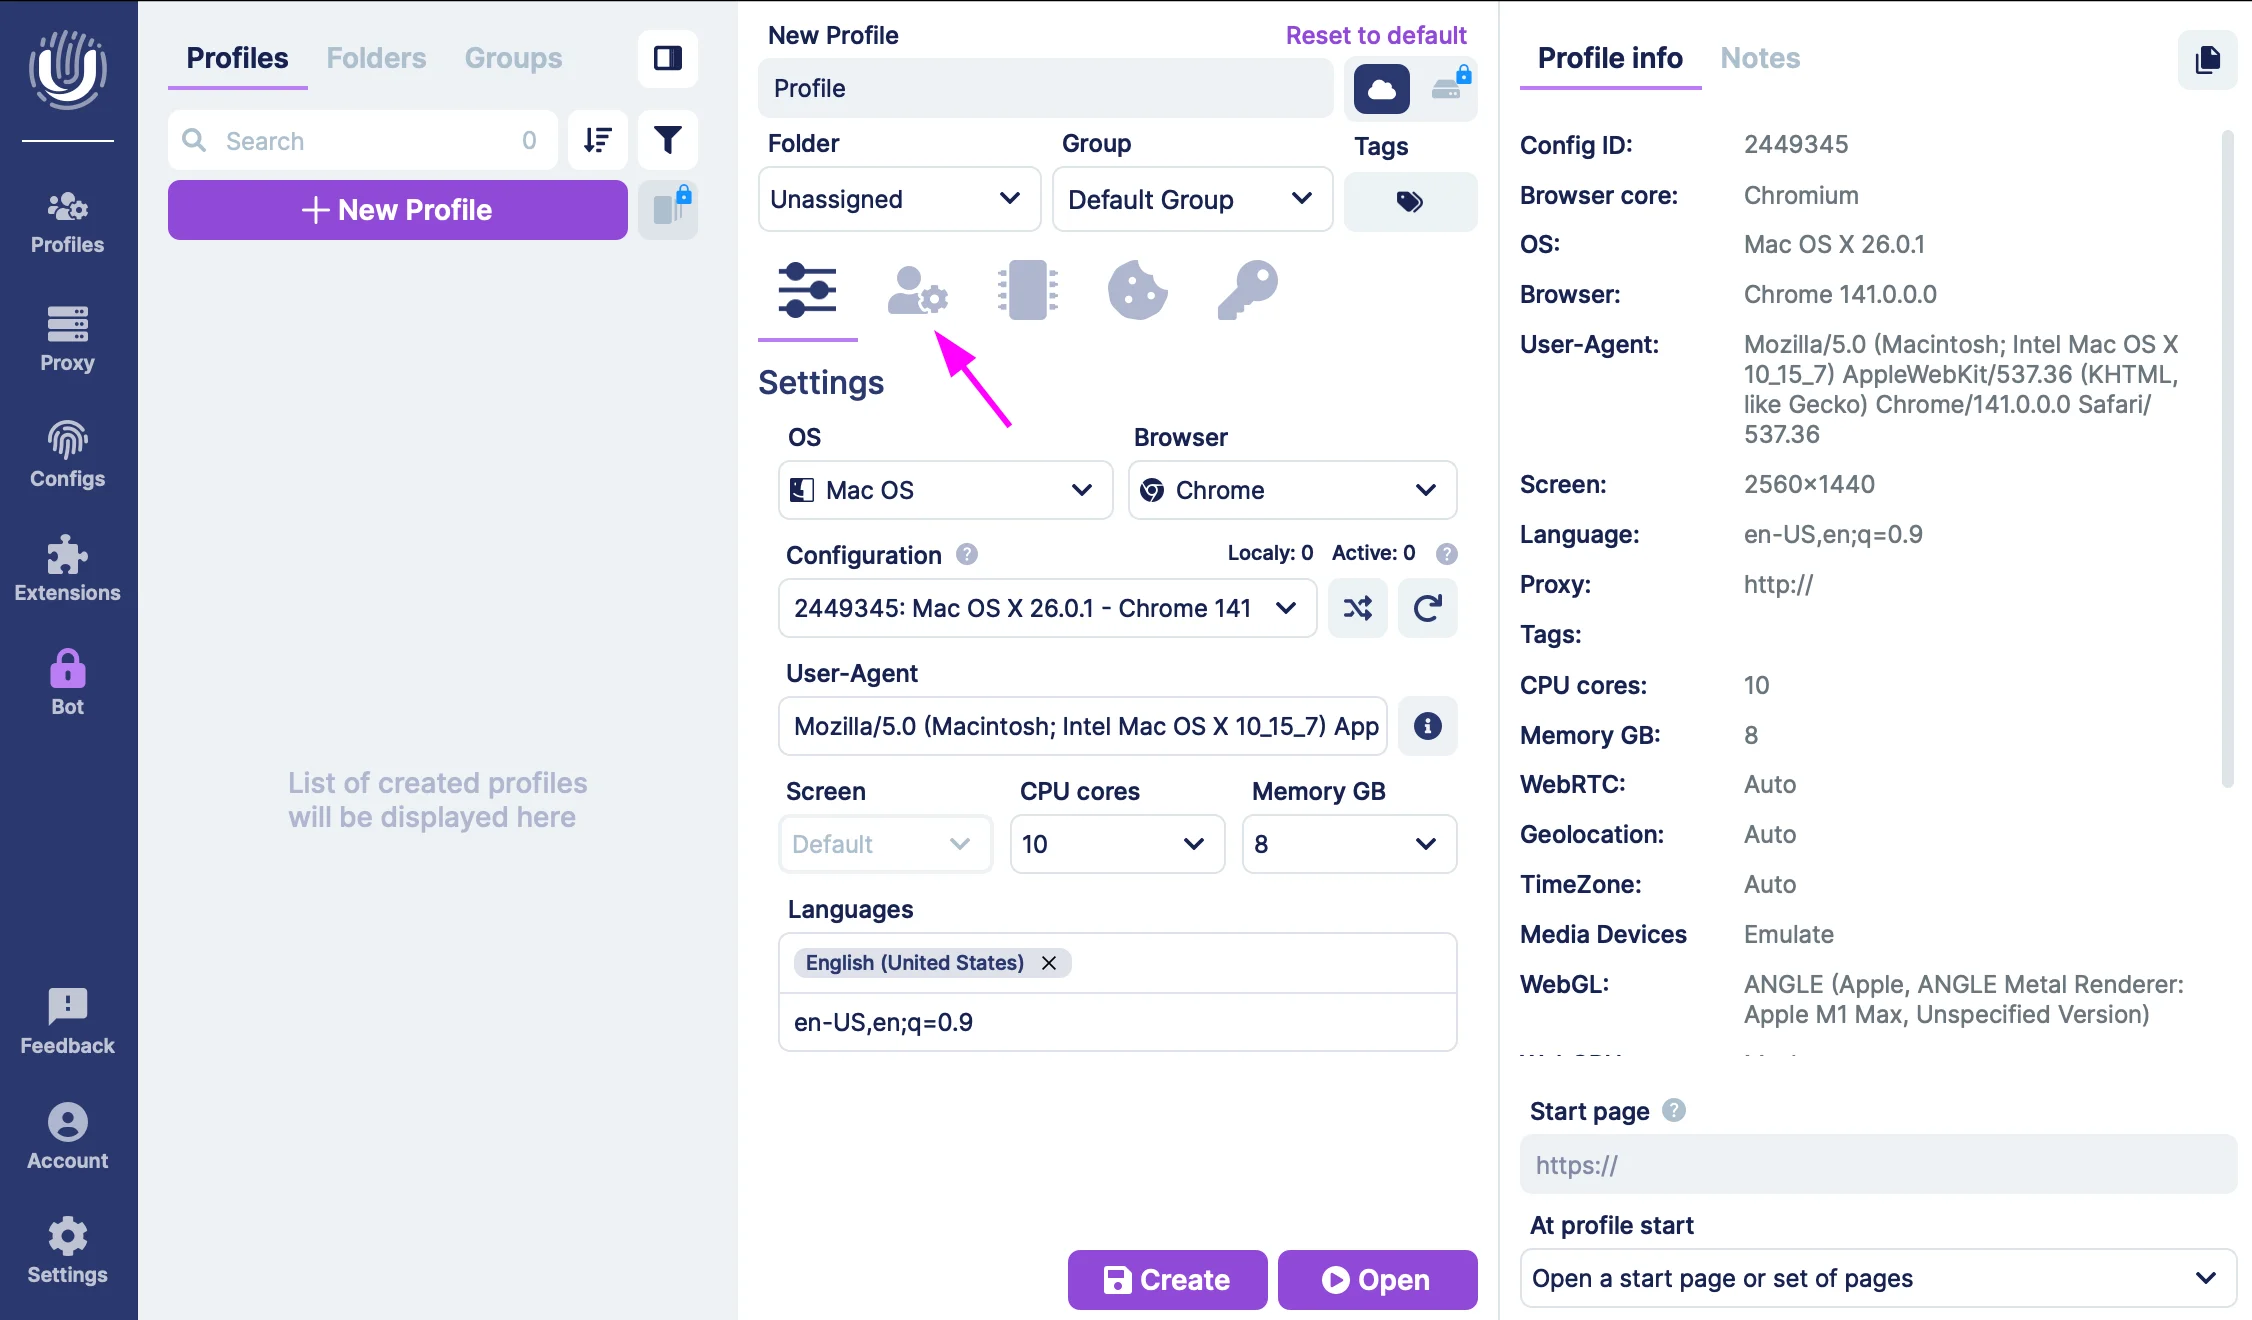
6. Then you’ll see an extended window with profile info and notes. You can name your profile, choose a folder and group. To configure a proxy, click on the second icon.
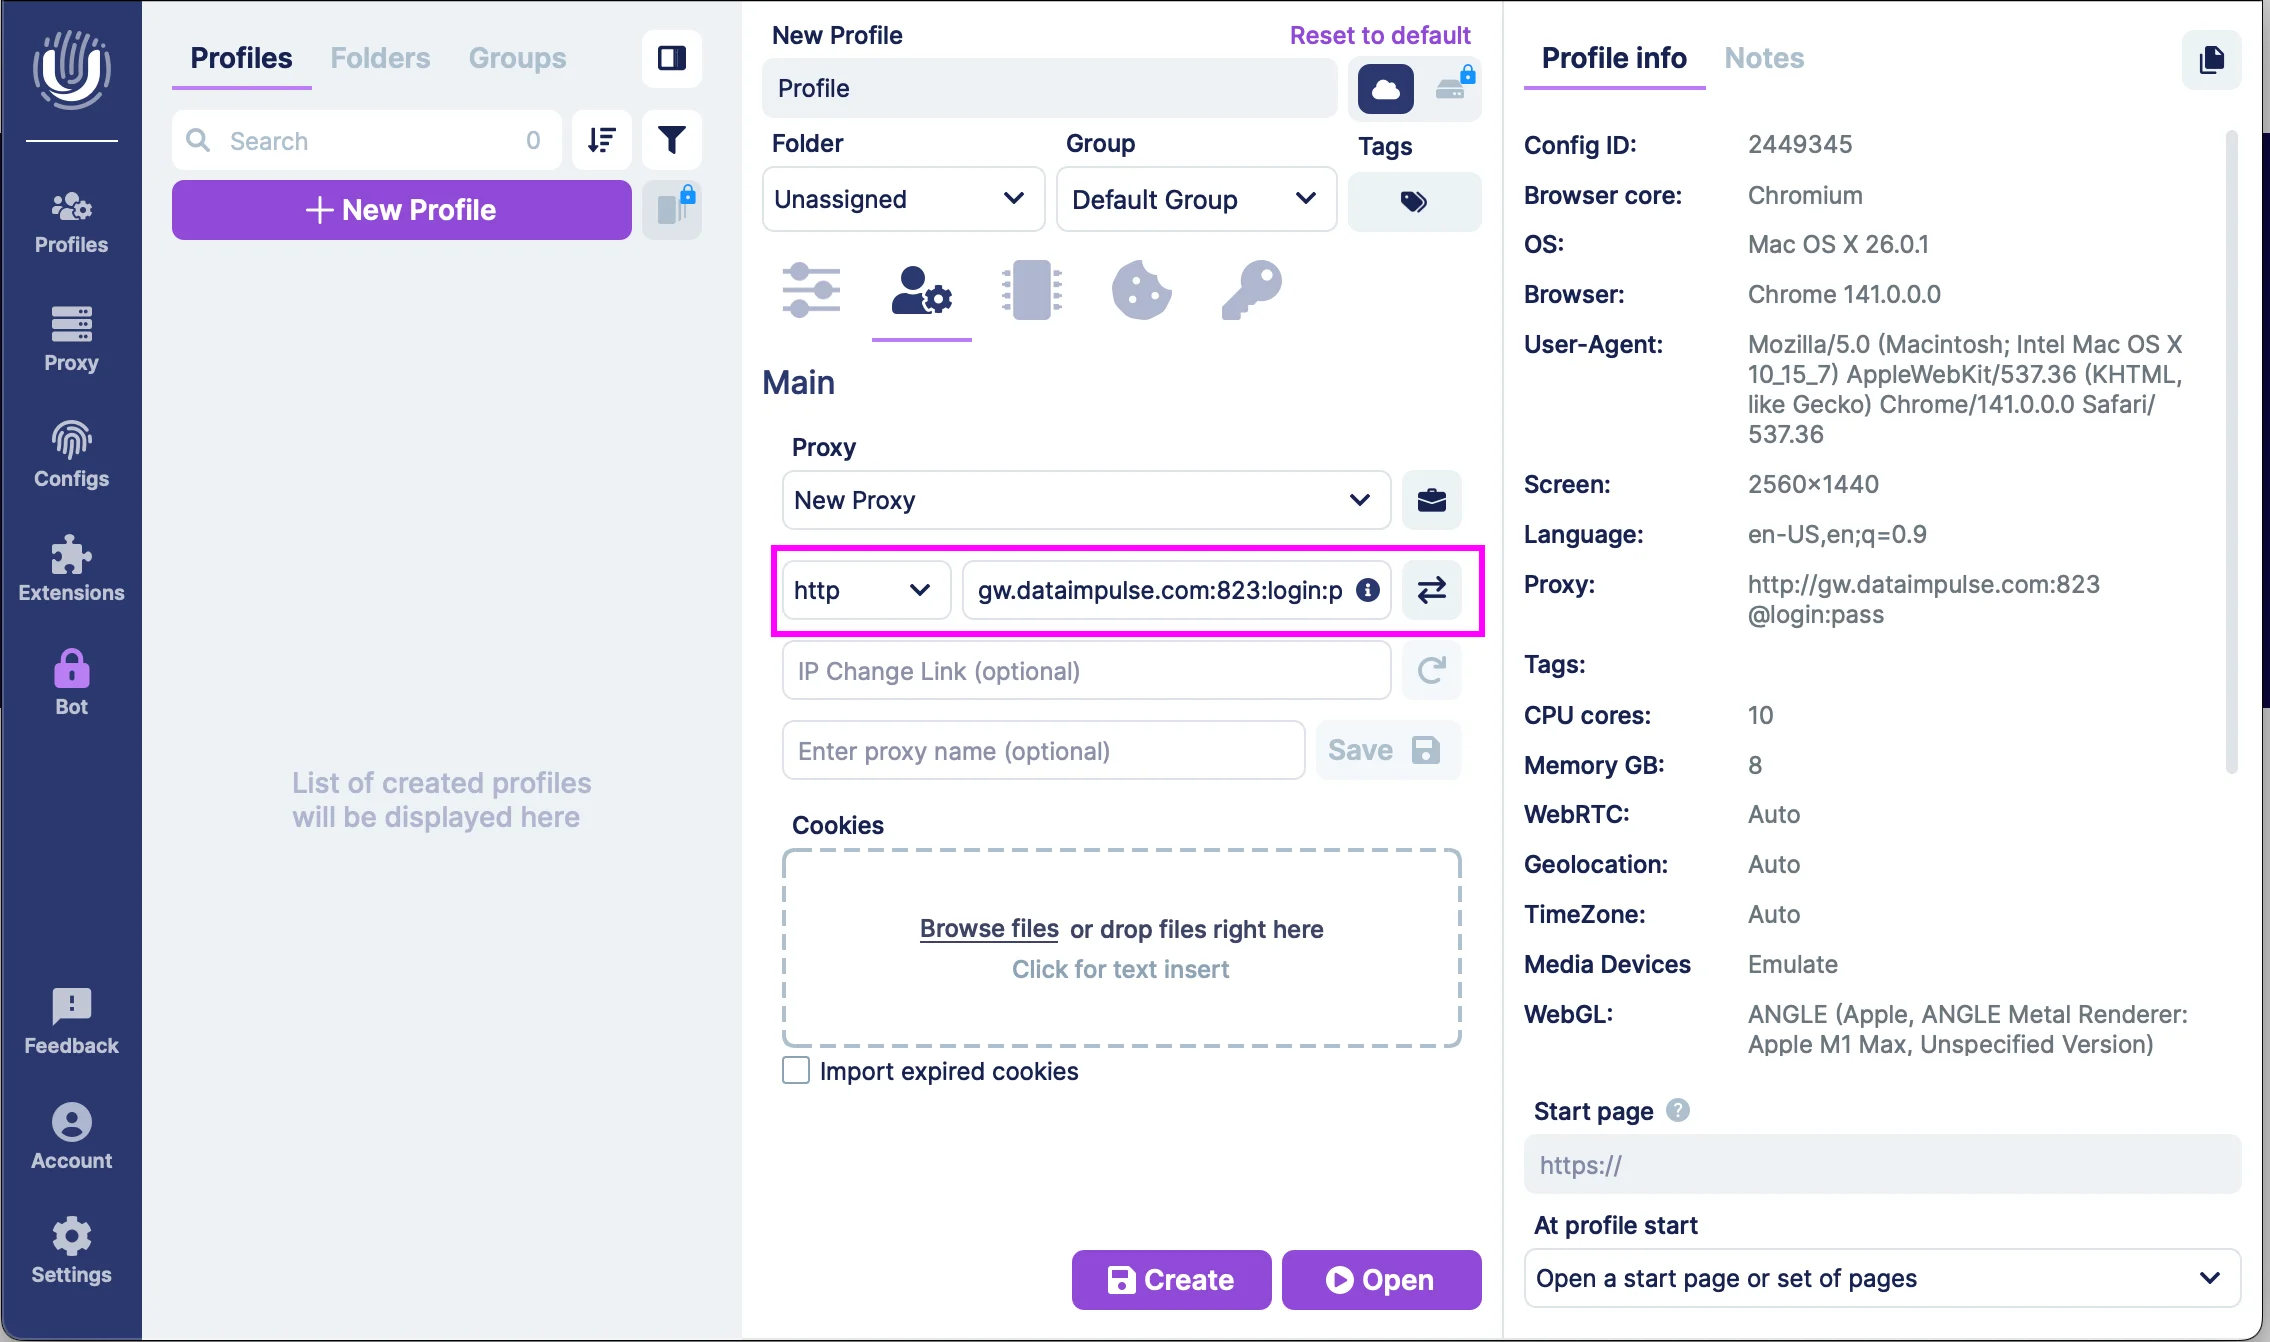
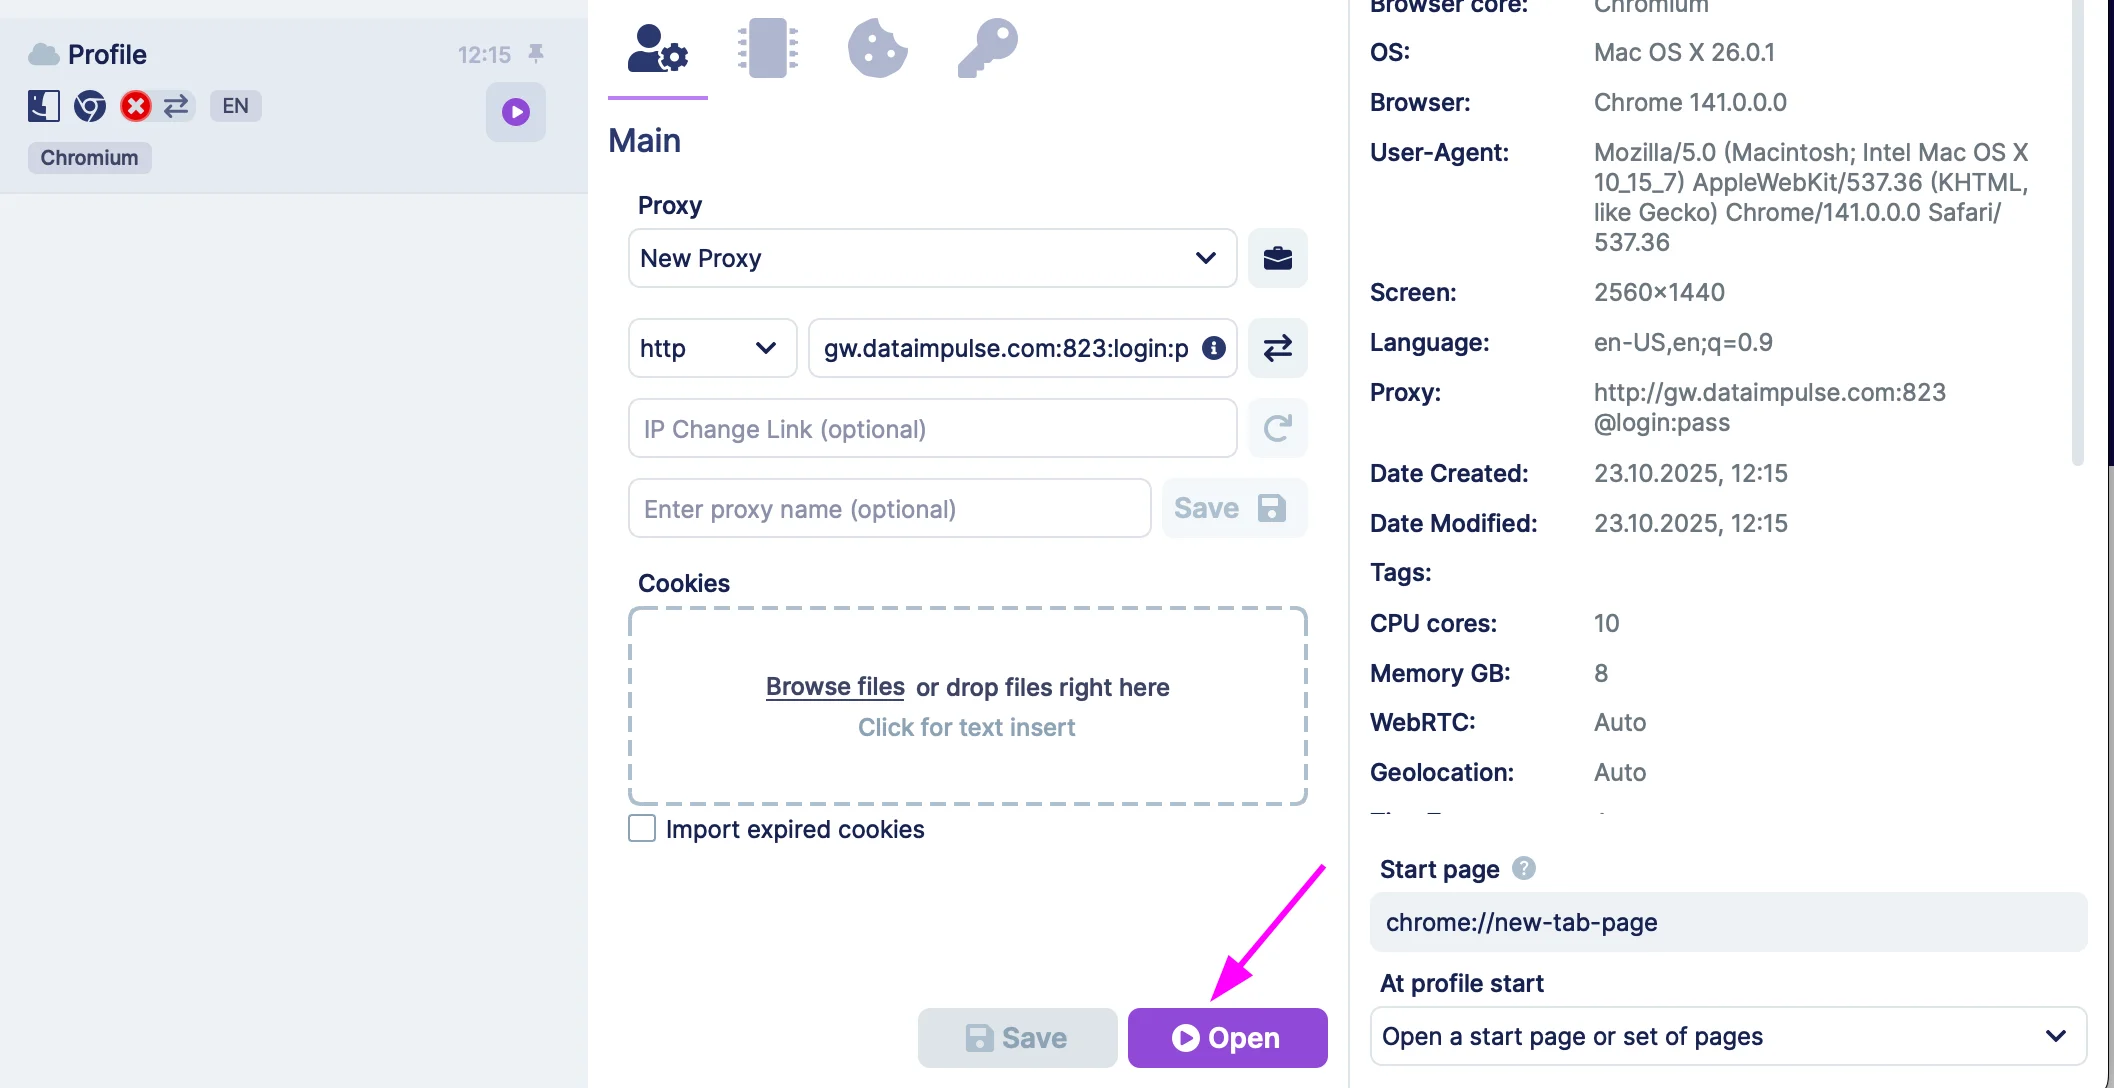
7. Fill in the proxy settings and your account info, including your DataImpulse user’s Username and Password. If you have whitelisted IPs, no need to enter login credentials.
Protocol: HTTP, or SOCKS5 (HTTP by default)
Proxies should be indicated in proxy format host:port:login:password:
* You need to check your proxy by clicking the adjacent button near your proxy access details. If everything works well, you’ll see the location.
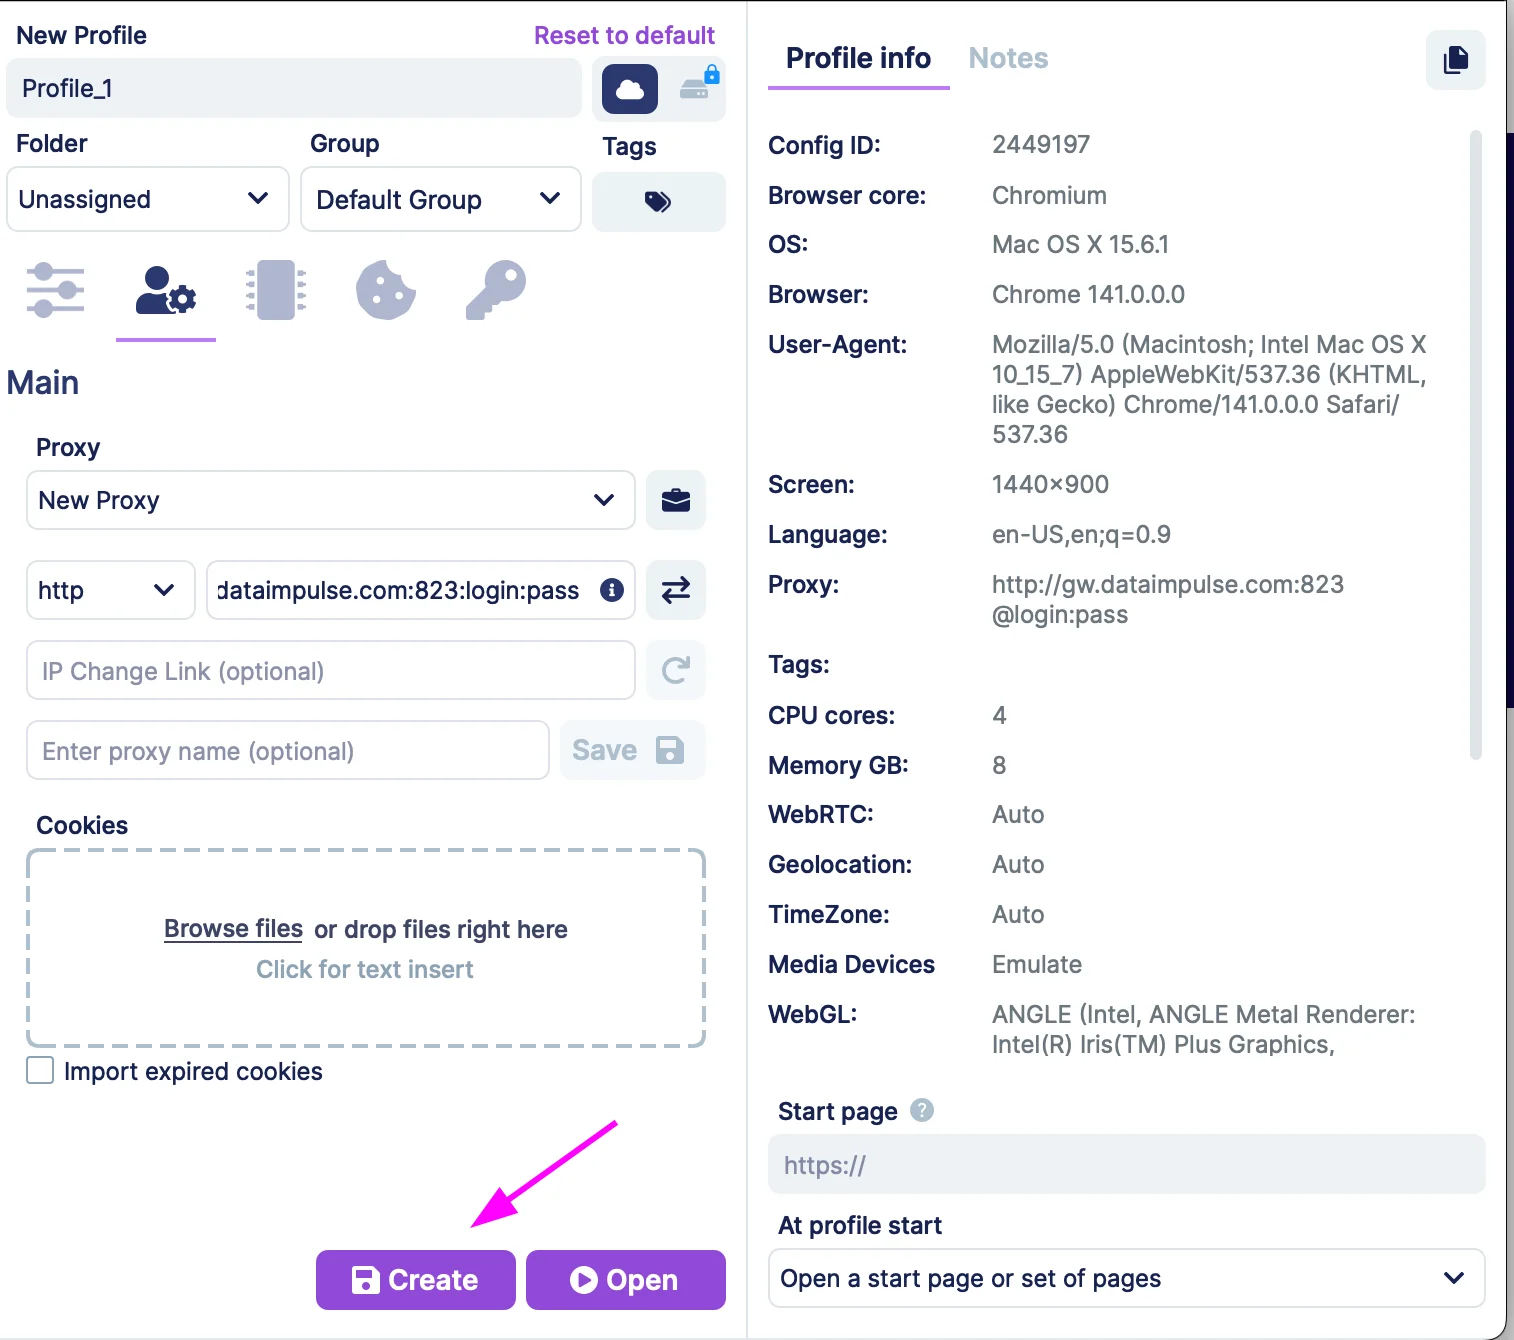
8. Click ‘Create’ button to create the profile.
9. Click ‘Open’ button to start using the anti-detect browser with proxies.
And there you have it! Use this tutorial to make sure you’ve followed each stage and installed everything correctly.
Proxies from DataImpulse
DataImpulse is one of the leading proxy providers for many reasons. Our vast pool of over five million IPs ensures that you have secure and dependable access to online content. The user-friendly dashboard simplifies managing your proxy settings. We offer premium proxy services that combine advanced technology with trustworthy performance.
With DataImpulse, you benefit from:
- 15+ million IPs in 194 locations
- Stable Connections
- 24/7 Expert Support
- Flexible Pay-as-you-go Pricing
- User-Friendly Dashboard

