Configuring Orion Browser to Work with DataImpulse Proxies
What is an Orion Browser?
Orion is a lightweight web browser built on WebKit, the same rendering engine used by Apple’s Safari, rather than Chromium. Developed by a specialized WebKit team, Orion combines Safari’s performance and energy efficiency with the flexibility of Chrome and Firefox extensions.
It includes built-in features like ad and tracking script blocking (covering 99.9% of all ads, including YouTube), Low Power Mode, Focus Mode, Vertical Tabs, Compatibility Mode, and tools for responsive design. Orion supports around 70% of Web Extension APIs and runs extensions from both Chrome and Firefox. Available on macOS and iOS, it offers Continuity support across Apple devices.
Some unique features of Orion Browser:
- Focus Mode to completely remove toolbars;
- Low Power Mode extends your battery life;
- Vertical/tree-style tabs;
- Built-in ad blockers;
- Speedy web browsing;
- Easy sync across all devices;
- Zero telemetry browser;
- Top energy efficiency and much more!
However, there are still areas where Orion can improve. It’s available only on macOS and iOS. Some users report lower website compatibility compared to Chromium-based browsers, as well as occasional random bugs. While Orion supports Chrome and Firefox extensions, not all of them work perfectly due to incomplete Web Extensions API support. Additionally, some users find the UI less intuitive or polished than other mainstream browsers. It’s also worth noting that Orion is still in beta.
Orion browser vs Other browsers
Compared to other browsers, Orion stands out for its lightweight and efficient performance. It takes up just 650MB of disk space, significantly less than browsers like Microsoft Edge, which require around 1.7GB.
Orion is faster and more resource-efficient than Edge, while being only slightly slower than Safari. However, it offers greater customization, more built-in functionalities, and full support for third-party extensions, something Safari lacks.
Adding DataImpulse Proxies to Orion Browser
Orion offers speed and simplicity, but did you know you can use it with custom proxies too? Here’s how.
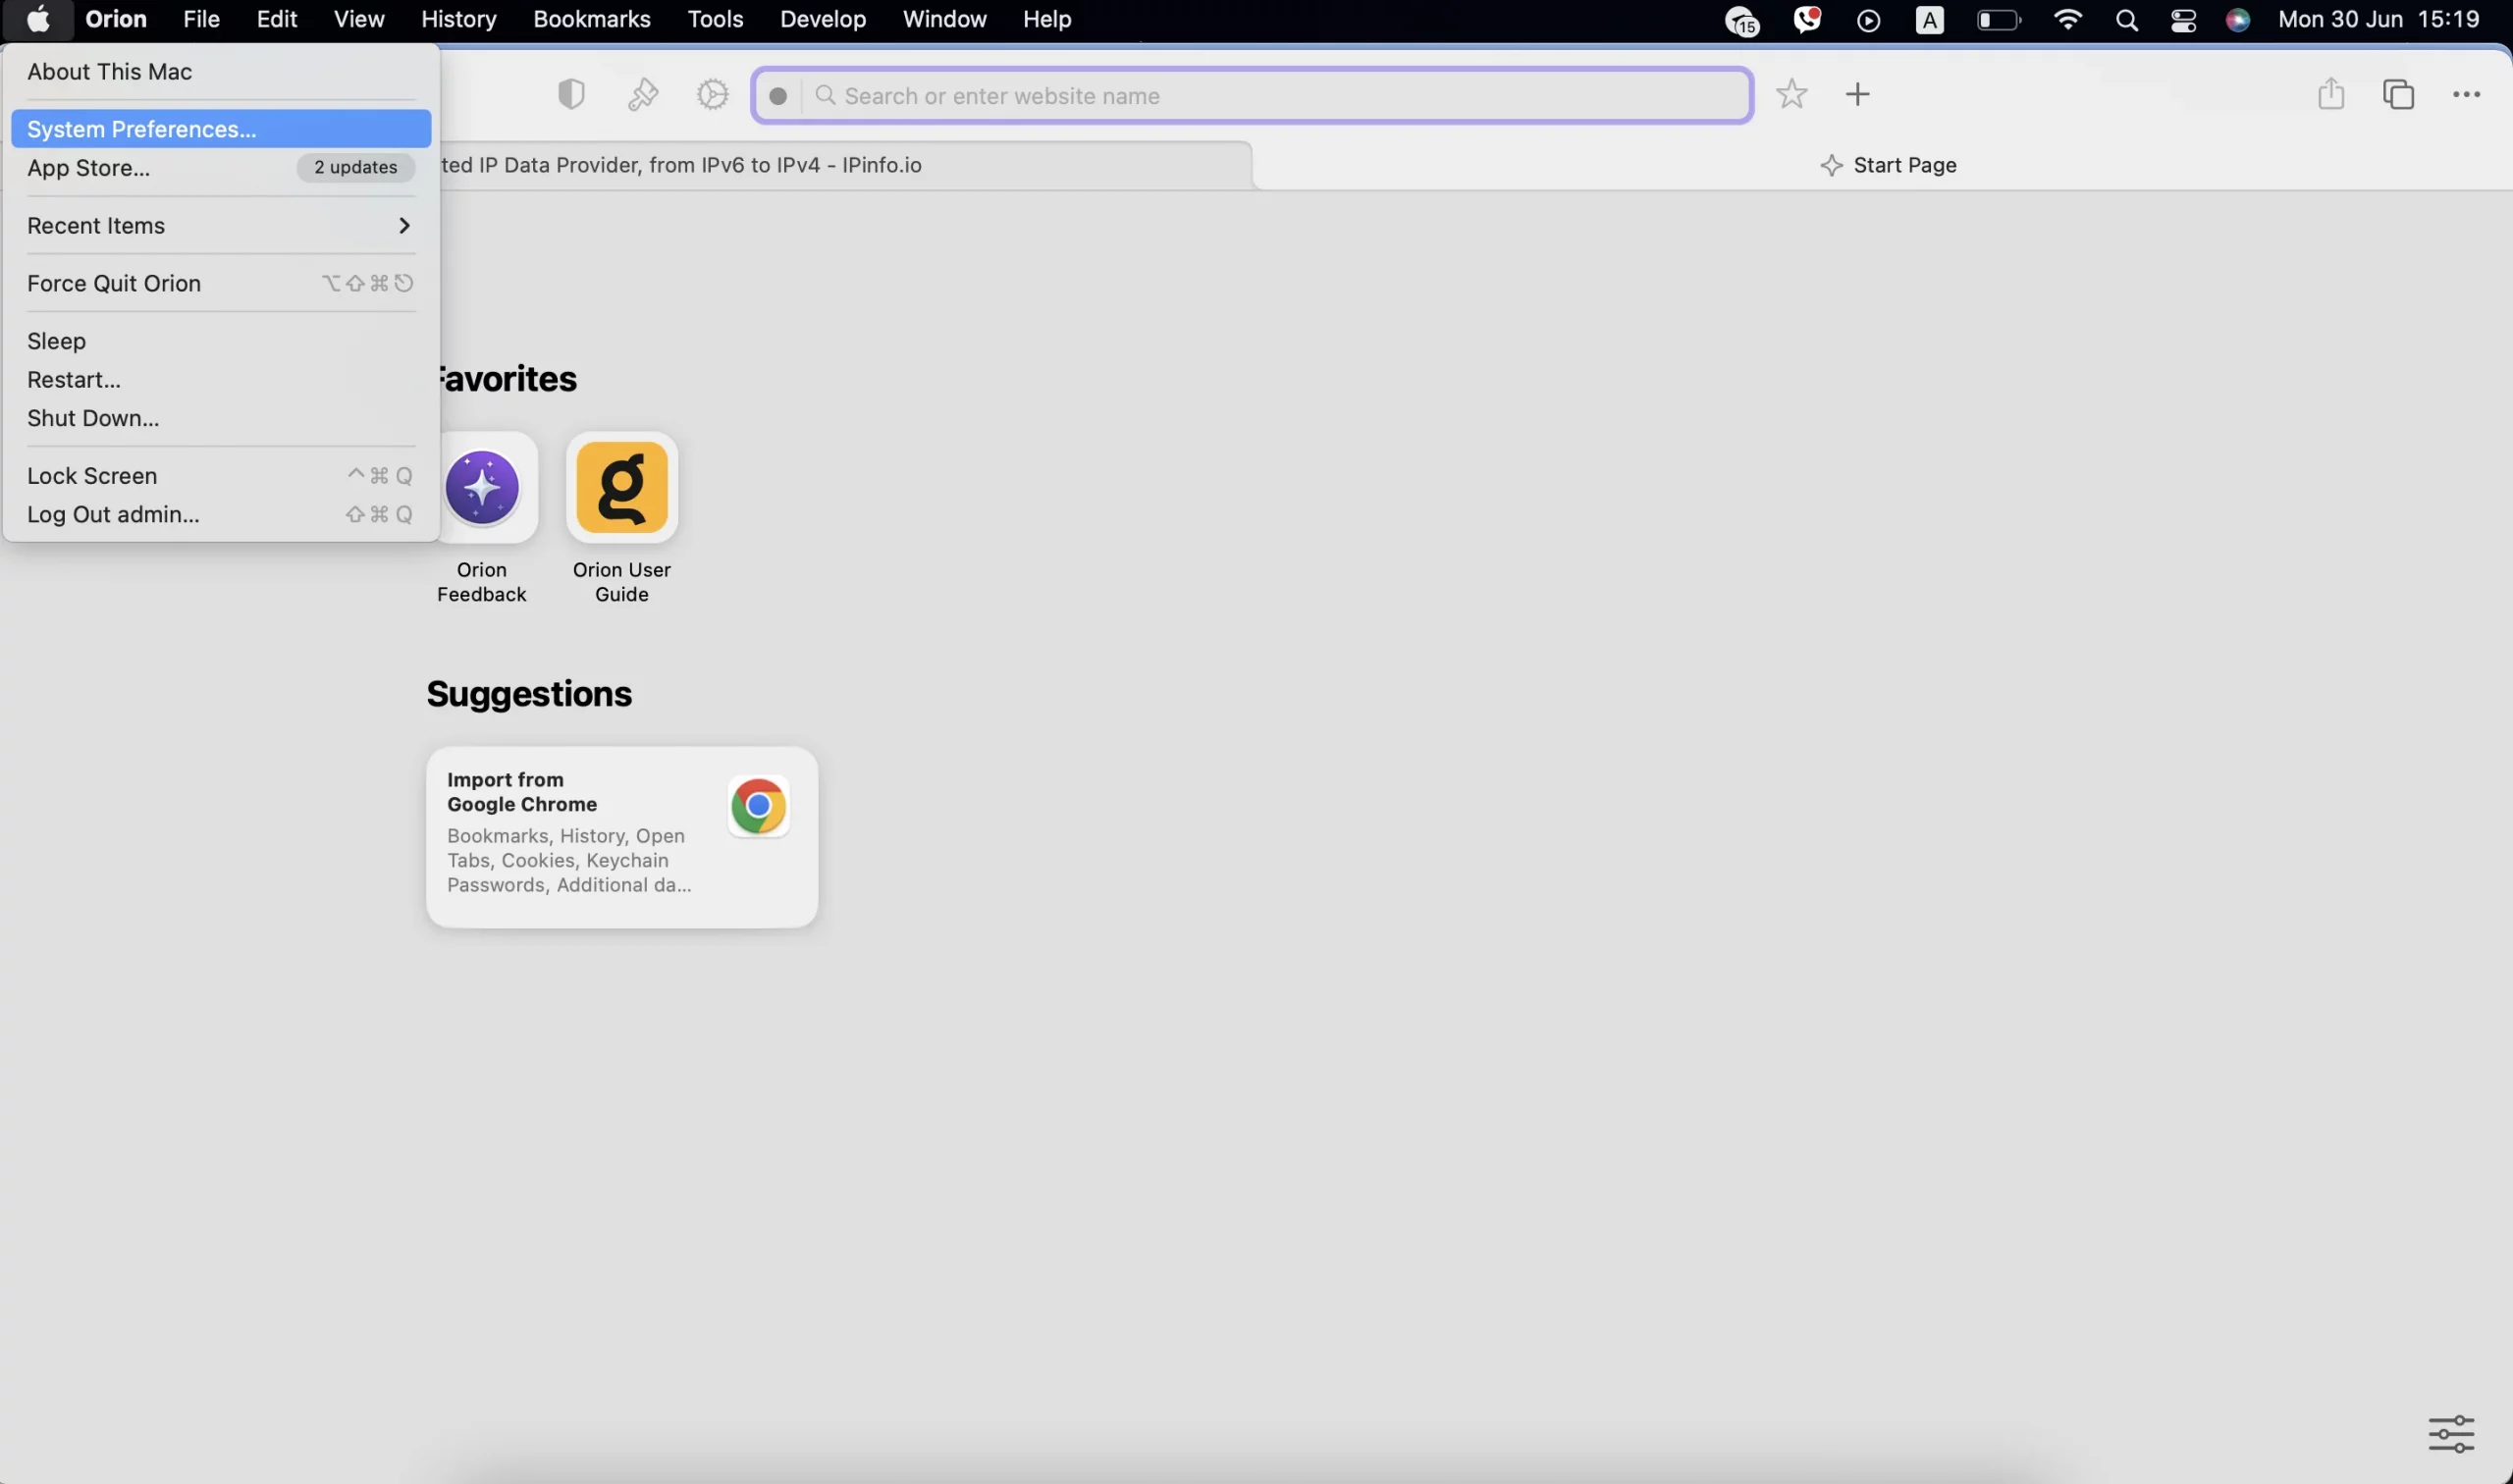
1. Firstly, download Orion from the official website. We’re using macOS (M1-series) in this tutorial.
2. Then, open System Settings on your computer. Click the Apple logo and System Settings (or “System Preferences” on older macOS versions).
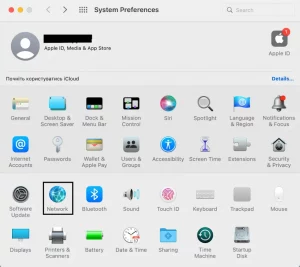
3. In the sidebar, click Network, then select your active connection (Wi-Fi or Ethernet).
4. Click on Details / Advanced.
* For macOS Ventura and later: Click Details
For earlier versions: Click Advanced…
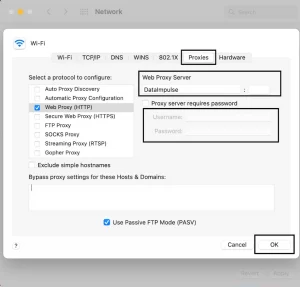
5. Navigate to the Proxies Tab and choose your Proxy Type. Check the box for HTTP/HTTPS/SOCKS Proxy.
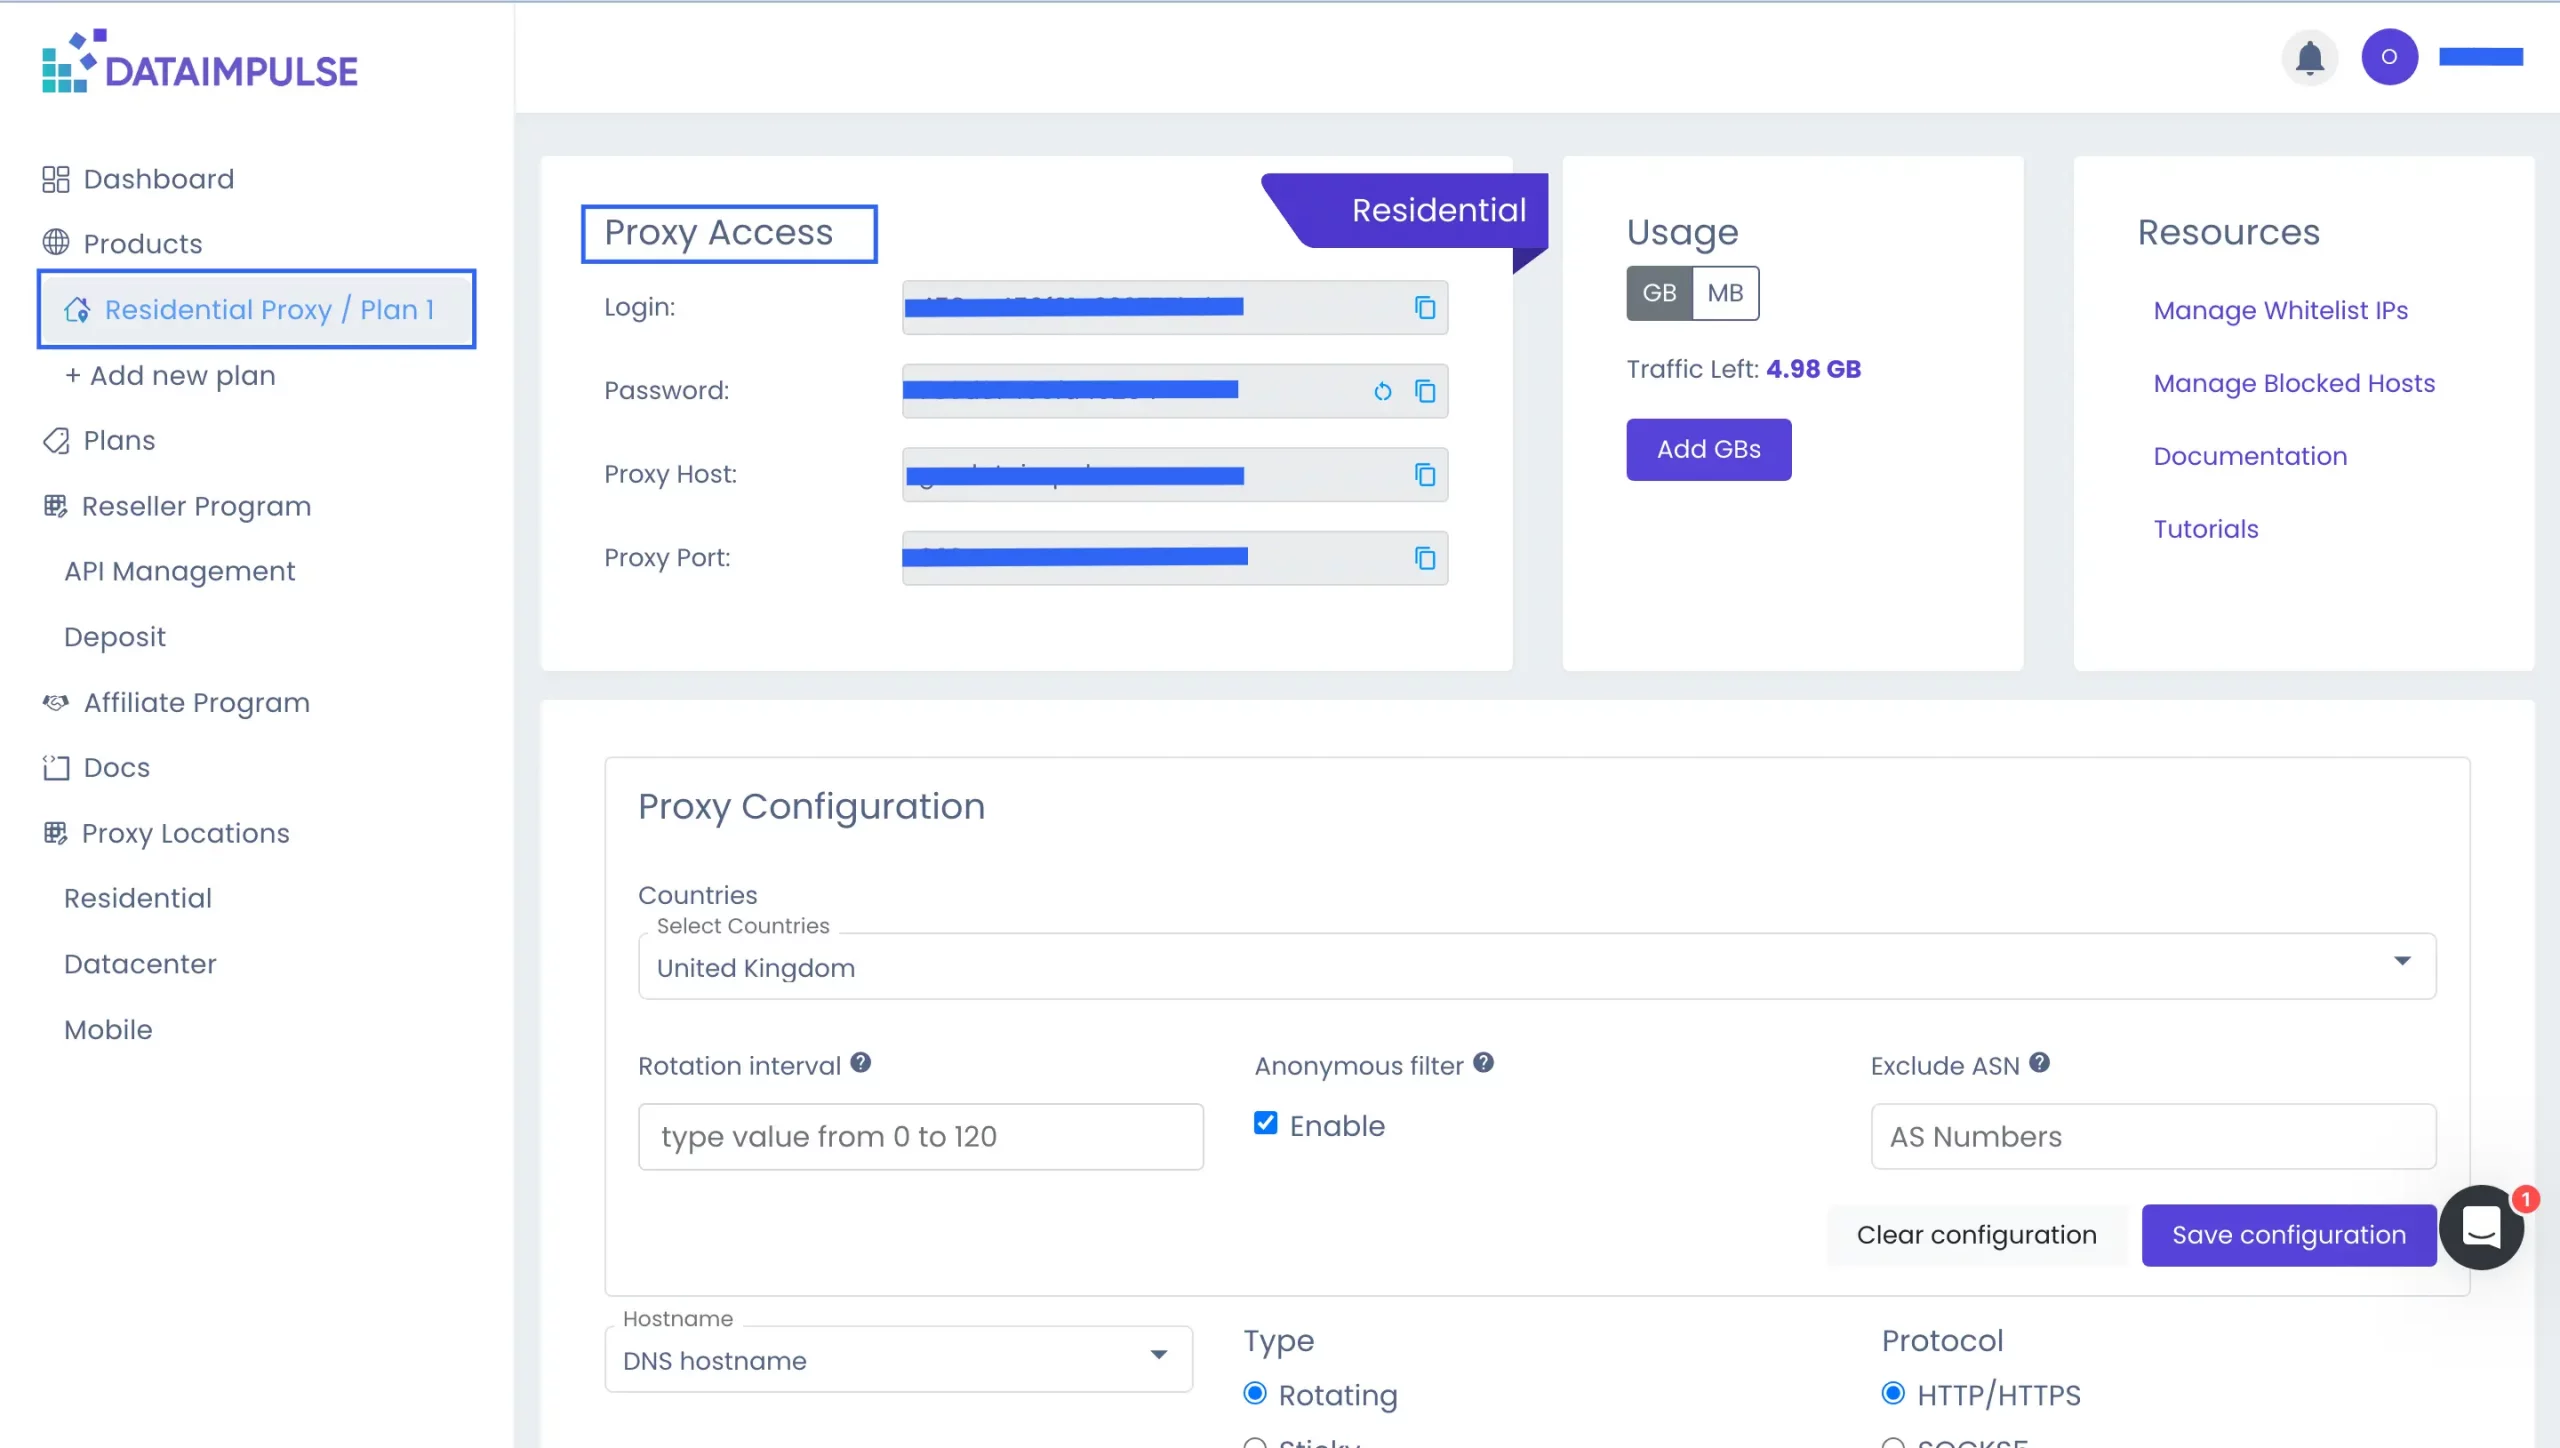
6. Under Web Proxy Server, enter DataImpulse proxy credentials, such as proxy host and port. If necessary, add username (proxy login) and password.
* All the info can be found on your DataImpulse dashboard under the chosen plan.
Not sure where to find your credentials? Check your DataImpulse dashboard or reach out to customer support for help.
7. Click OK and Apply. This will route all browser traffic, including Orion, through your proxy.
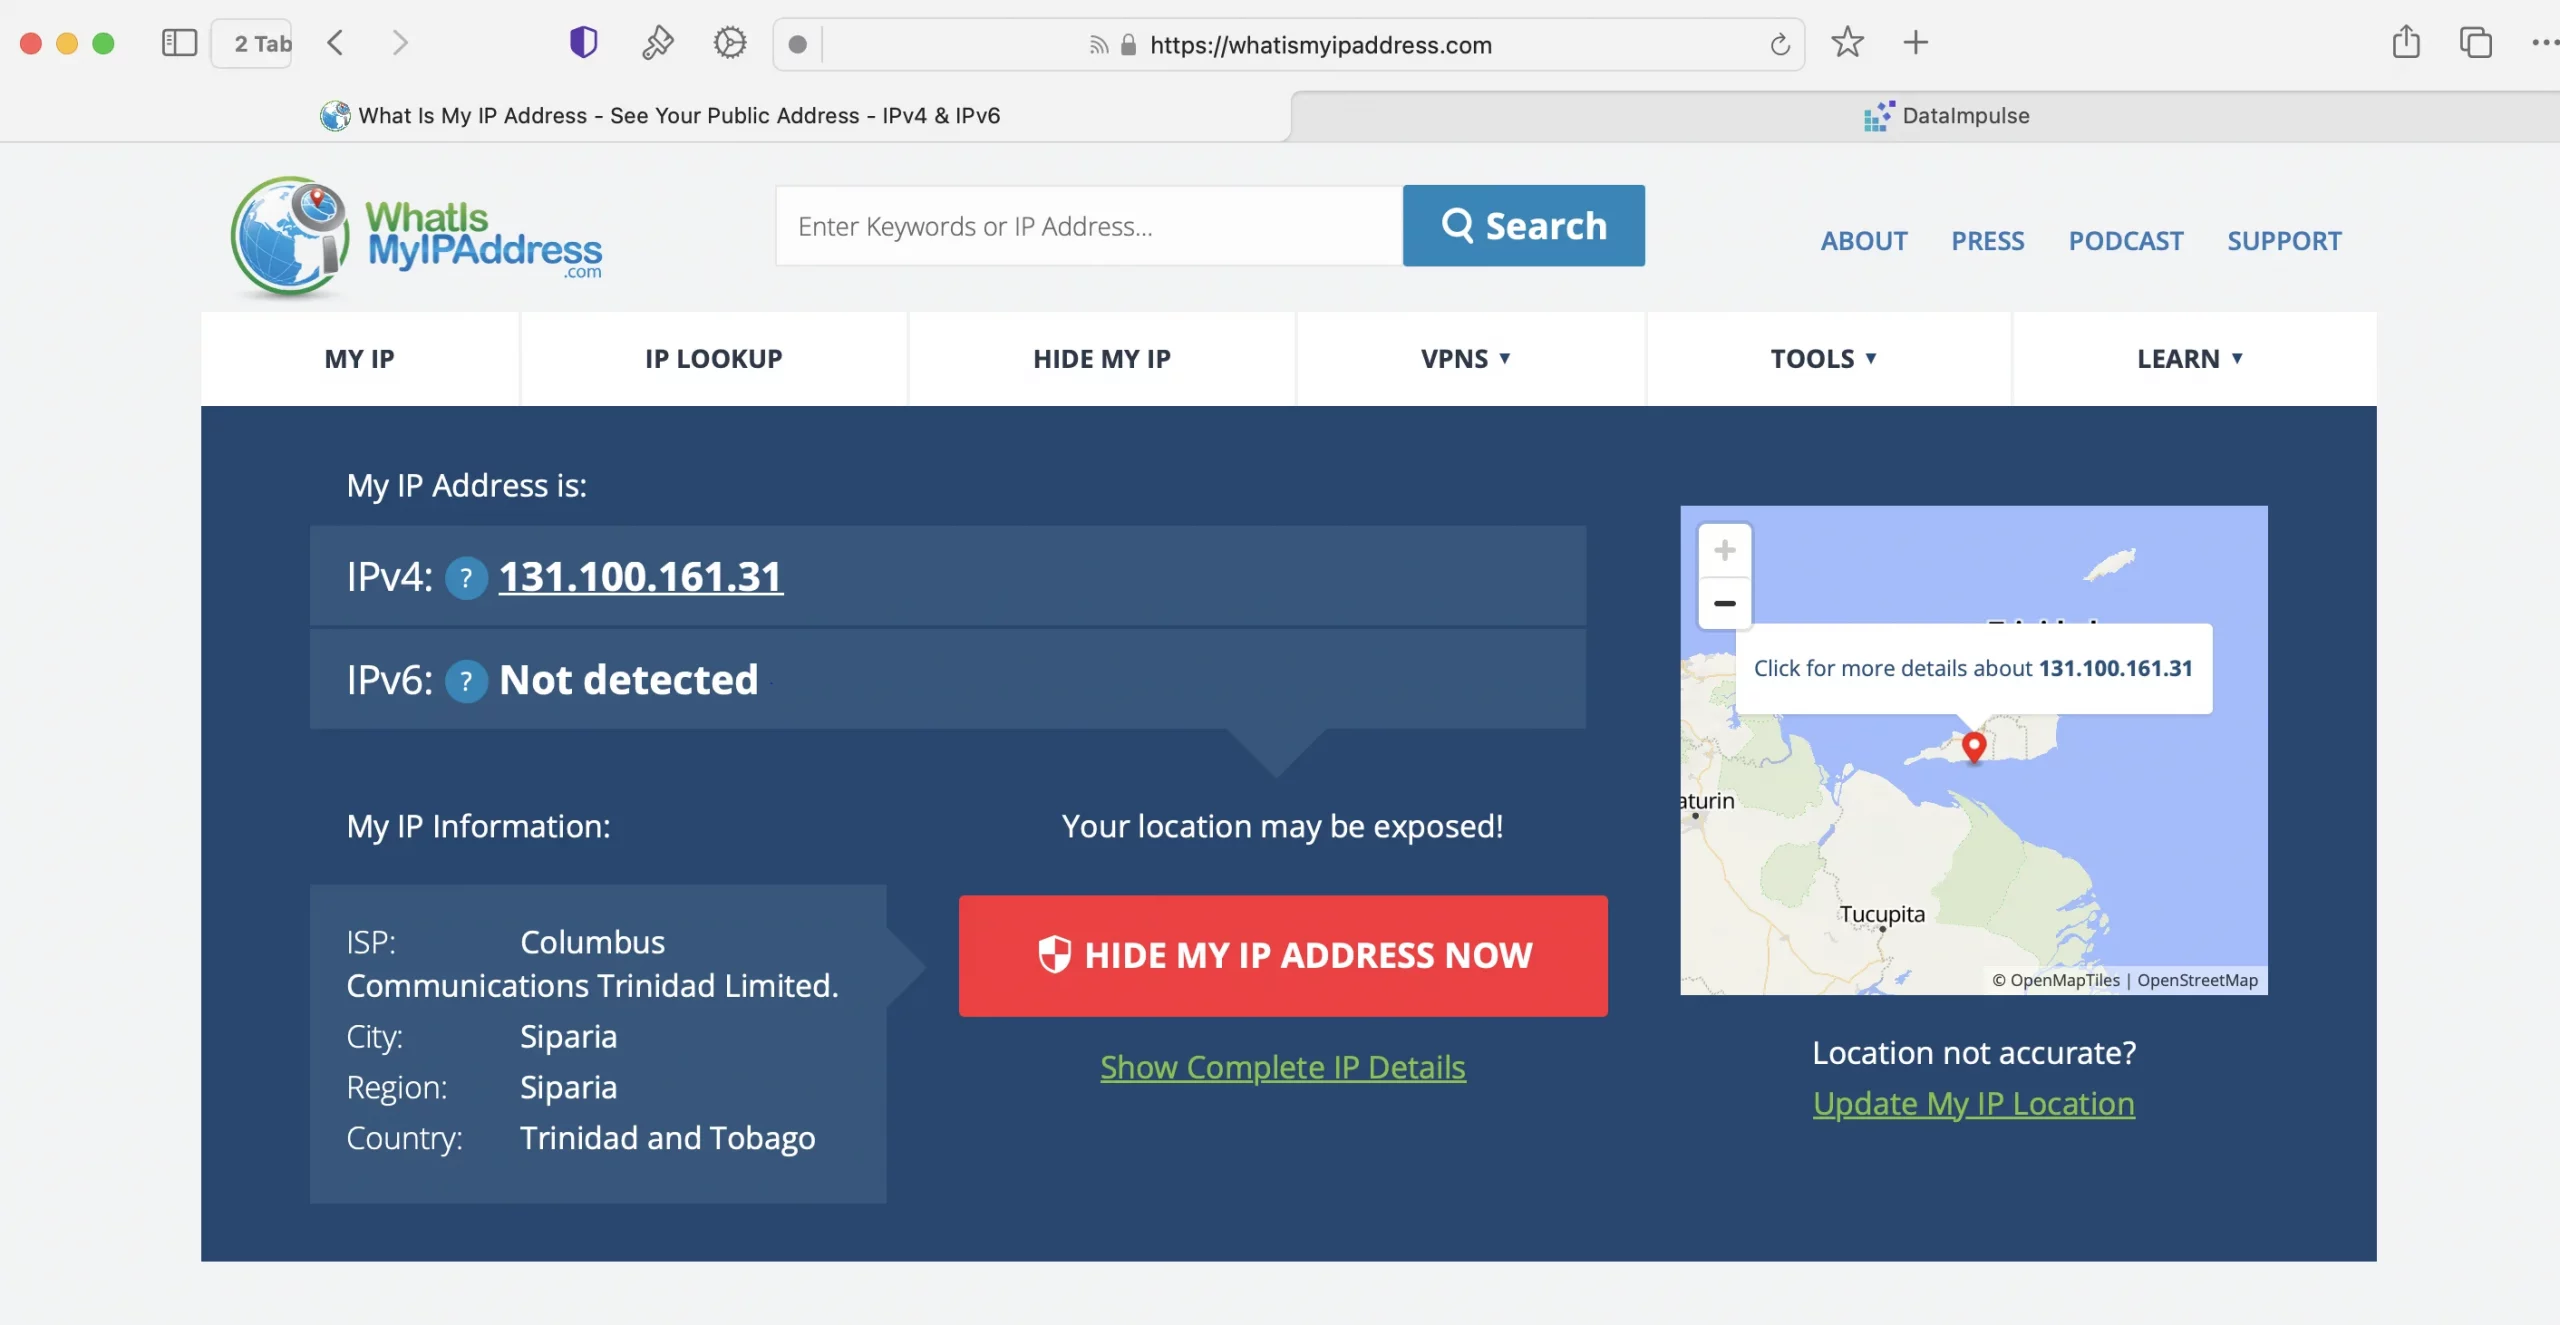
8. And finally, you can test it. Open https://whatismyipaddress.com in Orion to confirm that your IP has changed.
How to Turn Off Proxies in Orion Browser
Just follow these simple steps:
Apple Menu → System Settings (or System Preferences) → Network → Select Wi-Fi or Ethernet → Details… (or Advanced…) → Proxies tab → Uncheck all enabled proxies (e.g., HTTP, HTTPS) → OK → Apply.

