Beginner’s Guide to Setting Up DataImpulse Proxies in MASQ Browser
What is the MASQ browser?
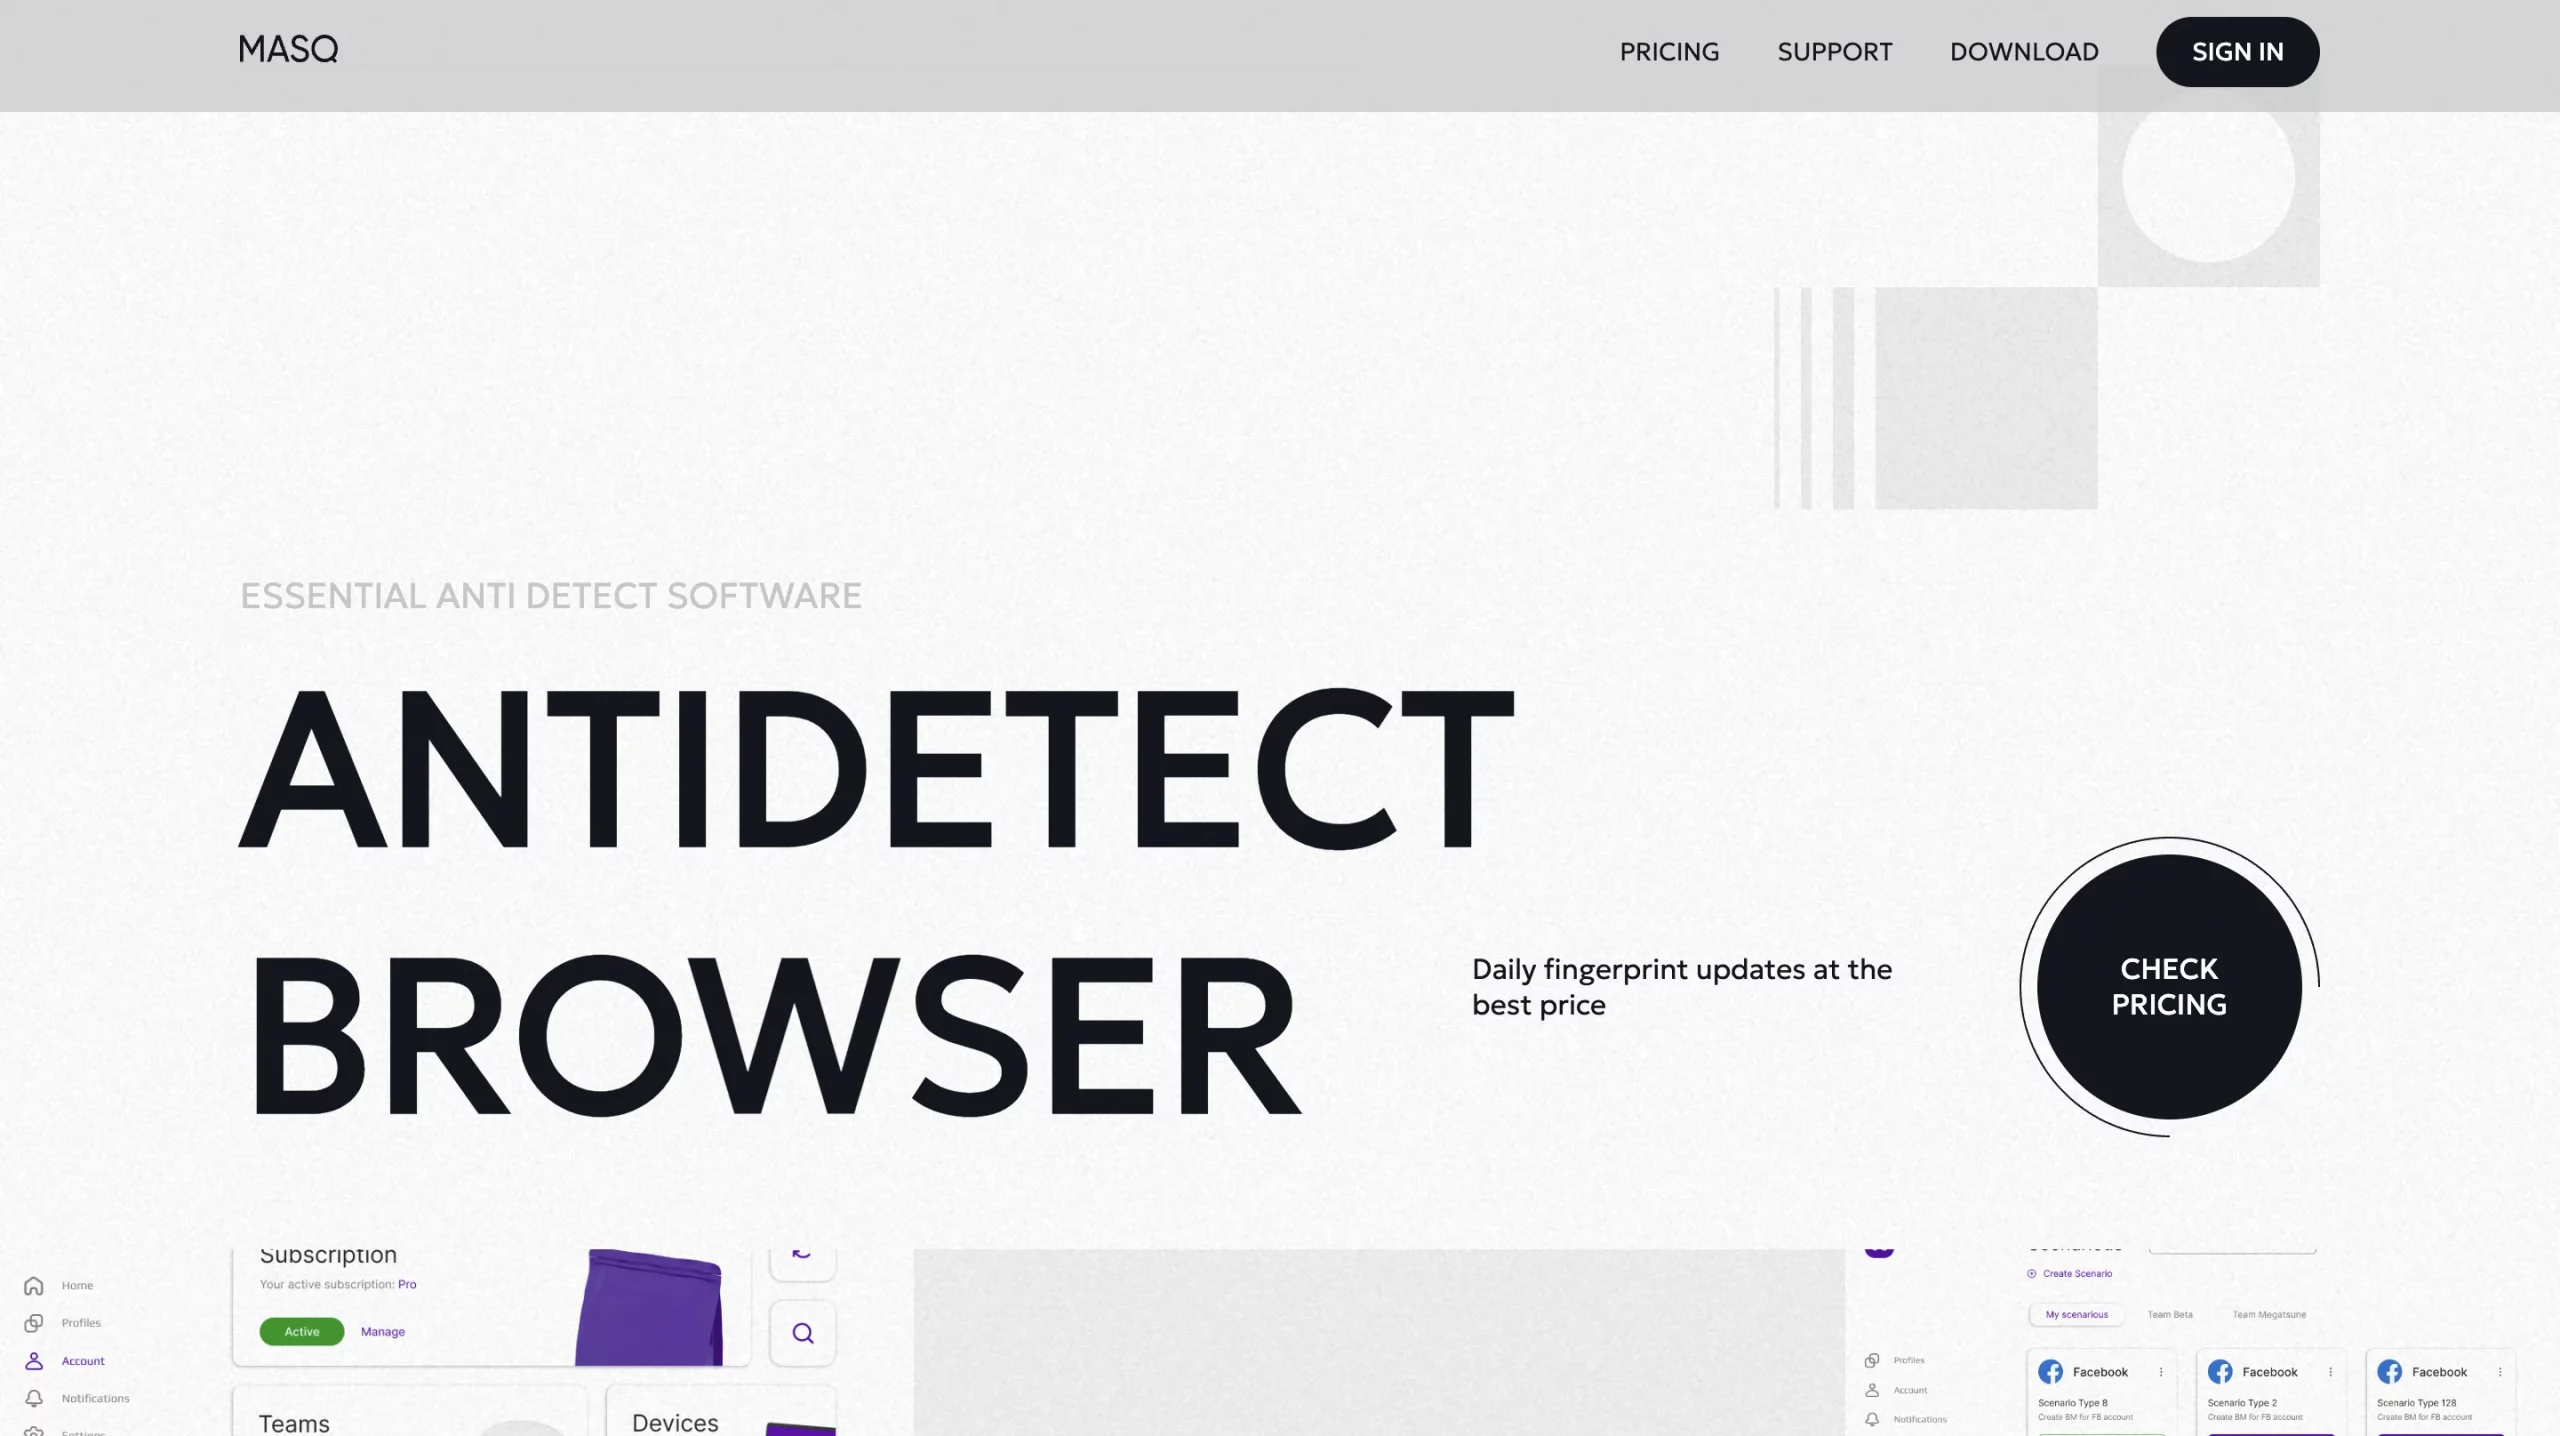
Based on the core of Mozilla Firefox, MASQ, or Masqad browser is an anti-detect program for multi-accounting, privacy protection, and circumventing anti-fraud systems. By generating unique web profiles and modifying digital fingerprints, this browser also reduces Captchas. MASQ is powered by a huge database of more than 5 million real user fingerprints from actual devices, in contrast to standard browsers. Because of this, it can replicate real browsing behavior on a variety of platforms, such as PCs, smartphones, tablets, smart TVs, and even game consoles.
The macro automation system of MASQ is another noteworthy feature. Even users with no coding experience can write basic scripts (macros) to automate repetitive tasks like data collection, form filling, posting comments, logins, and site navigation. Automation is made possible by the user-friendly drag-and-drop interface, and macros can be reused throughout the program and shared with team members.
In addition, MASQ integrates the MASQSHIELD security layer, ensuring advanced protection and extensive customization options (including Ubuntu, SUSE, and more).
Main features and benefits of the MASQ browser include:
- Fingerprint database (5M+): realistic device/browser identities
- MASQSHIELD security layer: extra protection & anonymity
- Greater flexibility on platforms like Facebook, Google, and TikTok
- Multi-profile management: run unlimited accounts with no flags
- Macro automation and sharing: automate logins, forms, navigation
- User-friendly interface: simple setup, easy profile control
- E-commerce & bonus hunting: manage storefronts, exchanges, bookmakers
- Account farming & sneaker botting: safe scaling for high-volume ops
- Free plan: up to 5 profiles at no cost
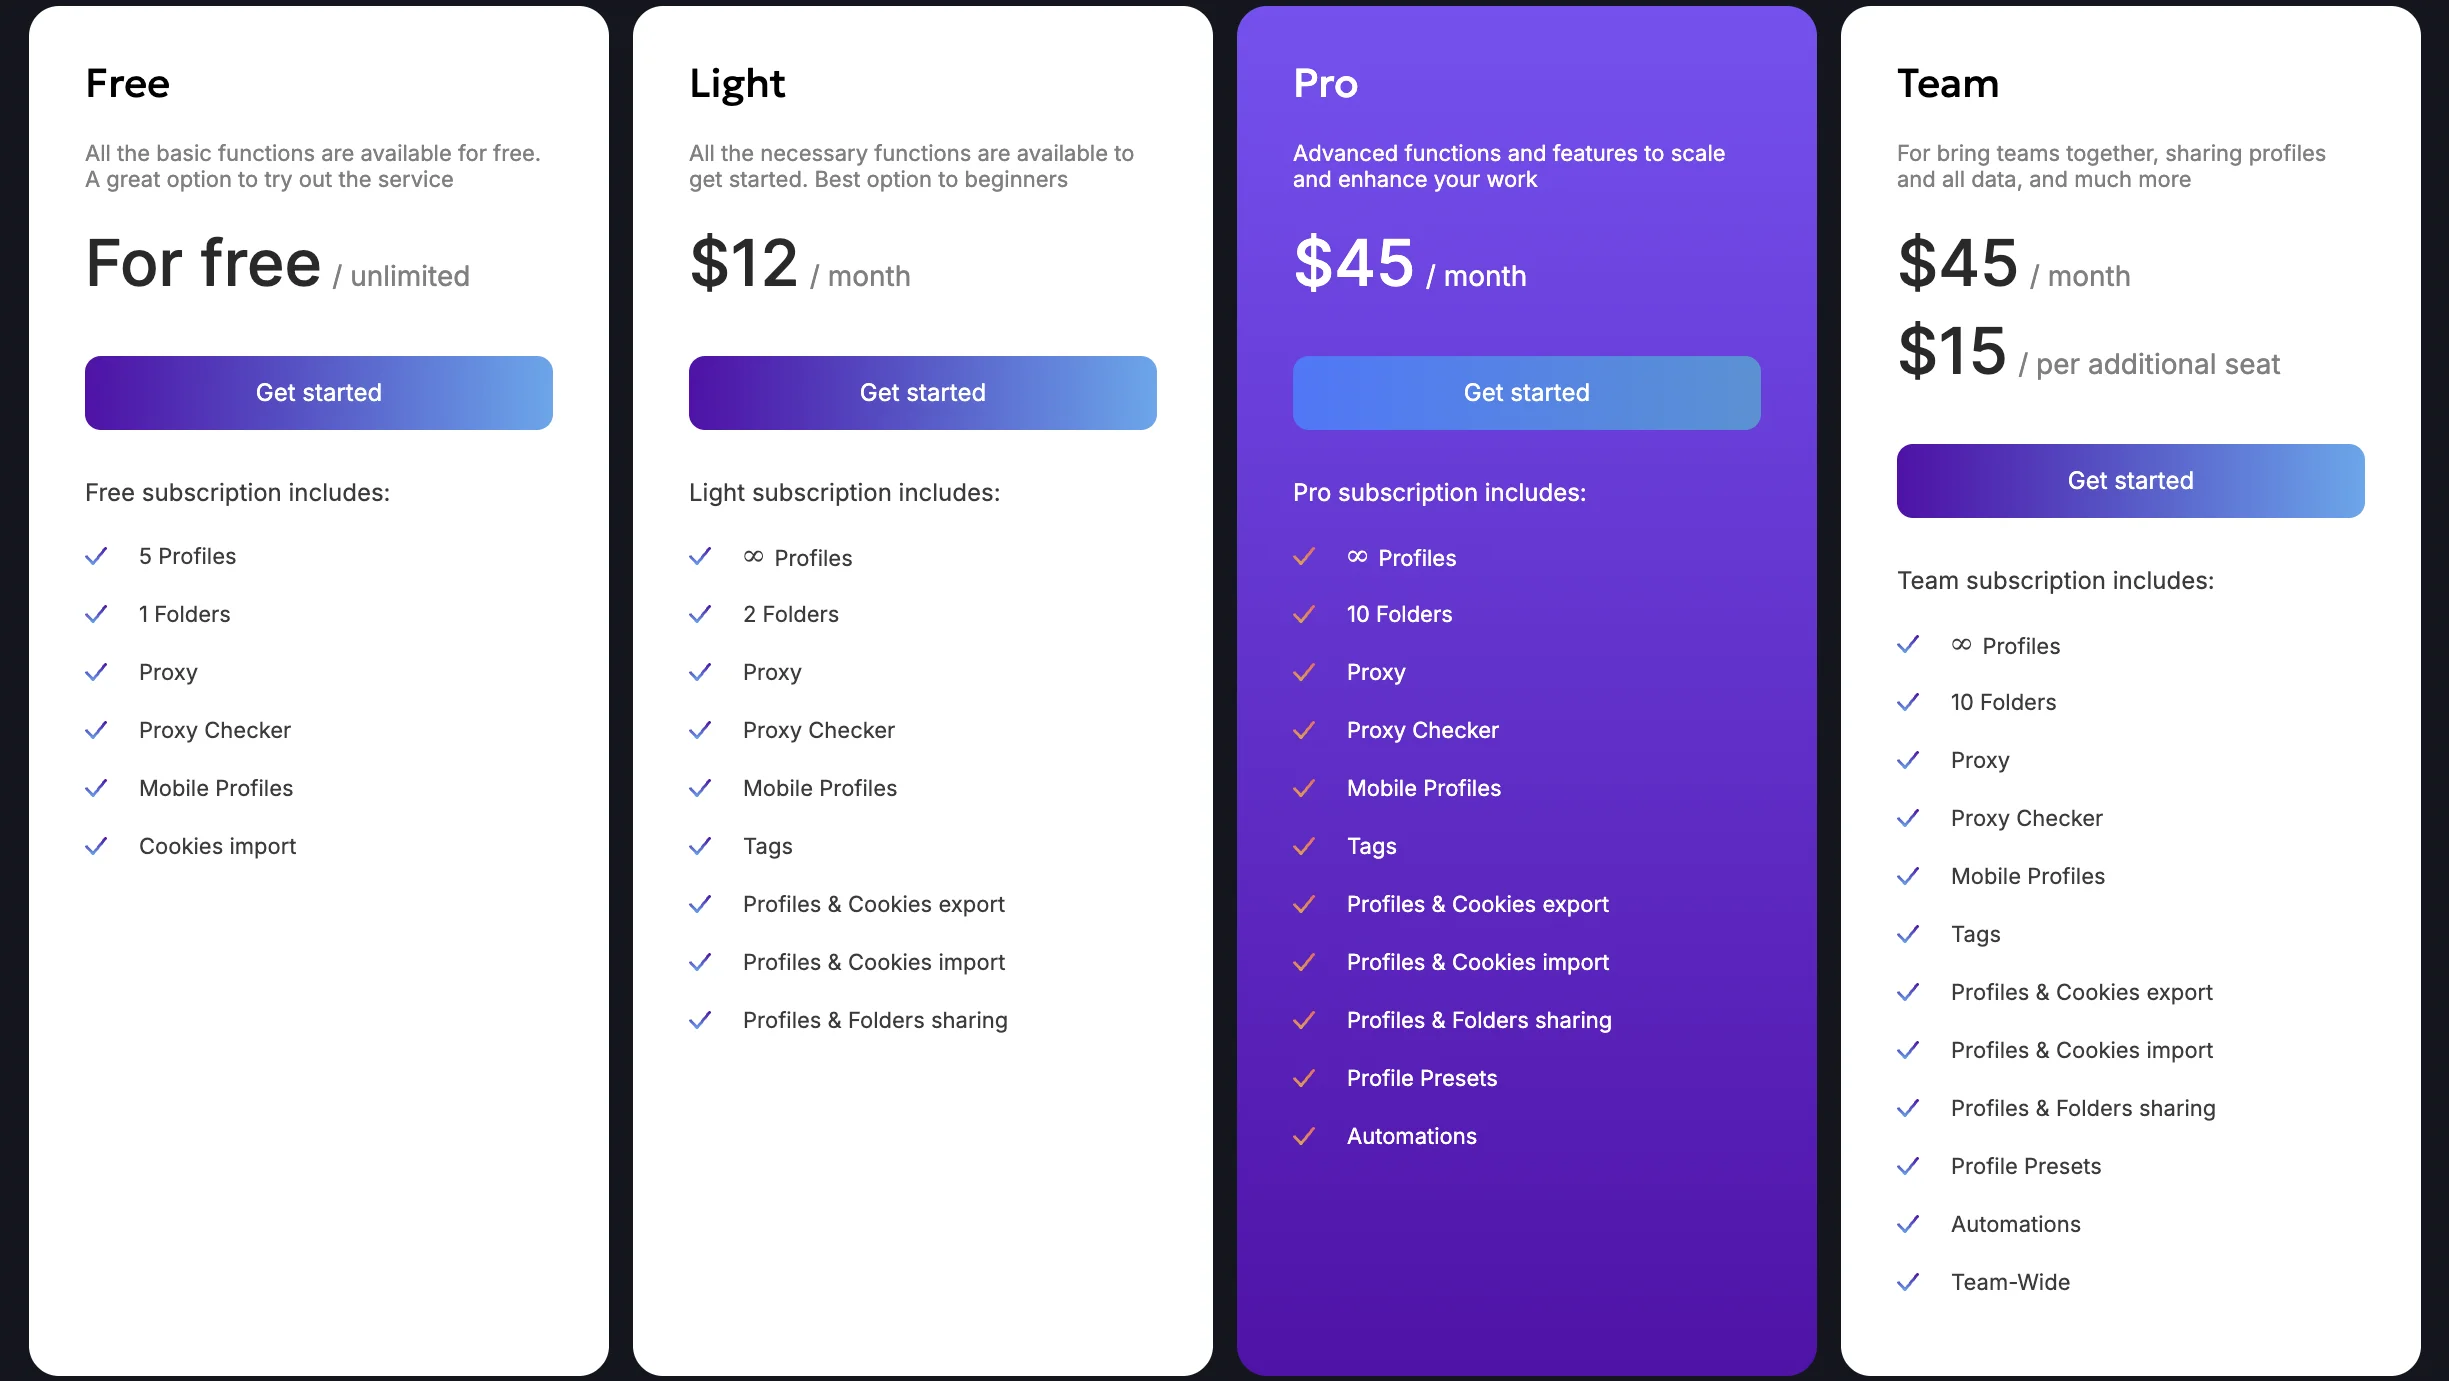
Choose the subscription plan that works for you — Free, Light, Pro, or Team. MASQ Browser makes it easy for both newcomers who want budget-friendly access and experts who require enterprise-level functionality.
As powerful and feature-rich as MASQ Browser is, it does have some drawbacks that users should consider. Updates are released less frequently than some might like, which can slow the addition of new features or fixes. Advanced tooling for custom setups is somewhat limited, so power users may find it less flexible compared to niche antidetect competitors. Additionally, pricing can be a challenge for small businesses or solo operators who need access to multiple profiles, since the paid plans can be less accessible for smaller teams.
Integrate DataImpulse Proxies into MASQ Browser — Here’s How
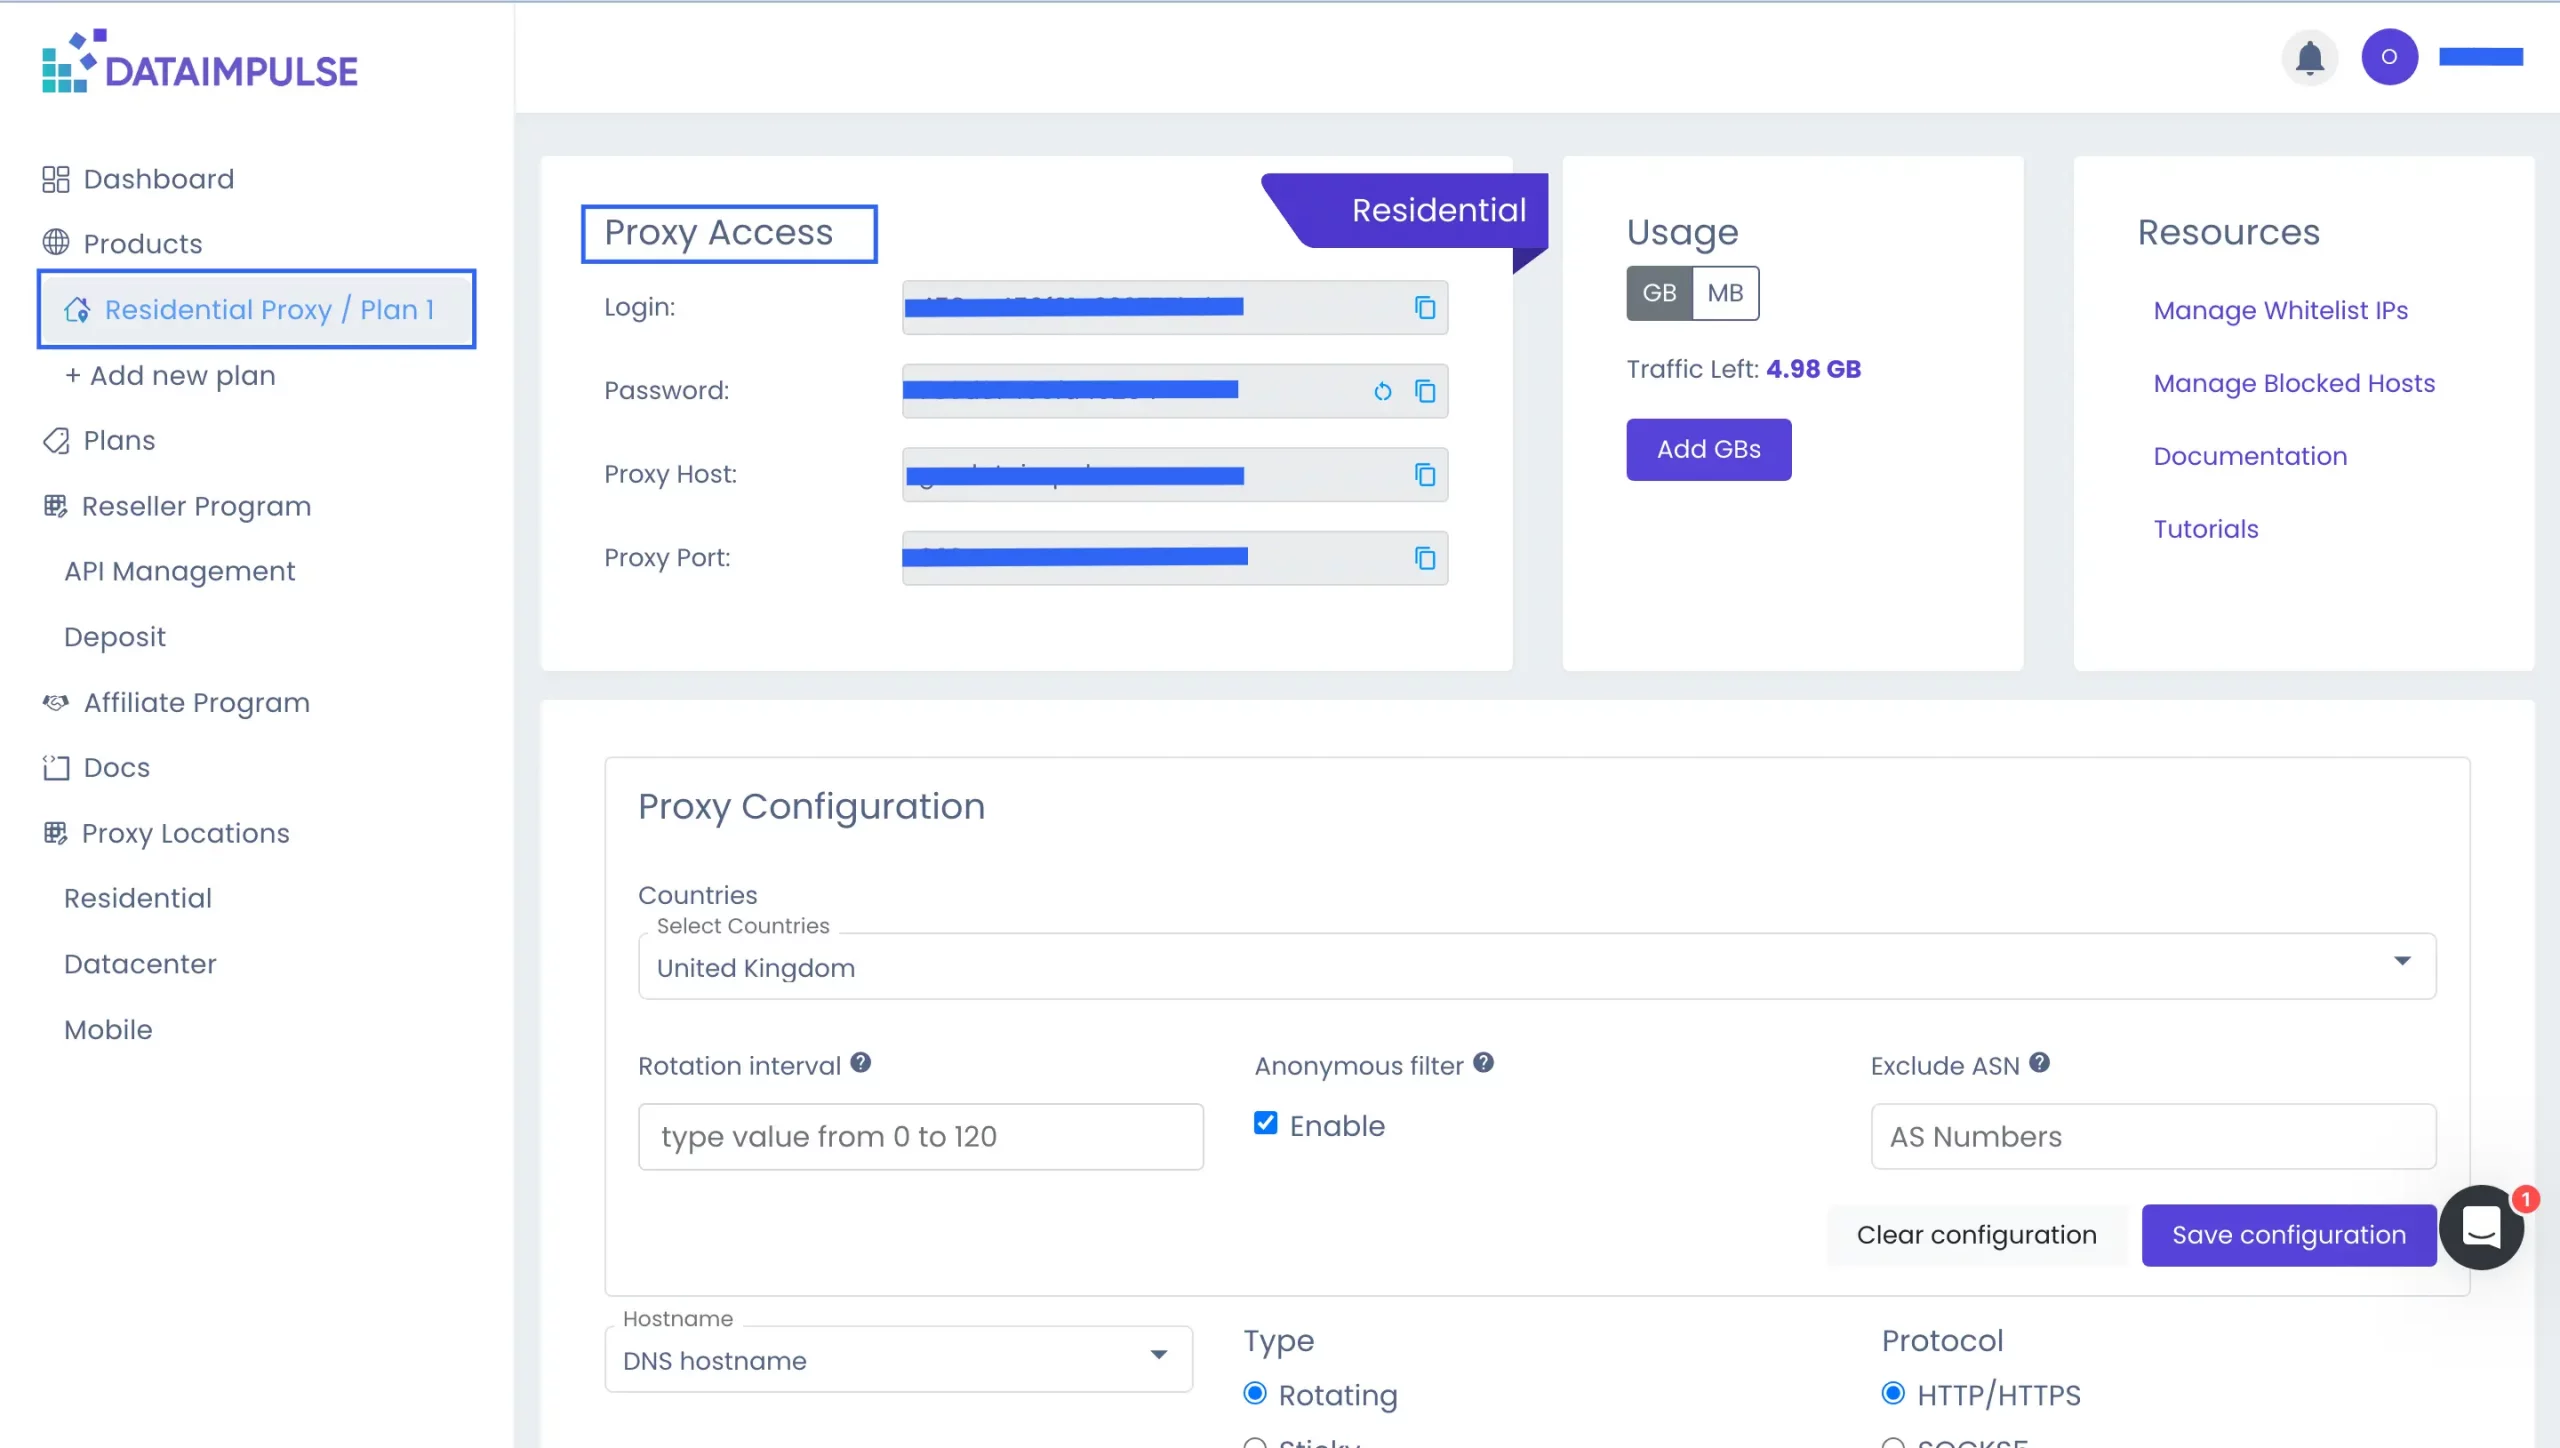
1. First of all, sign up for DataImpulse and start using the features on your dashboard. Go to the Proxy section and choose the plan you need. Make a note of the proxy credentials (login, password, host, port) provided by DataImpulse. We’ll need this info for the next steps.
Not sure where to find your credentials? Check your DataImpulse dashboard or reach out to customer support for help.
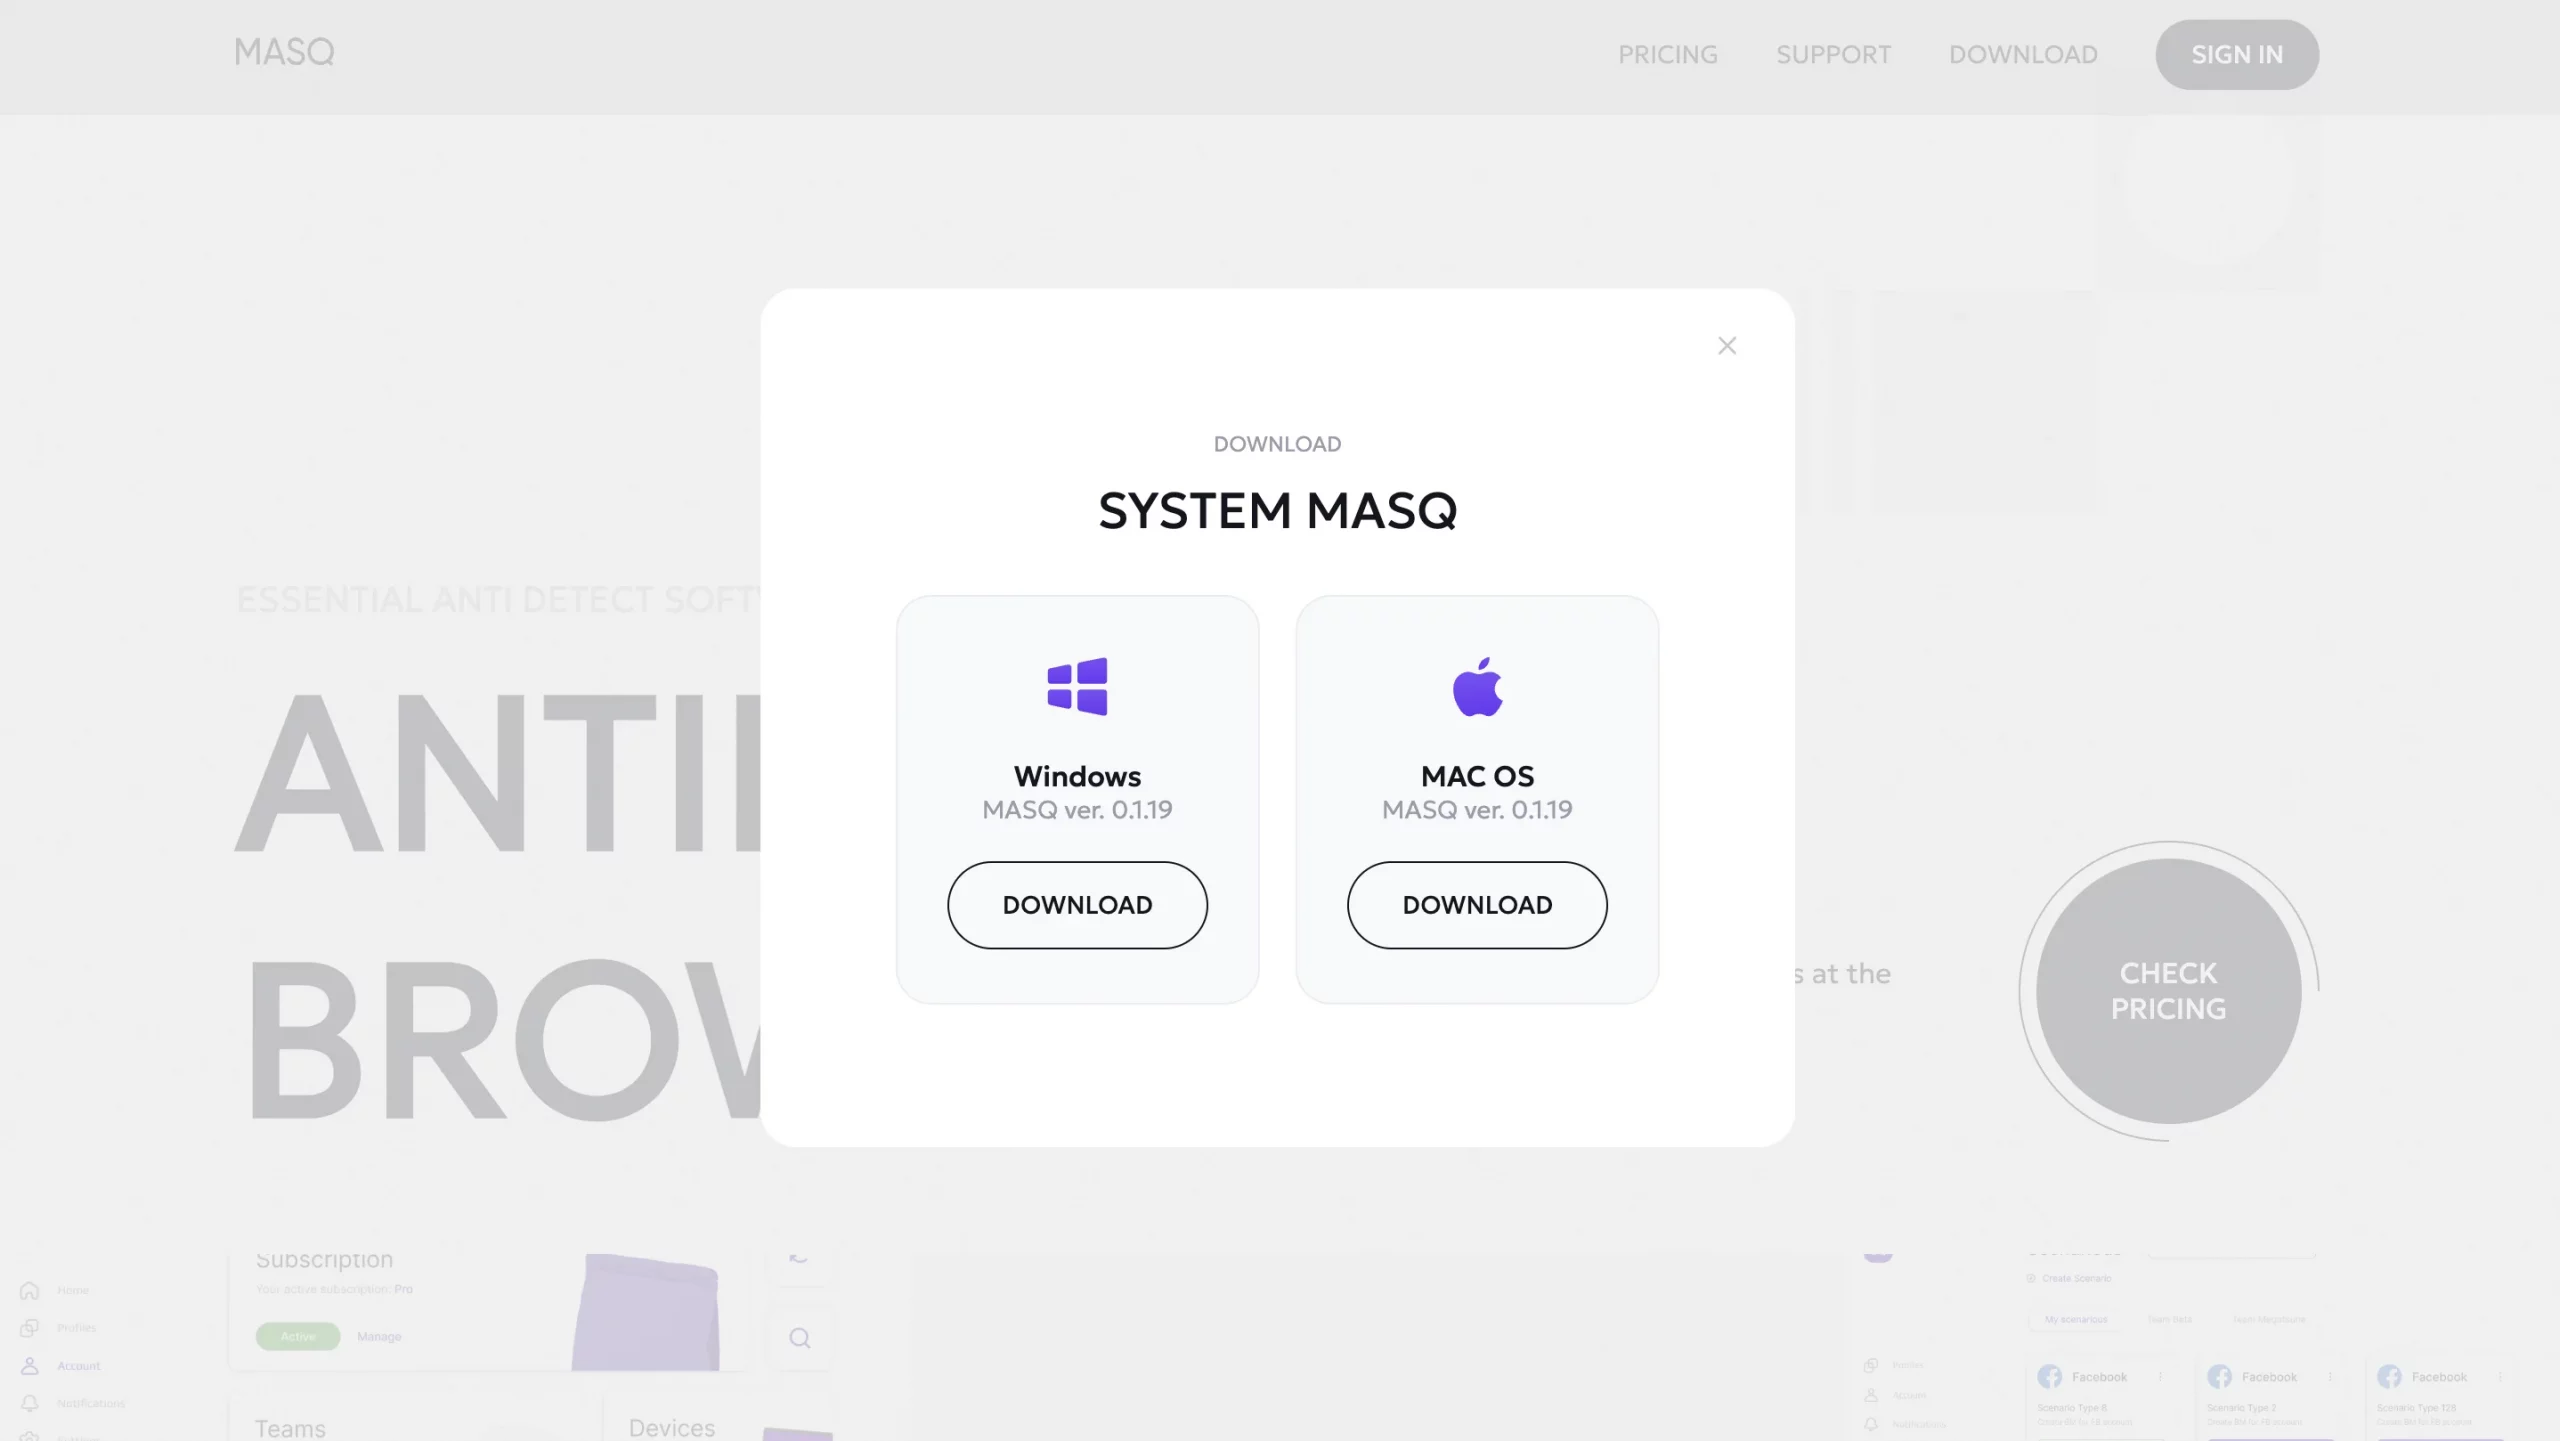
2. Then, download MASQ from the official website. We’re using macOS (M1-series) in this tutorial.
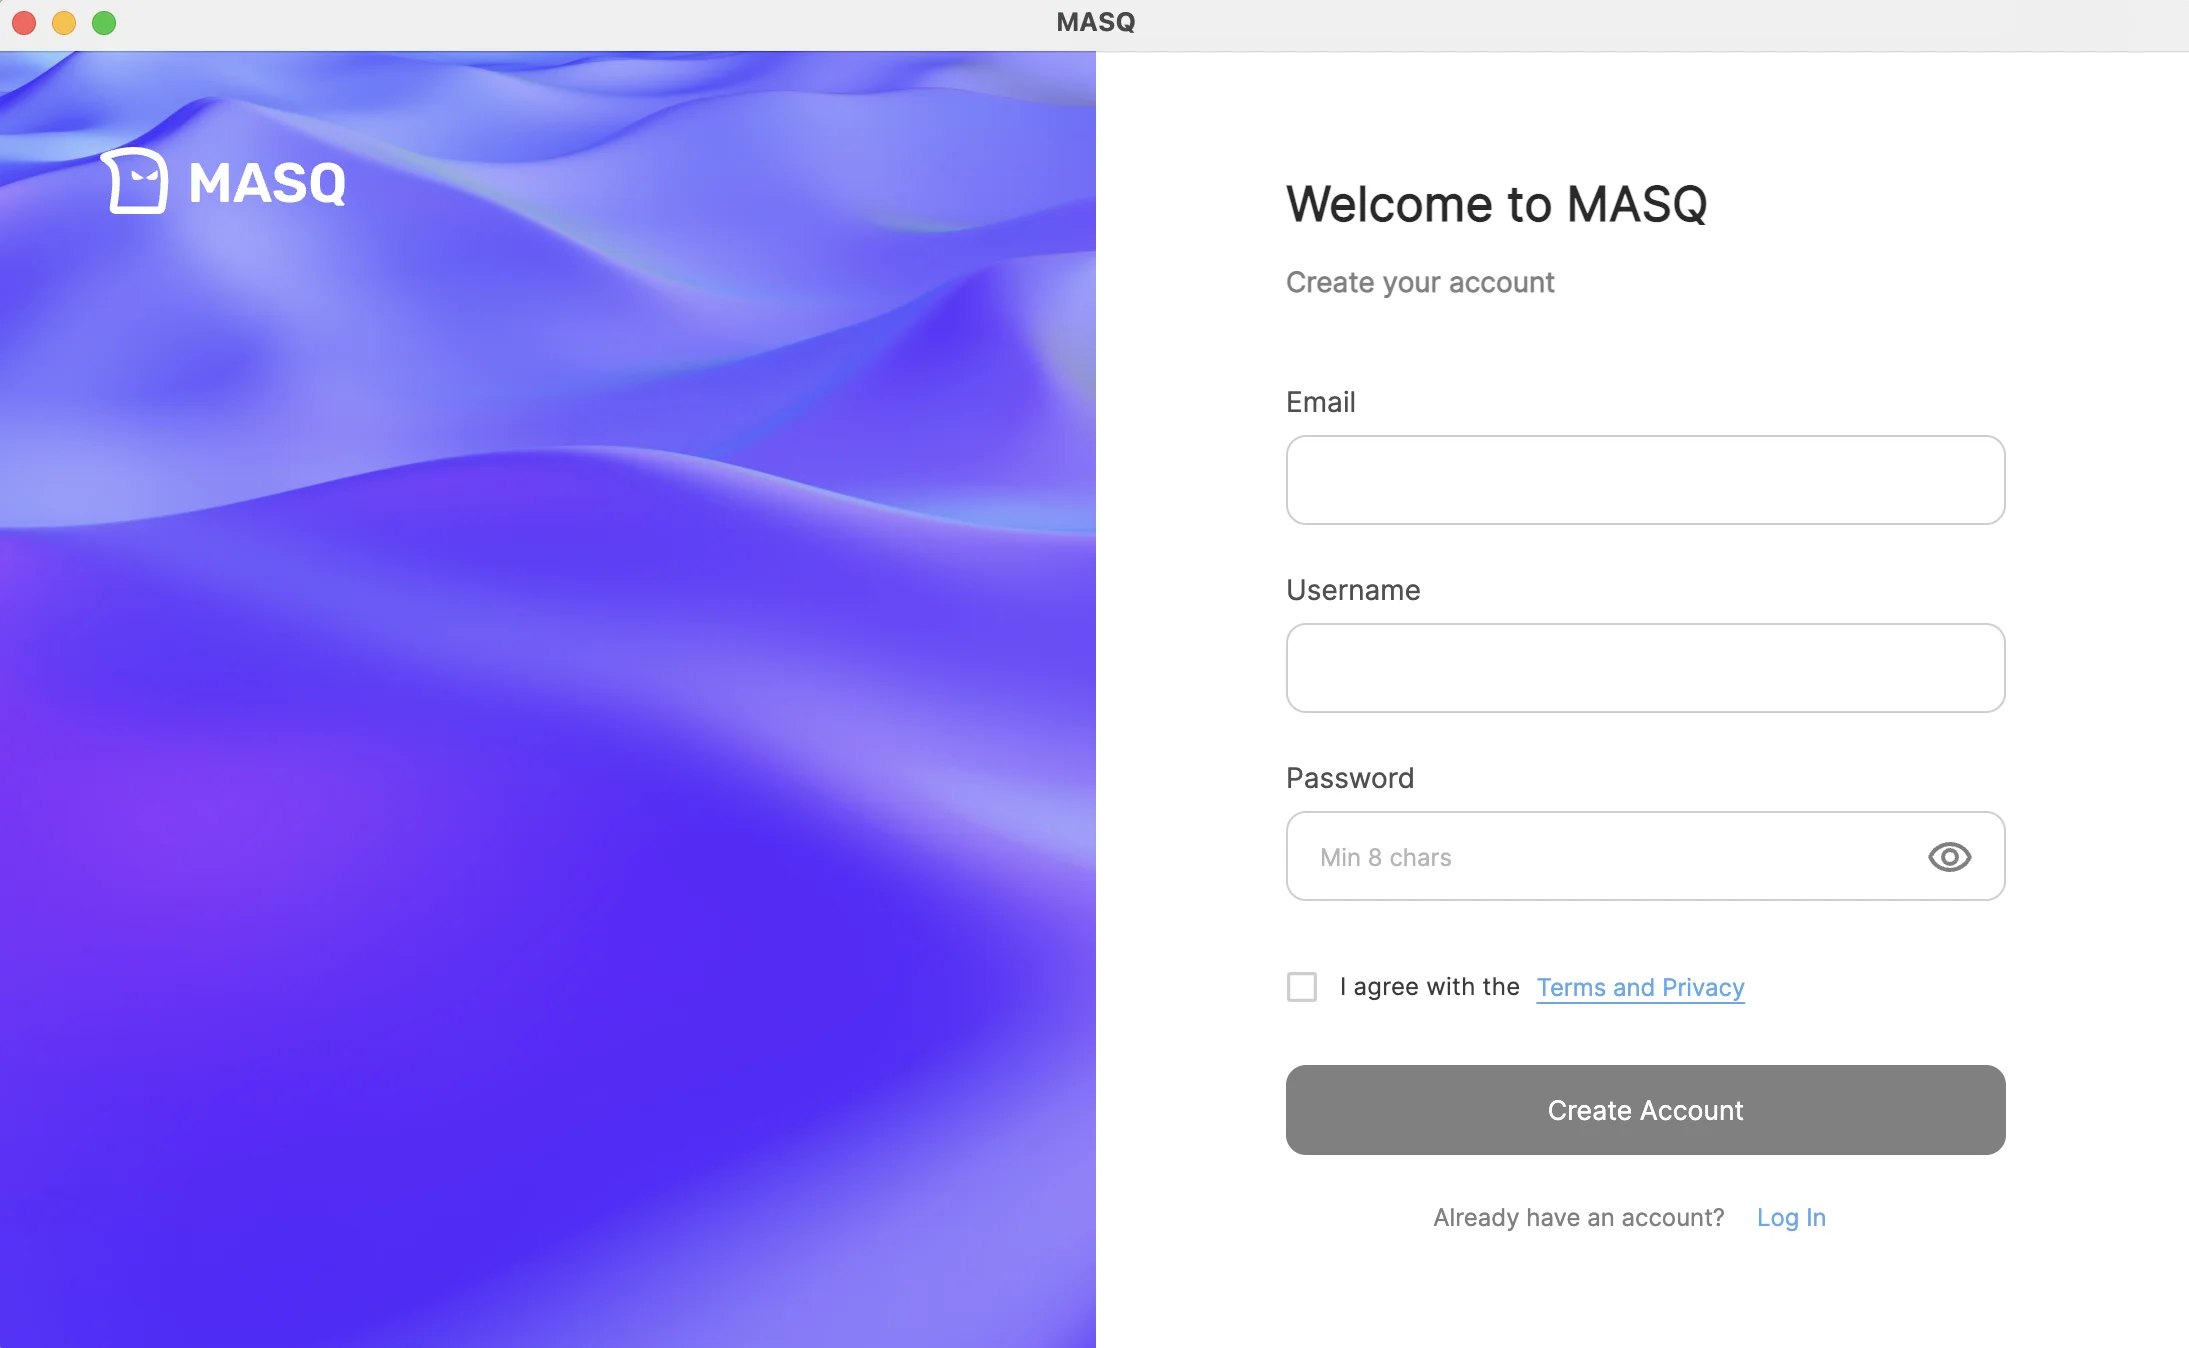
3. Once you launch the app on your device, create an account and confirm it via email. Complete all the registration steps. Remember to make up a strong password.
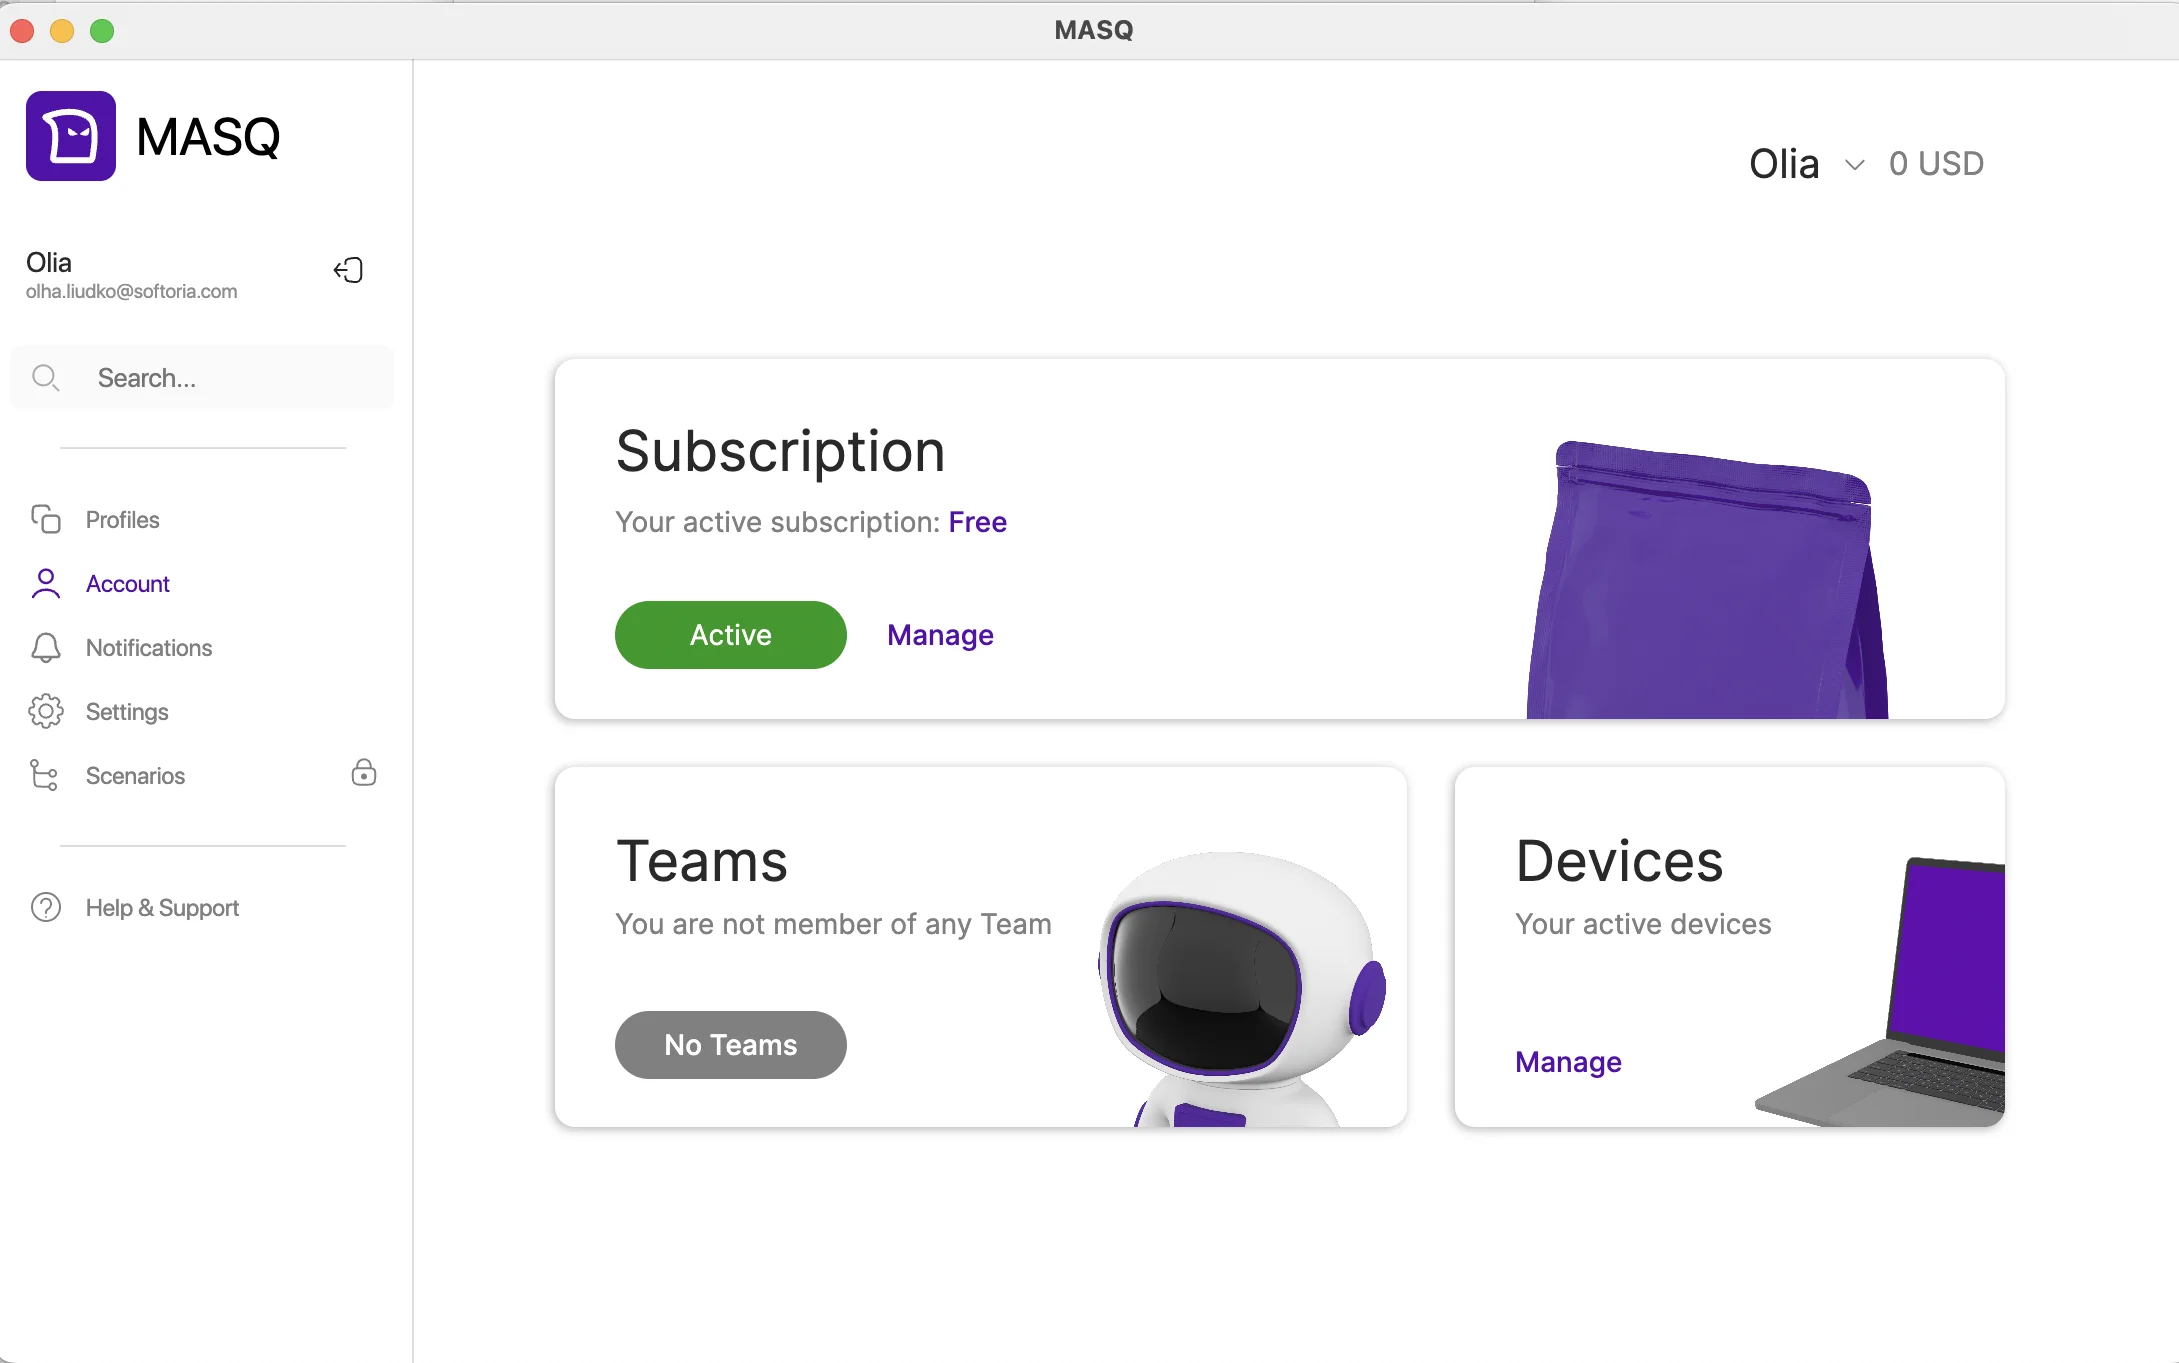
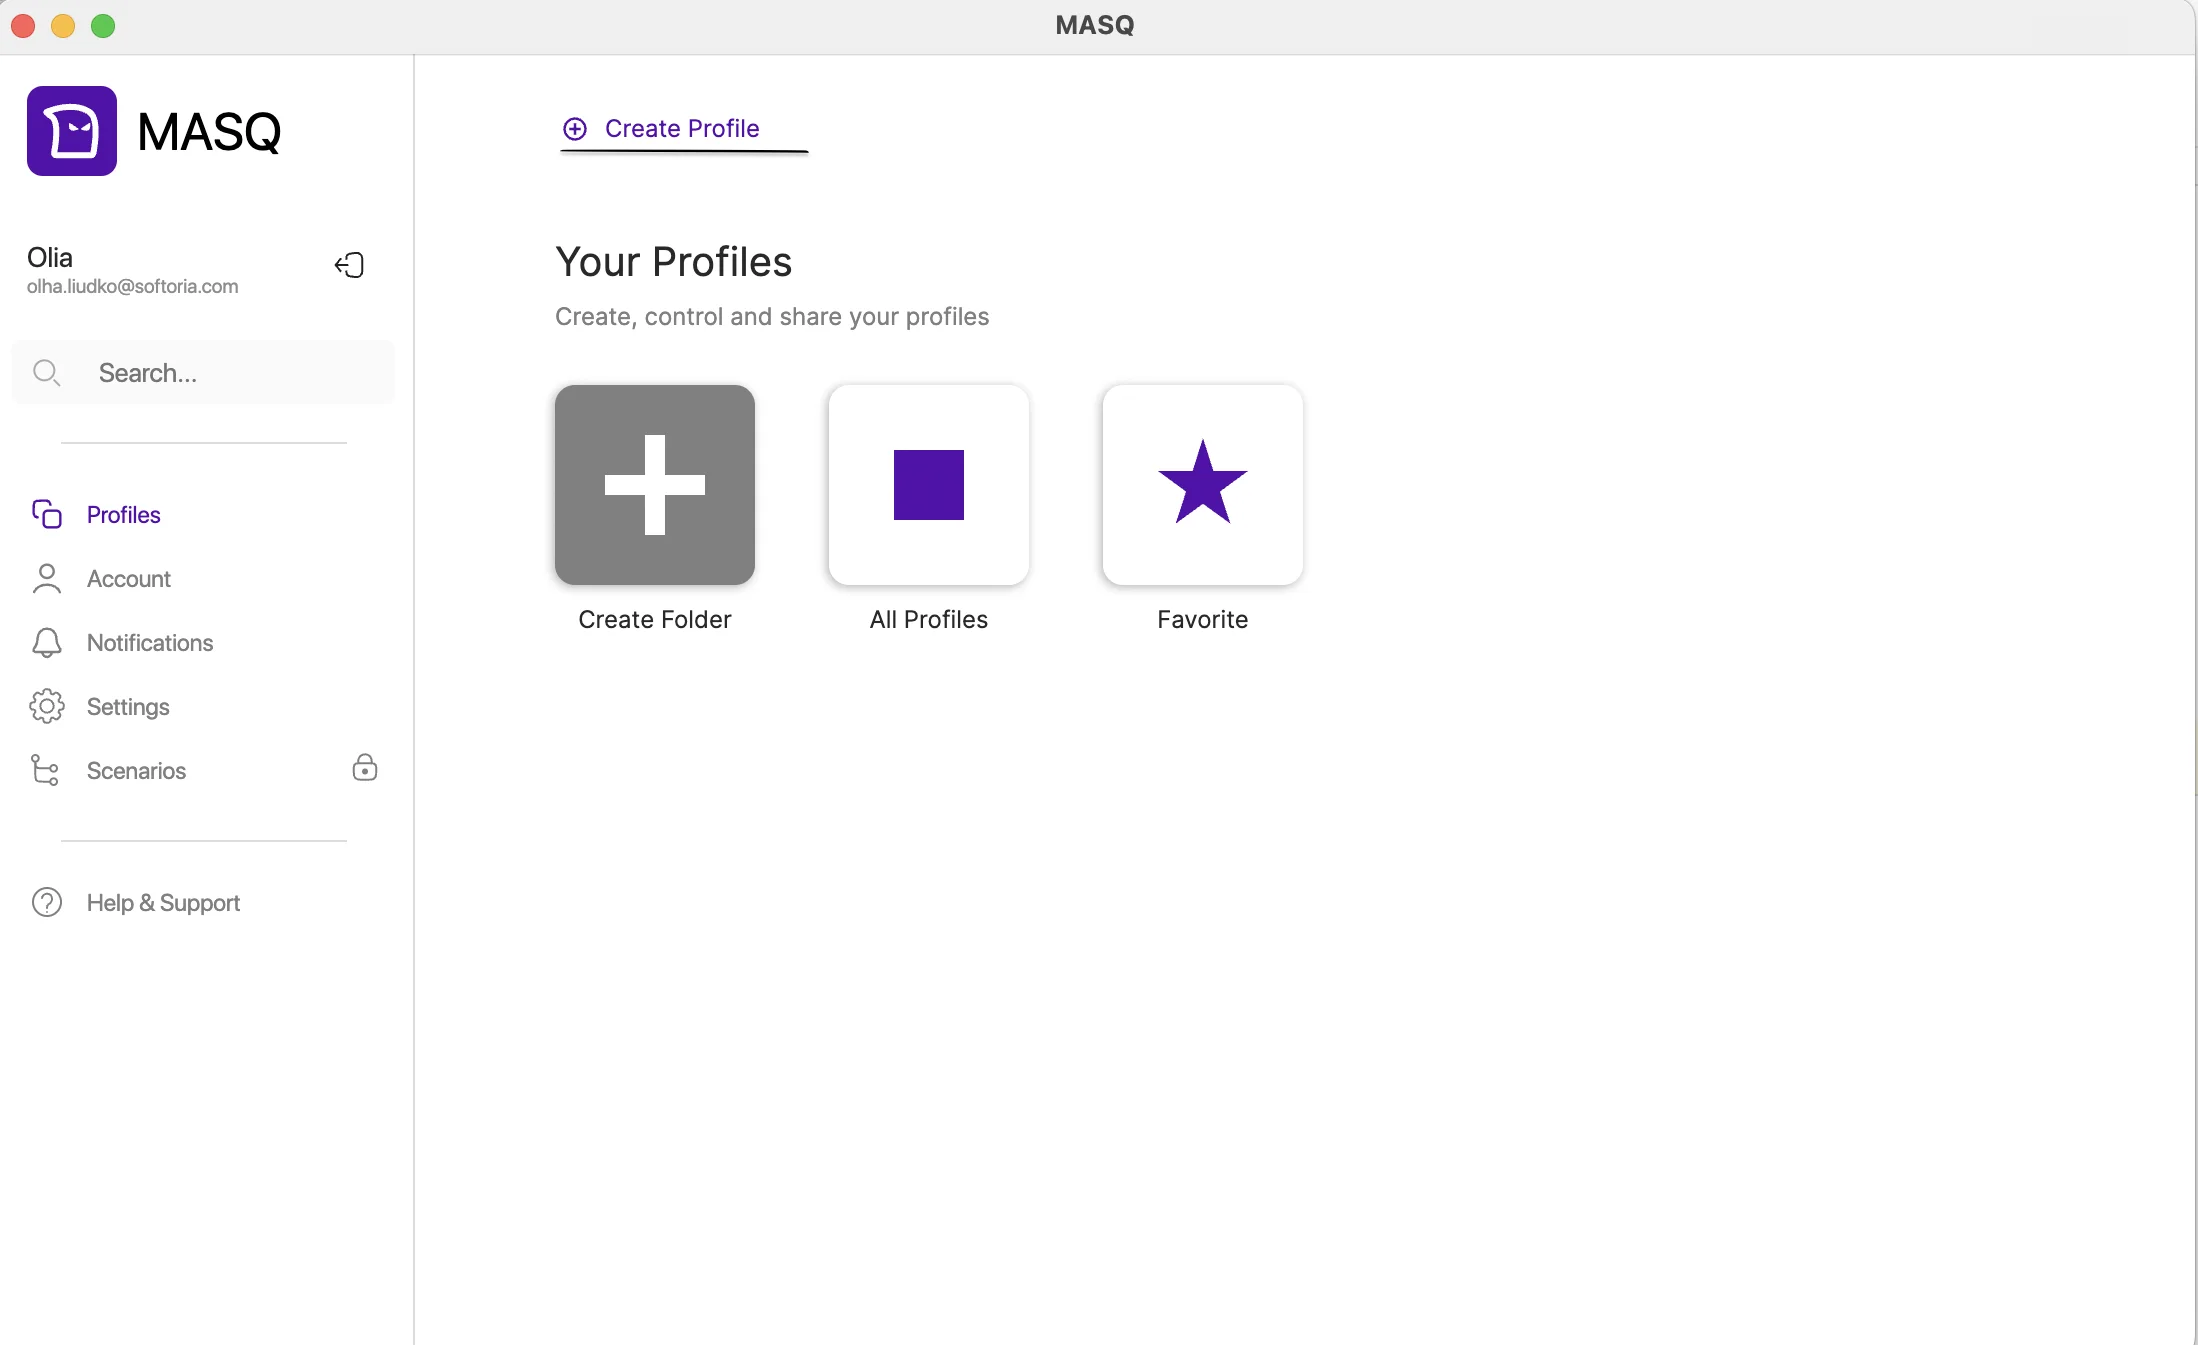
4. Log in to your newly created MASQ account and explore the main dashboard. In the left-hand menu, click Profiles.
5. To add a new profile, select + Create Profile at the top.
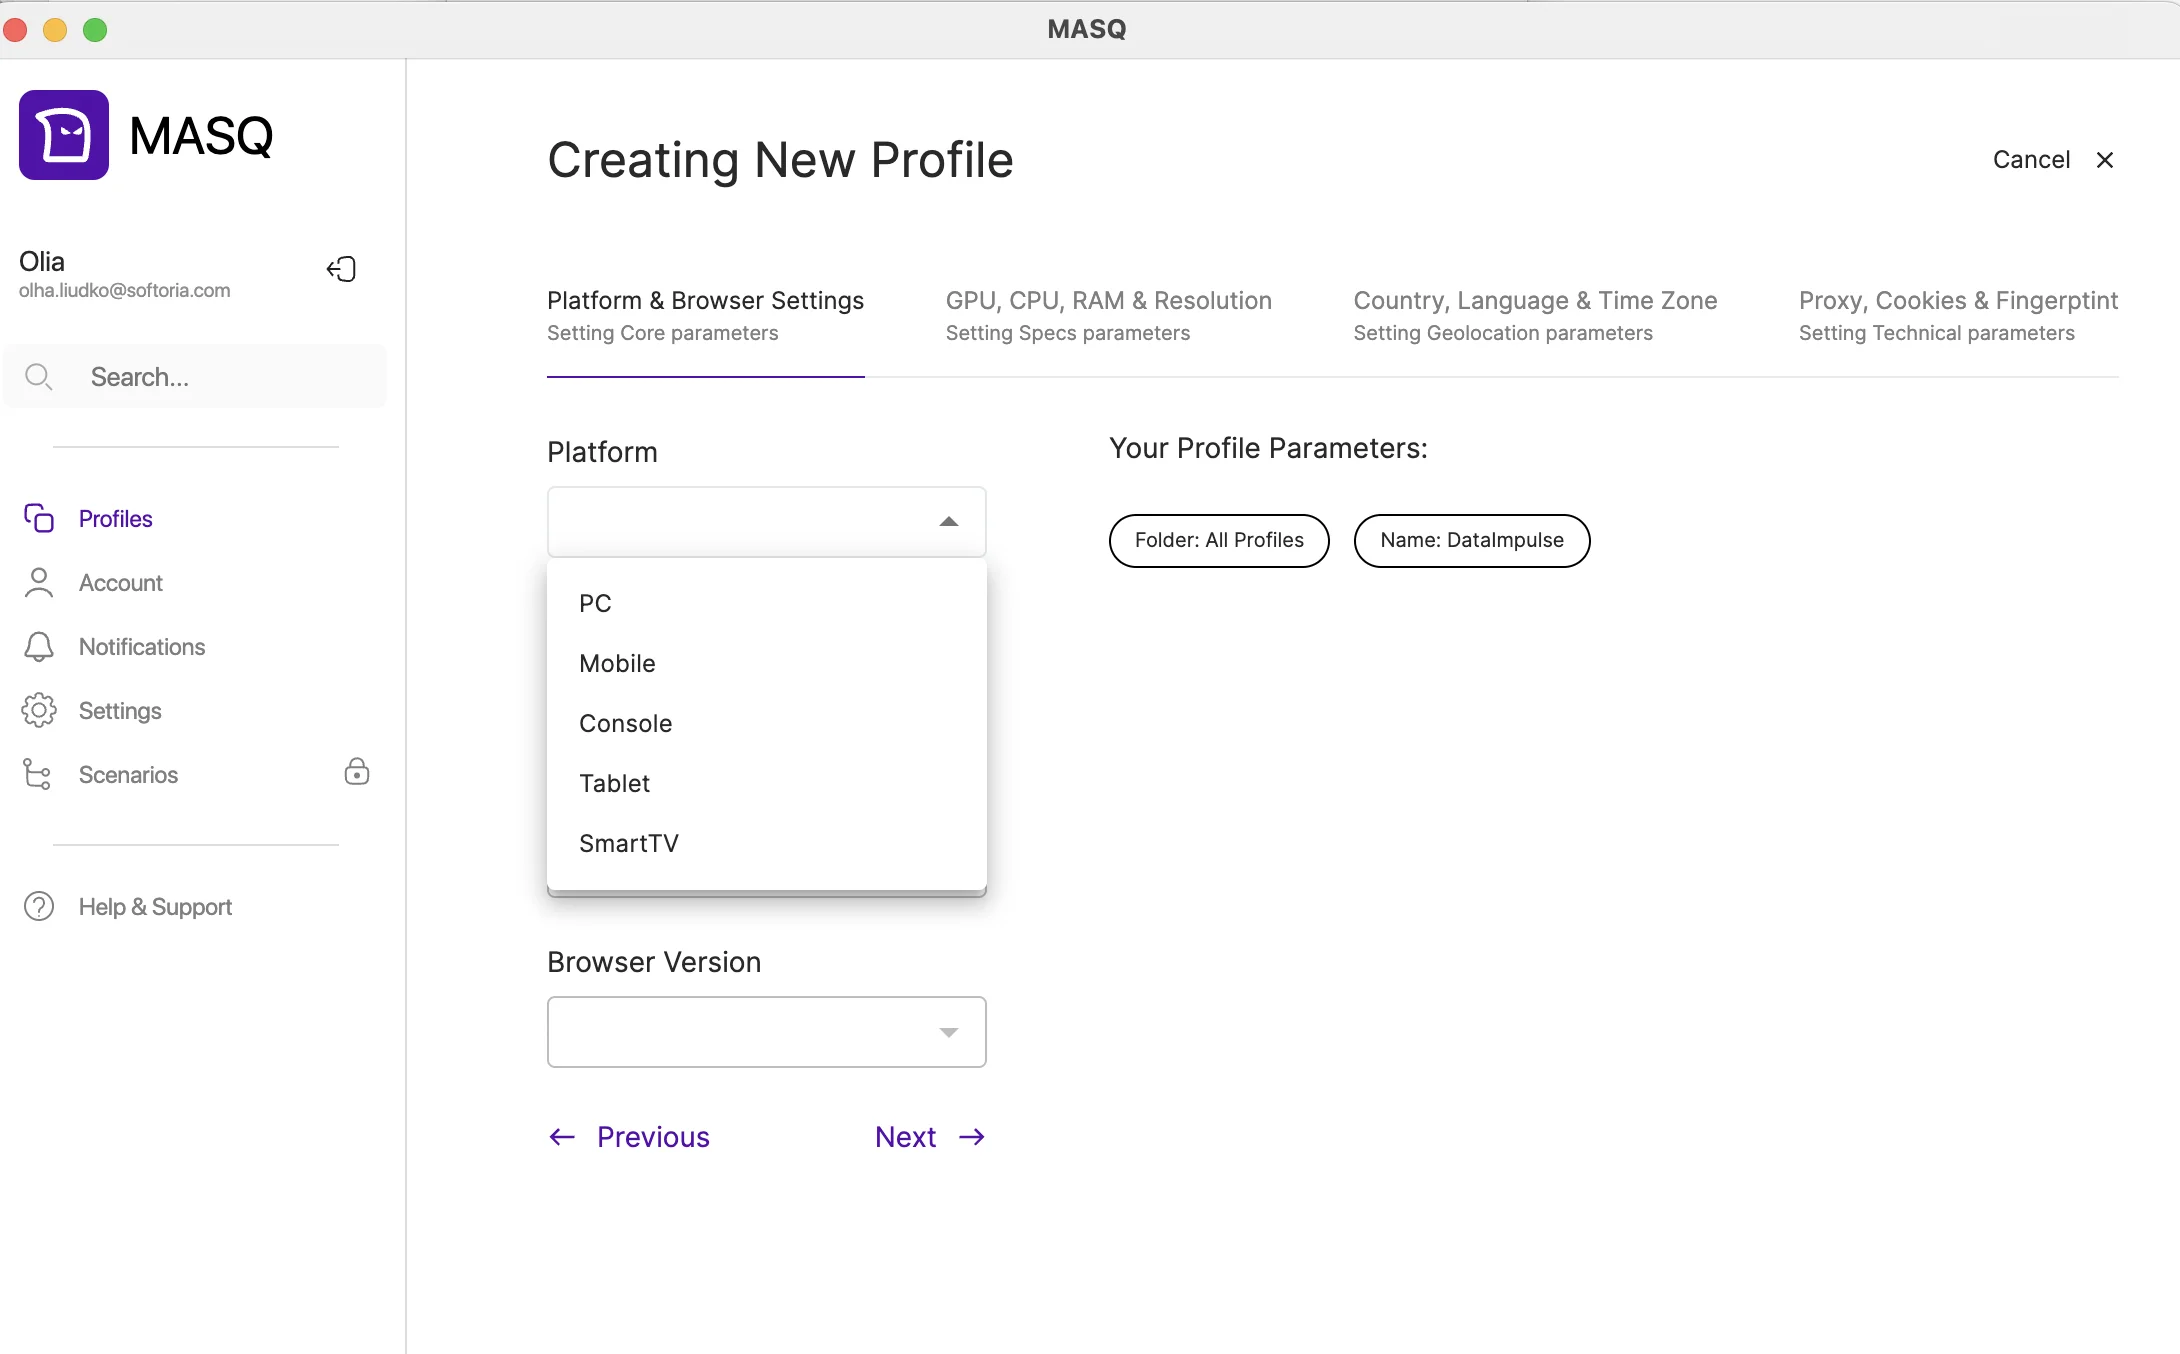
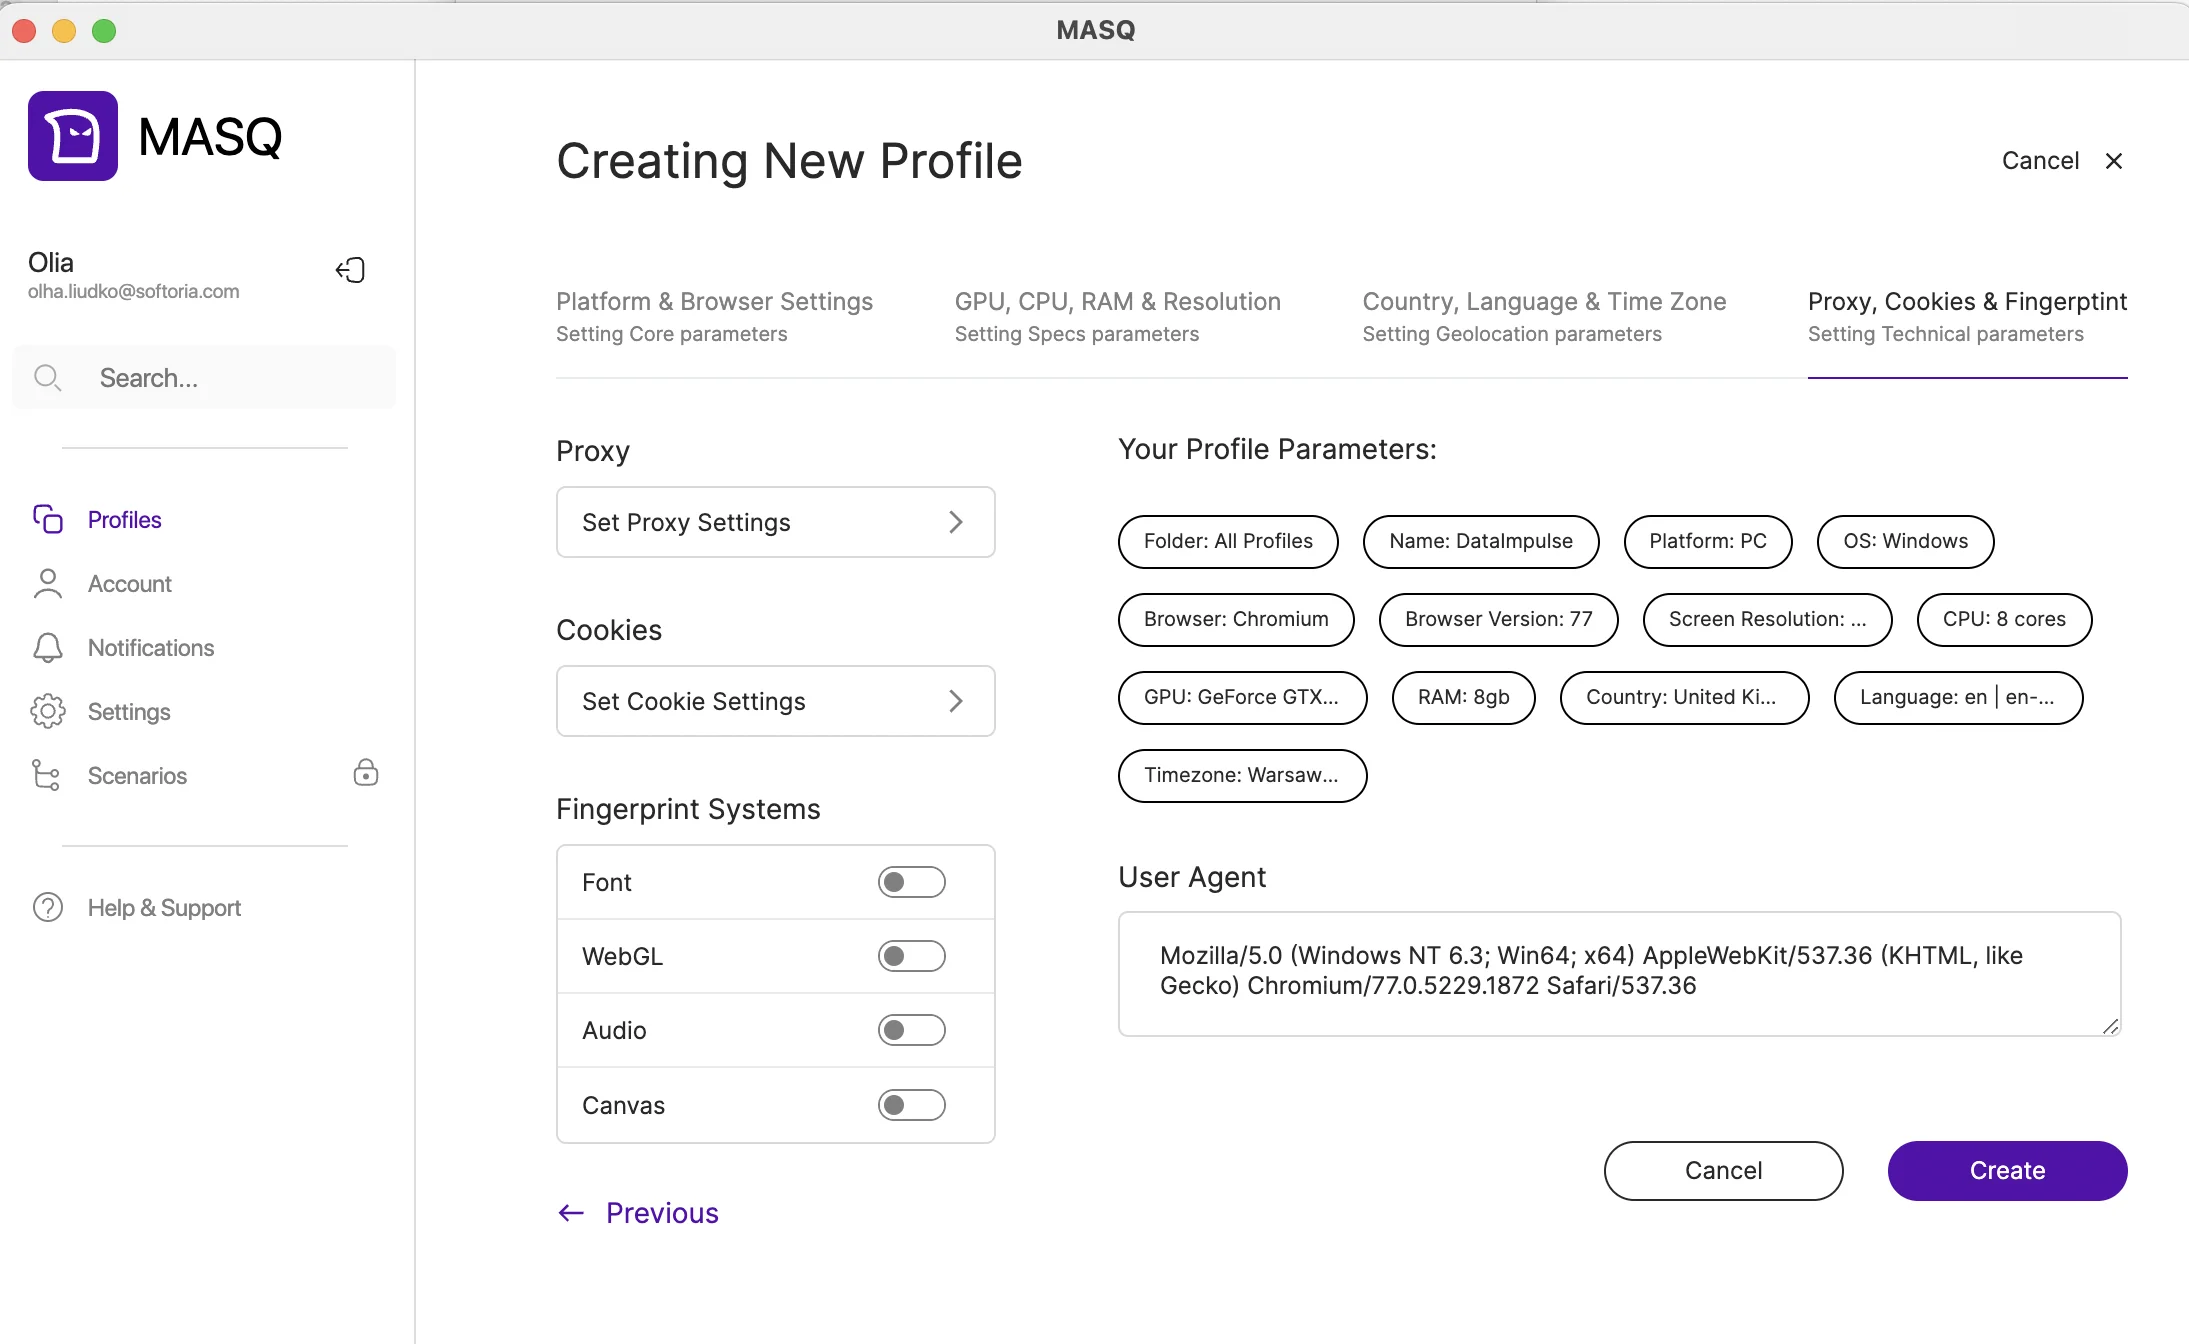
6. Now it’s time to customize your profile. Choose your platform, browser version, operating system, and profile name, then click Next.
7. Keep adjusting the specs and geolocation parameters. After that, let’s set our proxy settings.
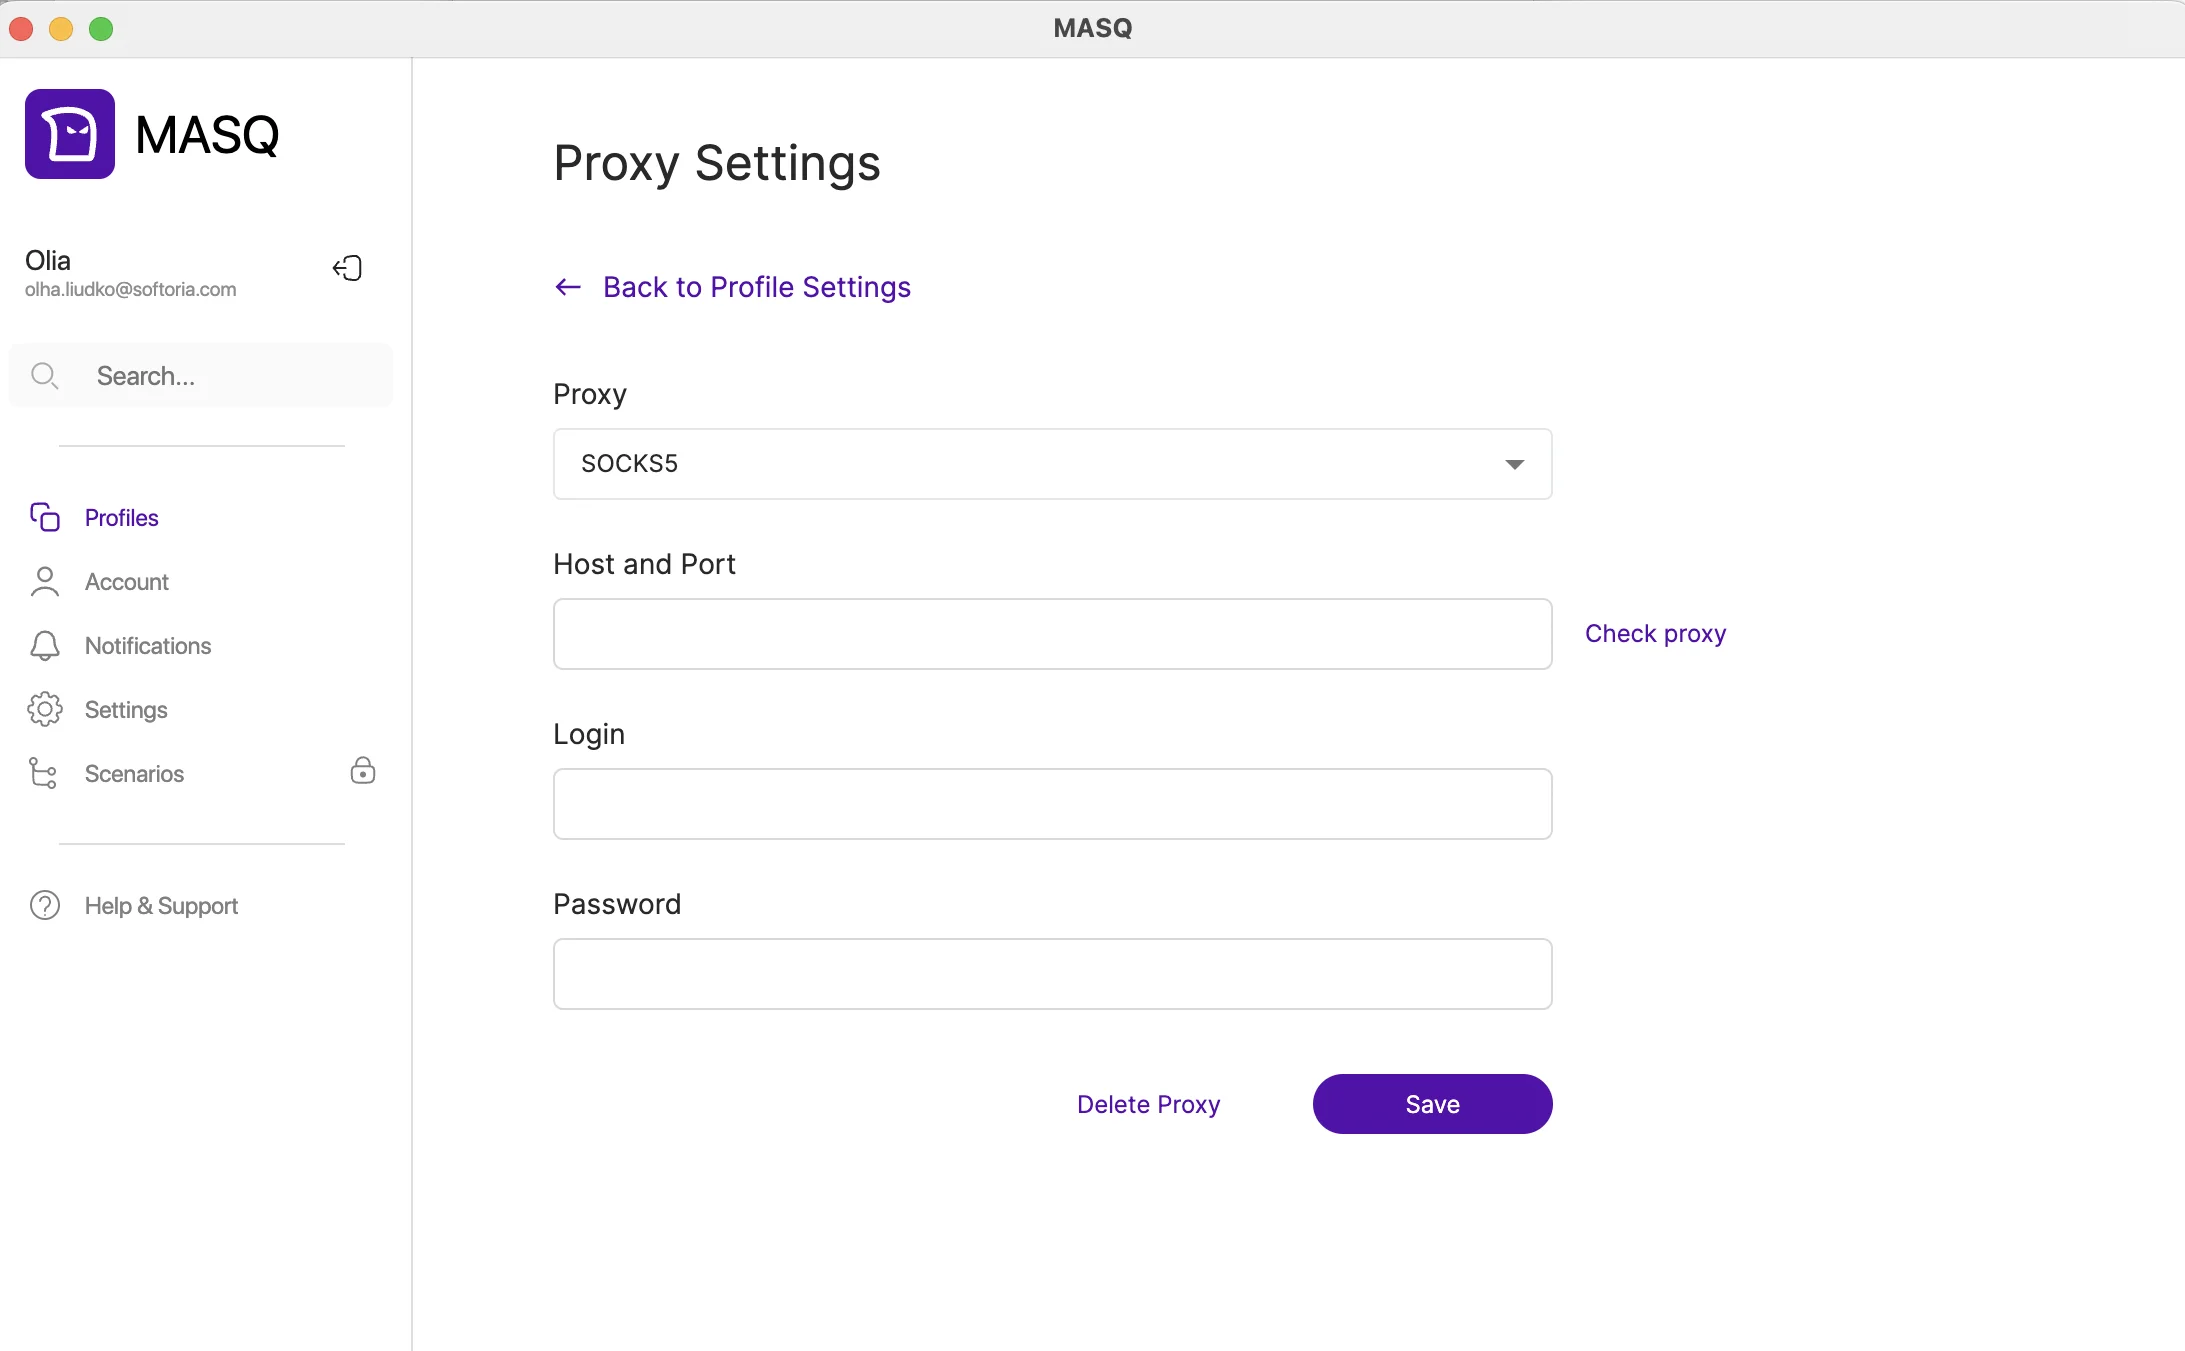
8. Fill in the proxy settings and your account info, including your DataImpulse user’s Username and Password. If you have whitelisted IPs, no need to enter login credentials.
Proxy: SOCKS5, or you can use the HTTP protocol
Host and port: gw.dataimpulse.com:823
Login: your DataImpulse username
Password: your DataImpulse password
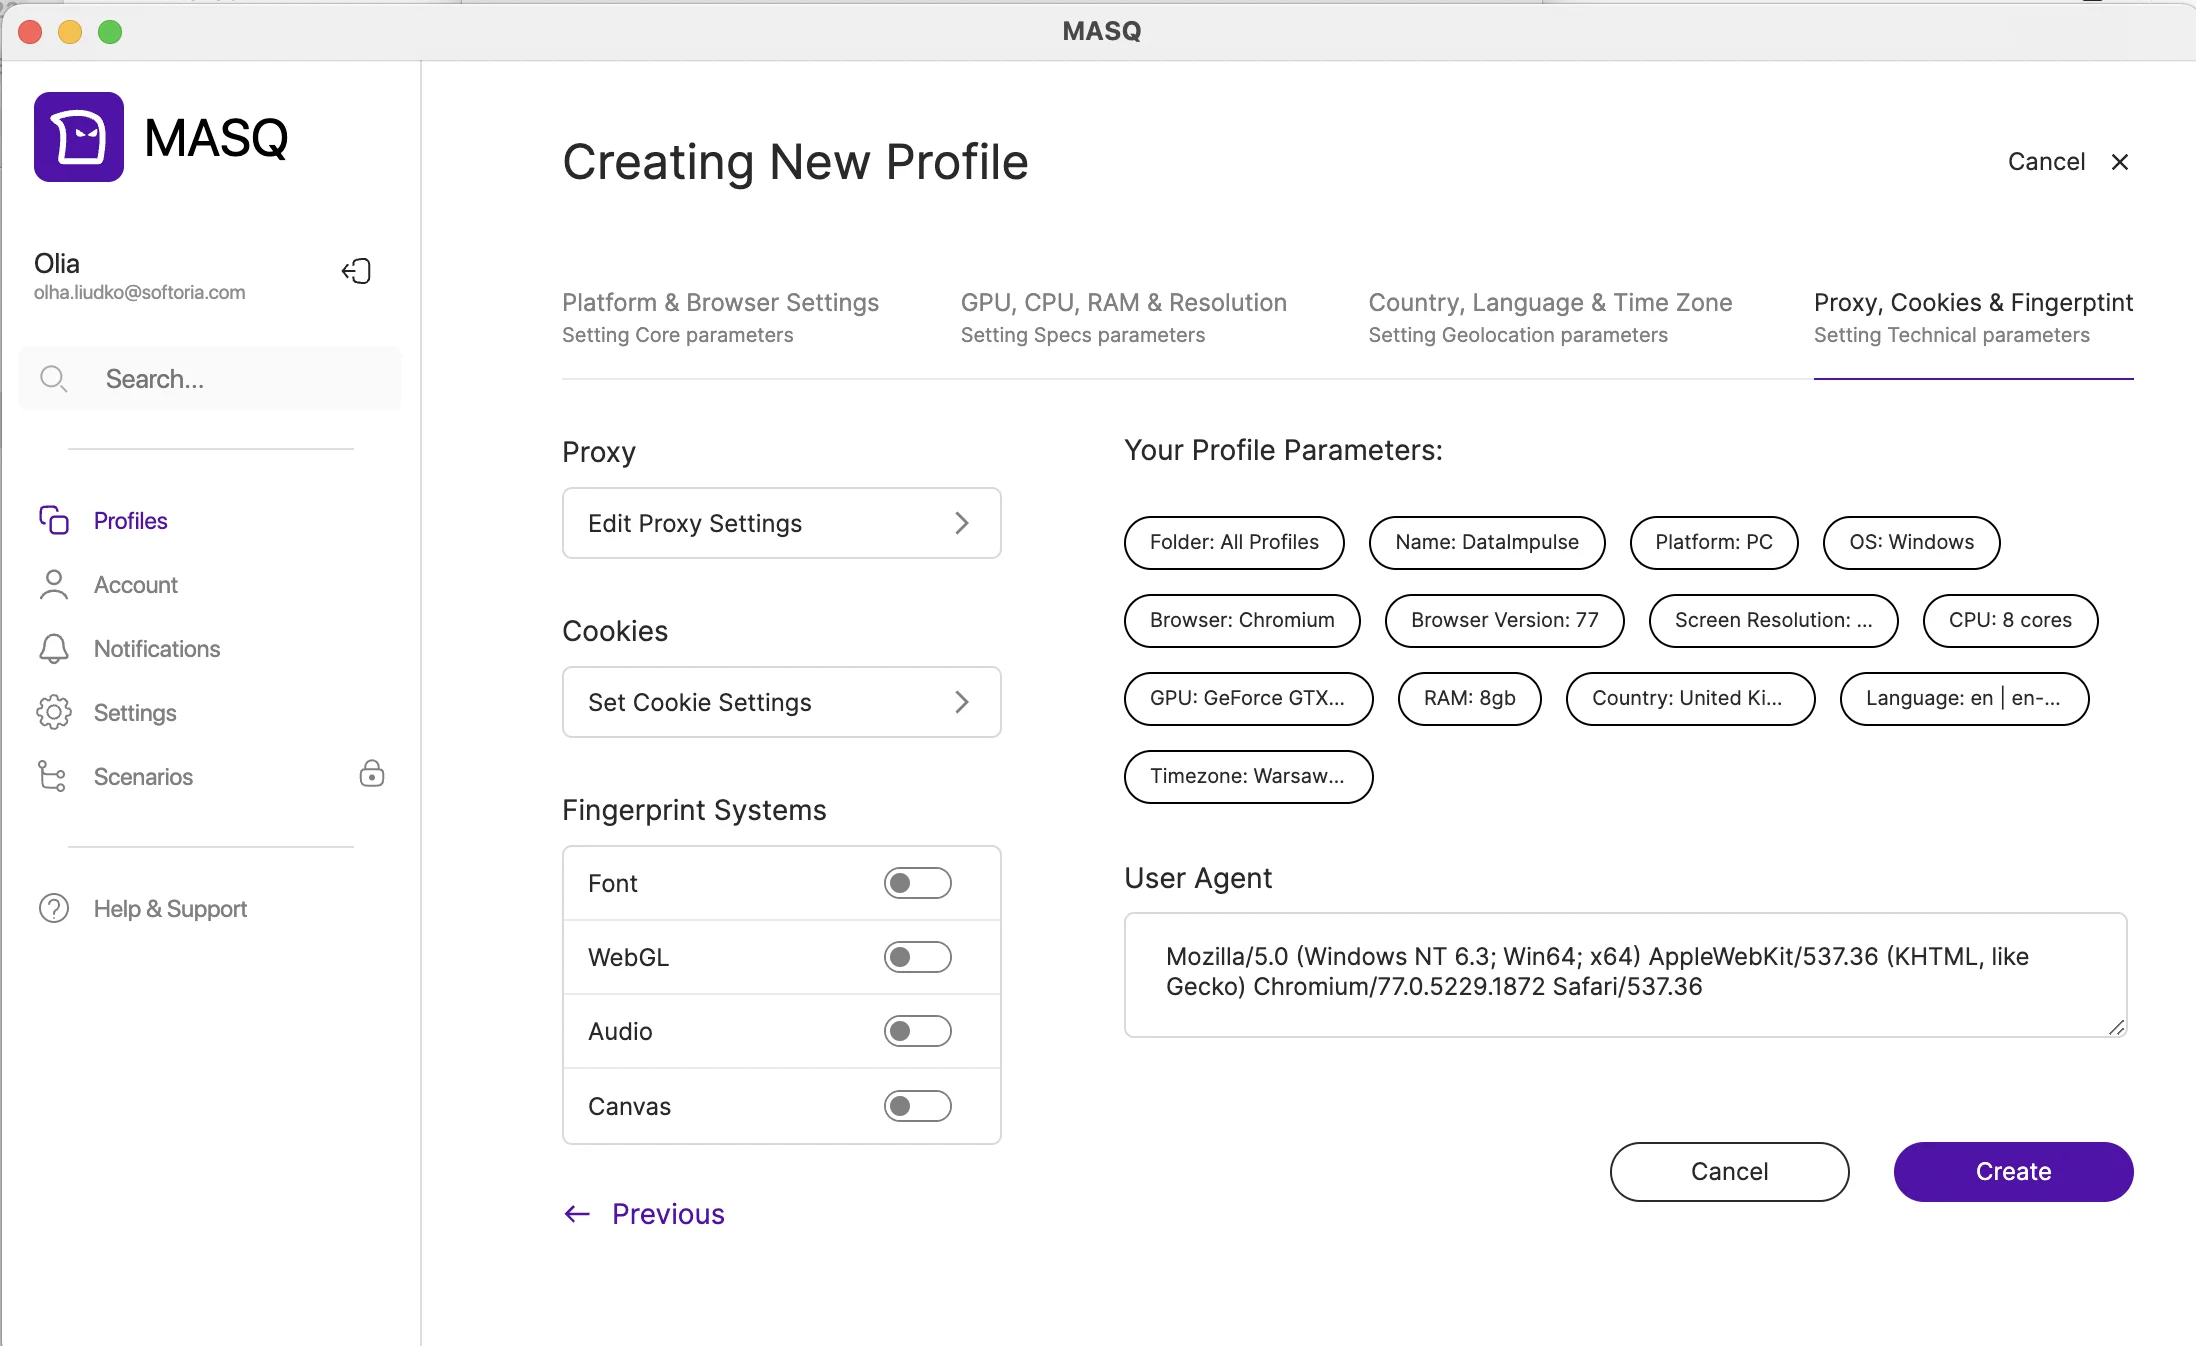
9. After setting all the parameters, click Create.
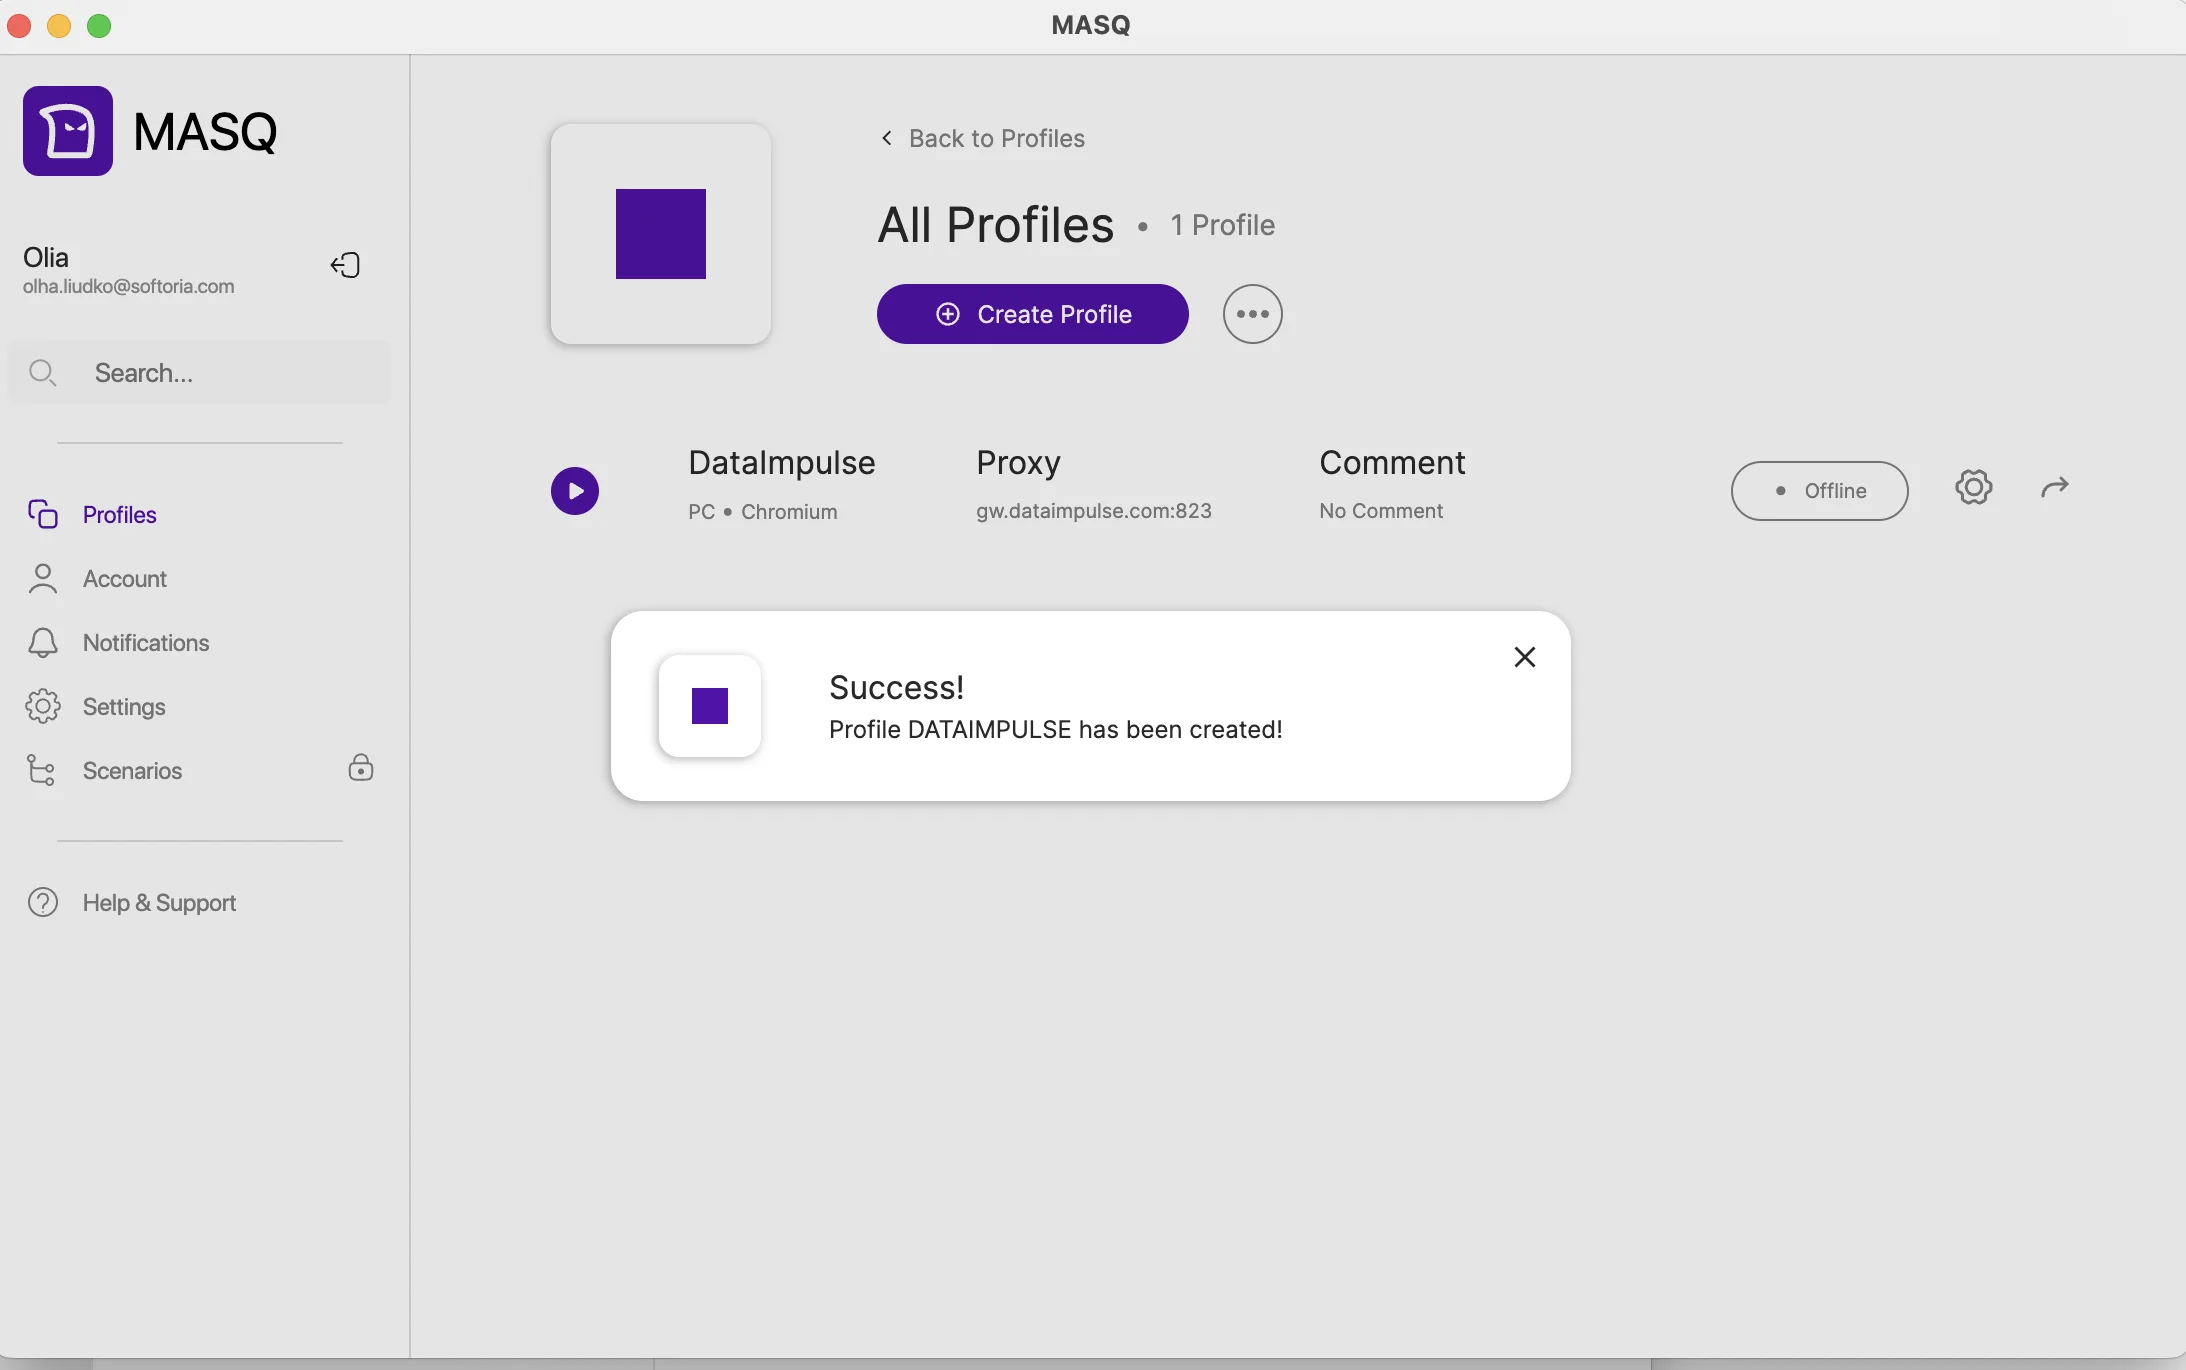
10. Well done! Your profile has been created, and now you can use it with DataImpulse proxies for maximum speed and data privacy.
11. To finish the process and start browsing, click the Run button next to the profile name.
Setup complete! Congratulations on getting everything ready.
*This tutorial is intended for educational purposes only. We do not encourage or endorse any actions that violate platform policies, terms of service, or applicable laws. Users should always act responsibly and at their own risk.


