DataImpulse has a Reseller Program designed to simplify your entry into the proxy market. With our program, you can effortlessly offer rotating and sticky residential proxies from various countries to your clients. Tailor your pricing to fit your strategy and utilize our Open API for a customized dashboard that aligns with your needs. This all comes with the backing of DataImpulse’s reliable and ethically-sourced residential proxies, ensuring a seamless and credible experience for your customers.
The below step-by-step guide on how to get started is mainly designed for beginners in this industry:
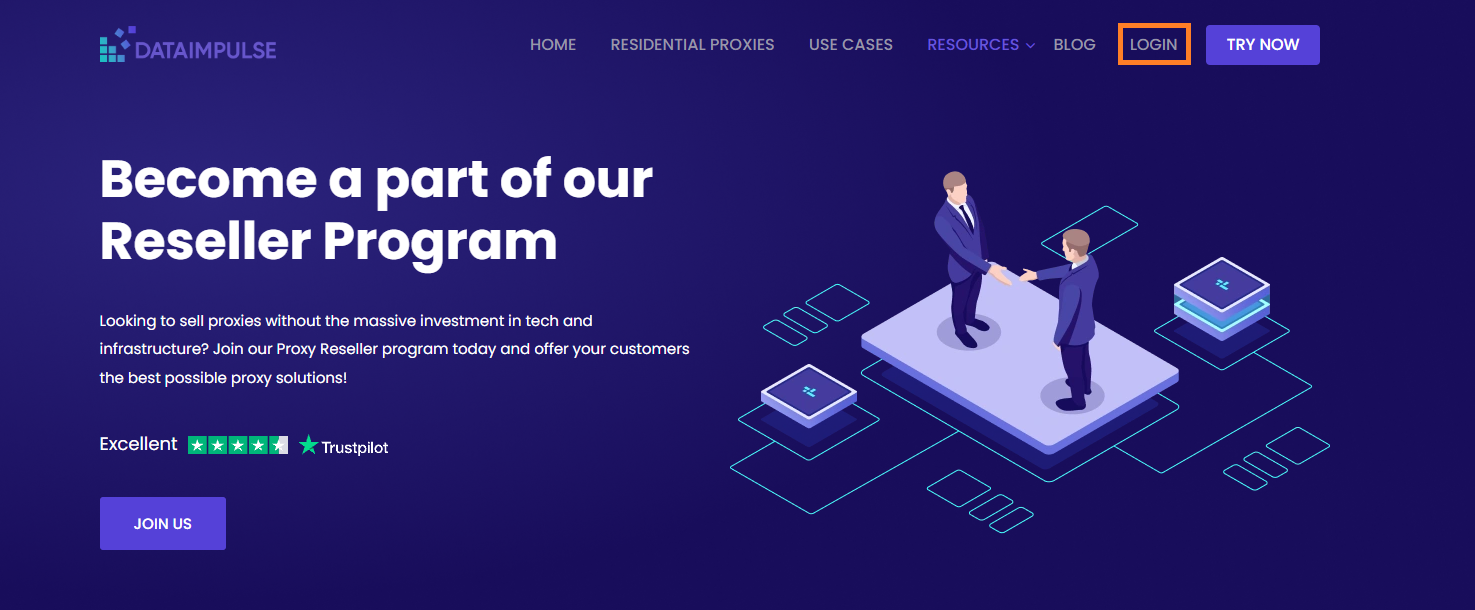
1. To begin, visit the DataImpulse Dashboard and either register for a new account or log in to your existing one.
2. Once logged in, head to the Resellers section. Fill out the Know Your Customer (KYC) form to verify your identity and ensure compliance with our platform’s policies. After that, sign the Reseller Agreement to activate your reseller status.
|* What is a KYC form?
KYC (Know Your Customer) is a simple identity verification process that helps ensure transparency and prevent fraud. You’ll need to provide basic information like your full name, a government-issued ID, proof of address, and contact details. For businesses, company info may also be required.|
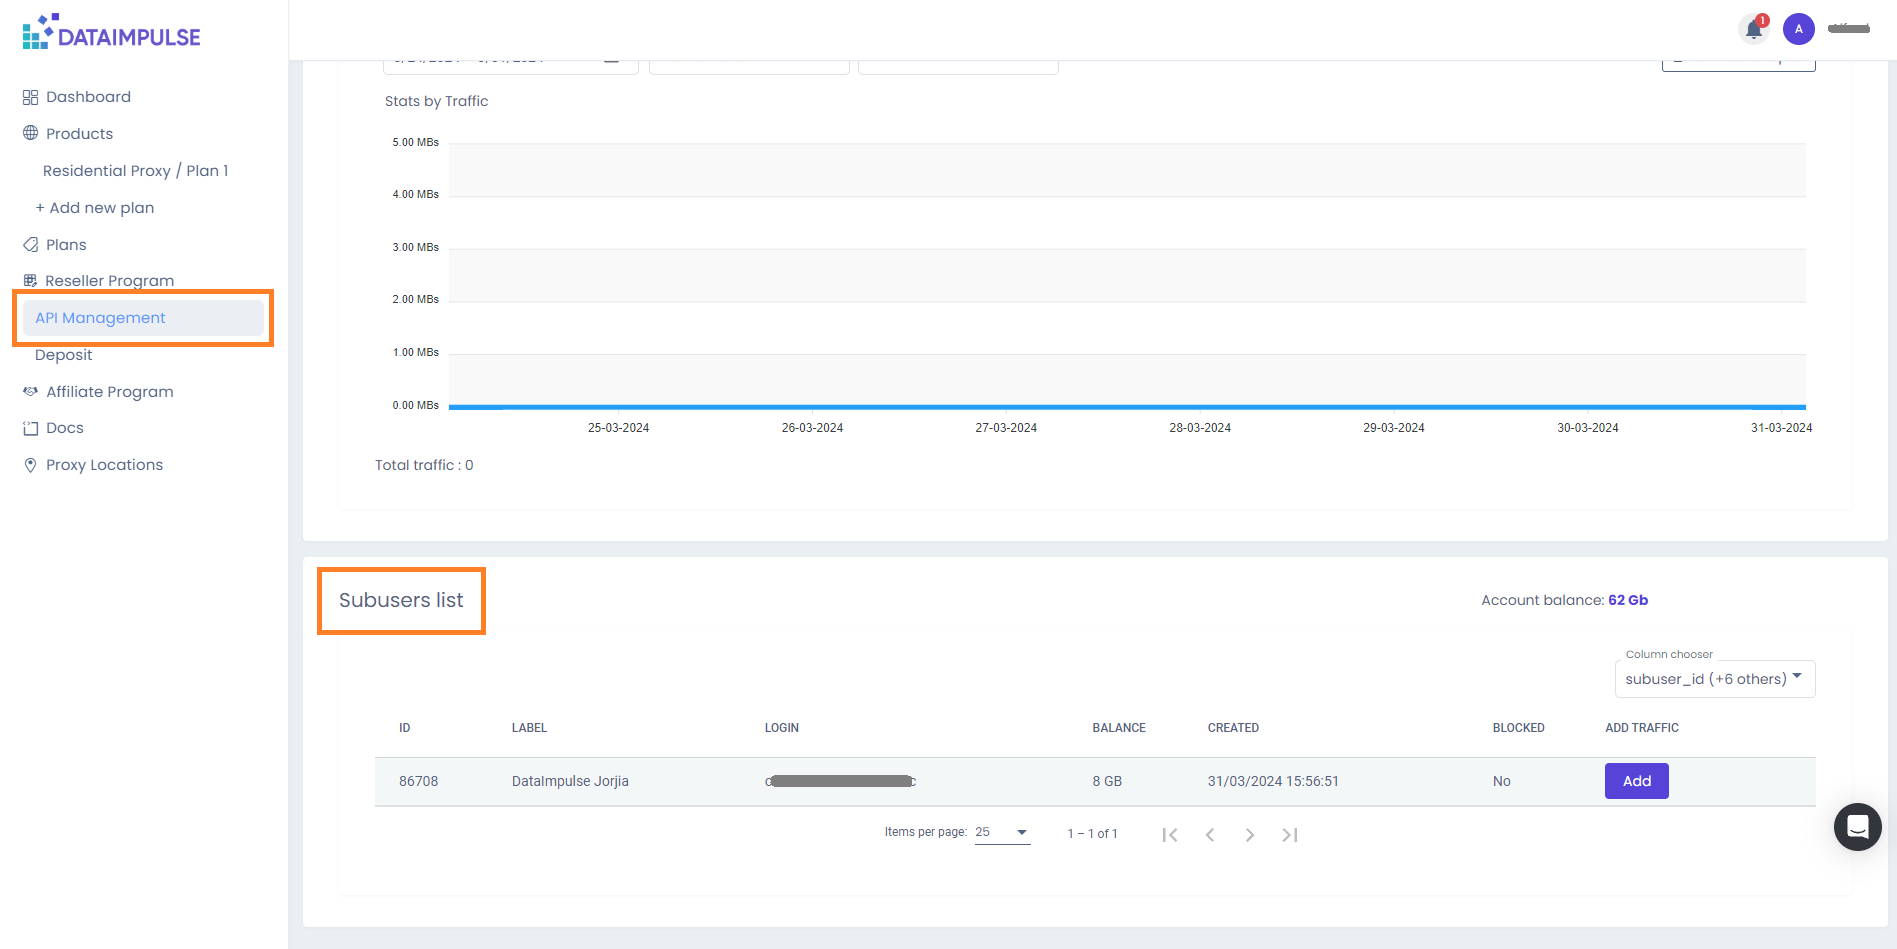
3. Once verified, navigate to the “API Management” tab in your dashboard. Under API Authentication Settings, save your API login and API password for the next steps in Postman.
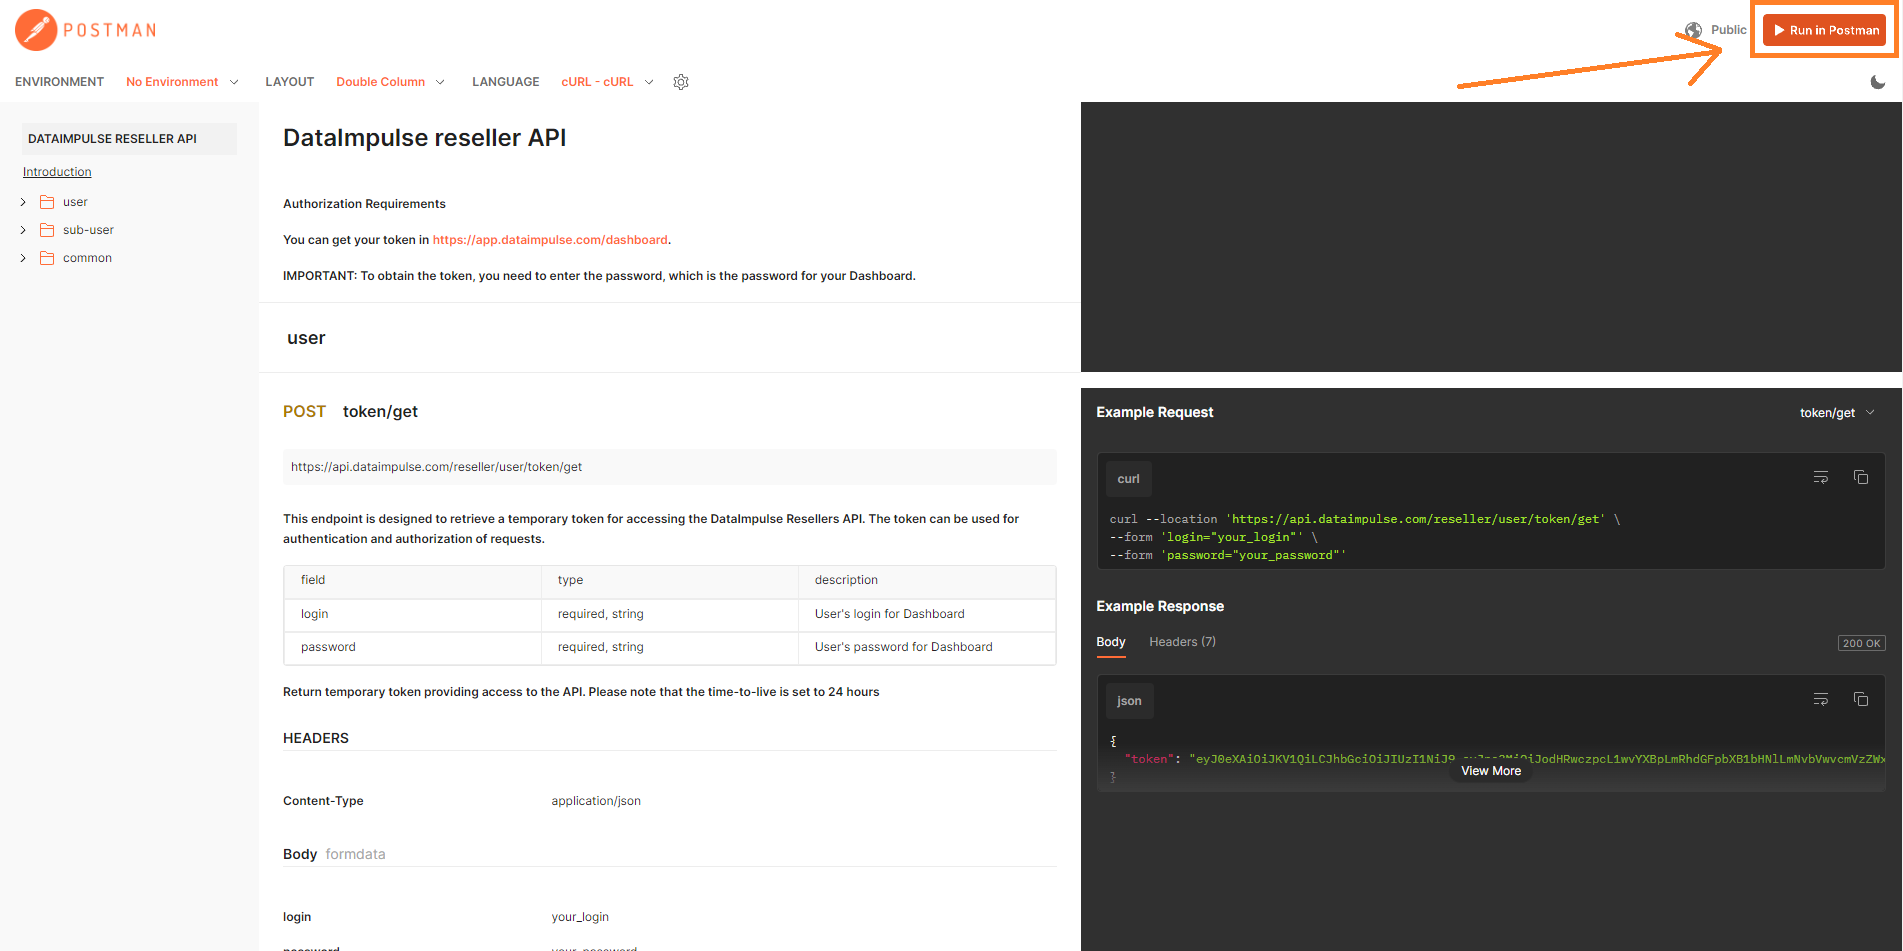
You can find all available commands in our reseller documentation.
Below, an example will be provided with the execution of some requests in Postman, but you can also integrate and execute this in any other program that suits you.
1. Open the reseller document and click “Run in Postman“.
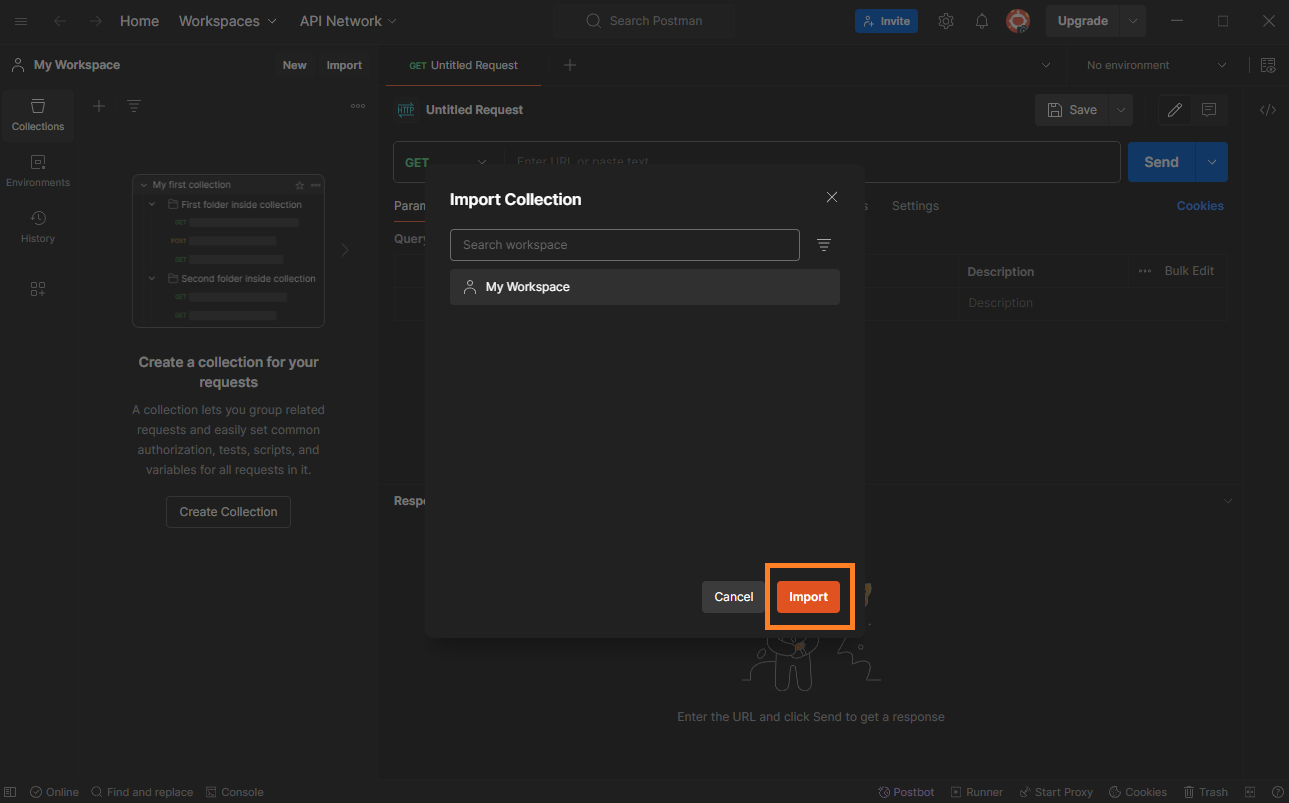
2. Log in or create your account in Postman and import our reseller document into it.
Note: If the import prompt does not appear immediately, press the “Run in Postman” button again.
3. Go to the user/token/get folder, enter the details from the API Management tab and retrieve the token.
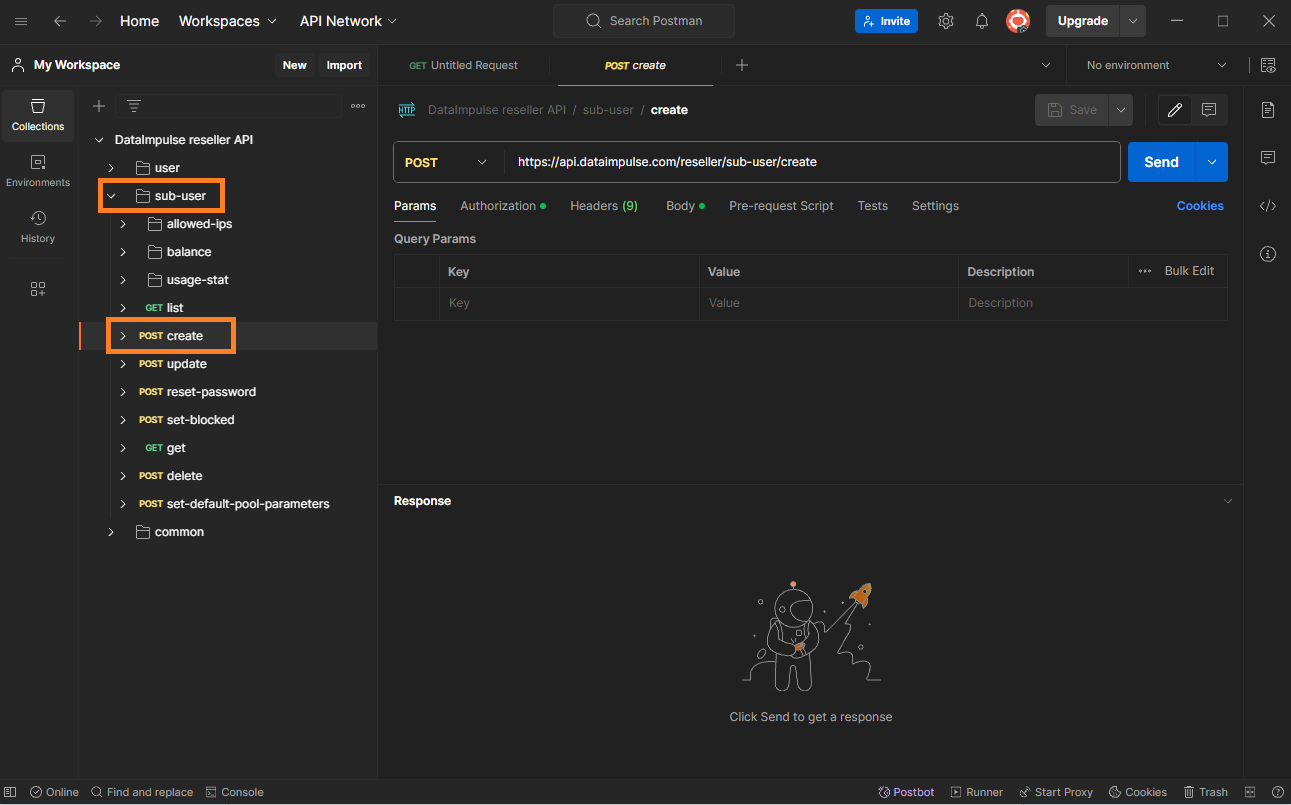
4. Next, let’s start create a user. In the “sub-users” tab, select the “post create” section.
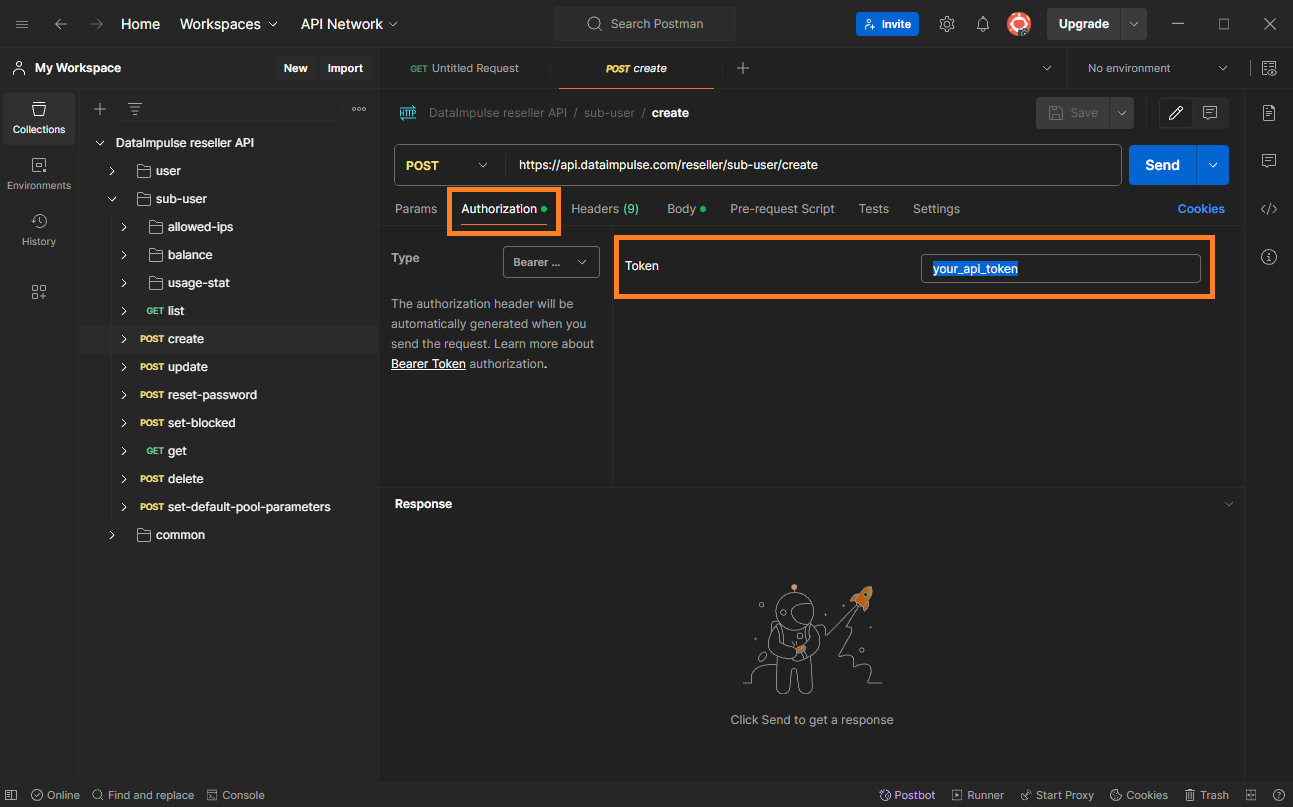
5. Next, in the “Authorization” section, paste your API token received earlier.
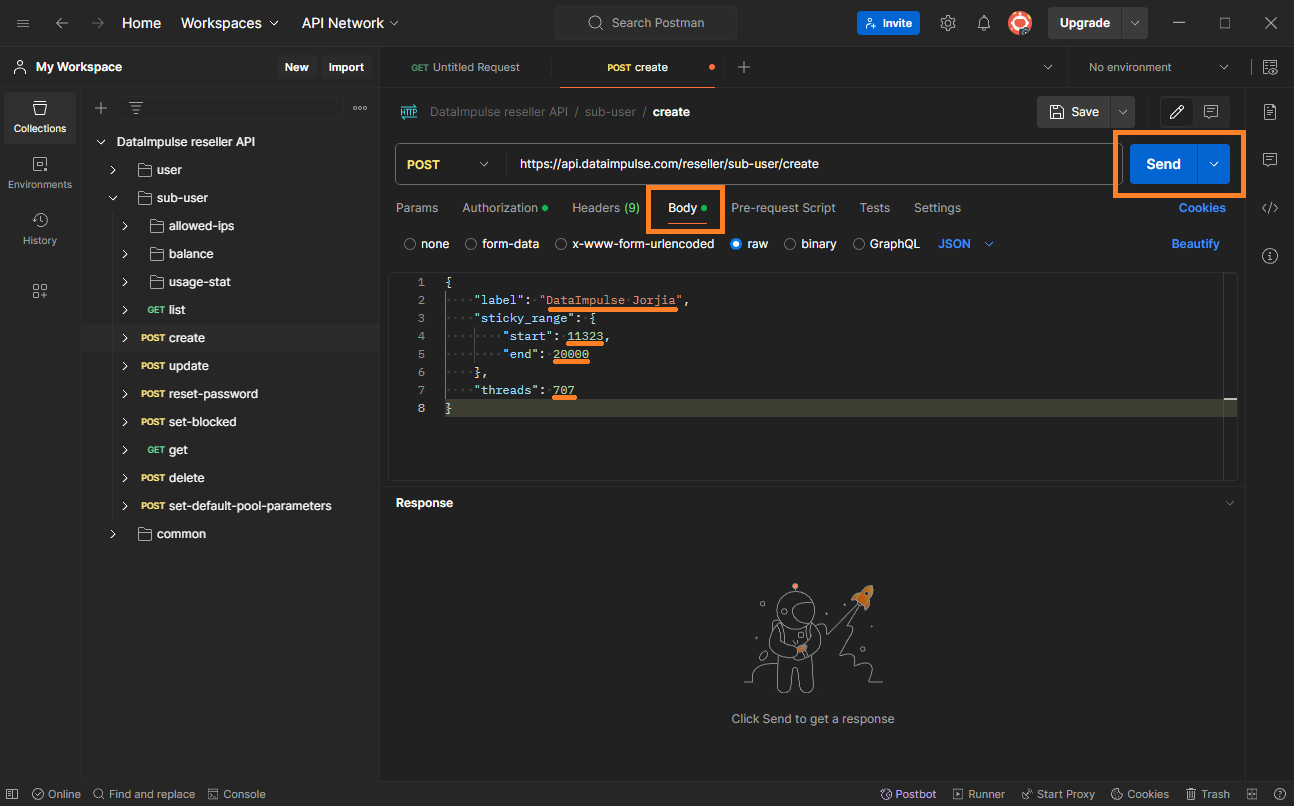
6. After entering the API token, navigate to the “Body” tab. In this section, you can specify the username, threads for the user, sticky range, and other parameters. Then, click the “Send” button.
All available parameters and their values are listed in the reseller document.
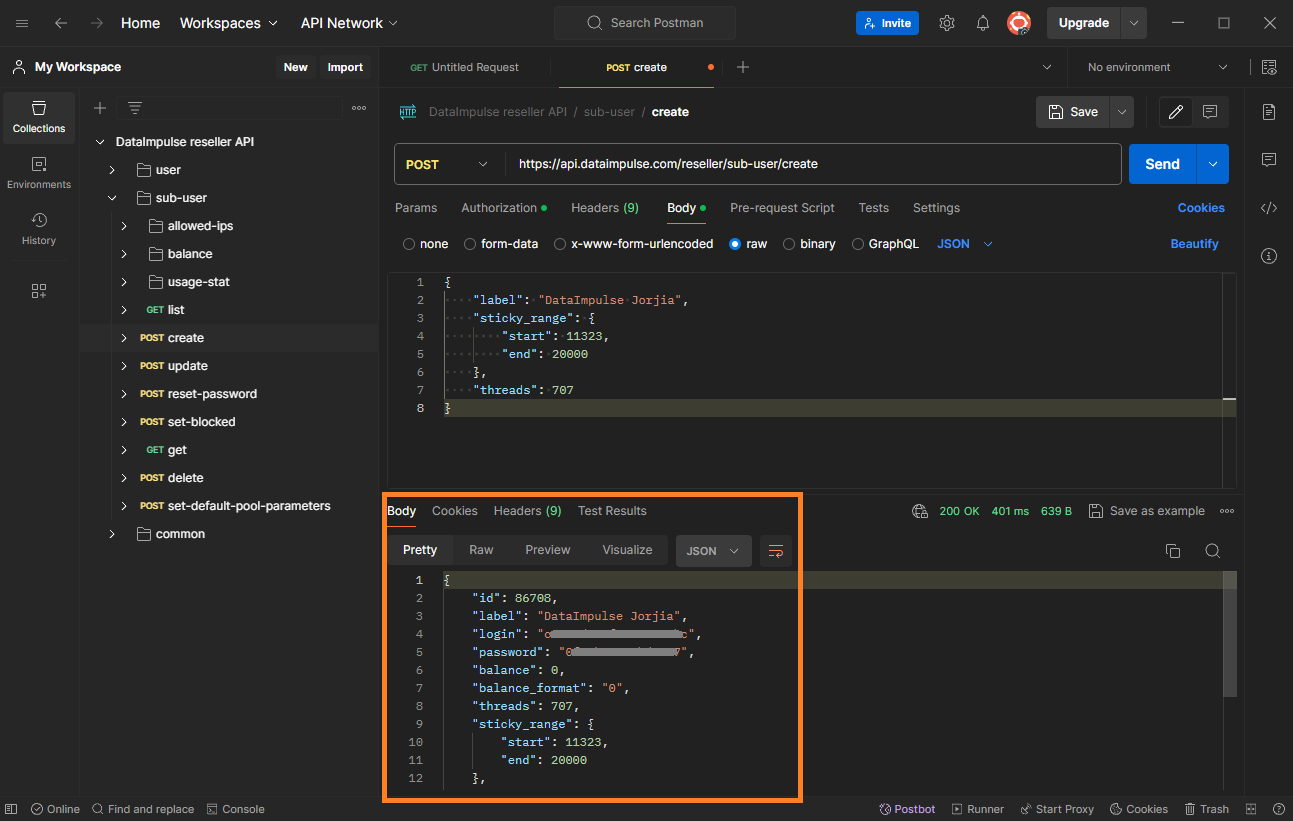
7. If everything was successful, in the “Response” section you will get all the information about the sub-user you created.
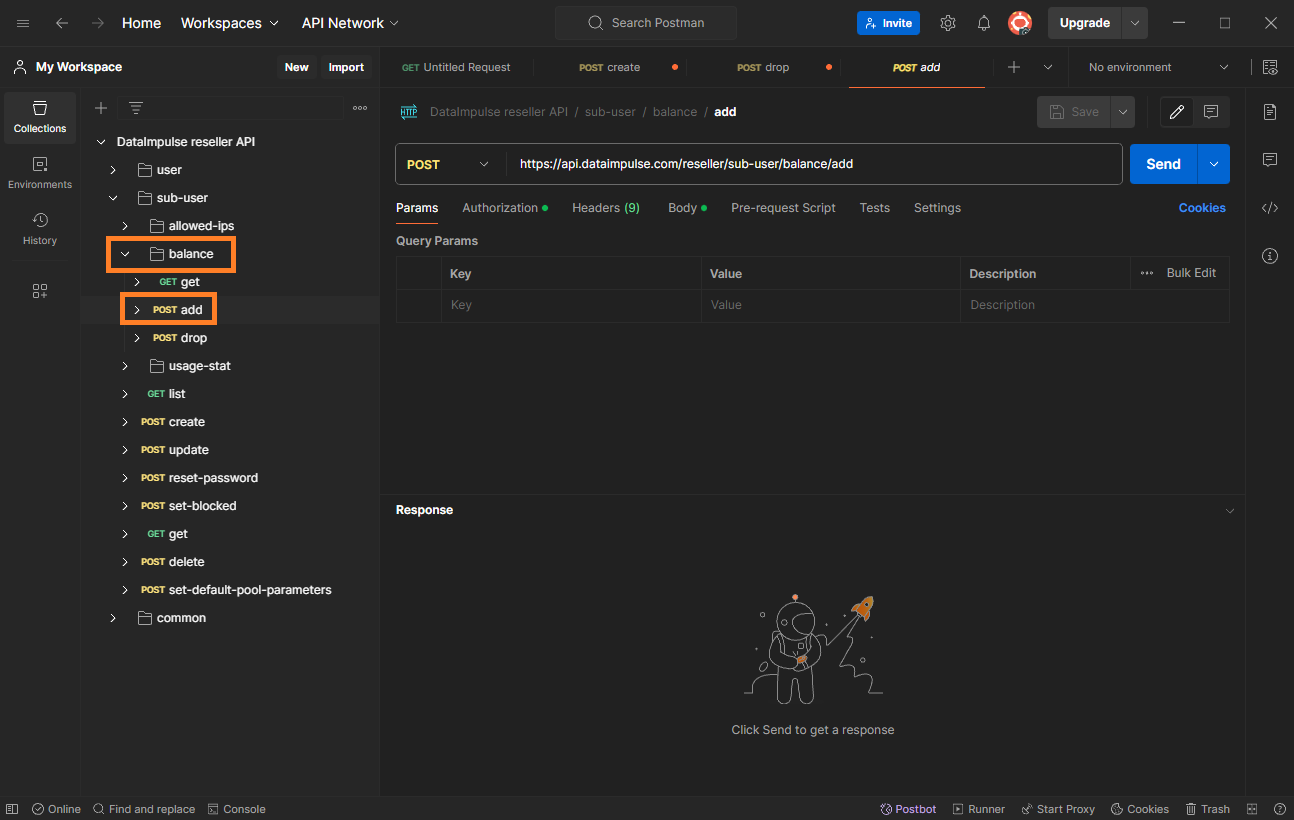
8. The next step is to add traffic to the created user. To do this, navigate to the “balance” section and select the “post add” subsection.
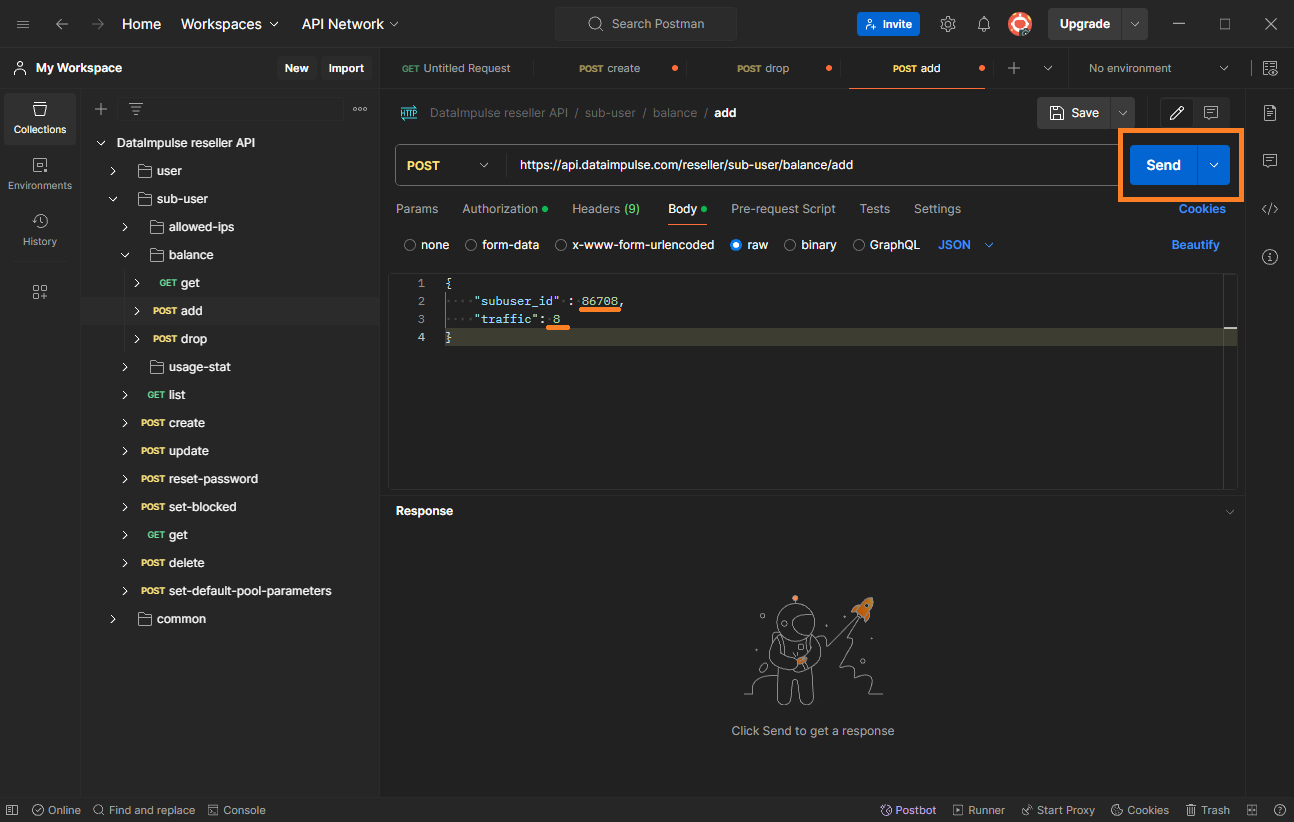
9. Go to the “Body” section, specify the user ID to whom traffic needs to be added, as well as the amount of traffic. Then, send the request by clicking the “Send” button.
Note: Before this, in the “Authorization” section, don’t forget to insert your API token.
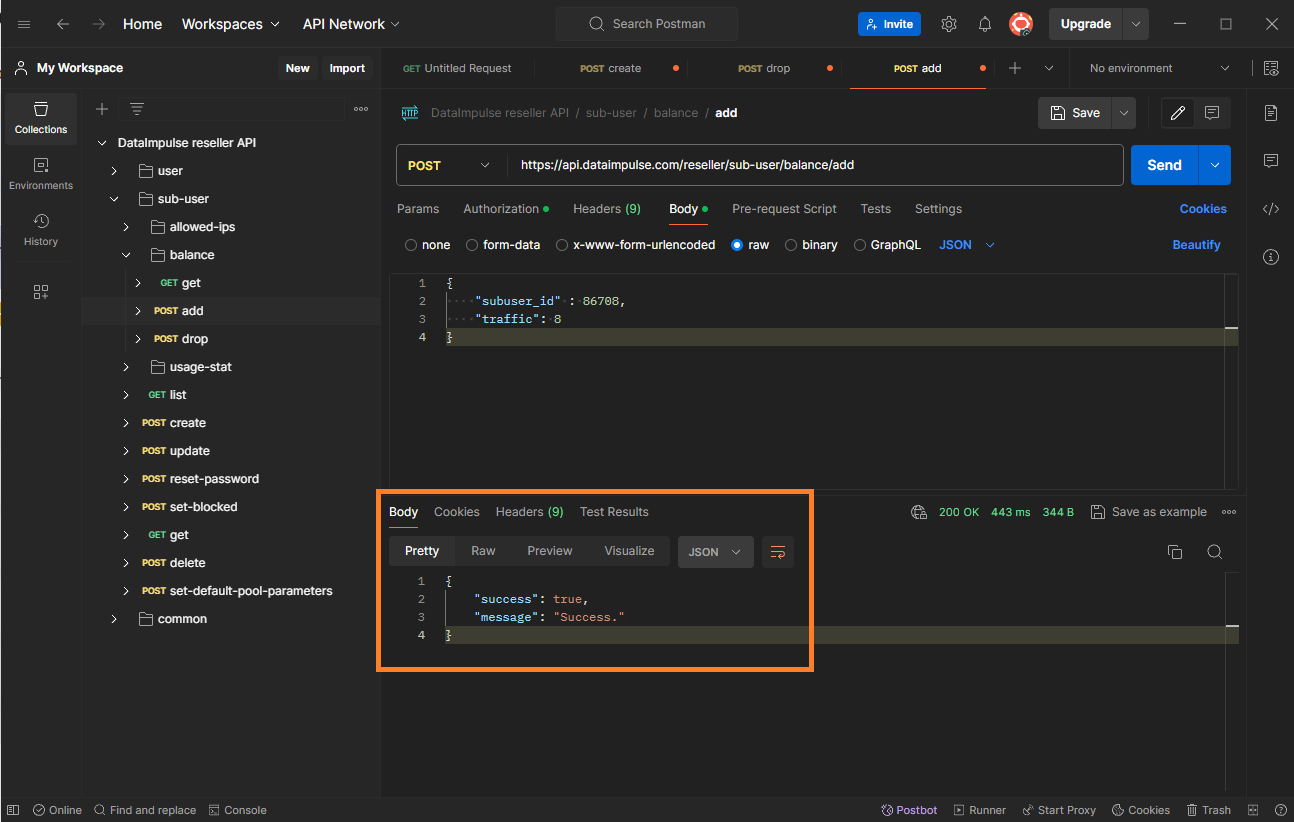
10. If the traffic has been successfully added to your sub-user, you will receive a “Success” message.
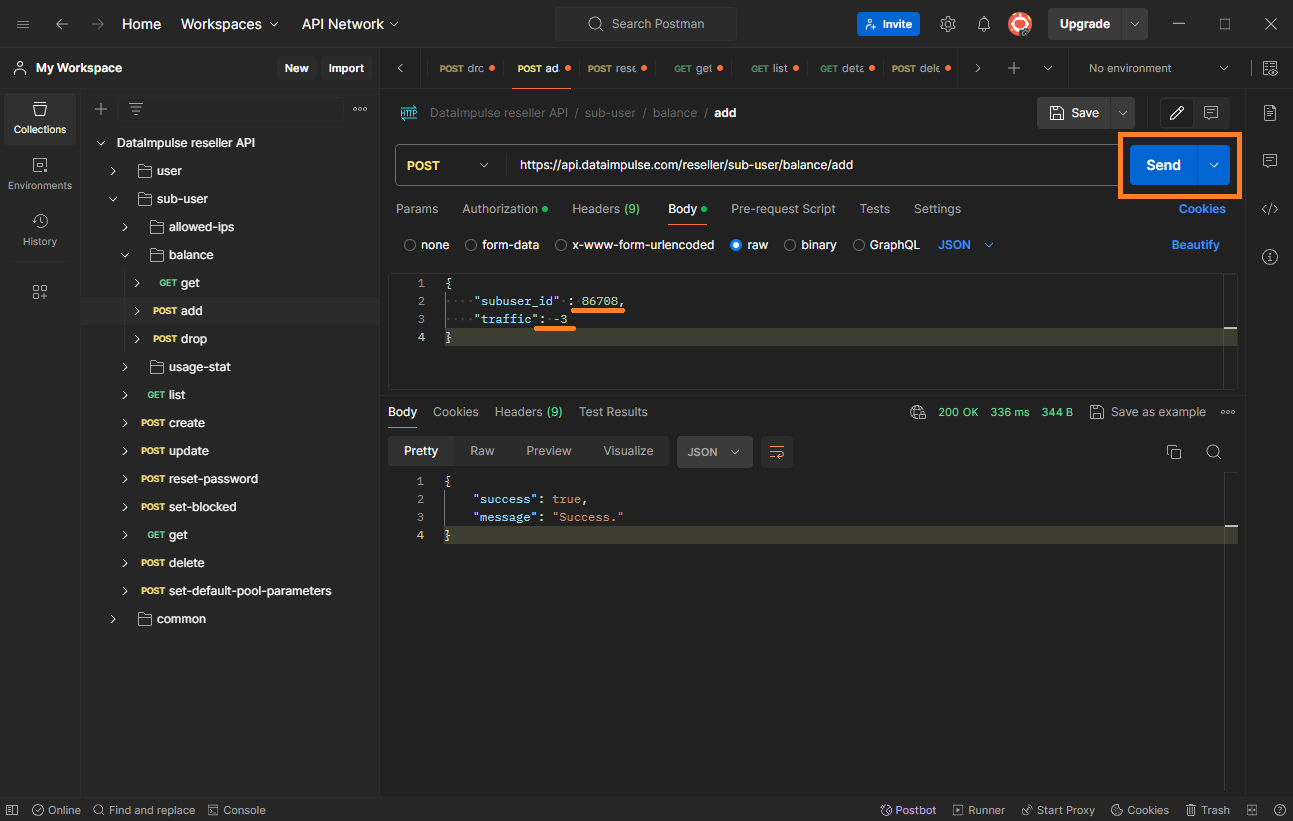
11. If you want to subtract traffic from a sub-user, the procedure is identical to adding traffic. Just remember to use a minus “–” sign before the traffic amount.
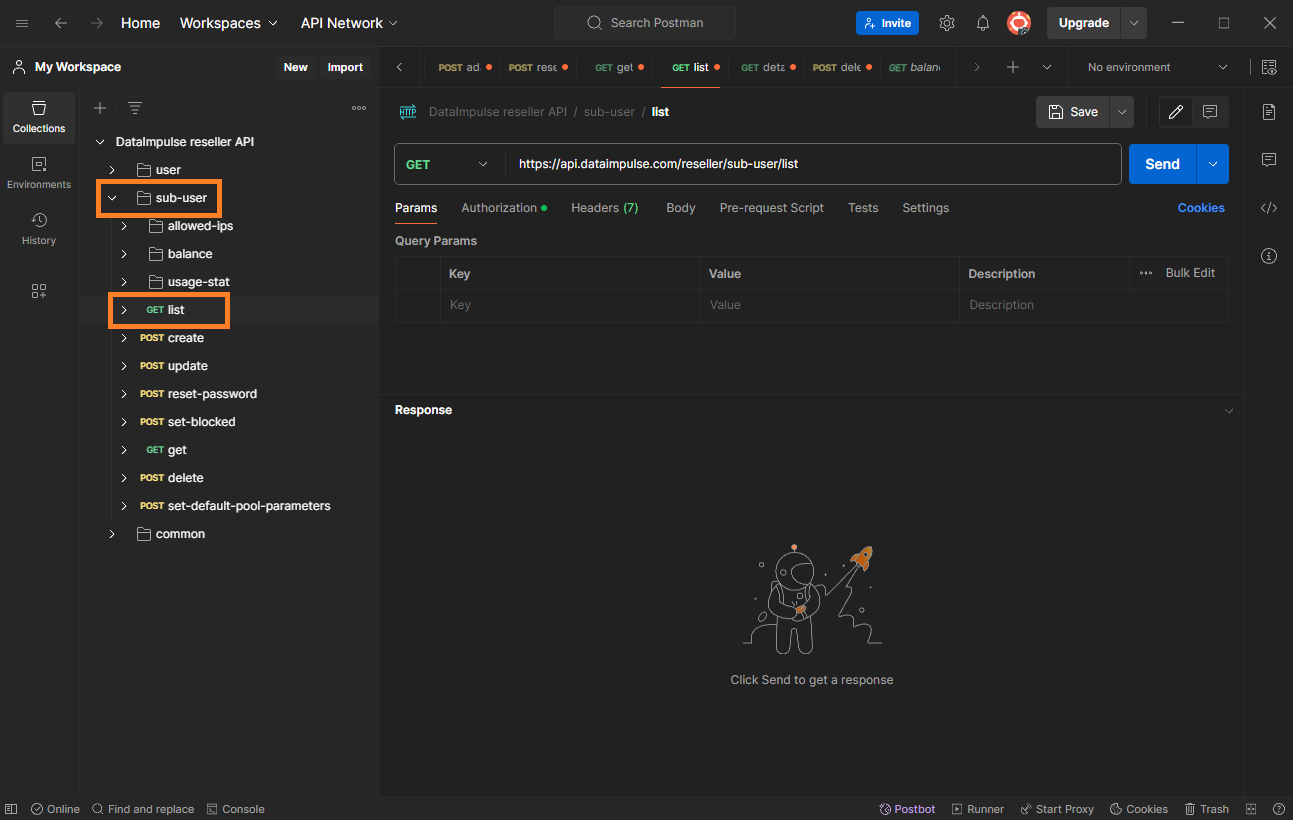
12. Next, to view a list of your sub-users and details about their plans, navigate to the “sub-users” tab and select the “GET info” section.
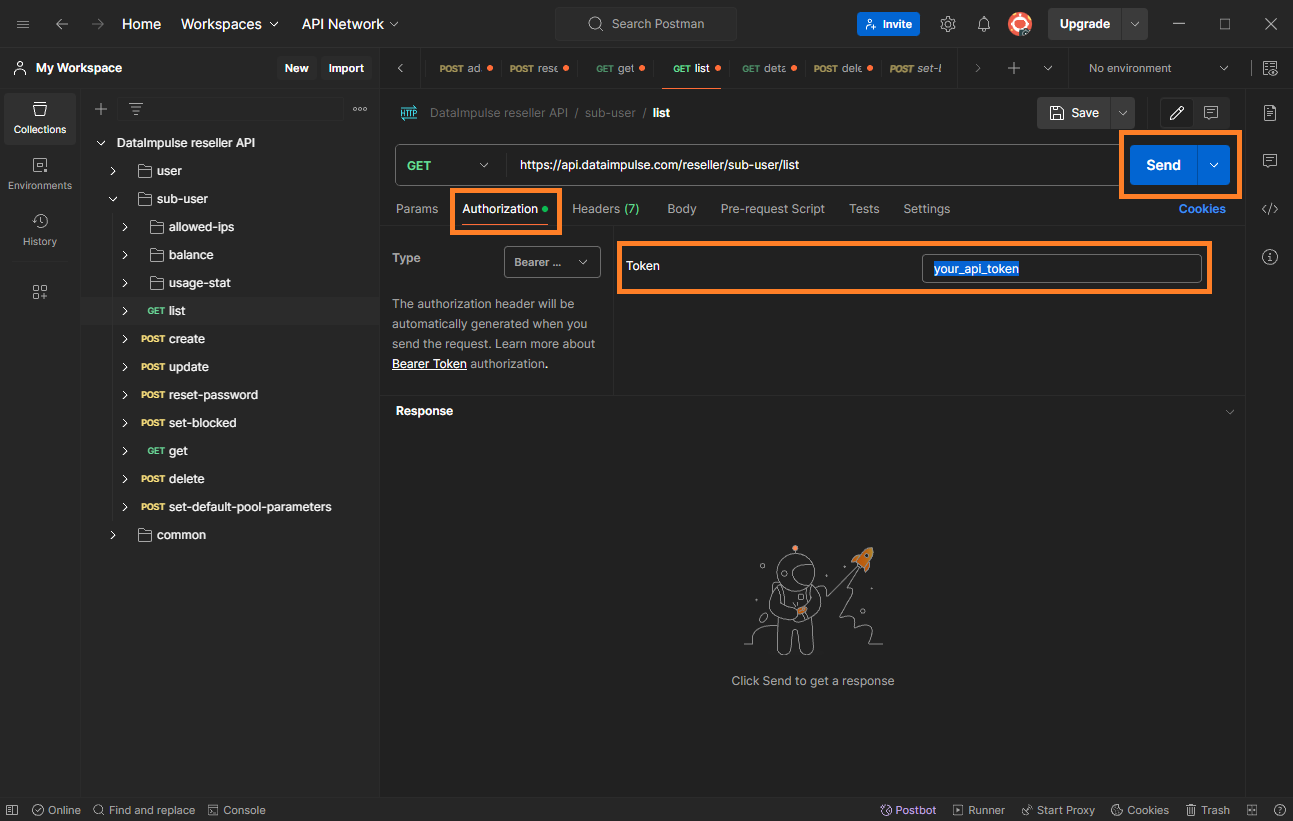
13. In the “Authorization” section, fill in your API key and press the “Send” button to execute the request.
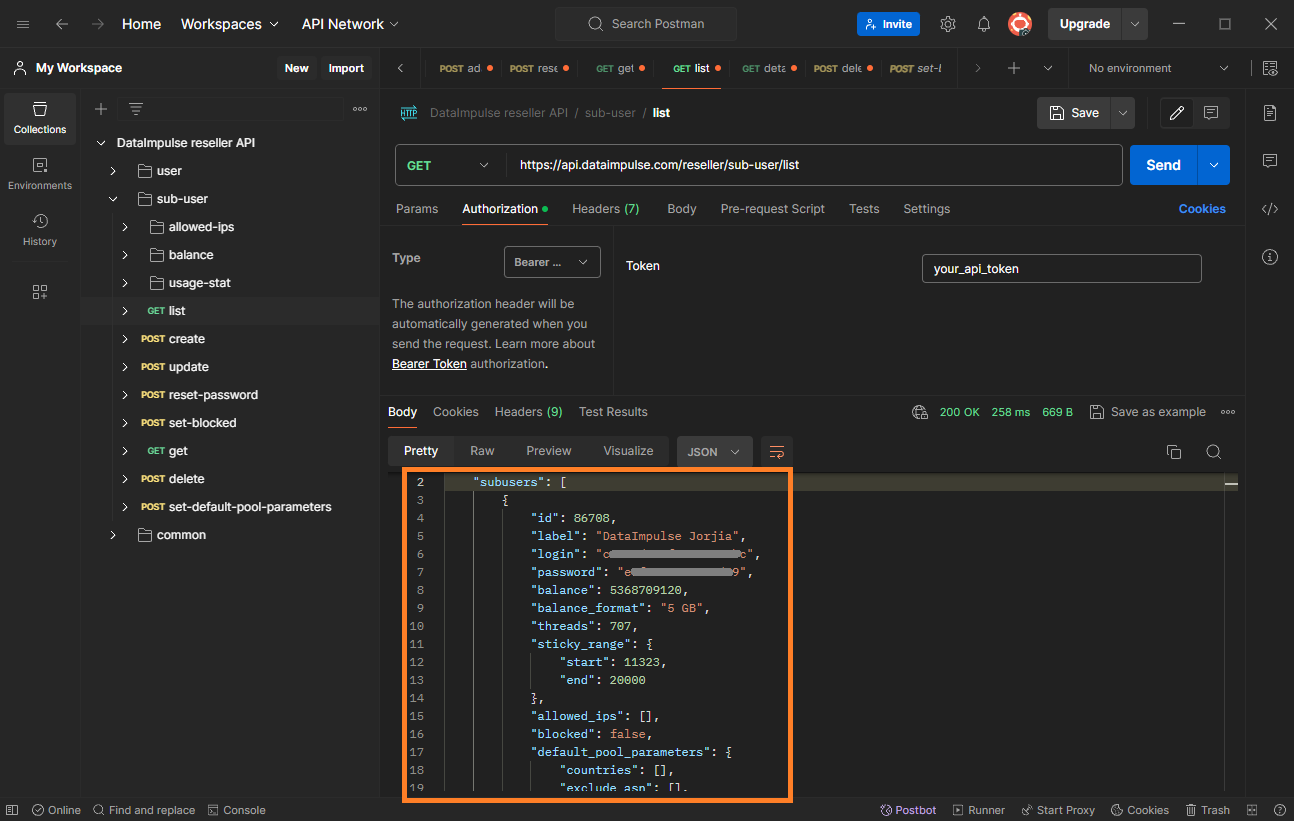
14. Once the request is sent, the “Response” section will display detailed information about all your sub-users, such as their login, password, traffic balance, and additional details.
That’s it, now you know how to get an API token and use it to create and manage
your sub-users.
All other requests are done in the same way as the previous ones.
Additionally, you can find a list of your sub-users in your account dashboard, in the “API Management” section.
