Proxy Integration with Drony
This app serves as a valuable solution for Android, as it enables seamless operation with proxy authentications, which are not natively available. Its functionality is especially beneficial for corporate, university, or school network environments. The app efficiently supports various authentication methods, including digest, windows (ntlm), and basic authentication. It covers a wide range of proxy types, such as HTTP, HTTPS and SOCKS5, making it versatile and suitable for diverse proxy configurations. This comprehensive app ensures smooth and secure communication within your network infrastructure.
Configuring proxies with Drony is a breeze. Just follow these simple steps:
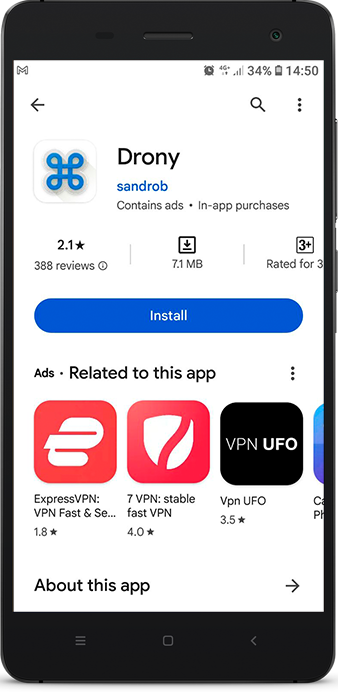
- Download the Drony app from Play Store.
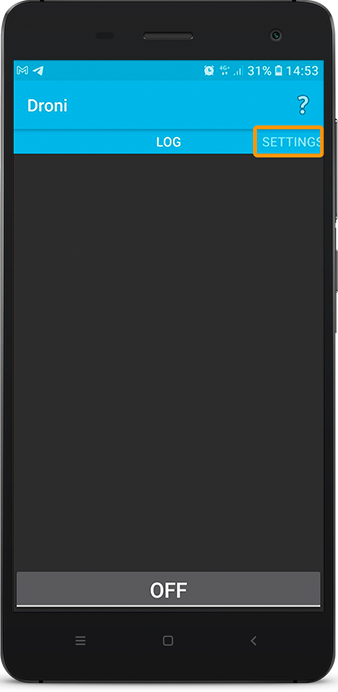
- Launch the Drony app and proceed to the Settings section within the application.
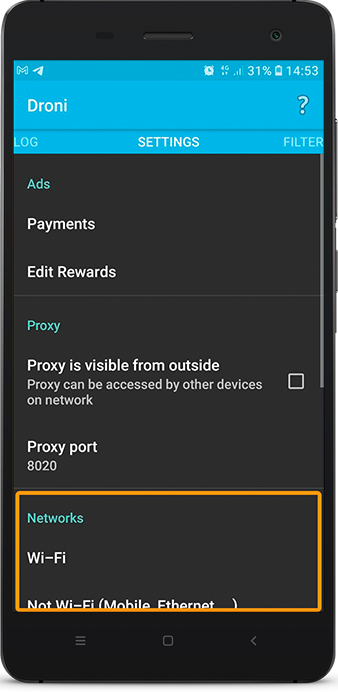
- Within the Networks category, pick the Network type you wish to set up the proxy for. Please be aware that if you choose Wi-Fi, you’ll need to further select the specific network your device is connected to from the Network list screen.
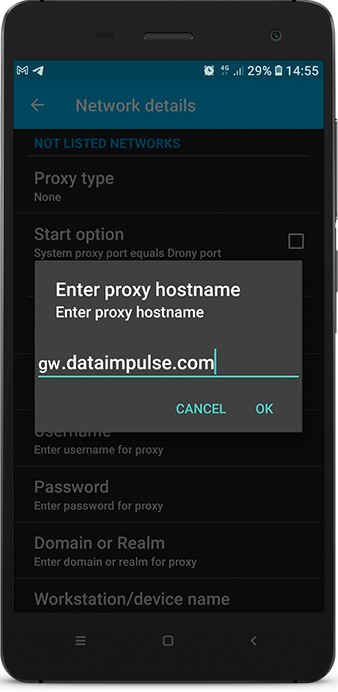
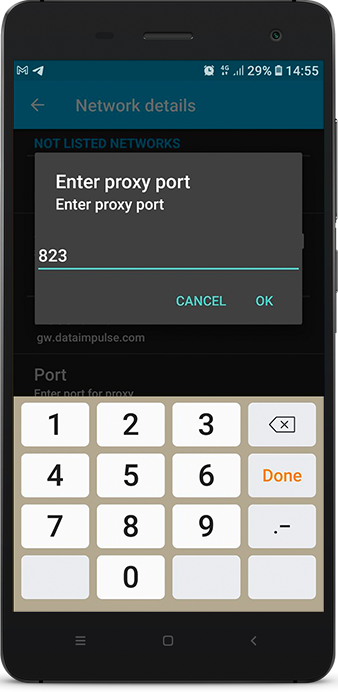
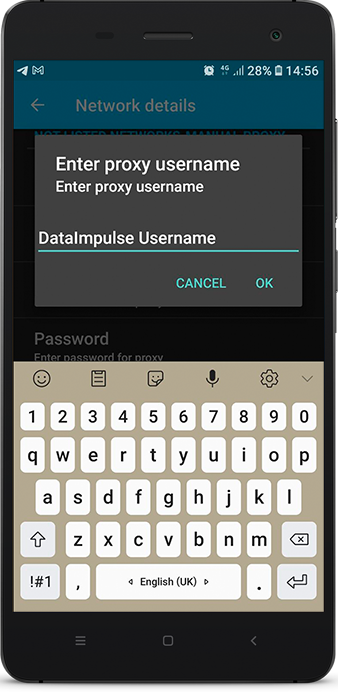
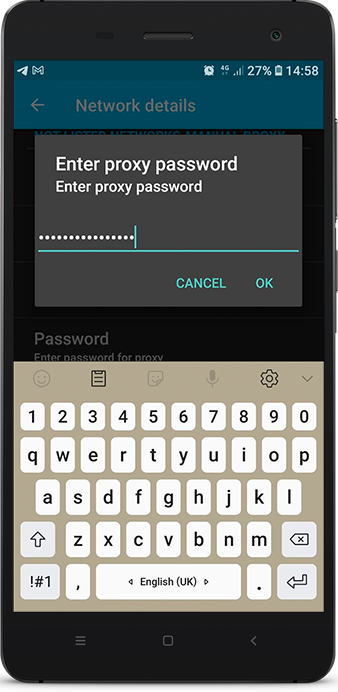
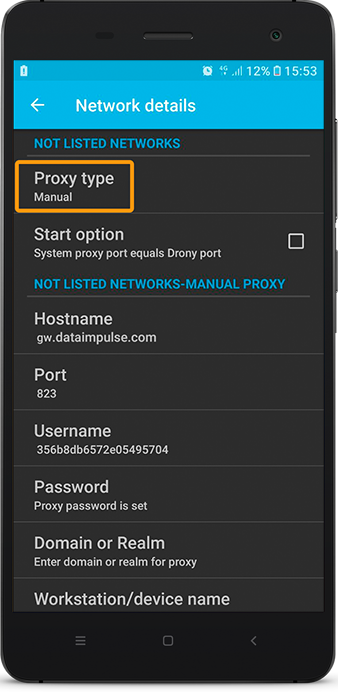
- On the Network details page, it’s necessary to complete the fields for
Hostname: gw.dataimpulse.com
Port: 823
Username – Your DataImpulse proxy plan username
Password – Your DataImpulse proxy plan password
- Once you’ve filled in the Hostname, Port, Username, and Password, ensure that the Proxy type is automatically set to Manual. If it’s not, please adjust it to Manual mode.
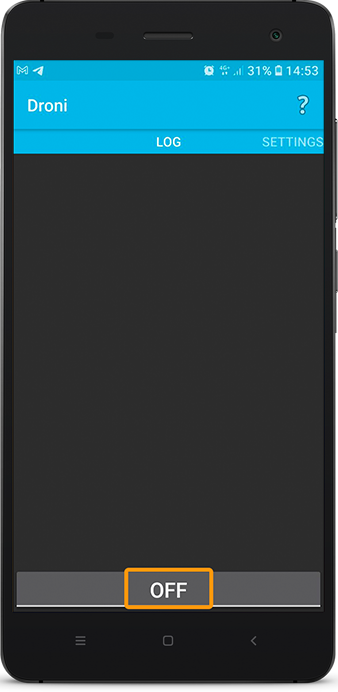
- Return to the Log (Home) screen and simply tap the OFF button to turn it ON. In simpler words, start the Log by toggling the button.
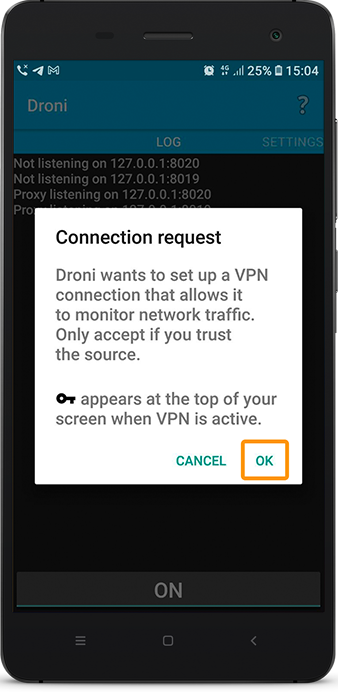
NOTE: If a pop-up window appears asking for permission to set up a VPN through Drony, please grant the permission.
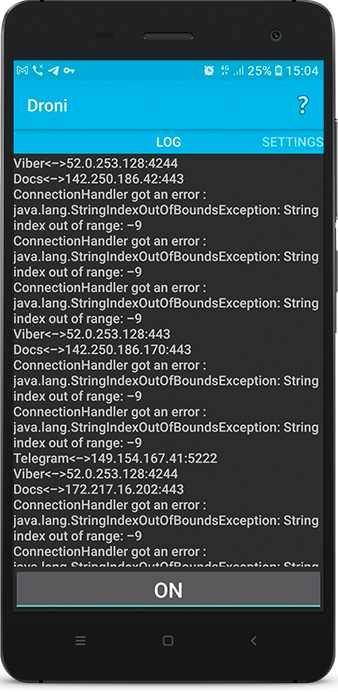
- Once the Log is activated, you can minimize the app and begin your testing.
You’re now ready to enjoy the benefits of using proxies with Drony!

