How to Integrate Proxies with MoreLogin
Banned accounts can cause problems like interrupting data collection, disrupting business activities, and even leading to legal or financial trouble. MoreLogin solves these issues by using advanced methods to mimic human activity, safely manage multiple accounts, and effectively prevent authentication disruptions. This browser has become a go-to choice for users worldwide, particularly in managing multiple social media accounts, affiliate marketing, traffic arbitrage, and e-commerce. Plus, MoreLogin integrates with proxies to rotate IP addresses, lowering the risk of privacy damage.

MoreLogin as one of the safest antidetect browsers
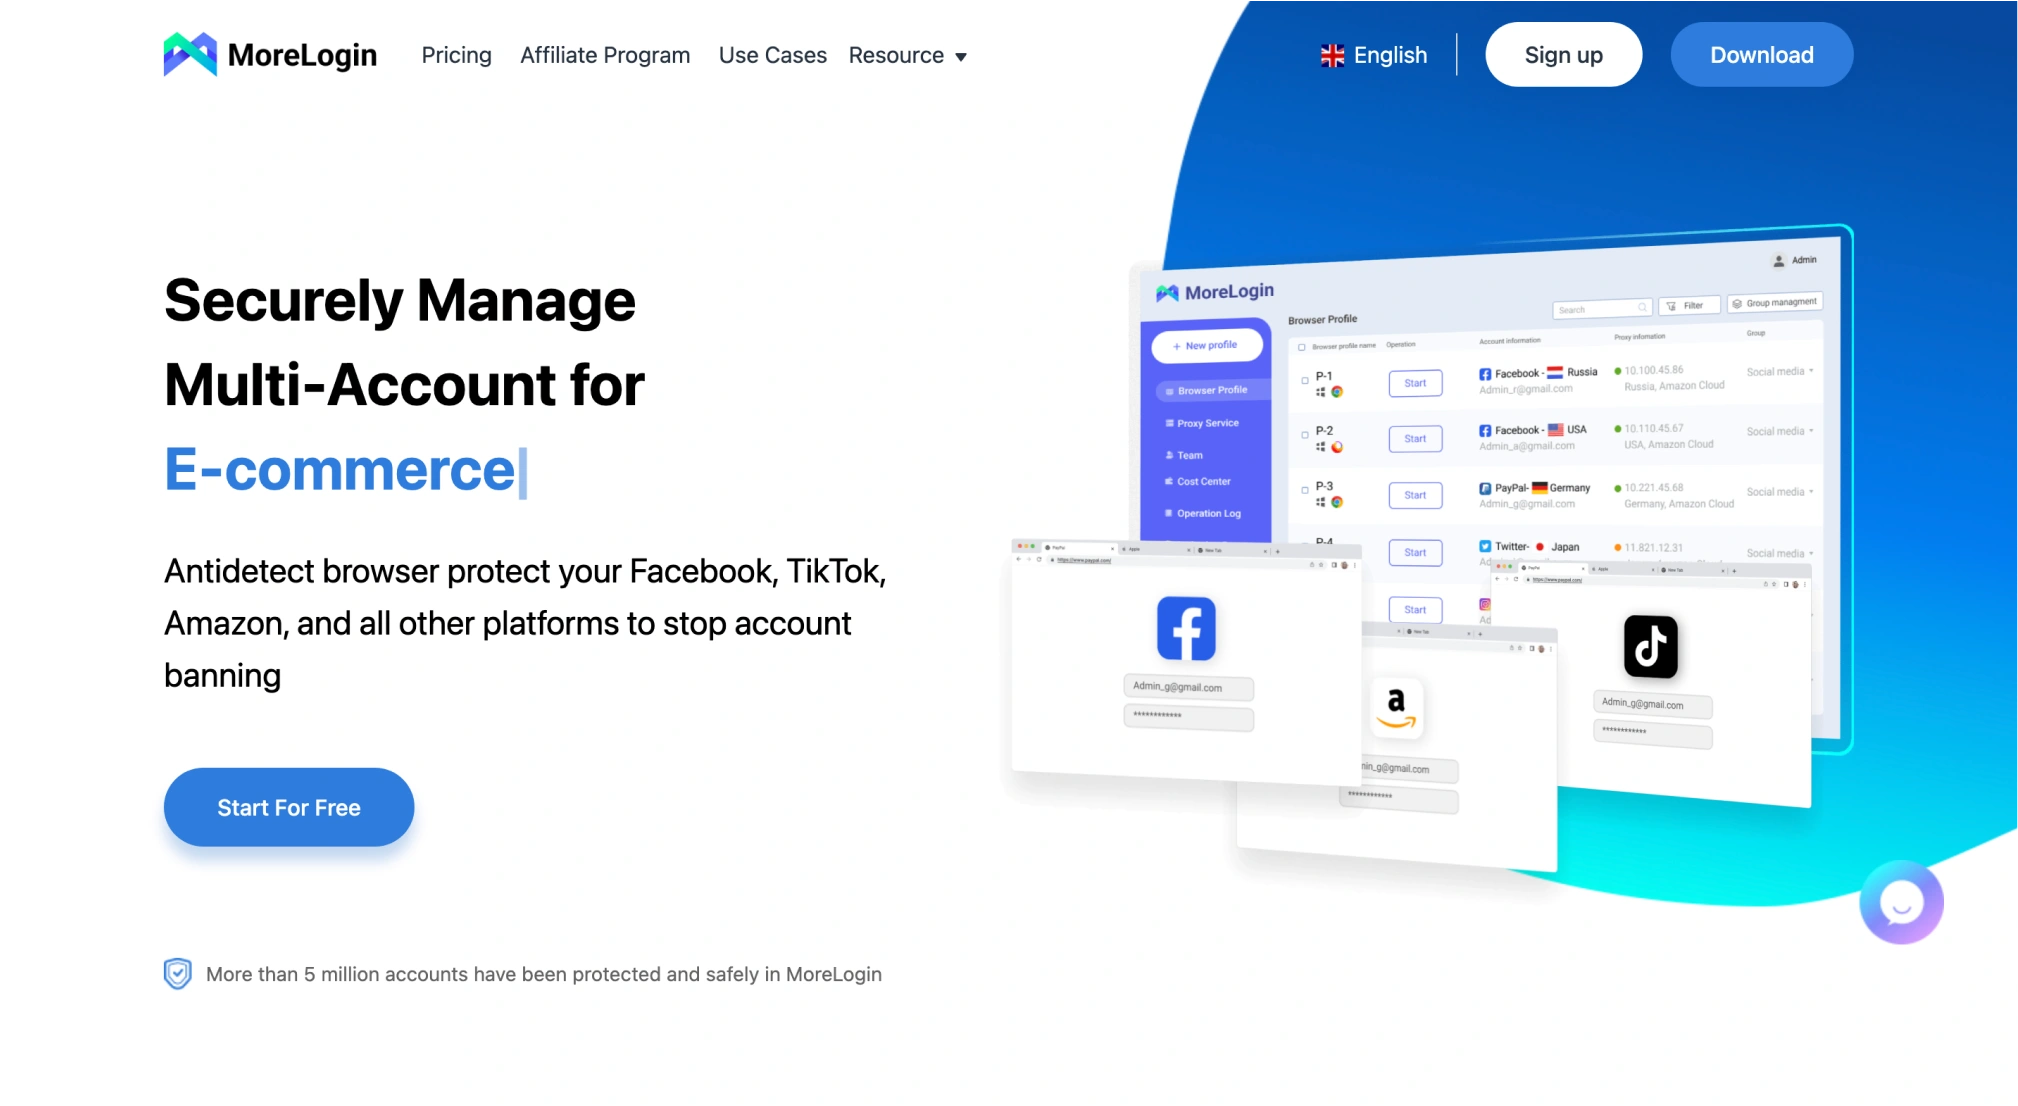
MoreLogin Antidetect Browser uses digital fingerprinting technology to protect your account on Facebook, Amazon, TikTok and other platforms. It has a unique Real Canvas Fingerprint technology, a user-friendly interface, and 24/7 customer service.
Available on both Chromium and Firefox, MoreLogin provides clean proxy resources globally with options for local or cloud-based data storage. You can download it for Windows, macOS, and soon for Android. What’s more, MoreLogin stands out with its high scores on third-party testing websites so you can be sure about their reliability.
Main Features:
- real canvas fingerprint technology;
- reliable account management;
- easy-to-use synchroniser;
- user-friendly interface;
- customized pricing plans;
- integration with proxies;
- pro customer service and much more!
How to set up proxies in MoreLogin
Here are some main steps to begin using DataImpulse proxies in MoreLogin.
-
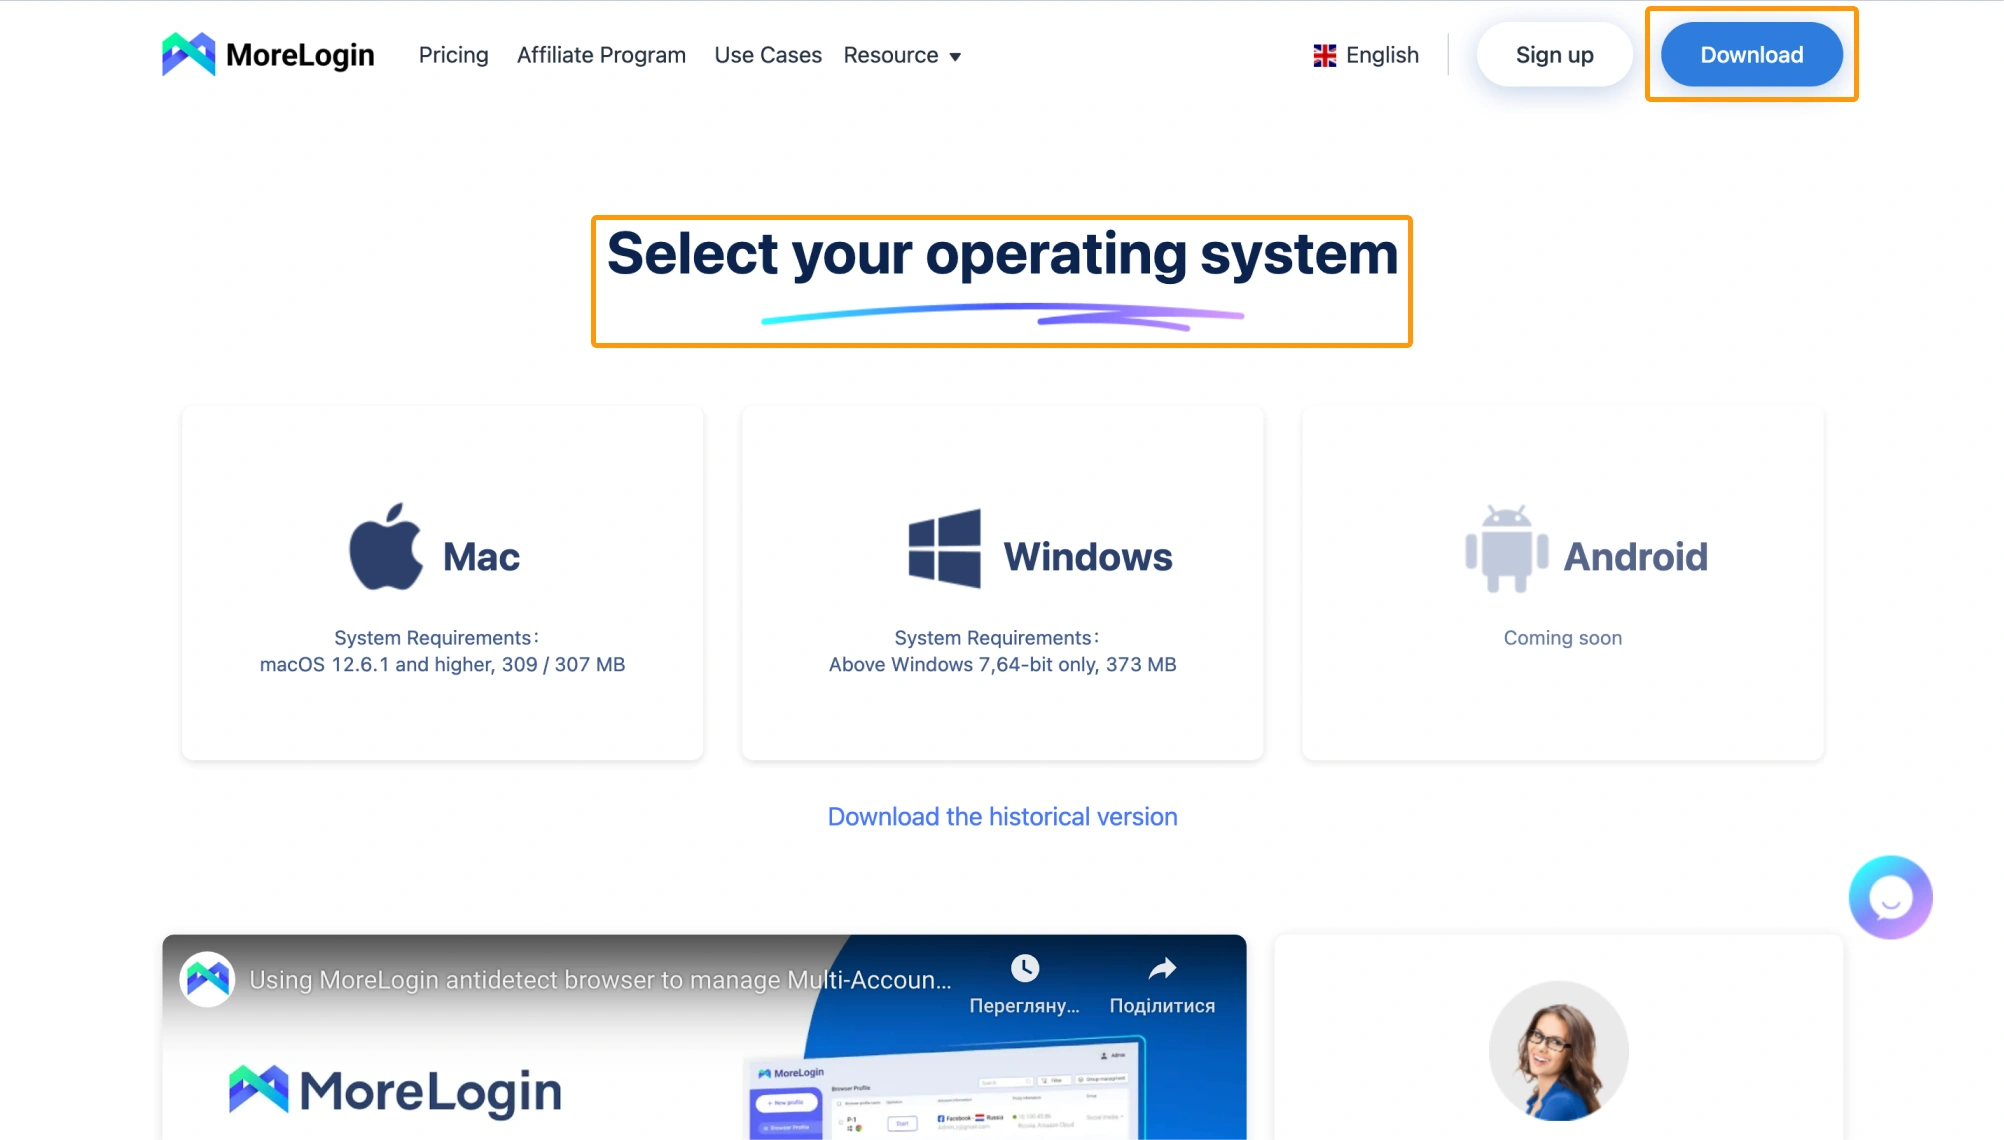
- Go to https://www.morelogin.com/ and click on the ‘Download’ button located at the top right corner.
- Select your operating system. It is available for Windows, macOS and soon will work on Android too.
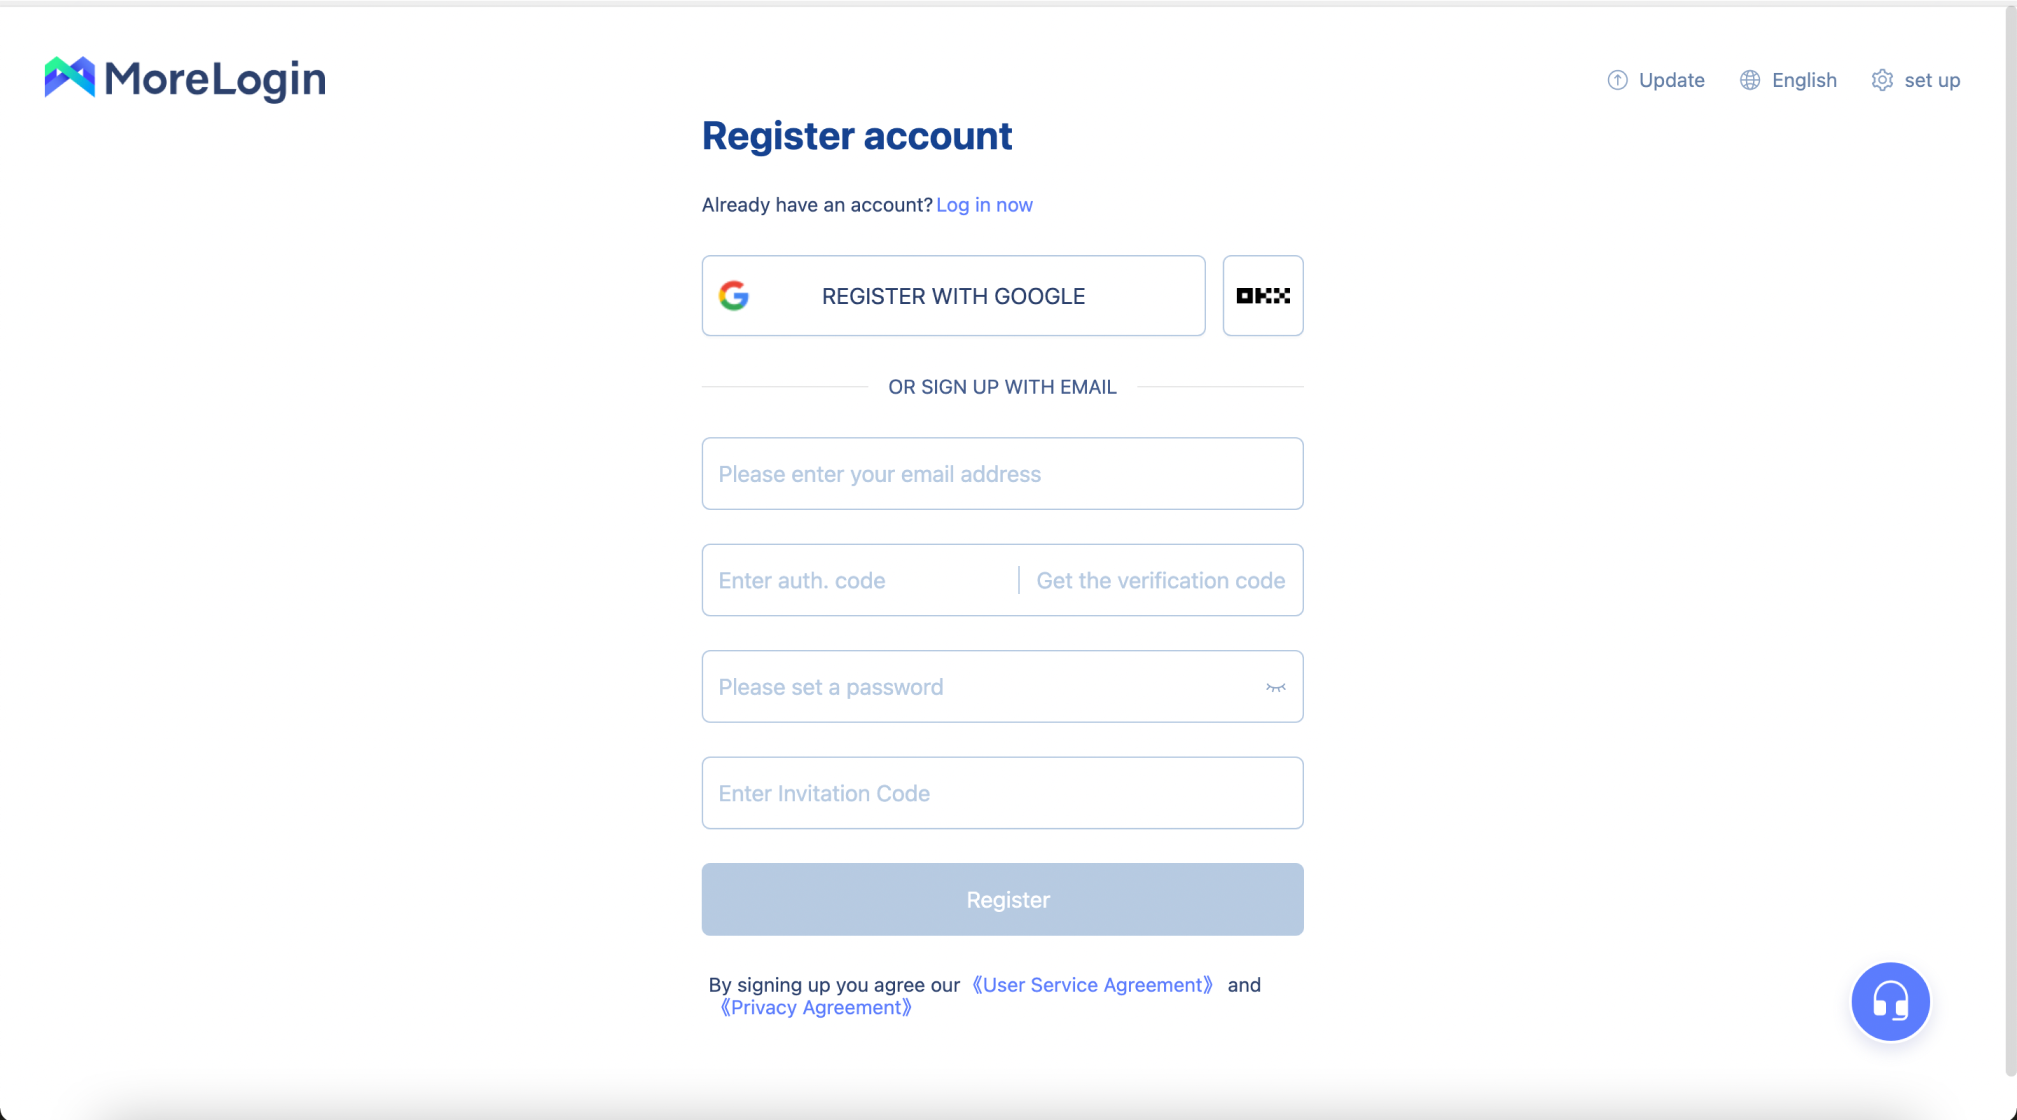
- After that, just open the application and you’ll see the registration form. You can ‘Sign up with email’ by entering your email address. Then, click on ‘Get the verification code’.
- Open your Inbox and you’ll get a verification code to complete your registration.
- Enter the code, set a secure password, and finish the registration process.
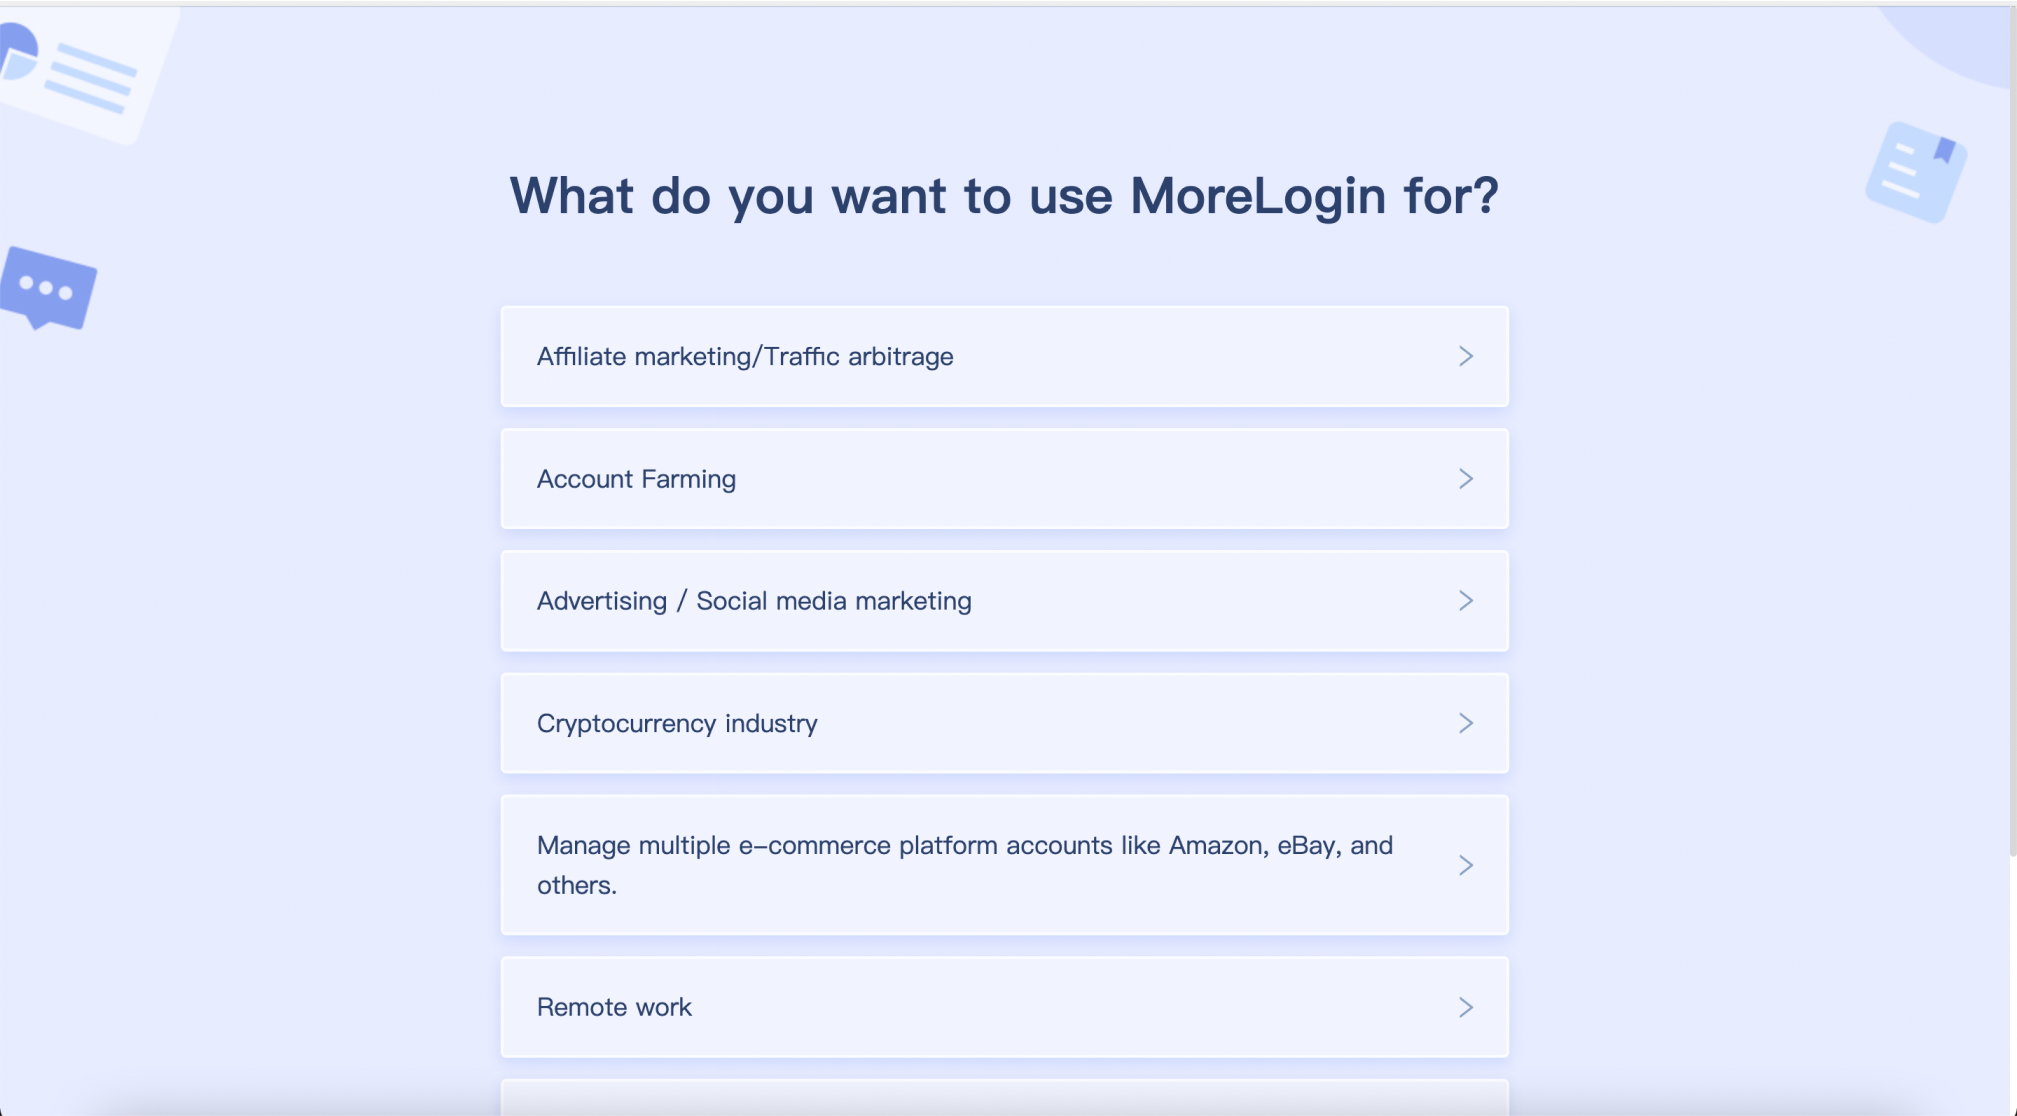
- After you successfully sign up, you’ll see a few questions from MoreLogin. Choose the preferred options.
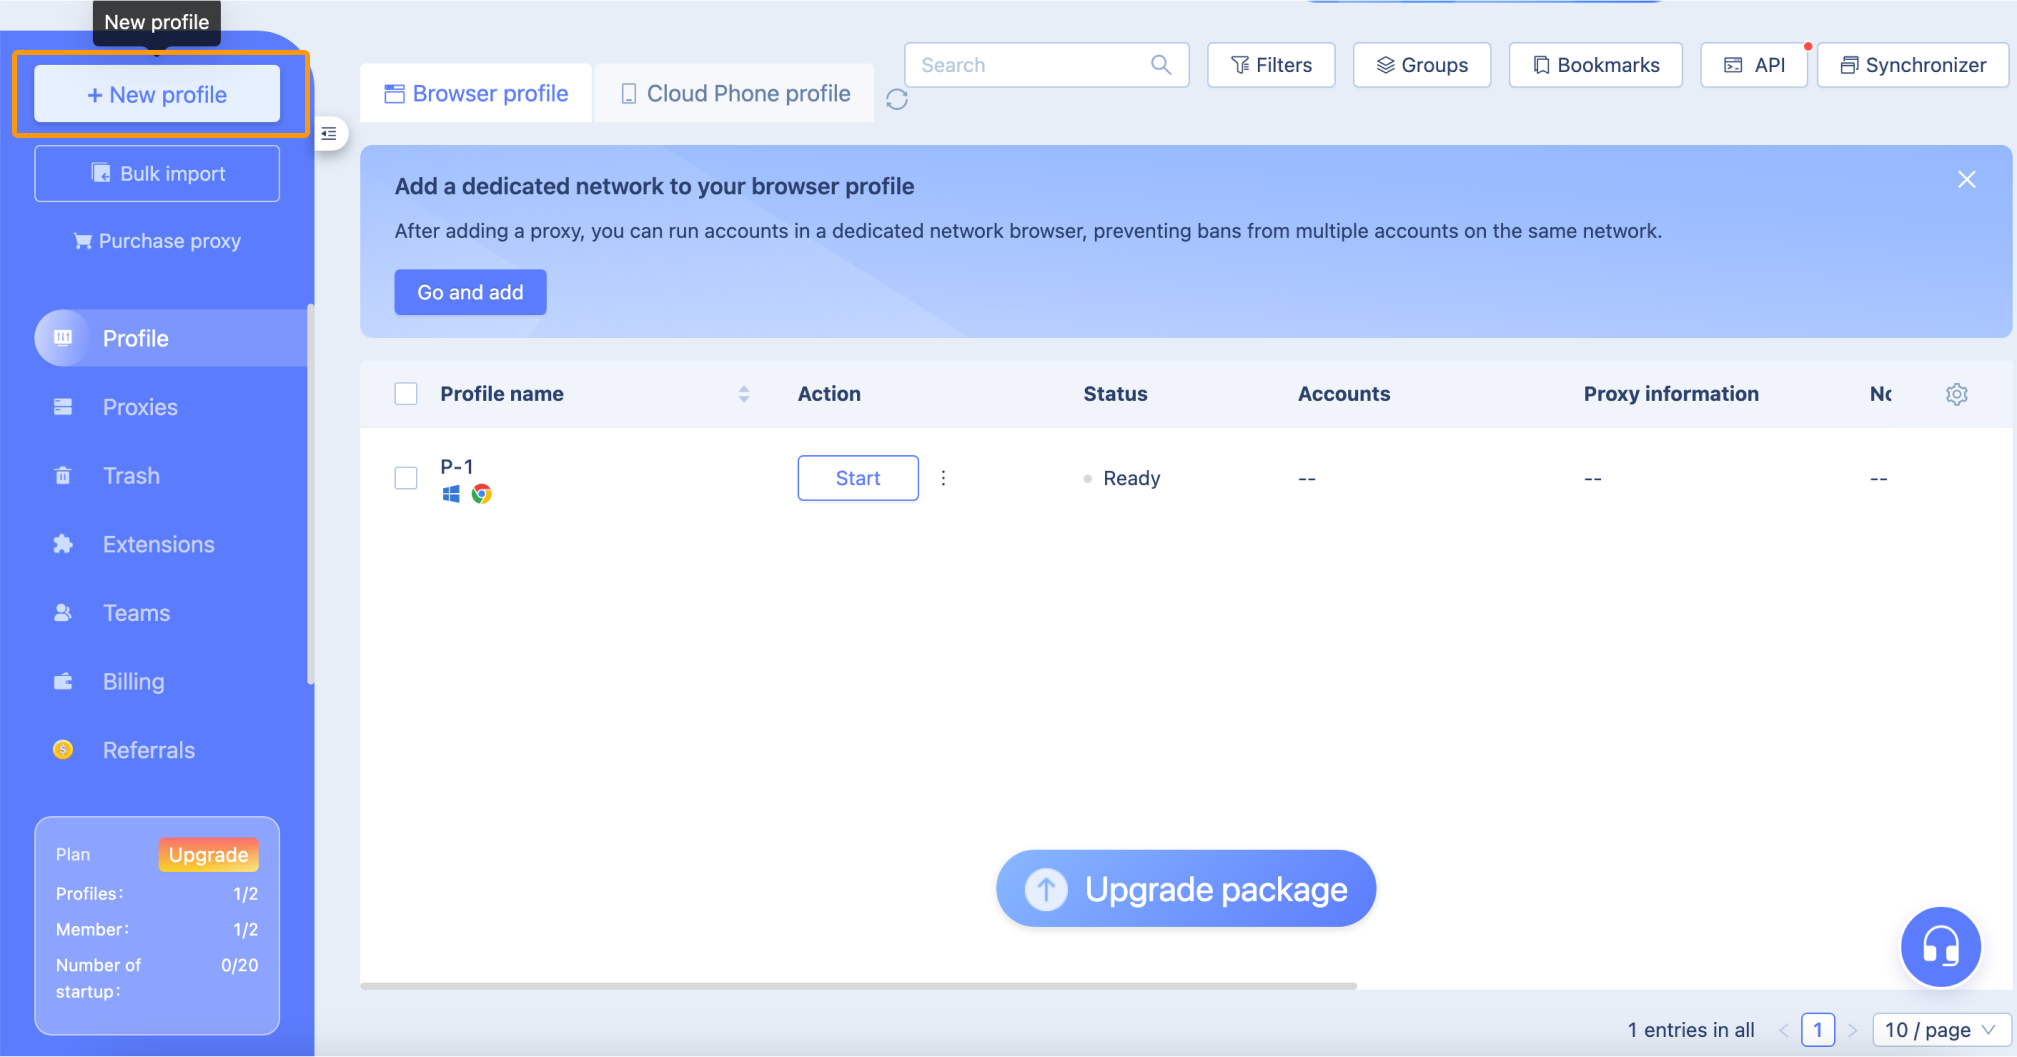
- After the short survey, you’ll be directed to the page with the ‘New profile’ button. Click on it.
- Now, you’re on the main page. Click on ‘+ New profile’ at the top left of the app. MoreLogin will create fingerprints for each profile. It guarantees that each profile is unique.
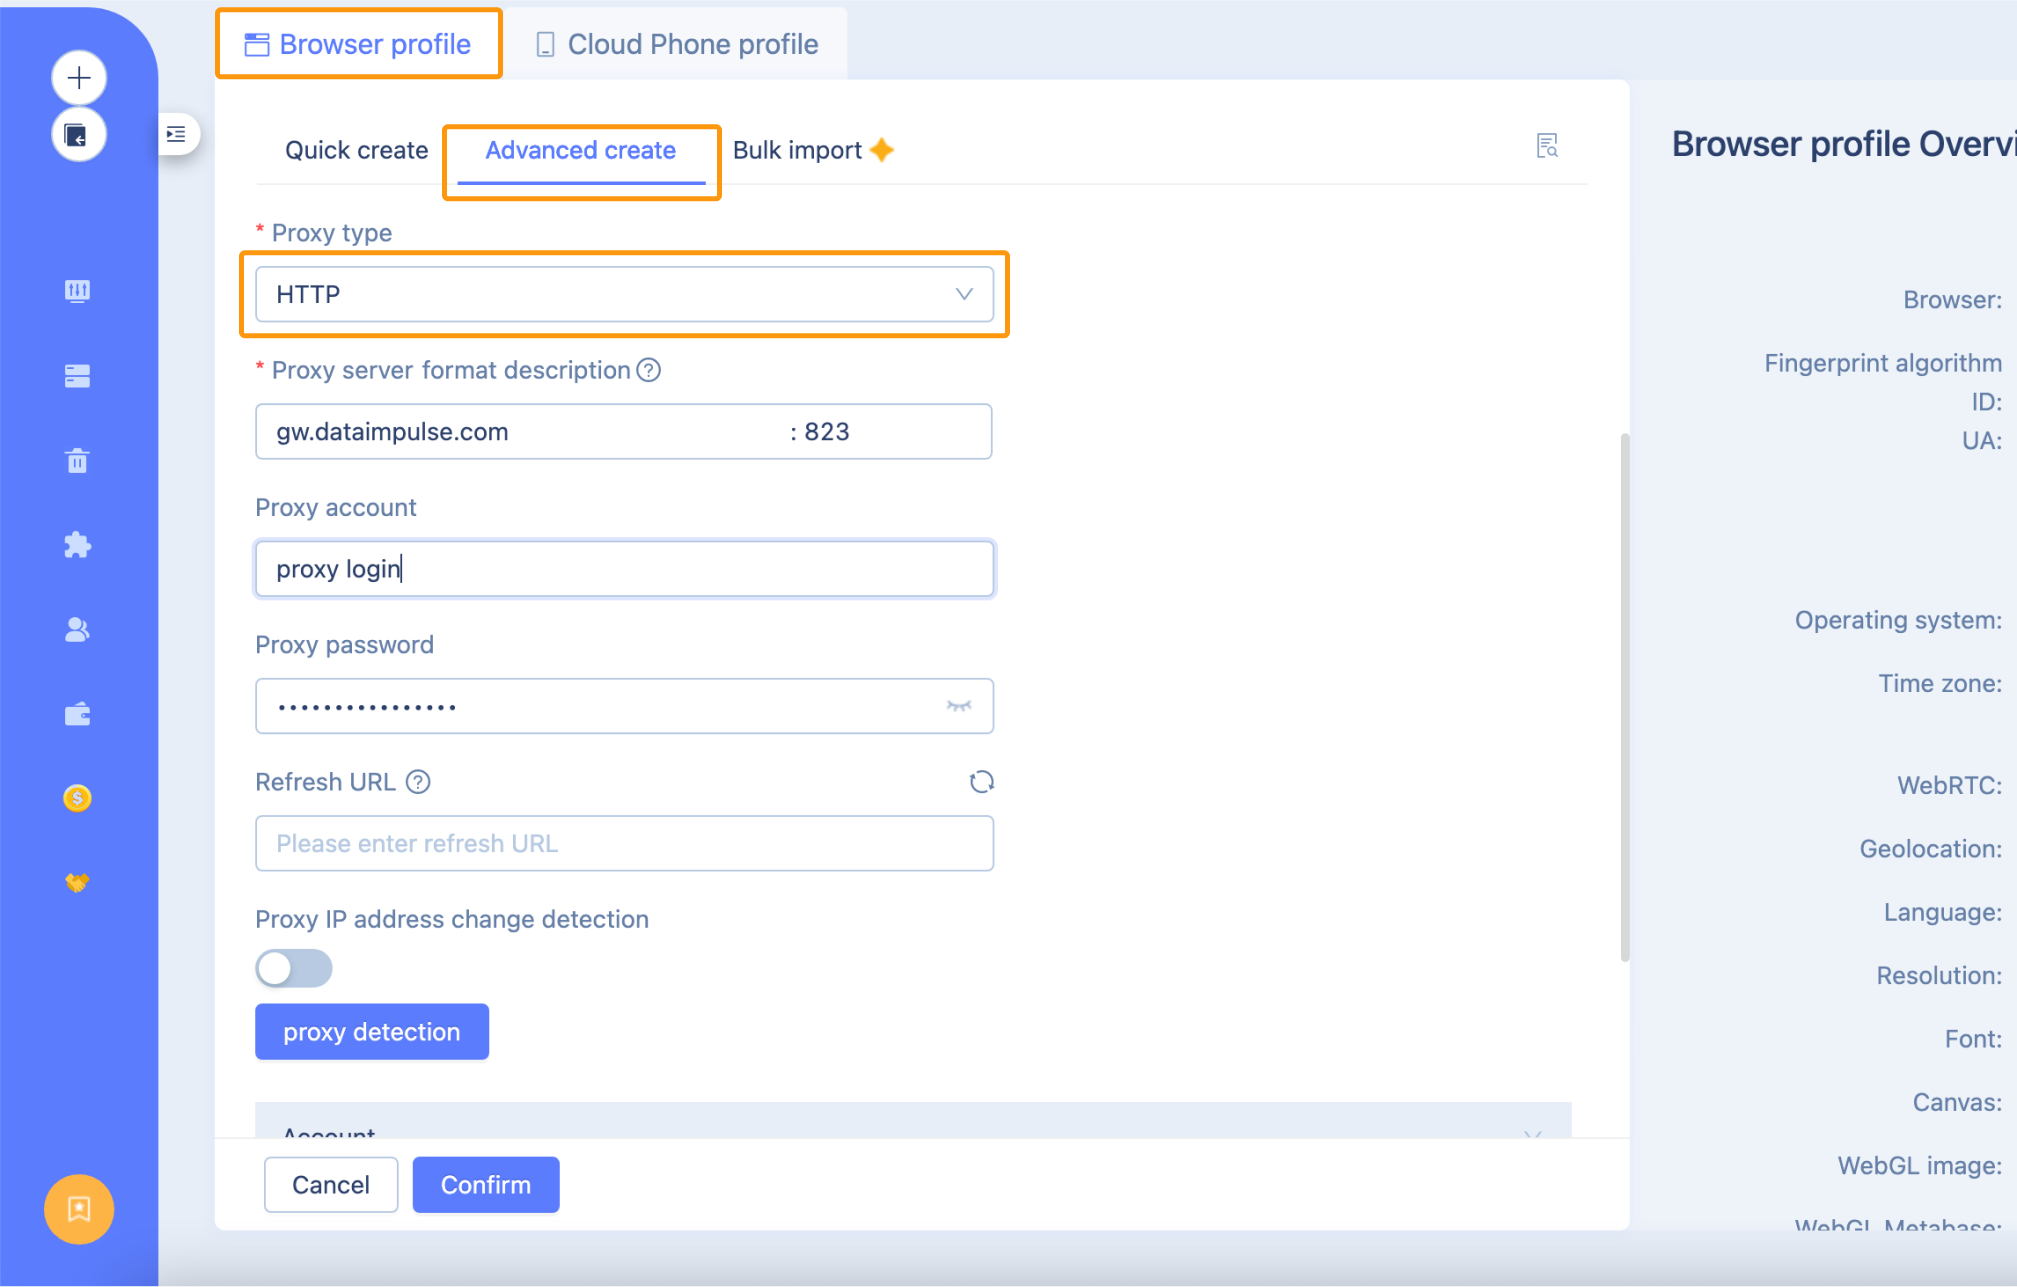
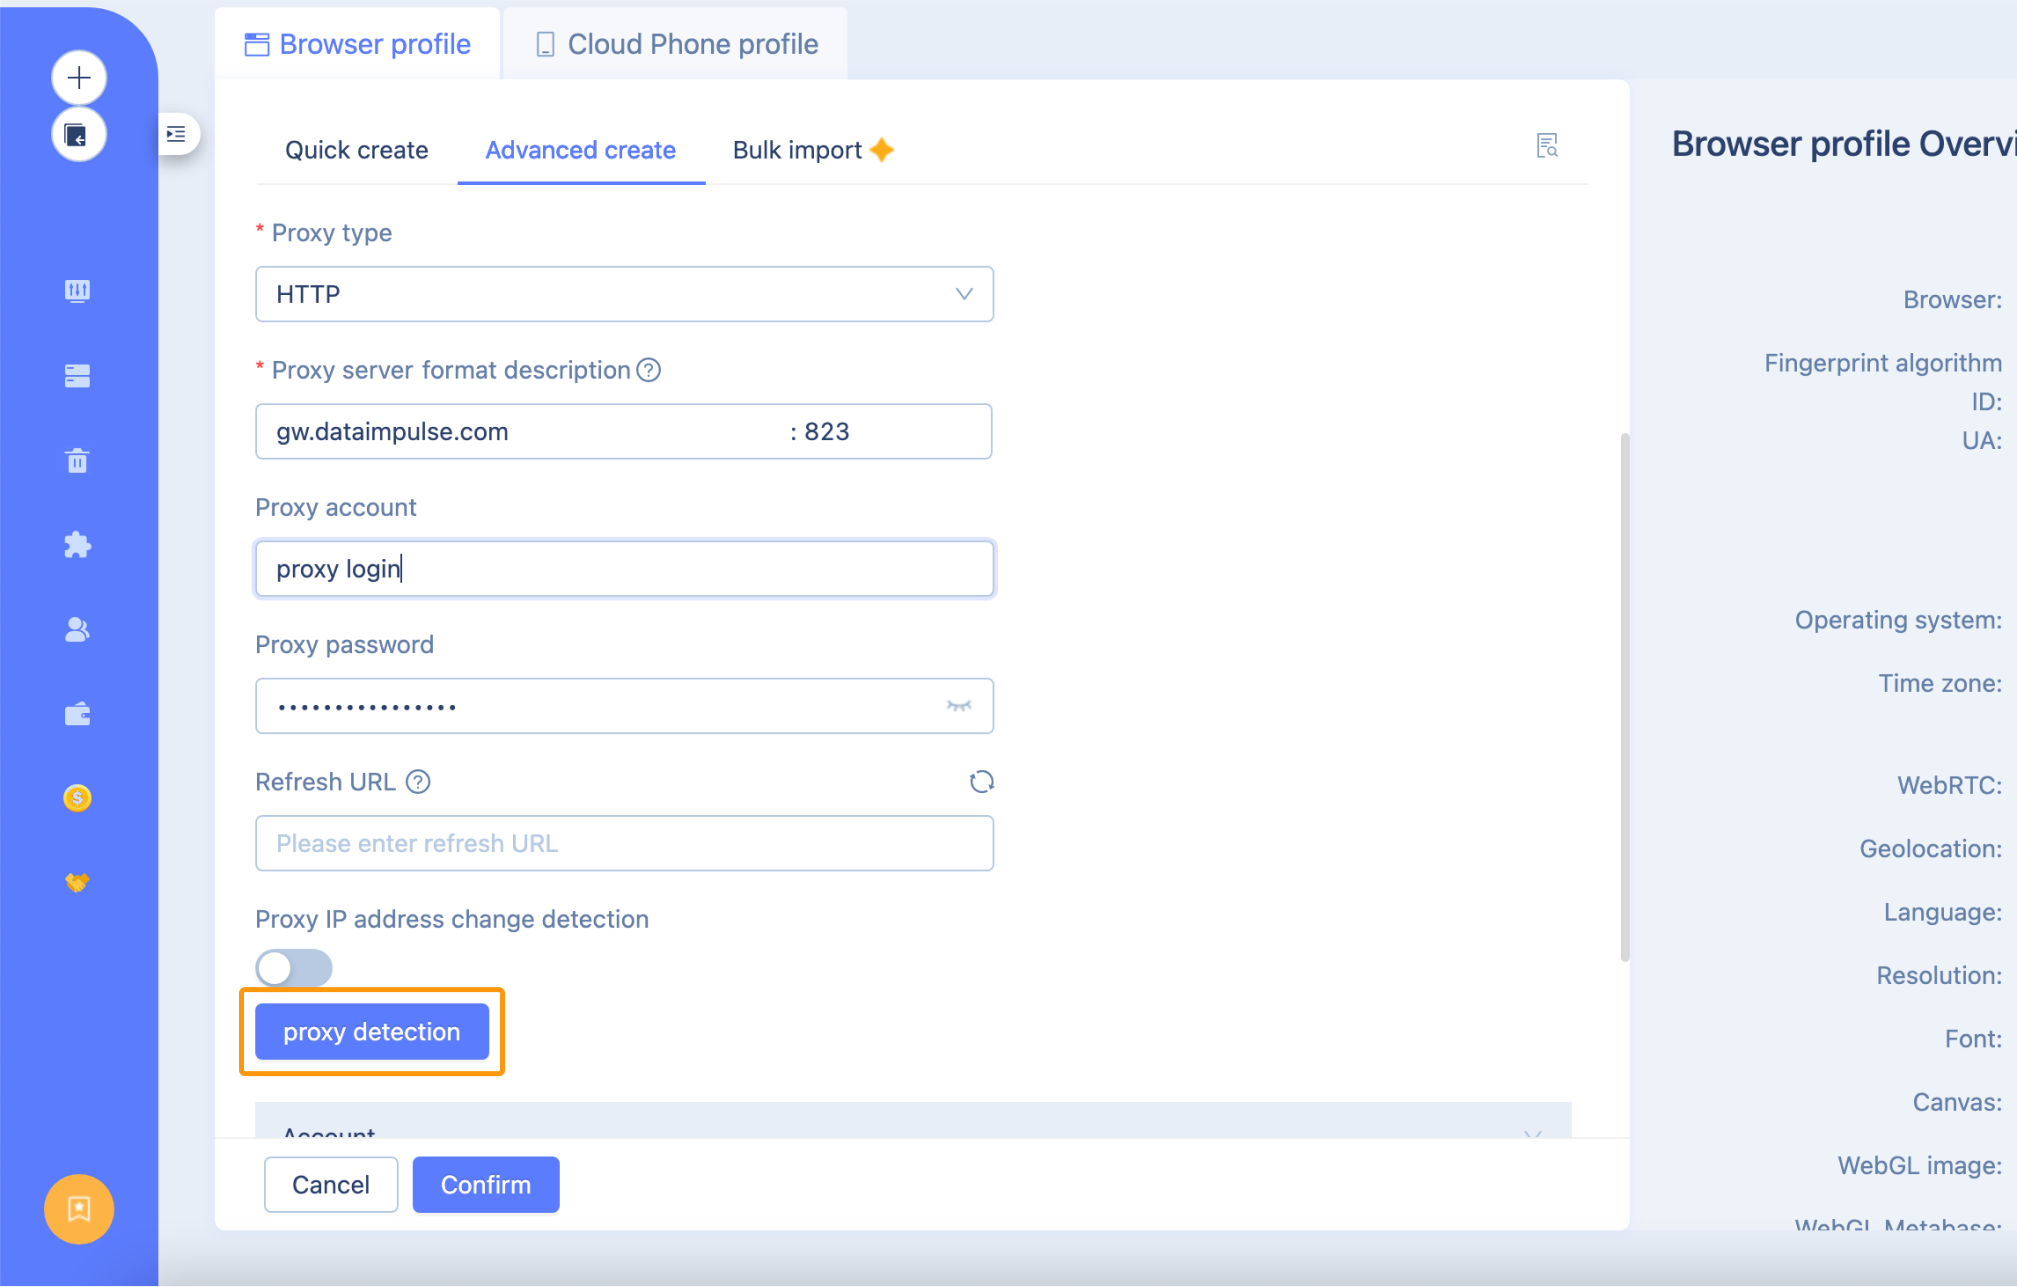
- After that, select ‘Advanced create’ and in the section, Proxies choose ‘New Proxy’. Then, choose the relevant Proxy type. In our case, it is HTTP.
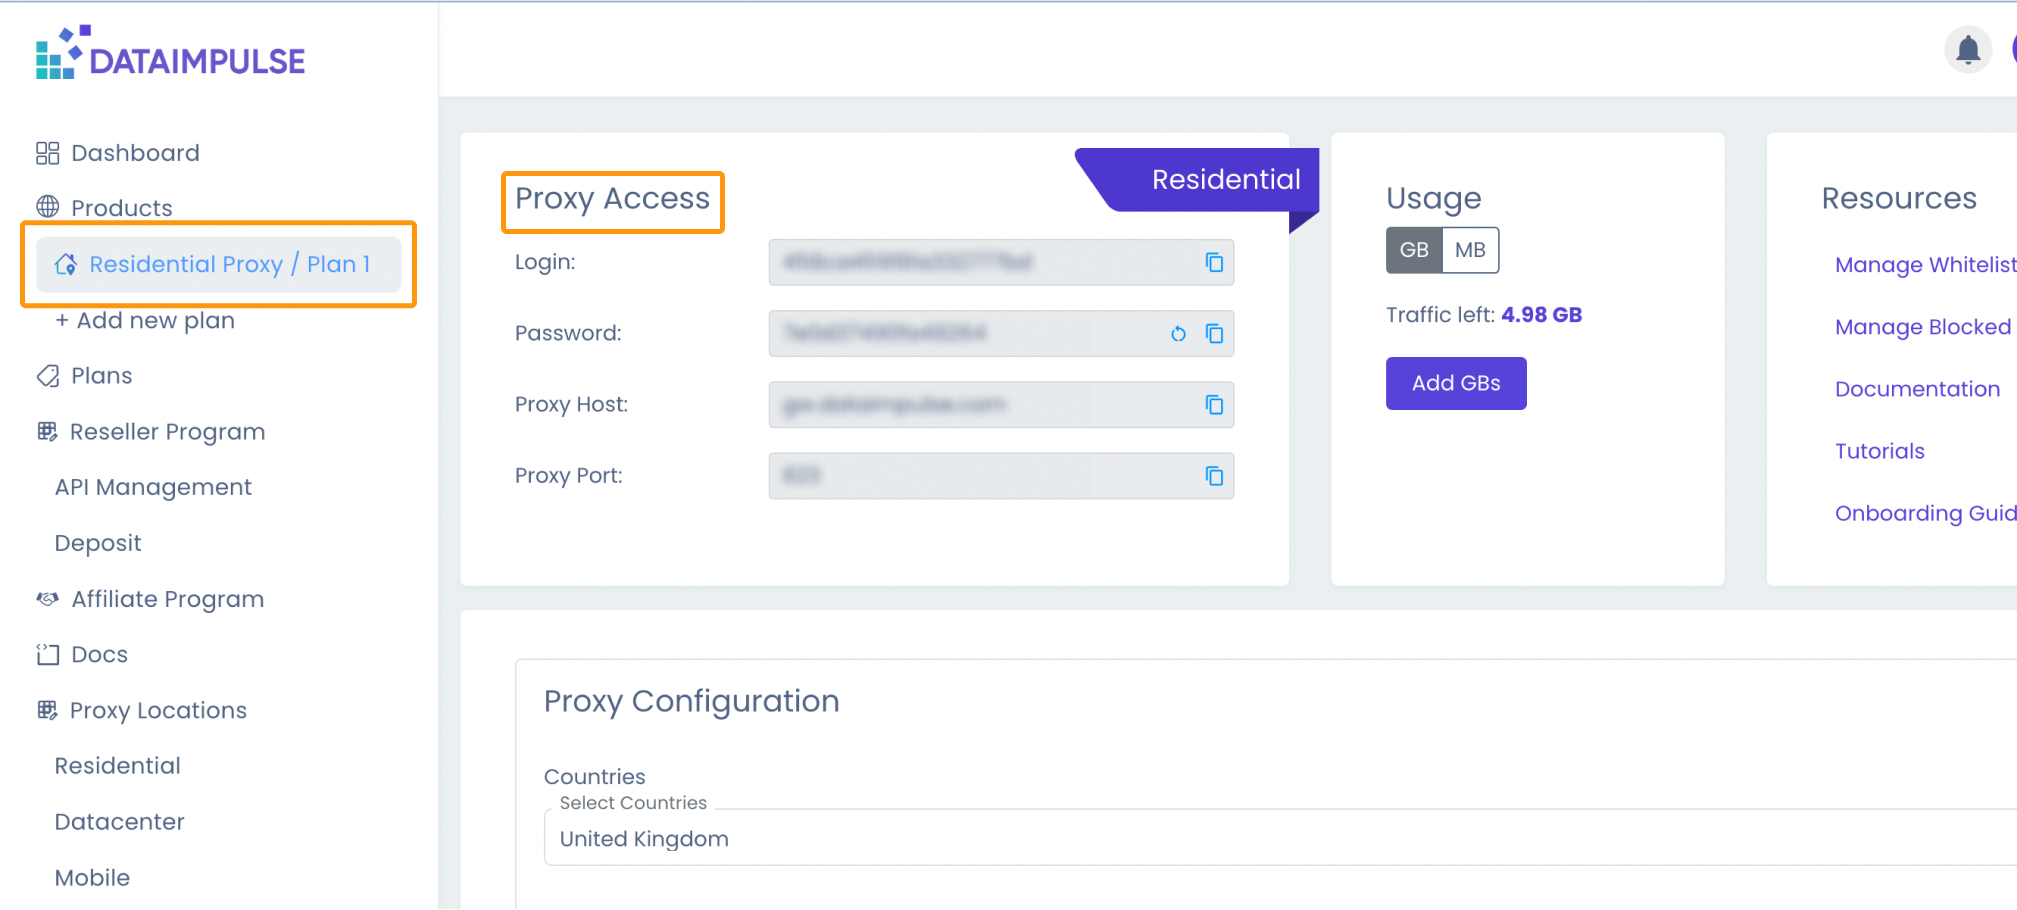
- For the next step, we need DataImpulse login, password, proxy host, and proxy port that you already have in your Proxy plan.
Fill in all the necessary information in the Proxy server format description. Click the ‘proxy detection’ button.
If your proxy works, you’ll see this message “Pass detection! Export IP is…” Click Confirm to save this profile setting.
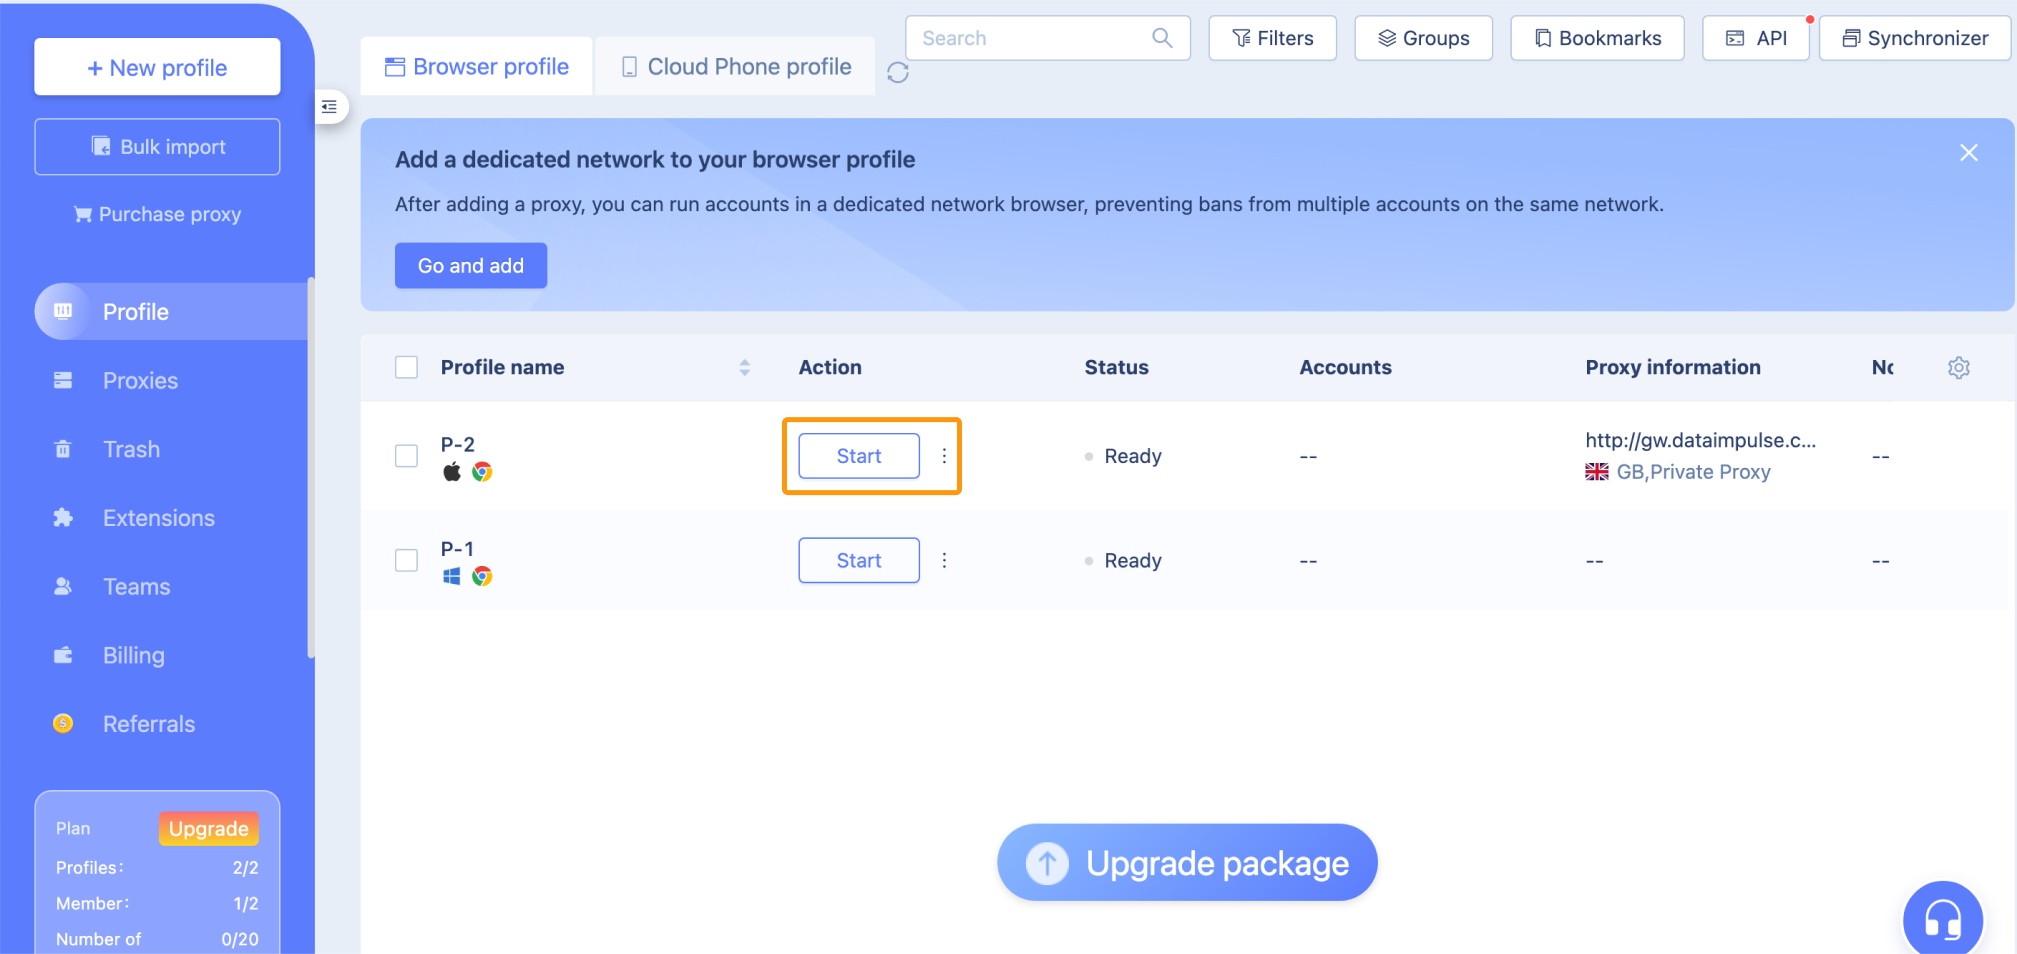
Finally, Start the MoreLogin profile with the unique browser fingerprint and IP address.
That’s all, enjoy using proxies in MoreLogin. If you have any questions, just click on a widget in the bottom right corner of the screen, select the “Send Us Message” option and write us a message.

