Integrating DataImpulse proxies with OpenBullet
OpenBullet is a software application used for automated web testing and scraping. It allows users to automate various tasks such as account login, form submission, and data extraction from websites. With OpenBullet, you can streamline your testing and scraping processes, saving time and effort.

There are two ways to use OpenBullet: via a web client or via a native client. The web client works with a variety of operating systems, including Linux and iOS, and is more universal as it’s multiplatform. It can be accessed remotely and is mobile-friendly.
The native client is compatible only with Windows. It is more responsive; however, it’s unequal to the web client in terms of localization, portability, and remote access.
Here you can find the full instructions about how to set up both the web client and the native client for OpenBullet. In both cases, you will need .NET version 6 or above.
How to use DataImpulse’s proxies with the web client for OpenBullet2
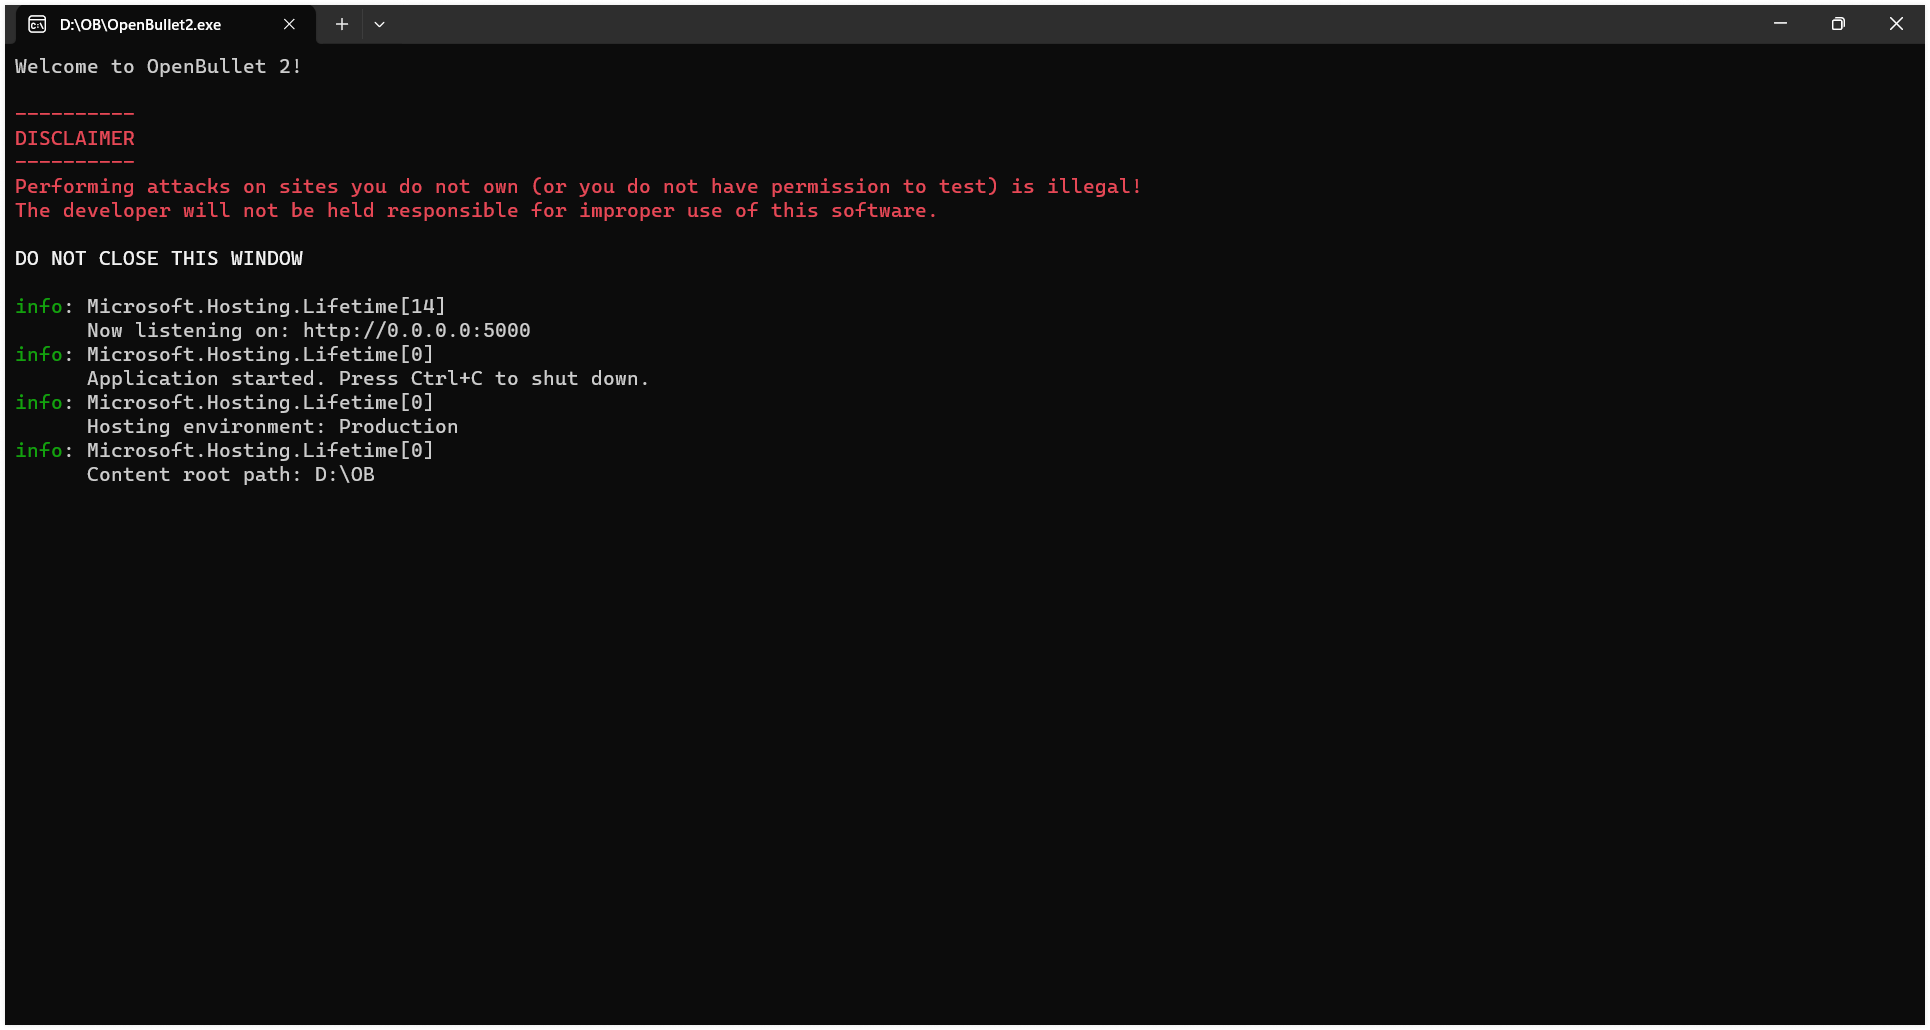
- Open the app by downloading OpenBullet2.exe or via the command-line instructions.
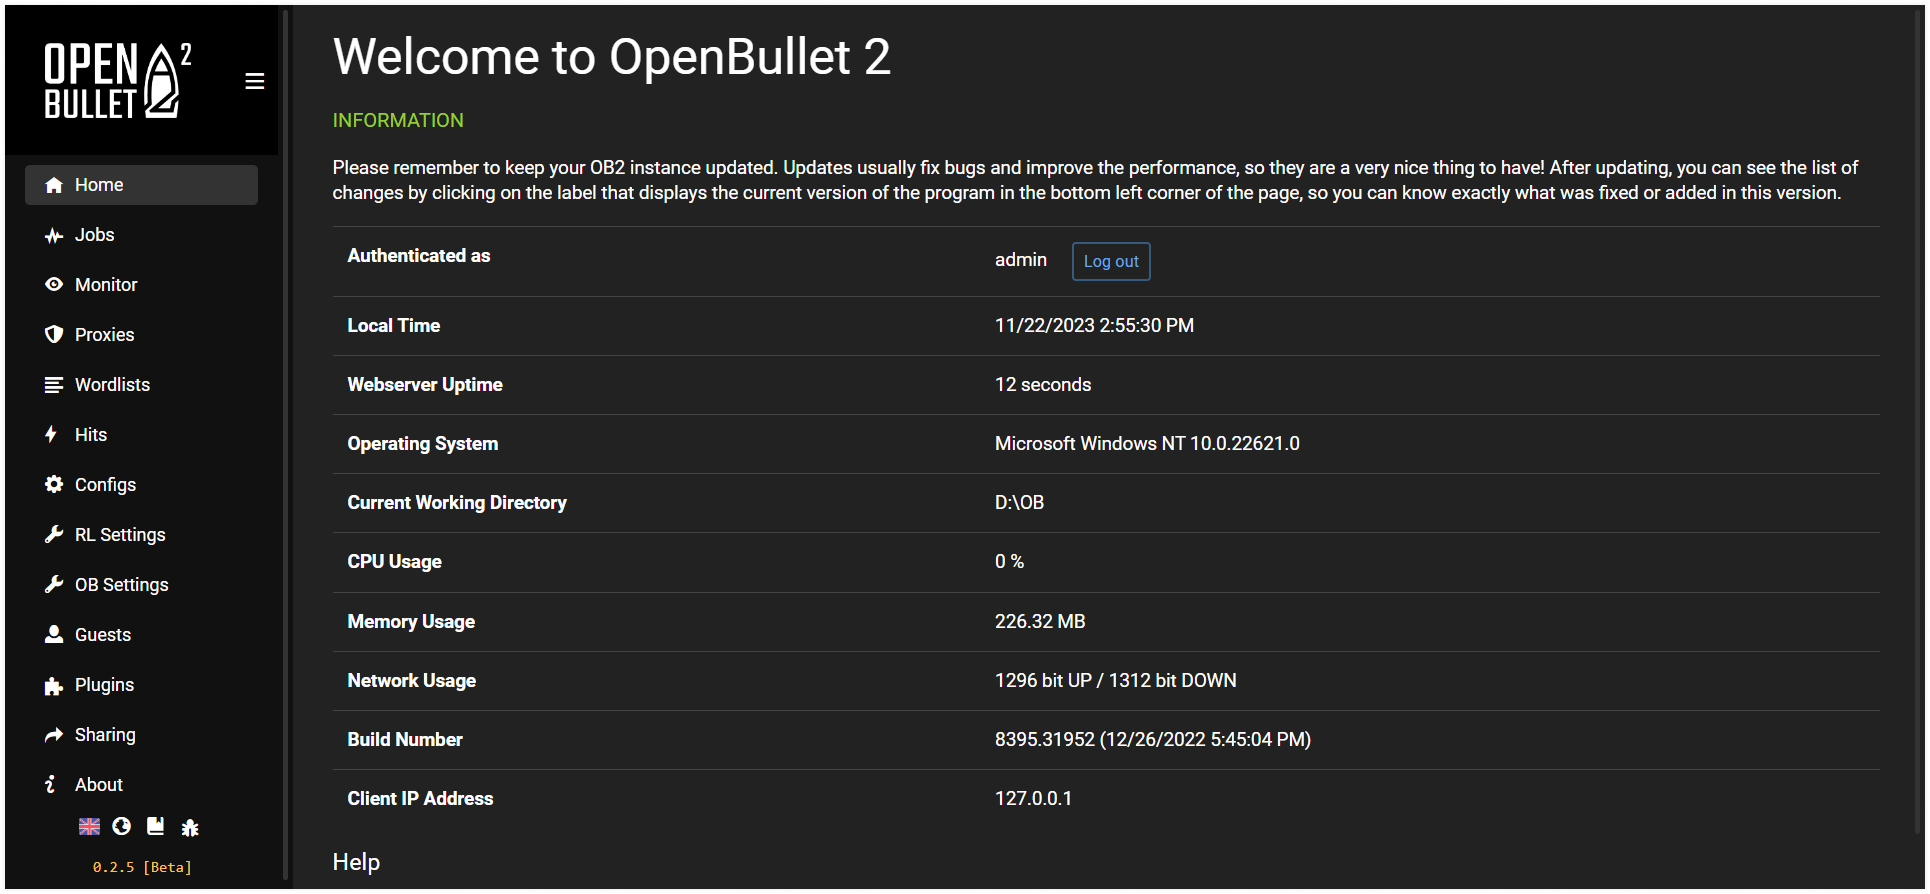
- In a web browser, search for http://localhost:5000
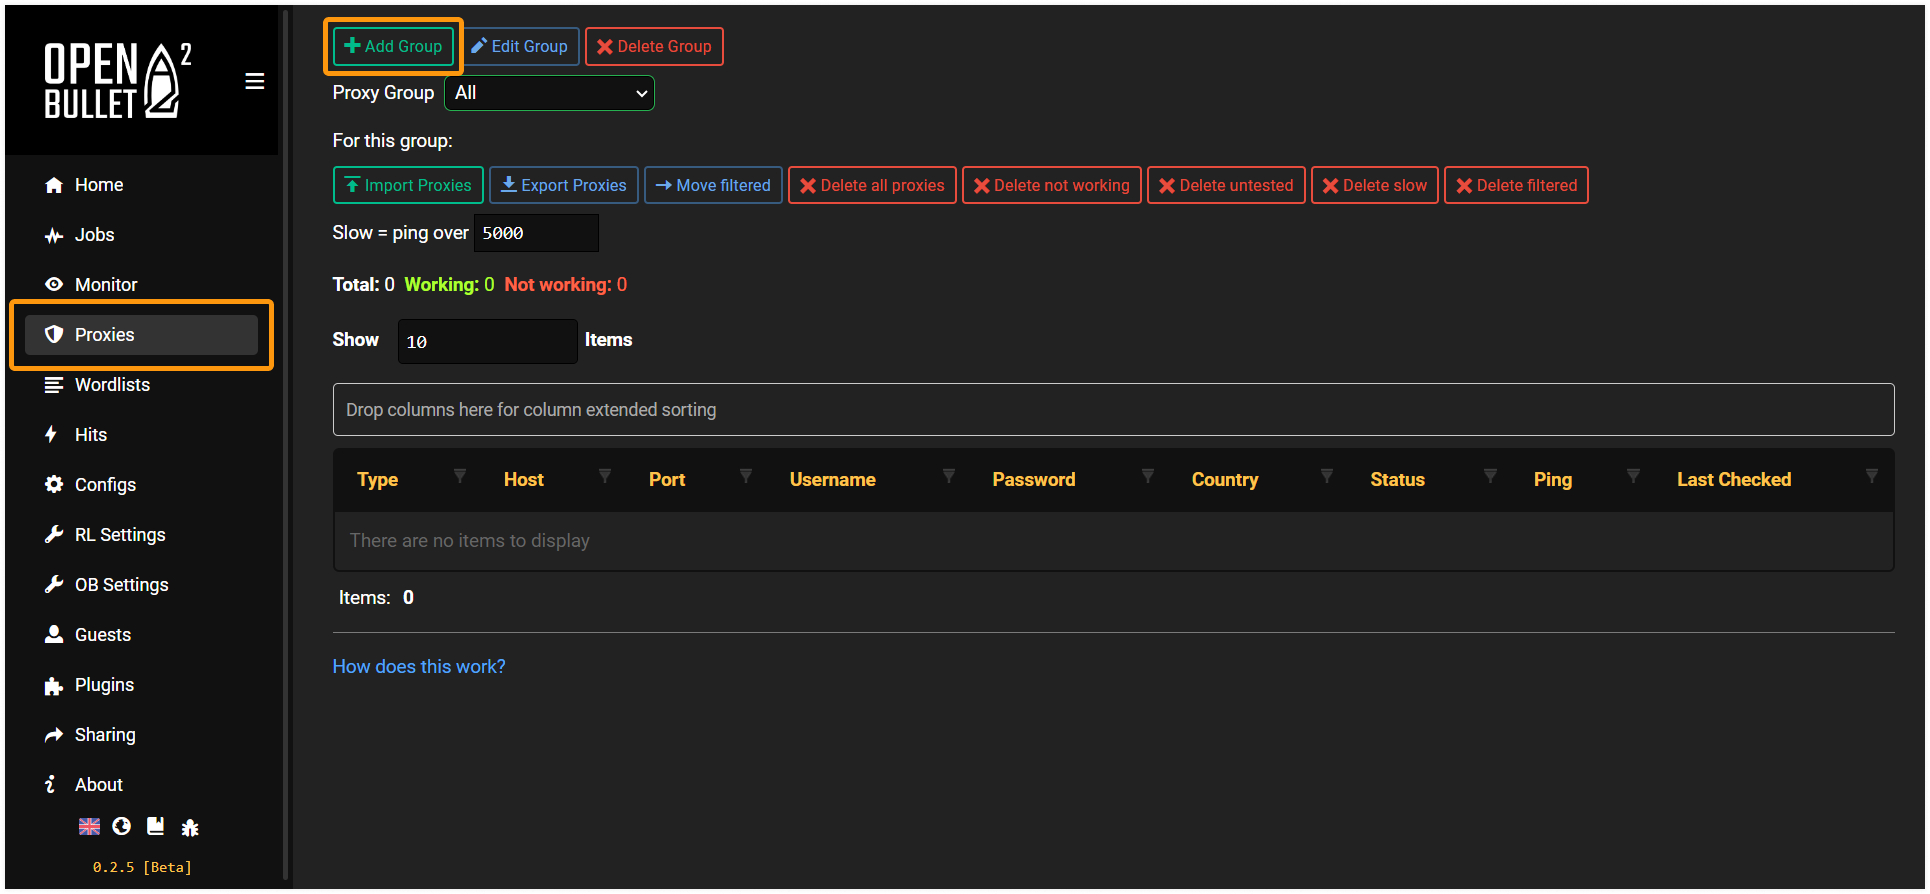
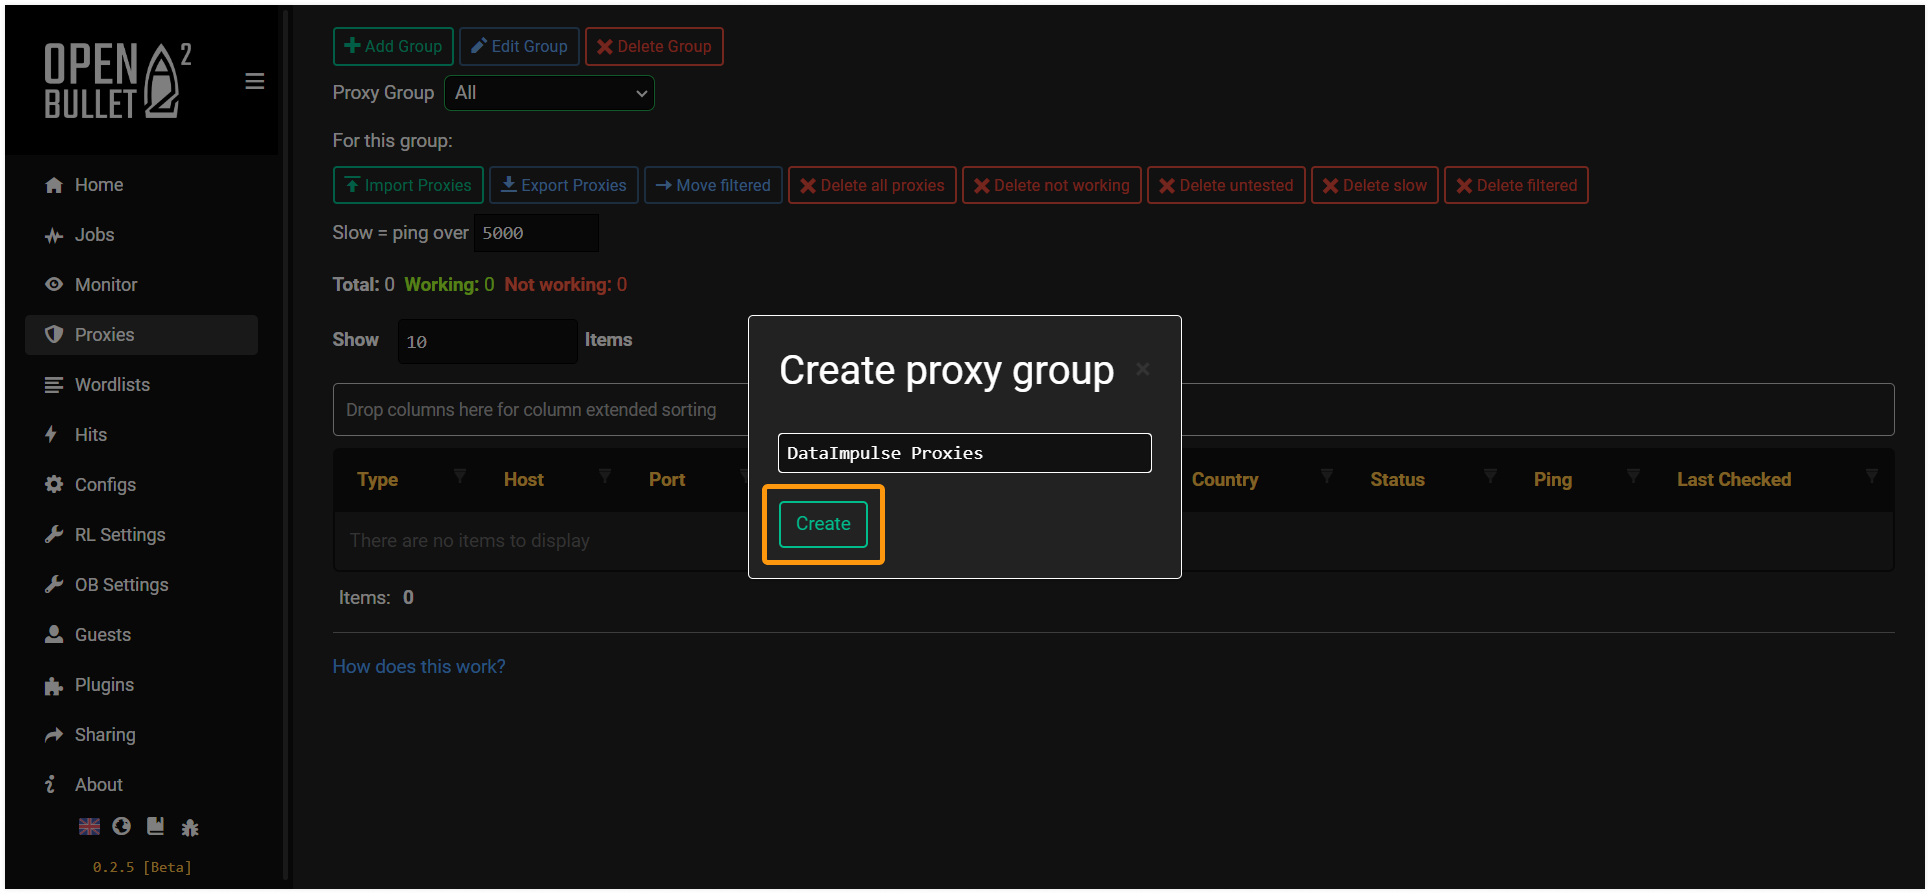
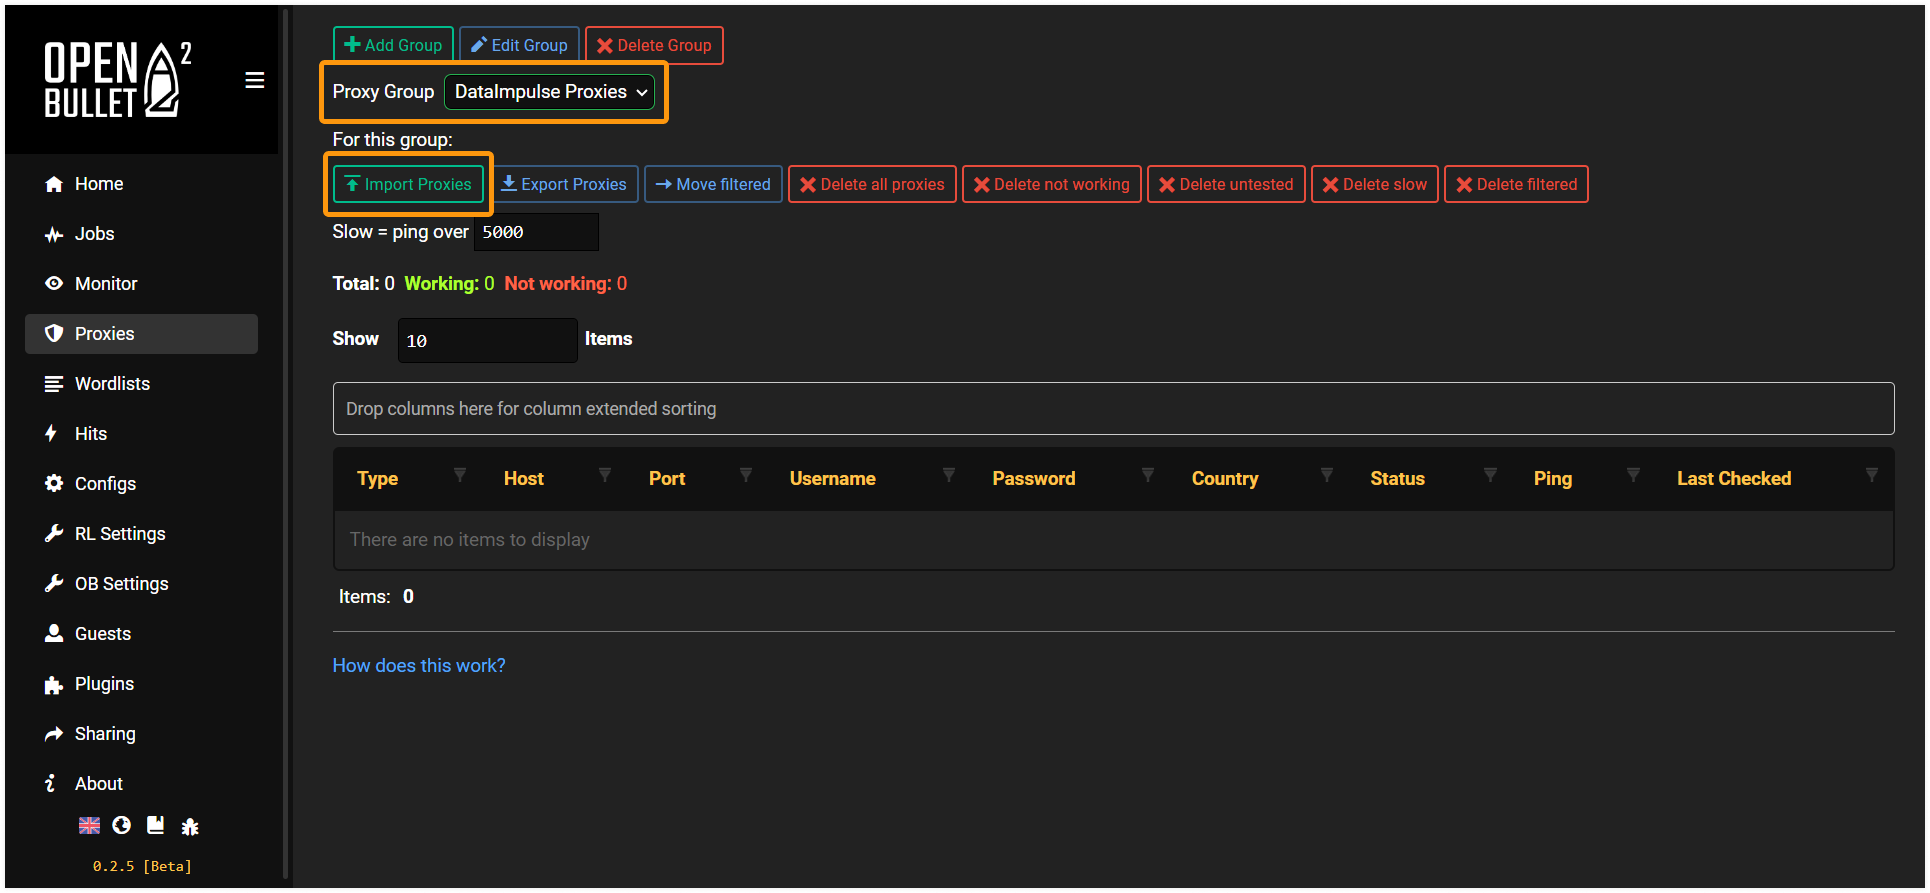
- Go to the “Proxy” tab. Click on “Add Group” and enter a name.
There is no limit to the number of groups you can have. To save configurations, click on the “Create” button.
- Make sure that in the “Proxy Group” field, the necessary proxy group is selected. Click on the “Import Proxies” button.
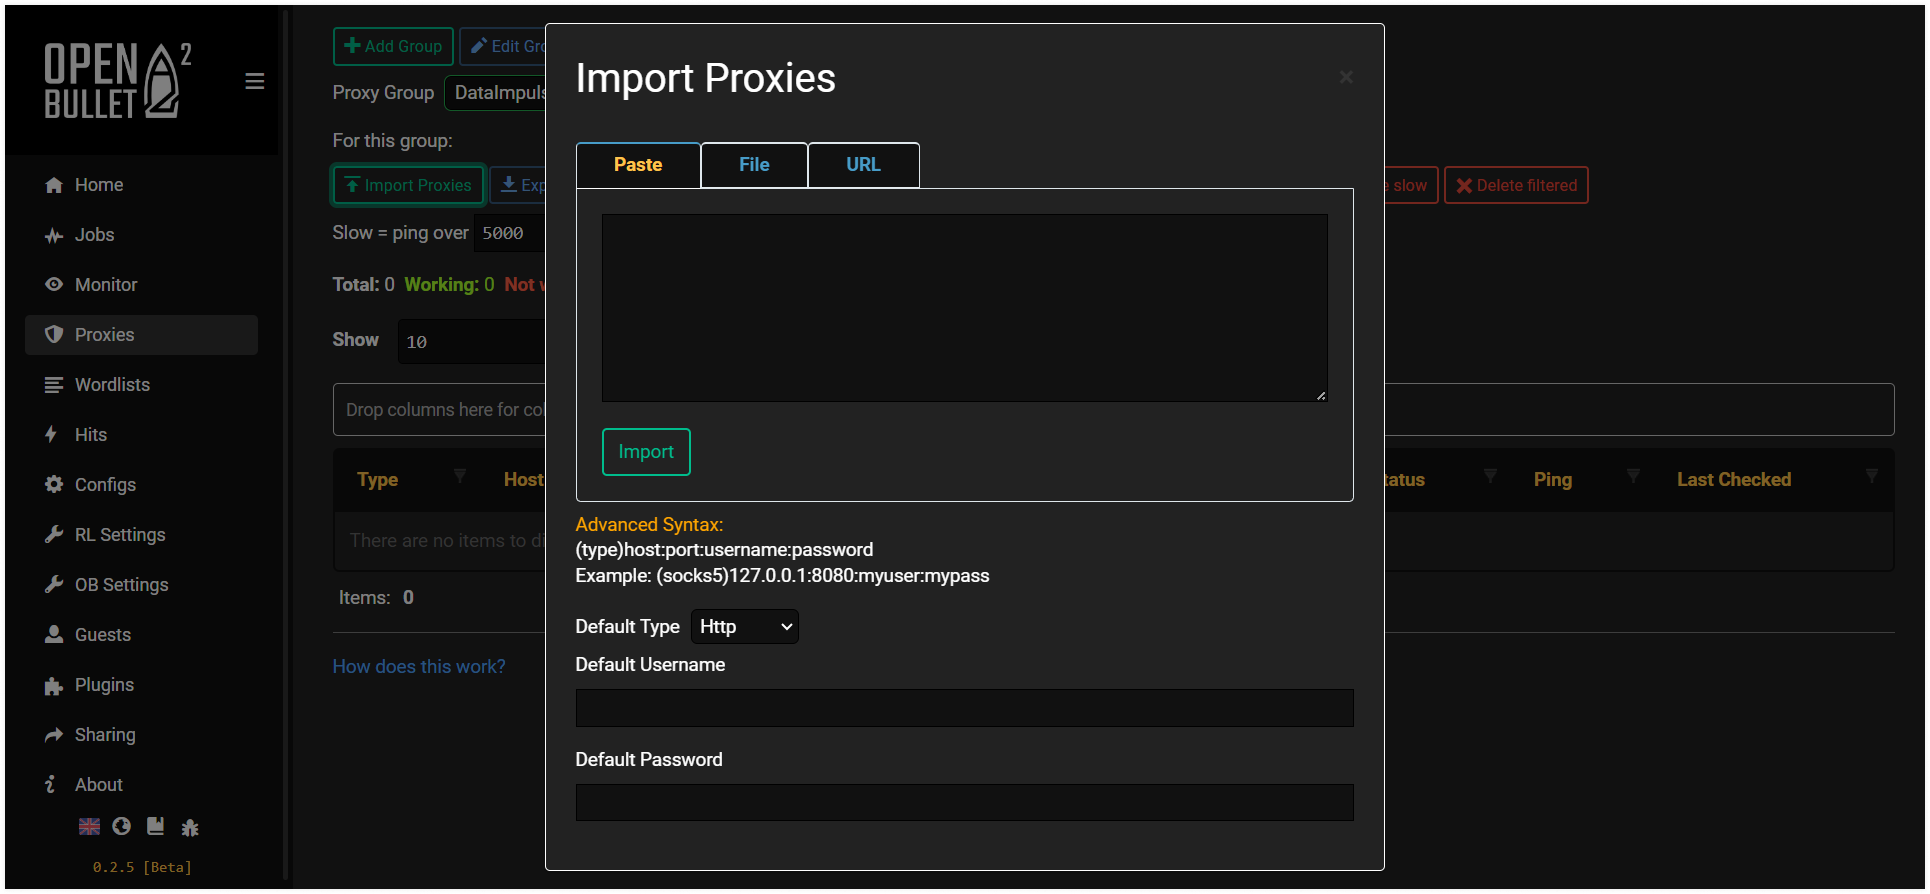
The “Import Proxies” window will appear.
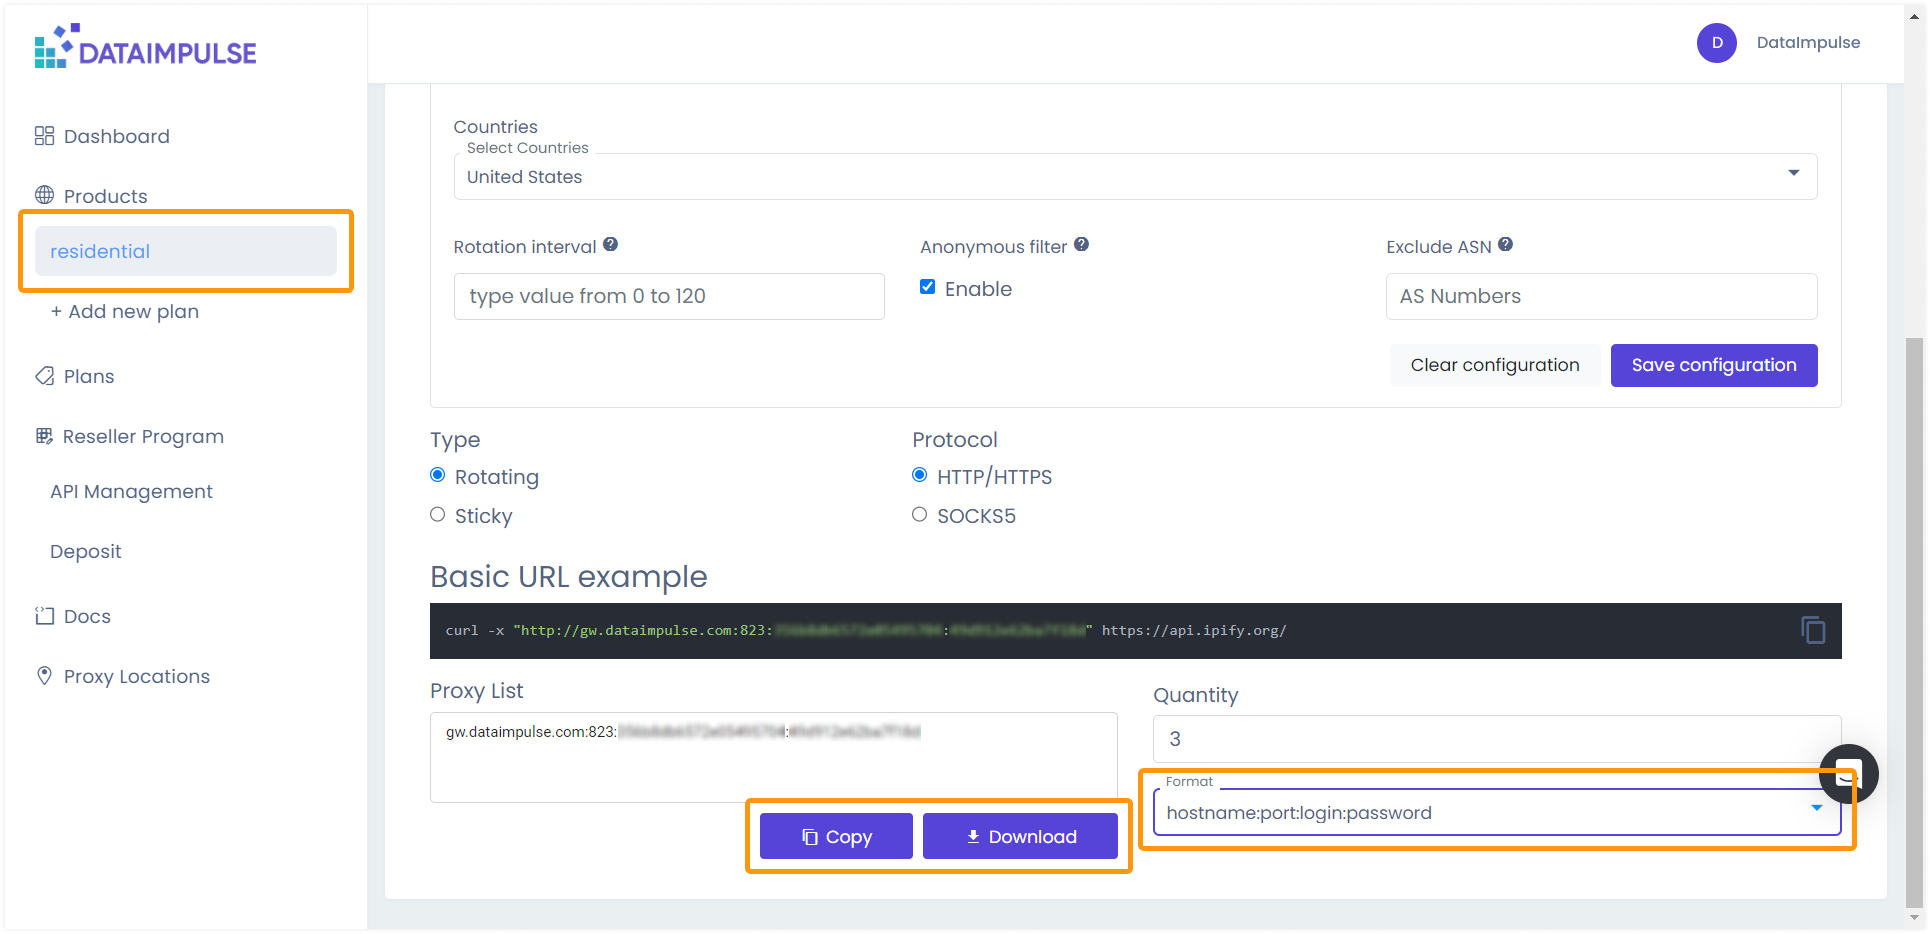
You can import proxies by pasting IP addresses or by downloading a file with them. To get addresses, go to the “residential” tab of your DataImpulse dashboard and copy IPs or download a file by clicking on the corresponding buttons. Pay attention to the fact that while importing proxies, OpenBullet requires that you provide information in the following format: (type)host:port:username:password
That’s why, before copying/downloading proxy addresses from your DataImpulse’s account, select the necessary format: hostname:port:login:password.
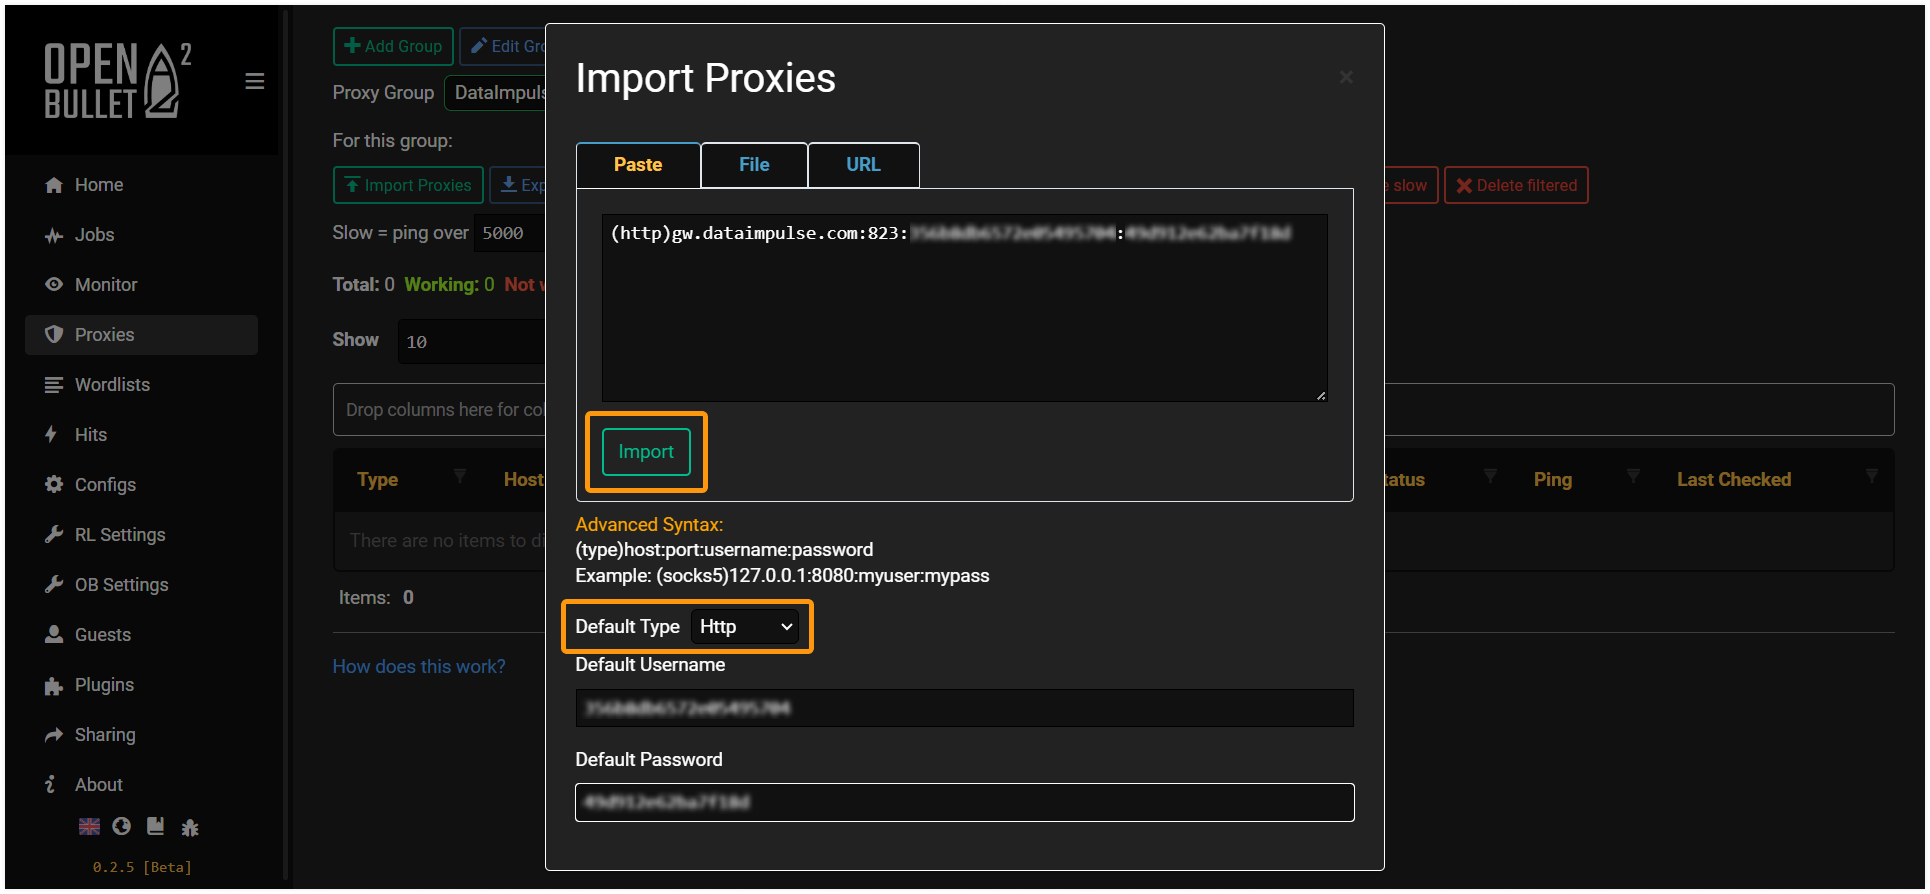
- In the field “Default Type” select “Http”, “Https”, or “Socks5”.
Enter your DataImpulse’s credentials in the “Default Username” and “Default Password” fields and click on the “Import” button.
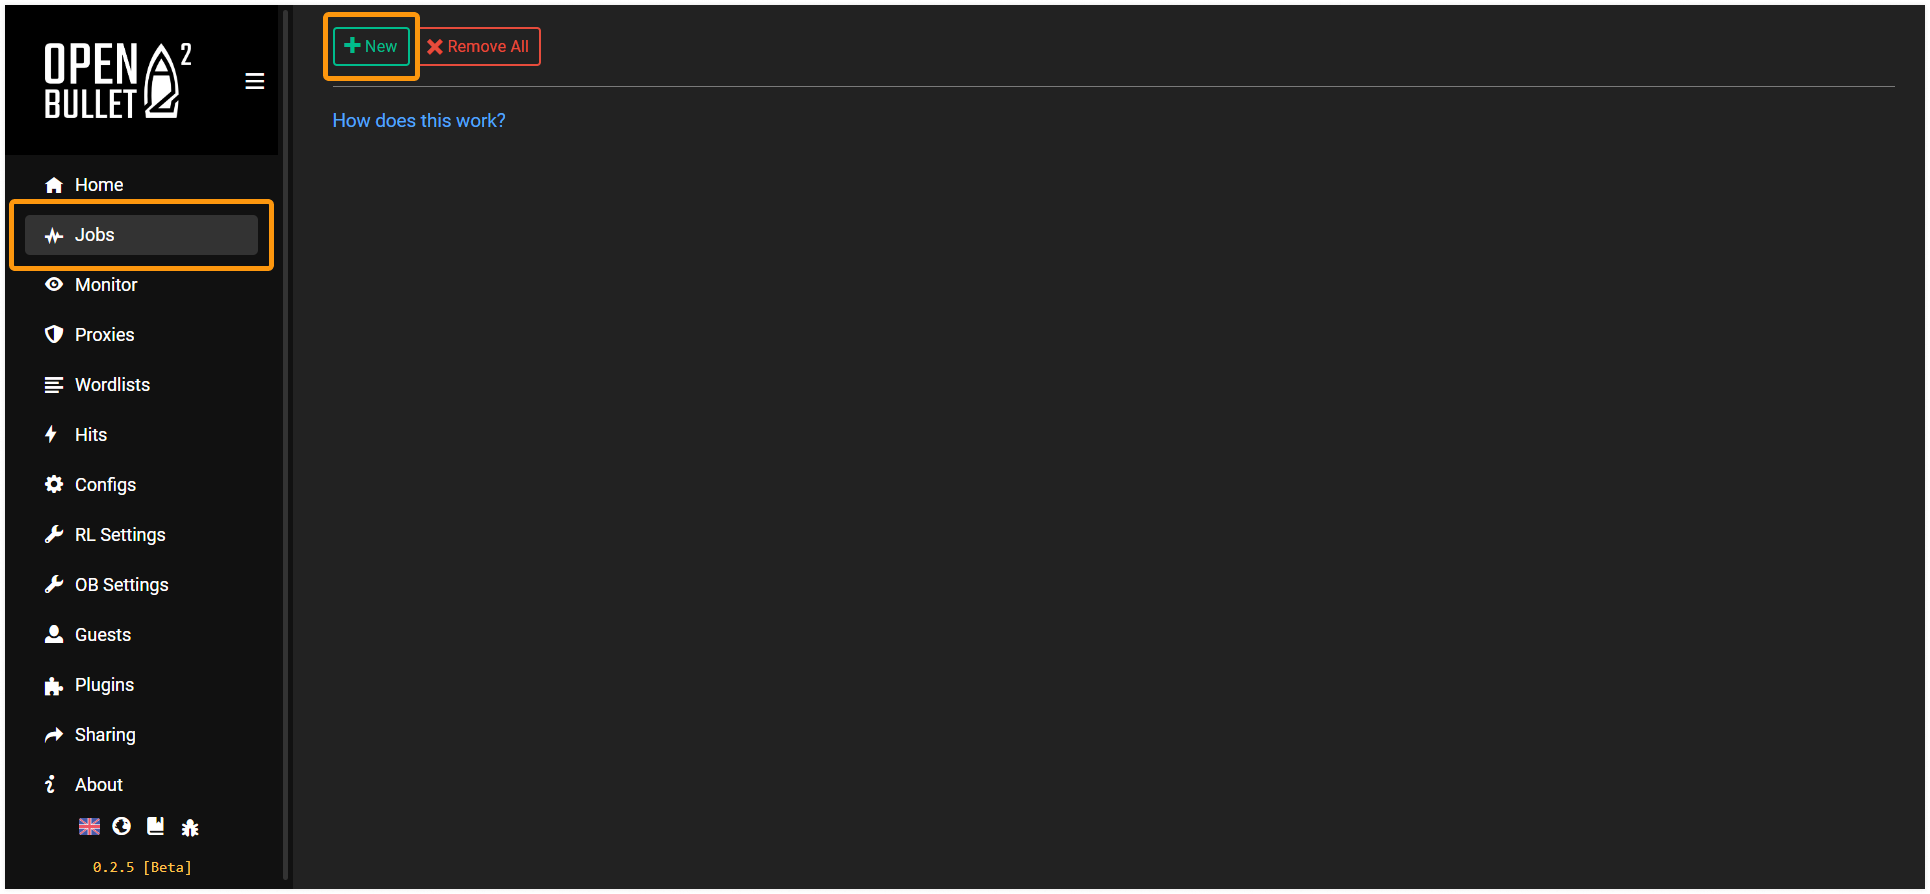
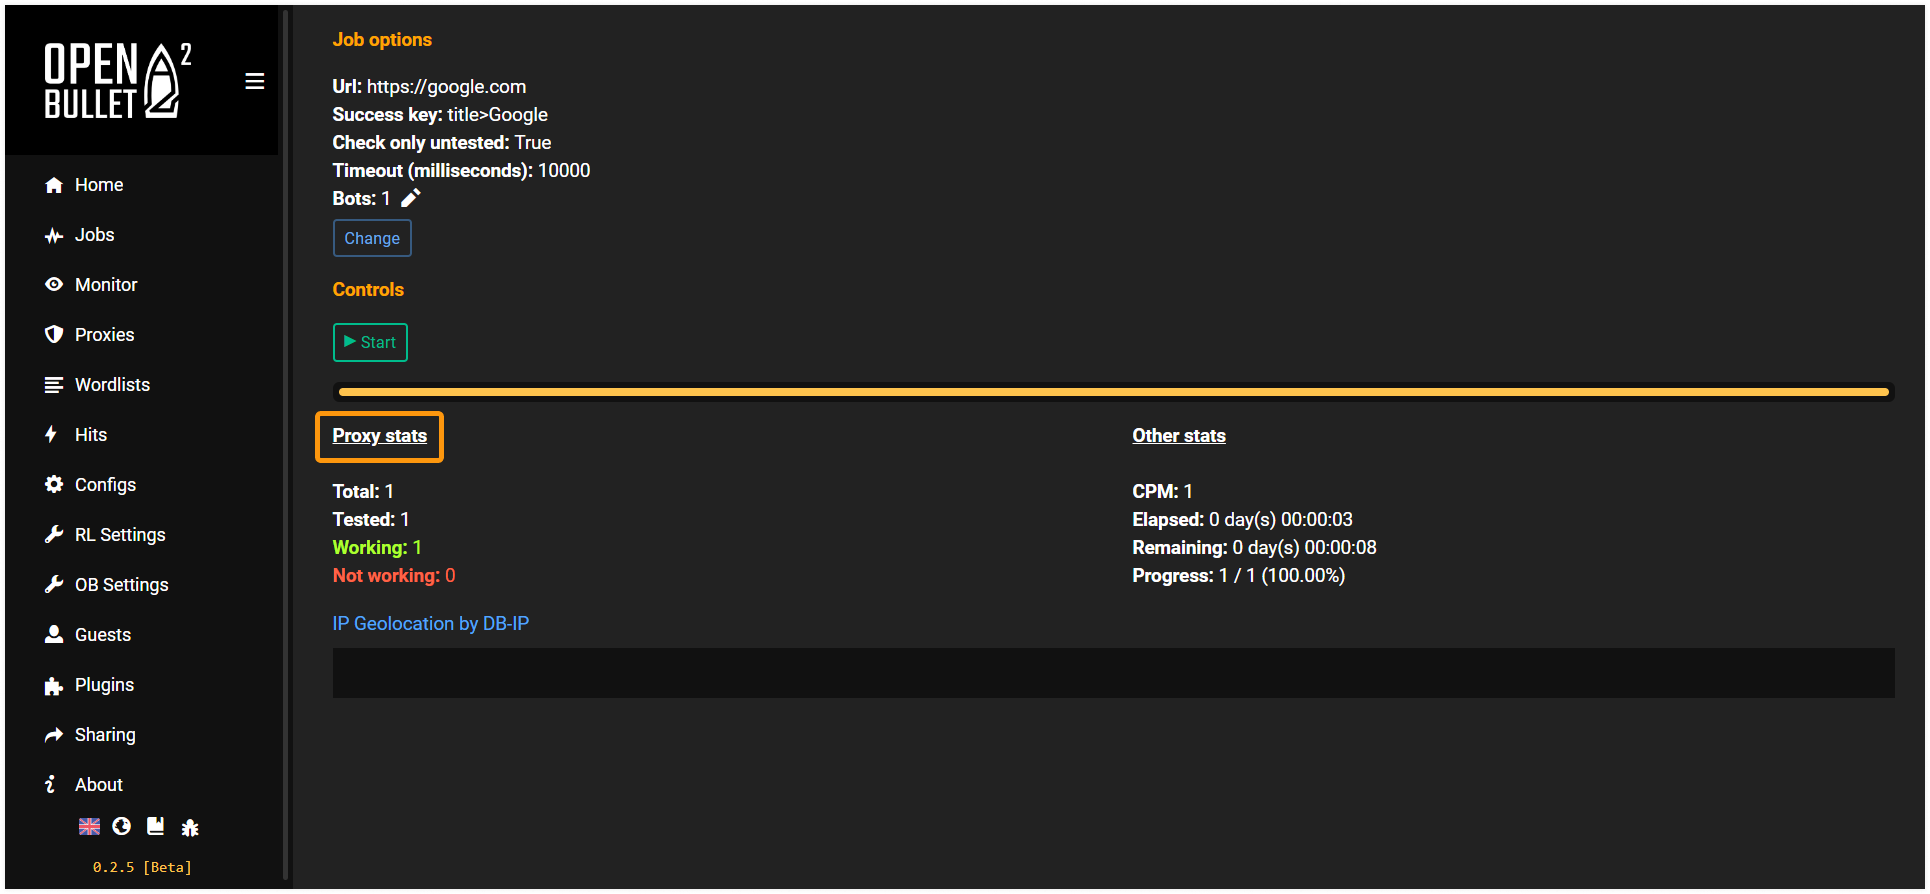
- To make sure that proxies work as intended, navigate to the “Jobs” tab and click on the “New” button.
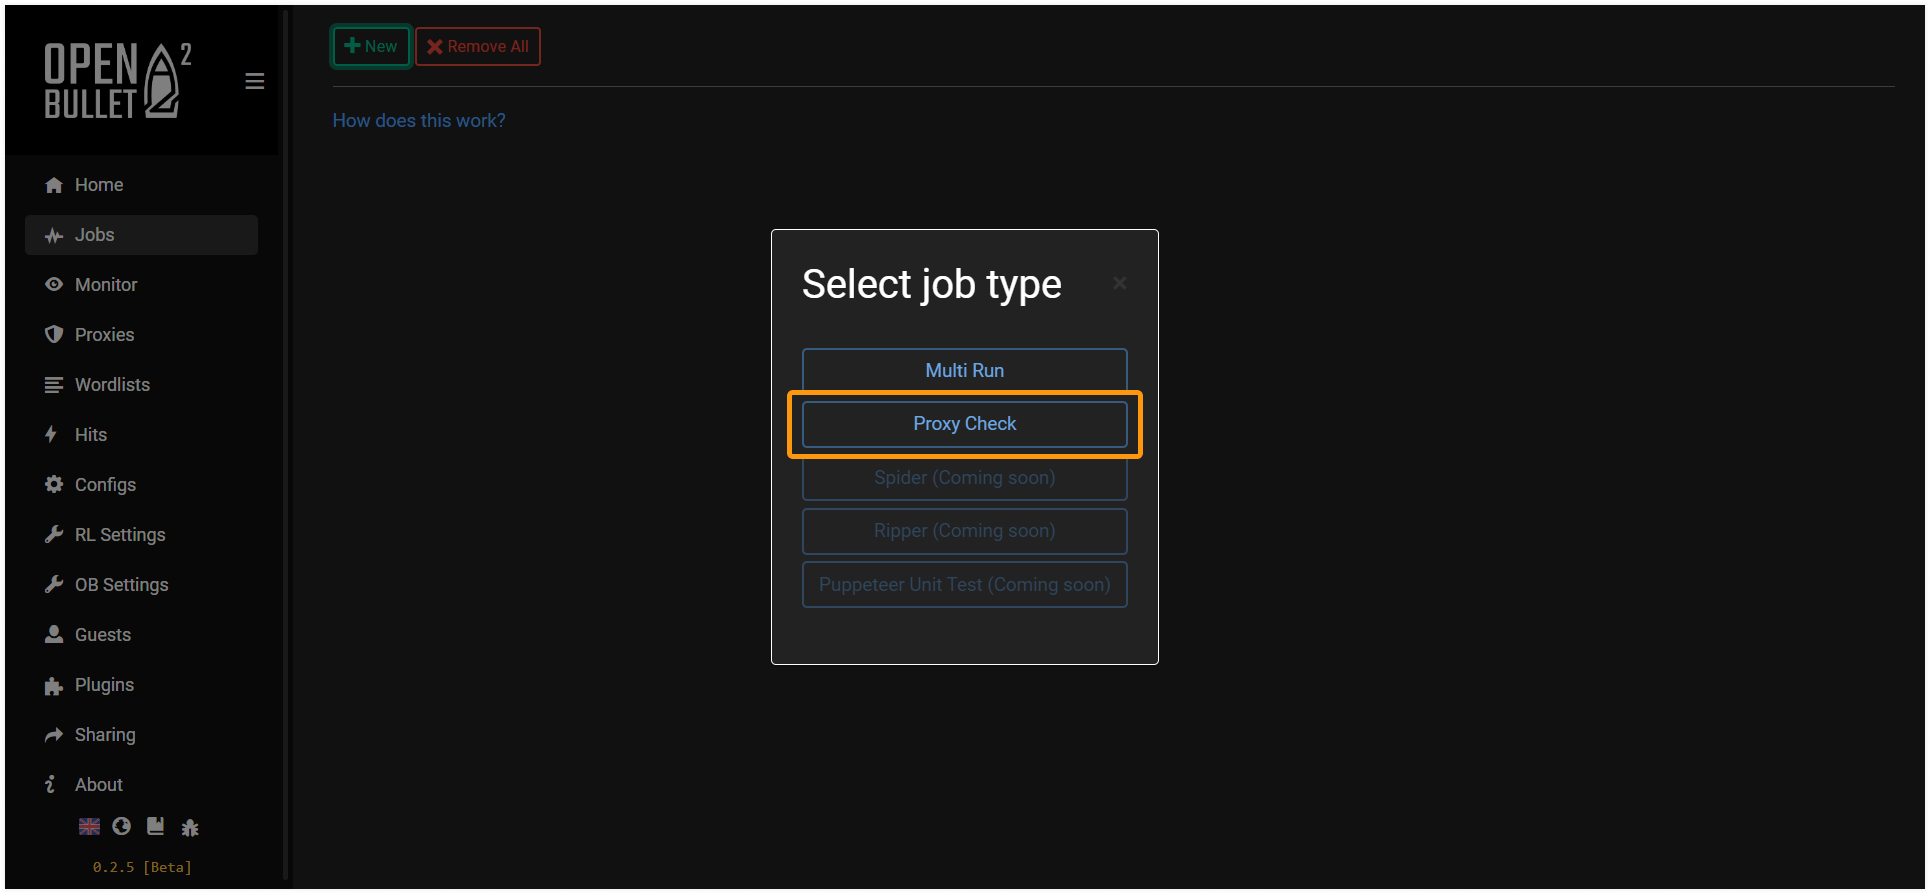
- Select “Proxy Check” from the list.
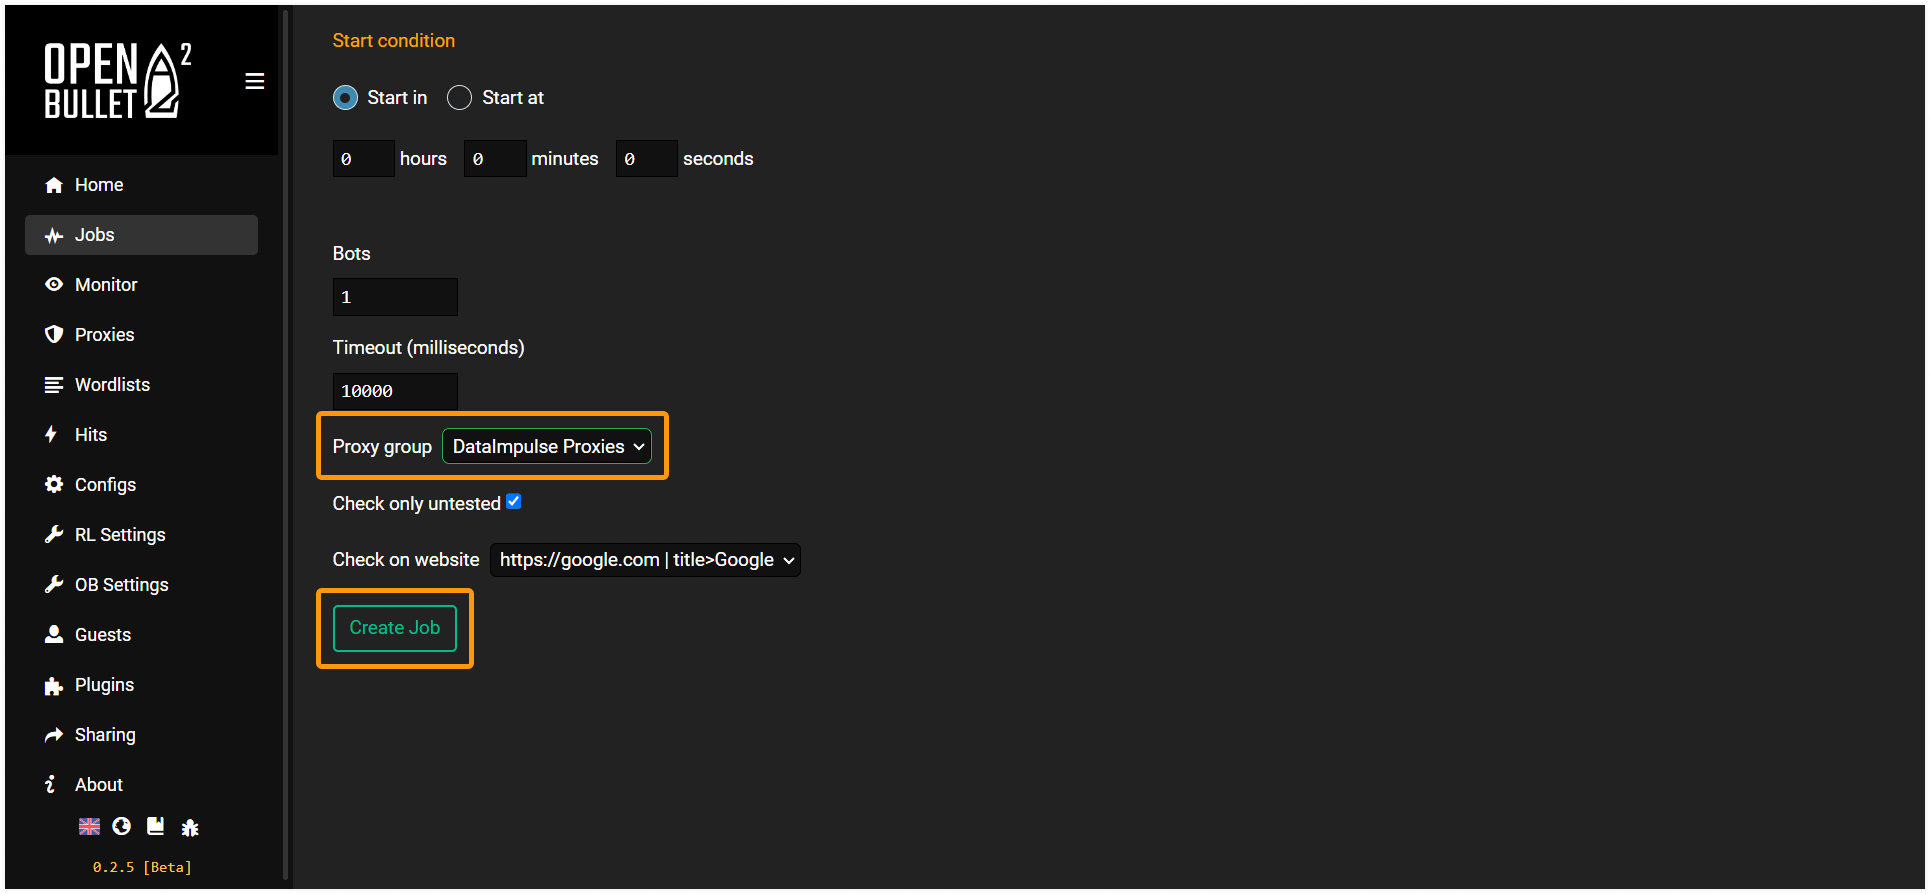
- In the “Proxy Group” field, select a group you’ve just added and click on the “Create Job” button.
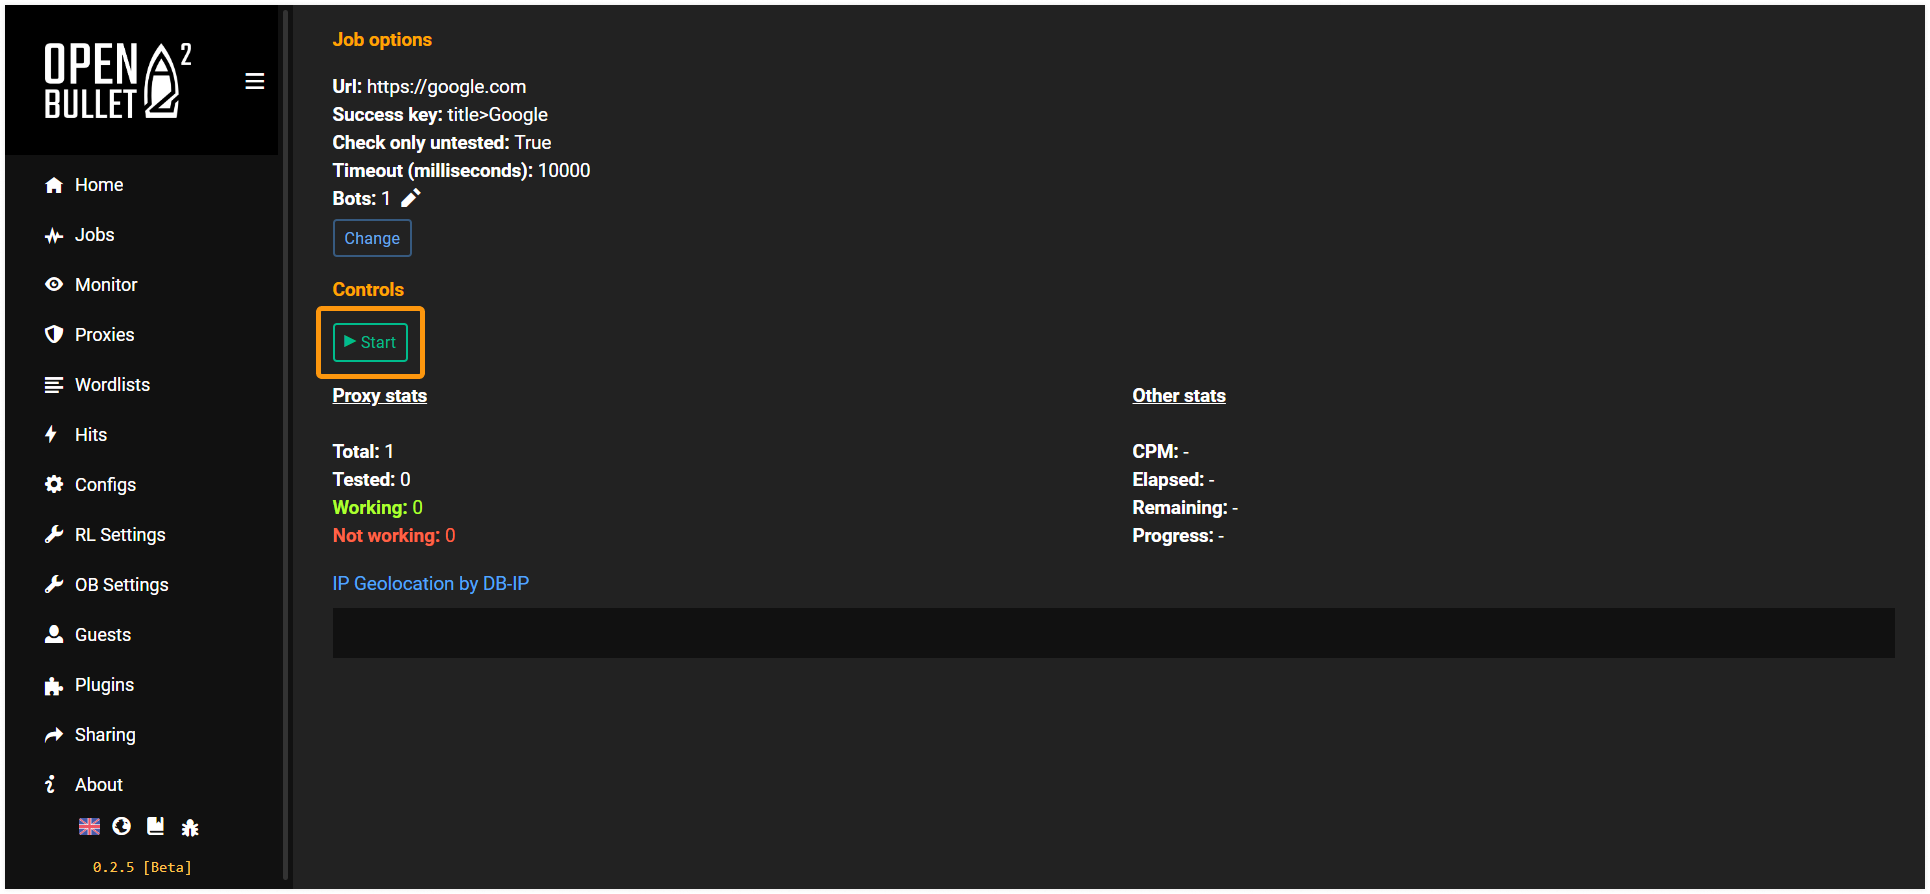
- Click on the “Start” button.
- Wait until the process of checking is finished. You may see a “Not working” status; however, there is no need to worry. OpenBullet connects to Google to check proxies, and this search engine is blocked with some proxies. Please contact our support team to resolve issues and remove blocks.

