Guide to configuring DataImpulse proxies with SessionBox
Dealing with extensive web usage using standard browsers can be challenging, especially considering the lack of identity protection. However, there are alternative options available that can enhance your browsing experience by providing faster speed, scalability, and improved security measures.
SessionBox offers a secure and anonymous way to manage numerous active web browsing sessions. It enables you to use multiple accounts simultaneously within a single window, ensuring privacy and anonymity. Additionally, SessionBox allows you to utilize proxies for each session, enhancing your browsing experience by making it untraceable.*

What is SessionBox?
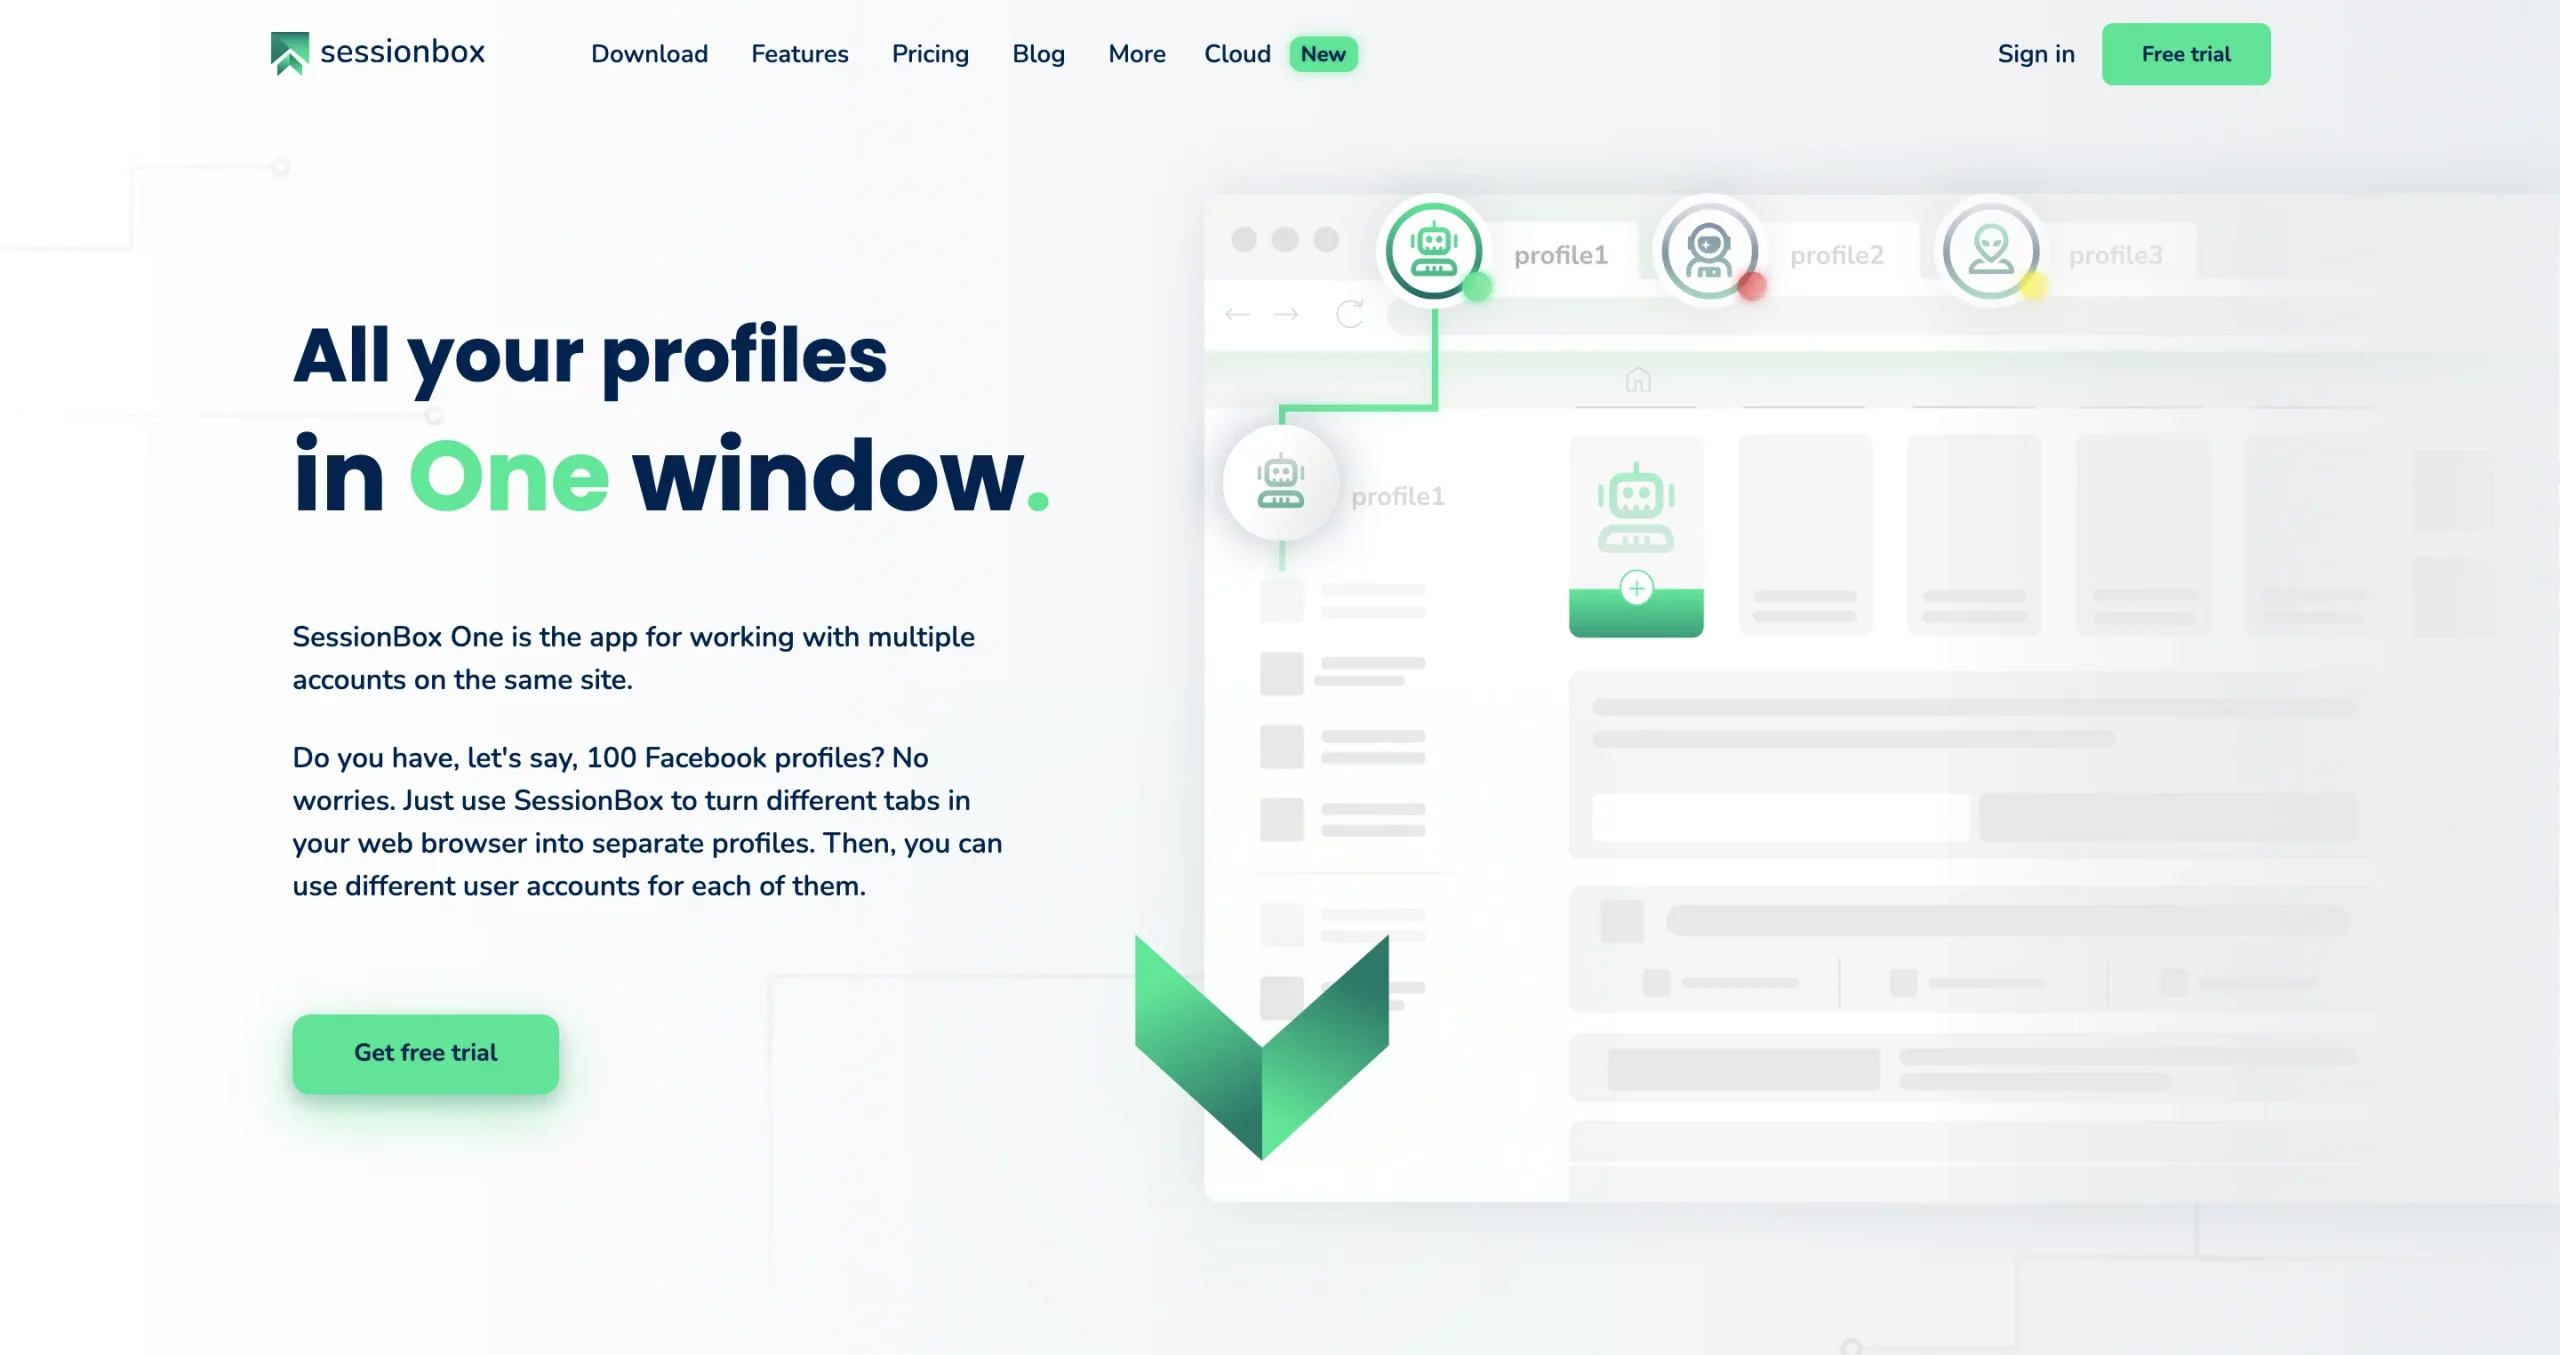
SessionBox is a browser extension and software that simplifies multiple account management. Users can run multiple accounts on the same platform at once, without needing additional browsers or private sessions. It prevents browser fingerprinting by generating a distinct fingerprint for each session, so websites can’t track your activity. SessionBox is a great solution for social media managers switching between client profiles, marketers testing ad campaigns, or support teams handling customer tickets.
Benefits of using SessionBox:
- Proxy anonymization;
- Profile isolation in the same window;
- Controlled access and direct sharing;
- Fingerprint protection mechanism;
- Collaboration with Shared Spaces;
- Unlimited secure synchronization;
- Automation and API access;
- Bulk profile creation and much more!
Proxy Configuration Steps
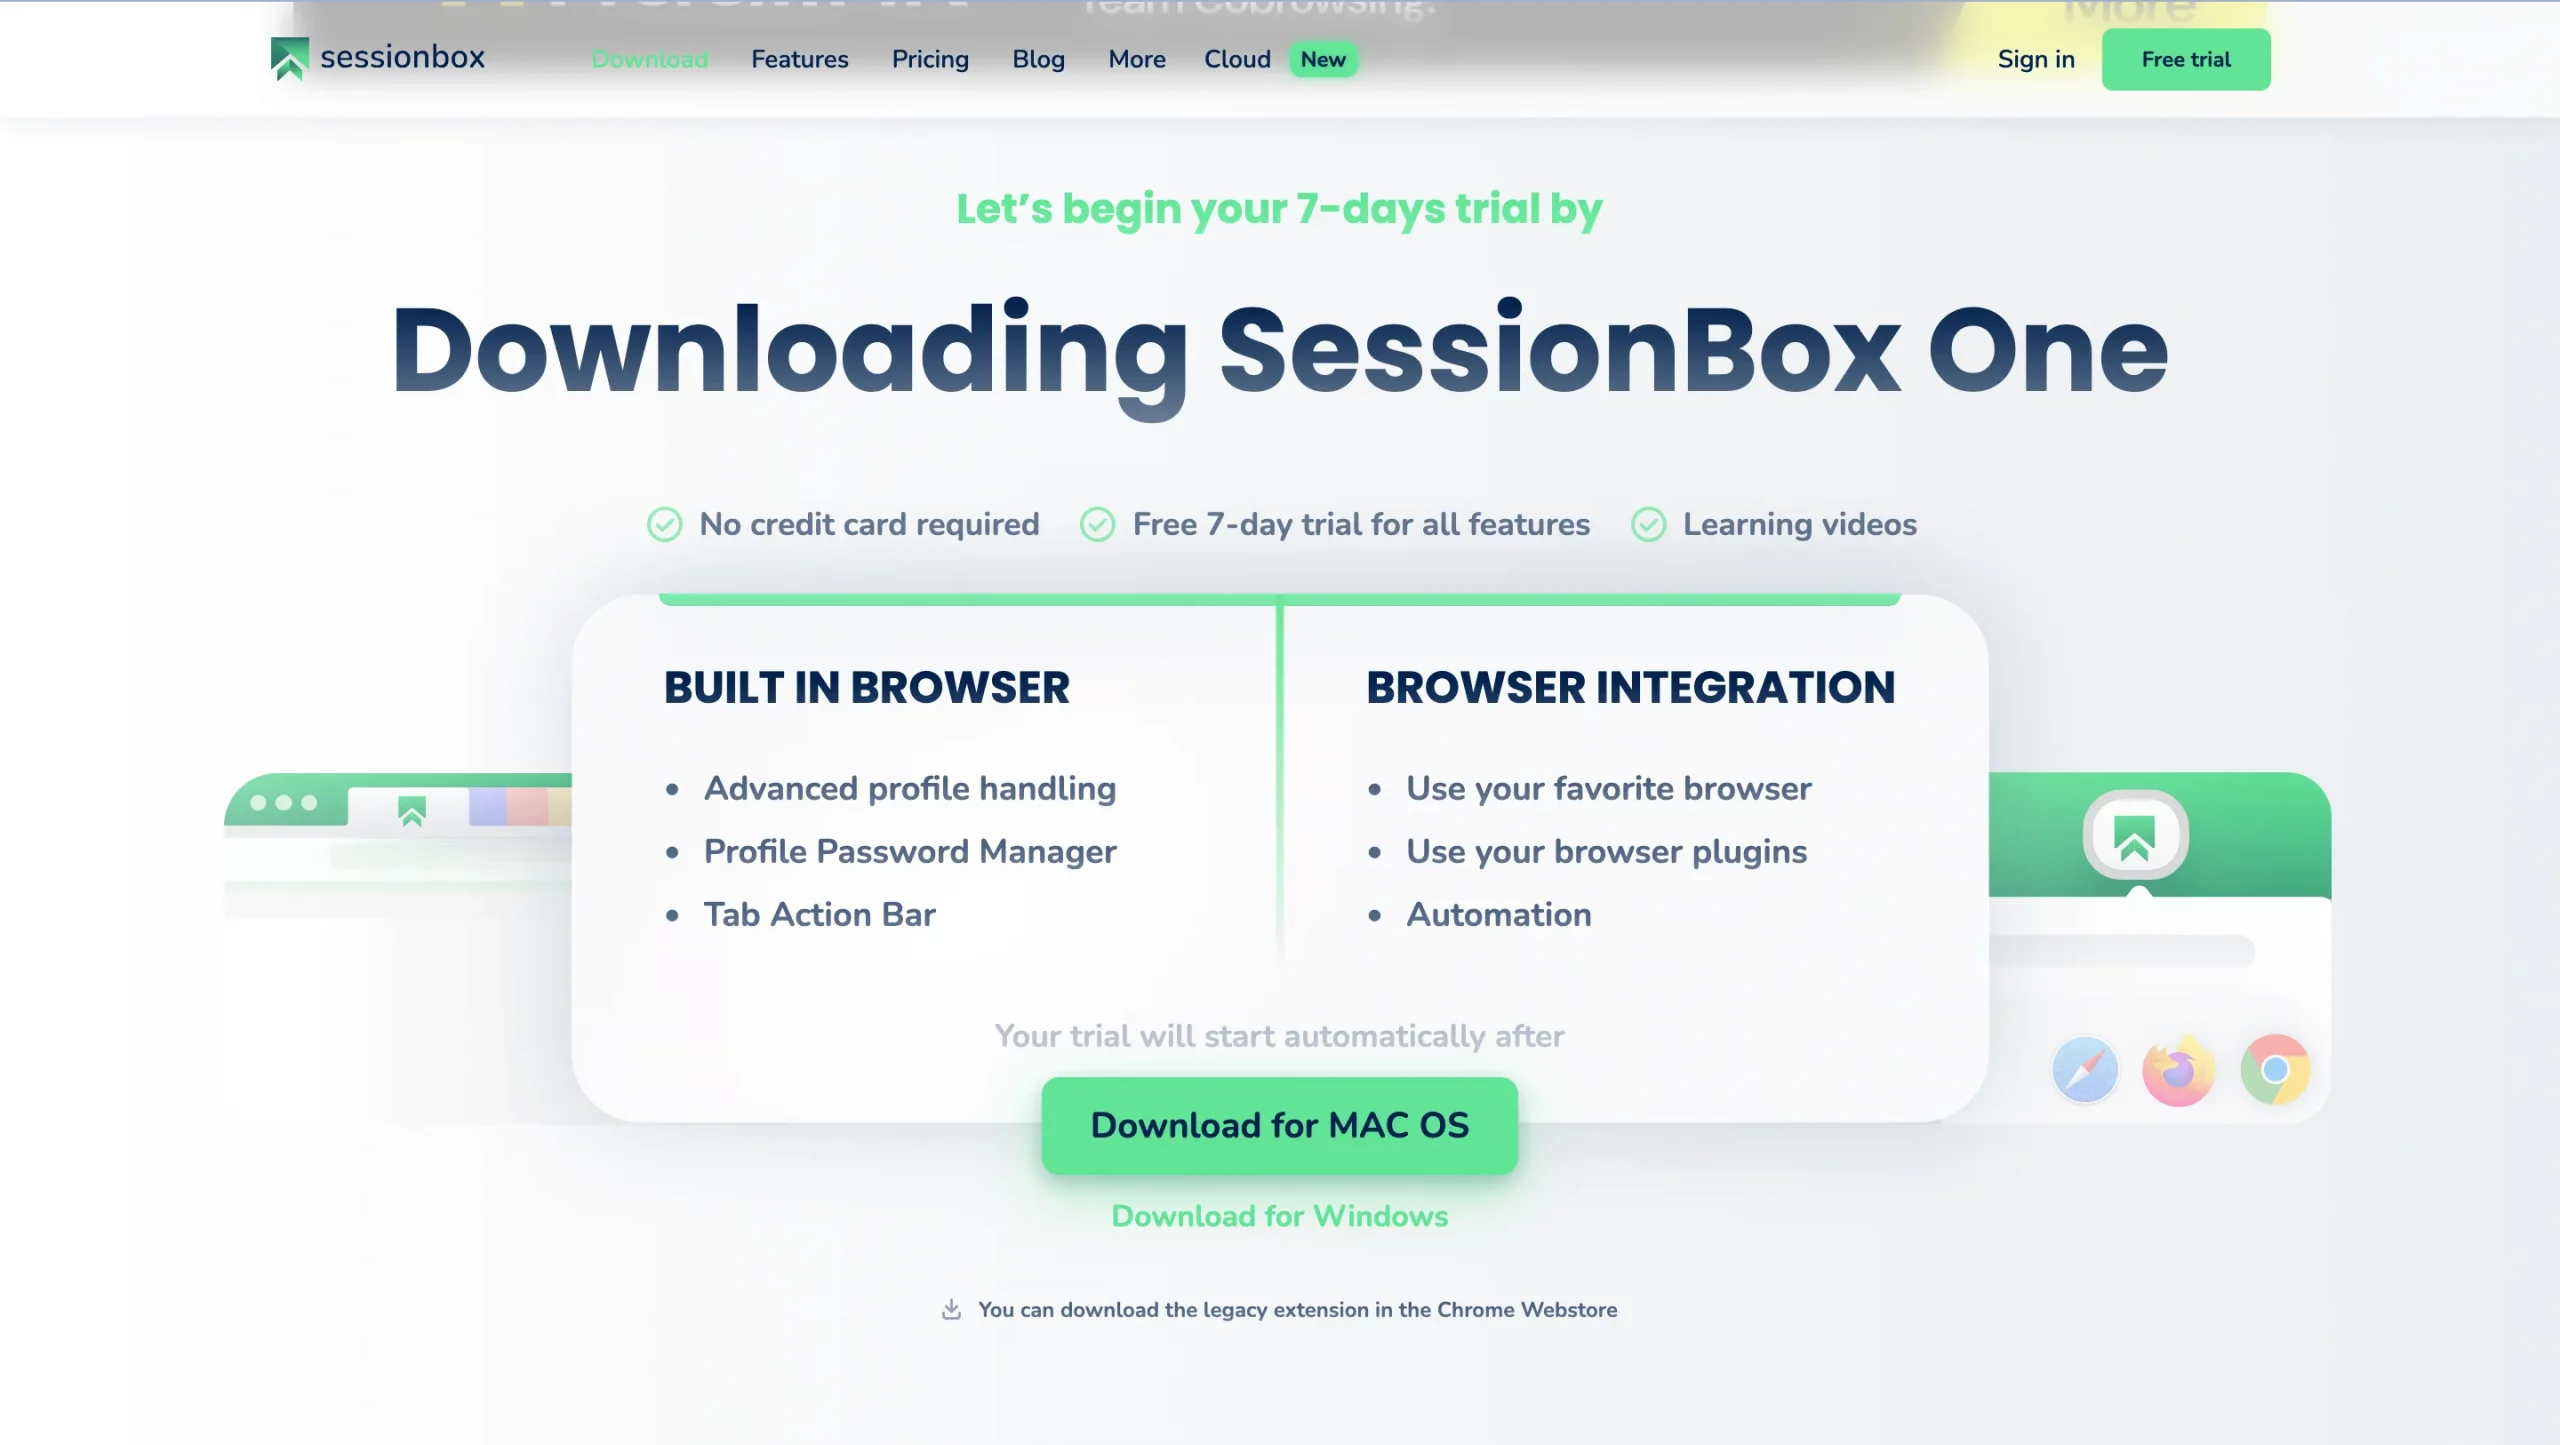
- Visit https://sessionbox.io/ and start a Free trial. Choose your operating system. For this guide, we’re using macOS M-series. Just click the appropriate download button, and the process will begin immediately.
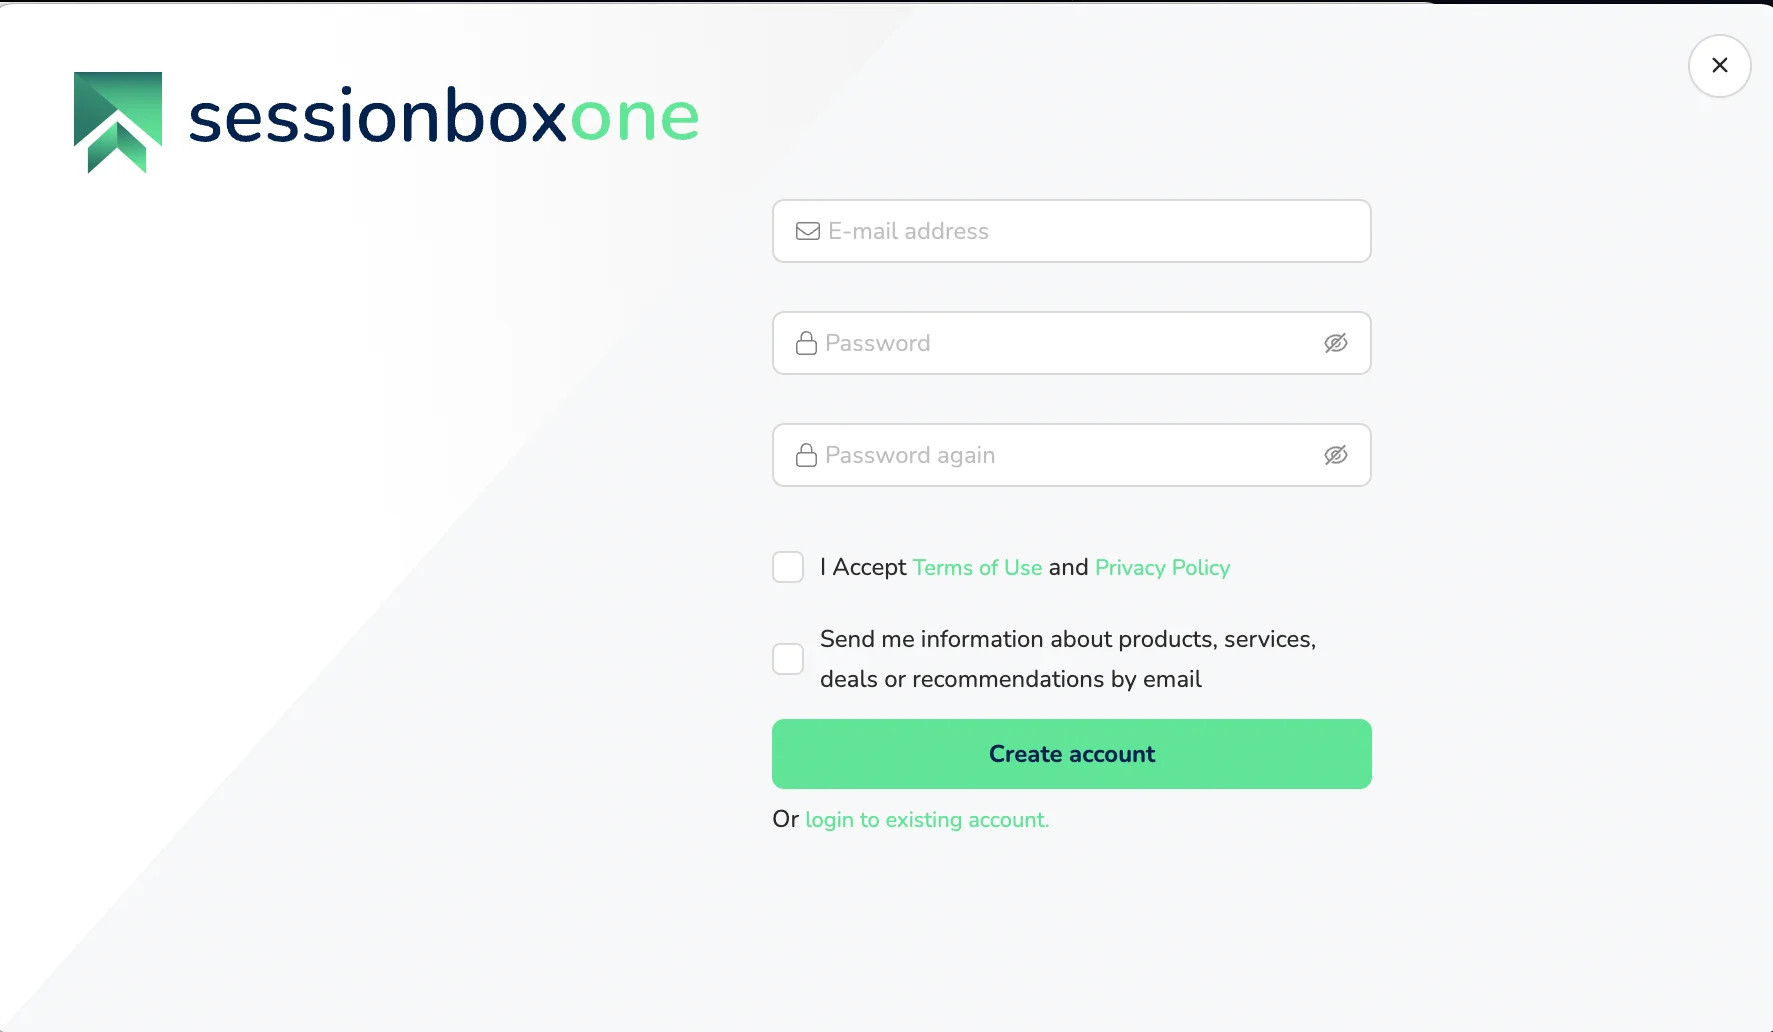
2. Create your account by entering Email and making up a secure password. Accept Terms of Use and Privacy Policy.
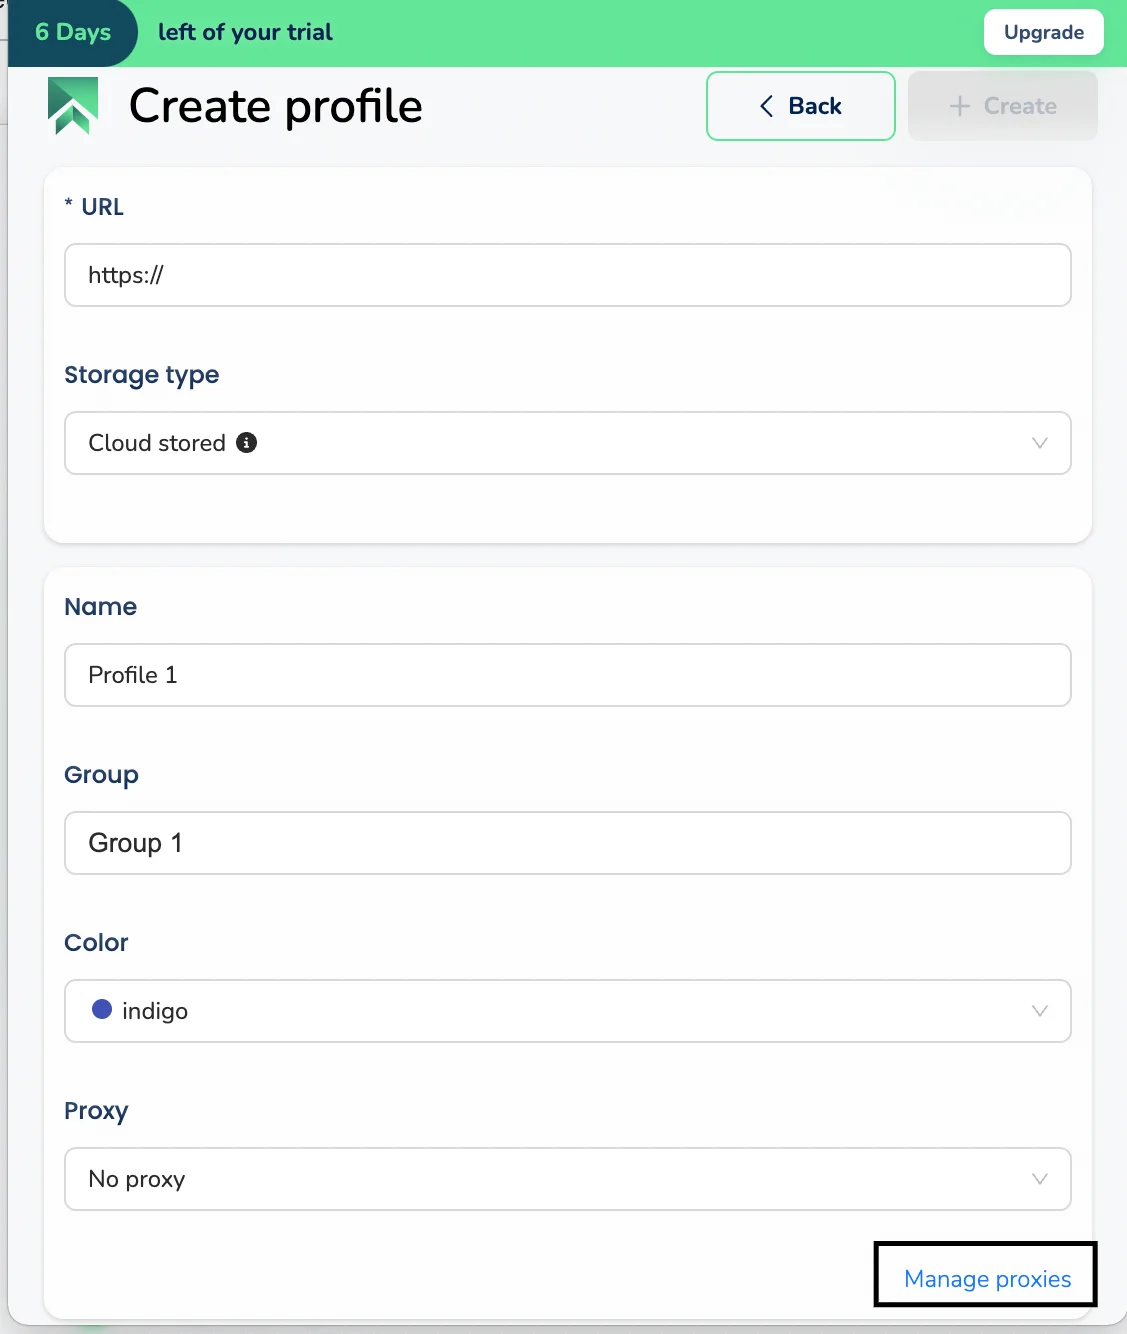
3. The next step is to “+Create” a profile.
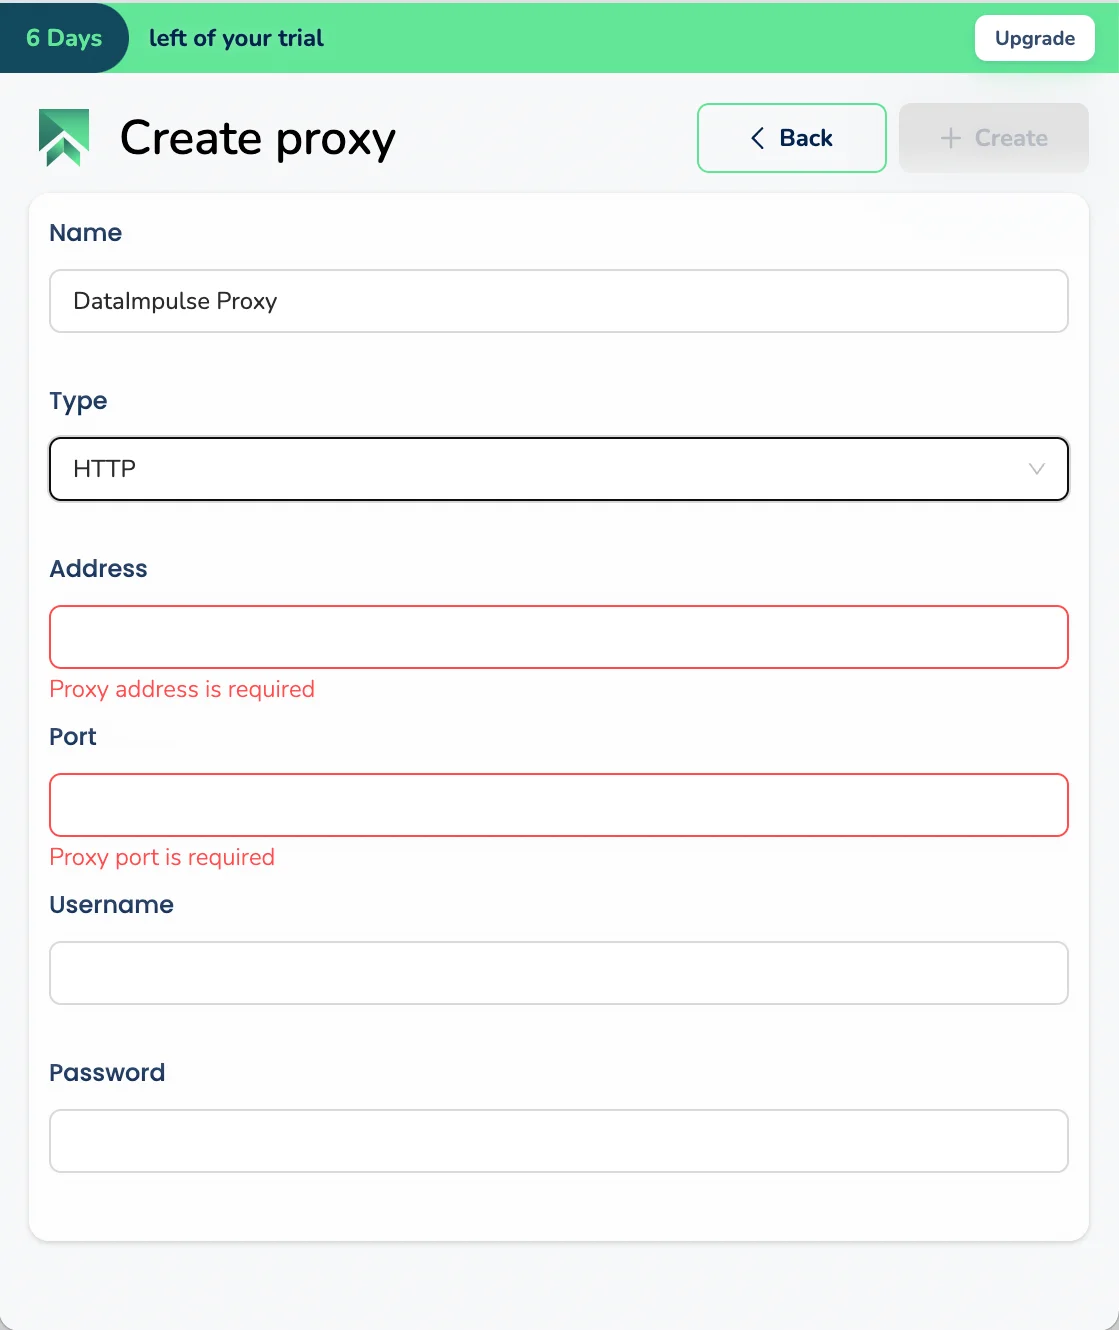
4. Go to the “Manage Proxies” section and click “Add proxies.” This will give you the option to enter proxy details manually.
5. Fill out the form with your DataImpulse credentials. You’ll find your host, port, login, and password within your Plan on your DataImpulse dashboard. Finally, click the “Create” button.
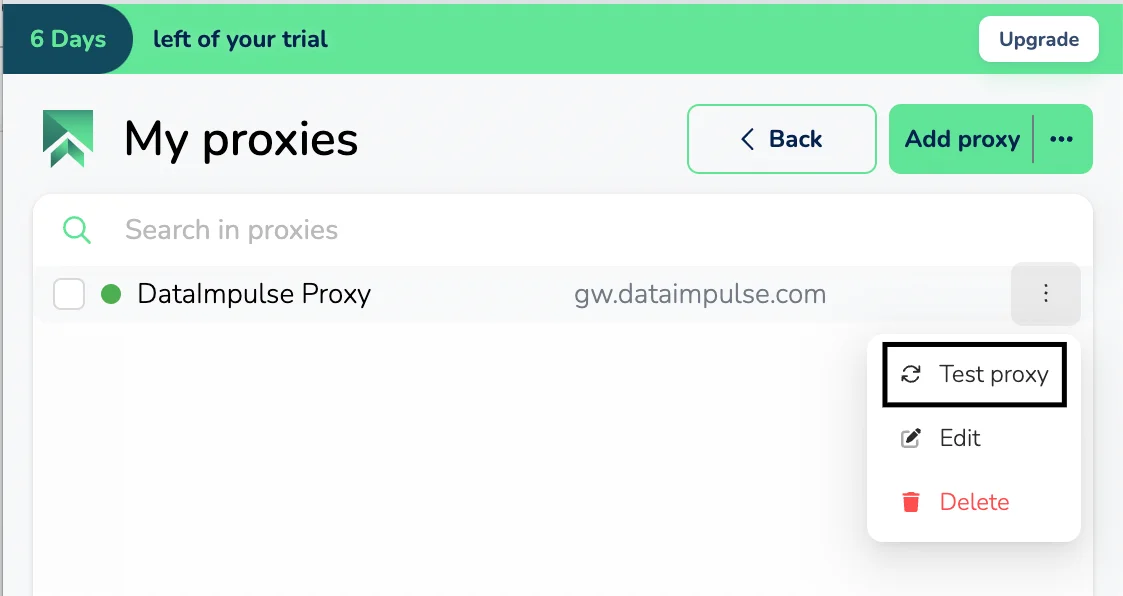
6. Now it’s time to test your proxy connection. Click “Test Proxy“. If all goes well, a green light will show it’s working.
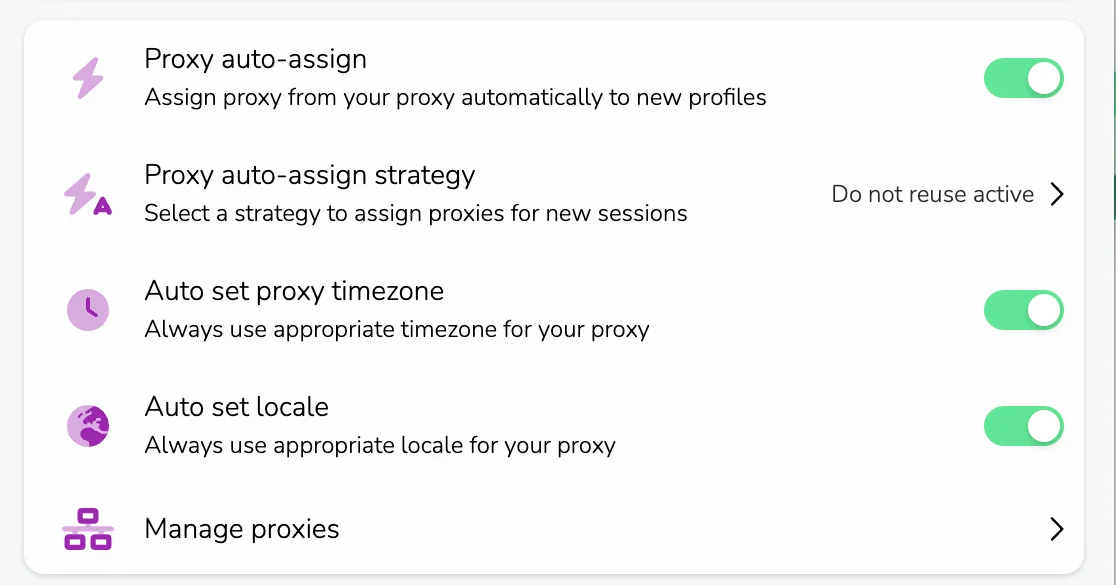
7. After adding your proxy, head back to the Settings section to enable automatic assignment. Several parameters can be customized here. You can modify the automatic assignment strategy, or configure a single proxy for all sessions.
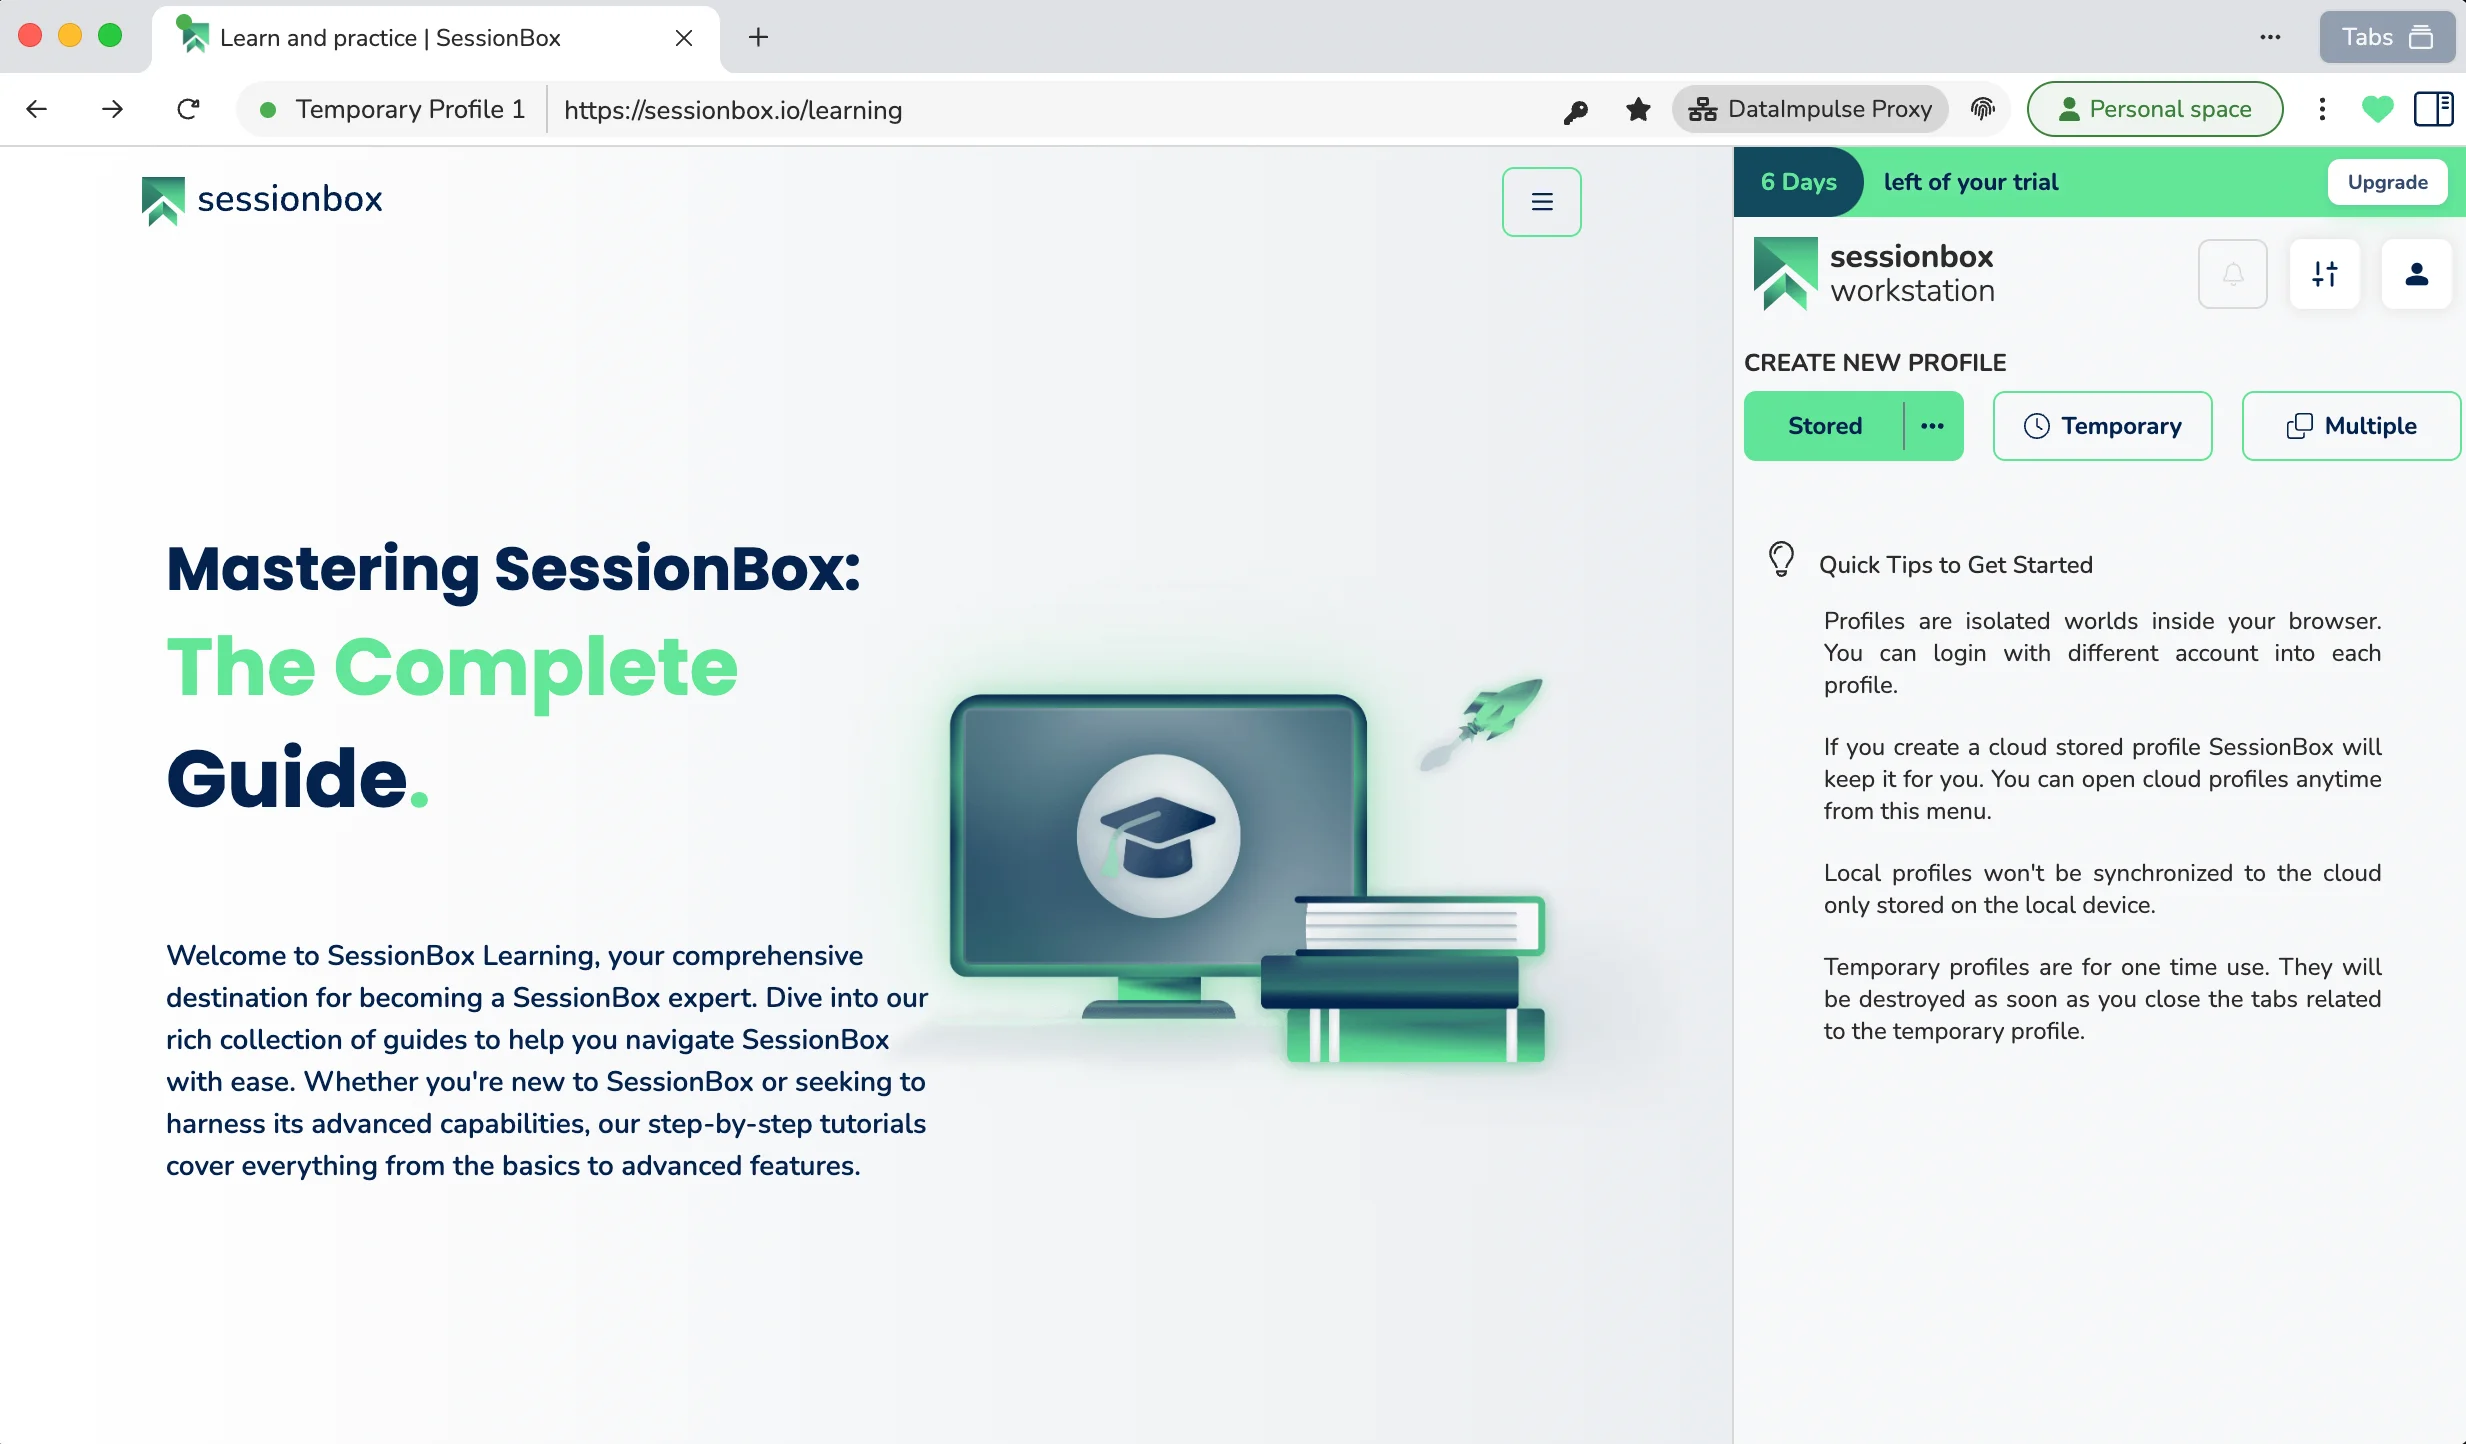
8. After these steps, you’ll be finally redirected to the browser with your preferred and installed proxy.
That’s it! Your setup is complete, and you’re ready to take advantage of all features.
Here’s how to configure proxies in the SessionBox extension:
Please note that the proxy integration process is the same for Chrome, Opera, and Firefox extensions.
- Open the SessionBox extension and click on the three horizontal lines to open the menu. Then, select “Settings”.
- Go to the Proxy tab and click on “Add New” to create a new profile.
- Give your profile a name and select the desired connection type (HTTP, HTTPS, SOCKS5, or SOCKS4). Then, enter the Address and Port of the proxy server you want to use.
For instance, if you want to use Residential Proxies from DataImpulse, use the following details:
Type: HTTP
Address: gw.dataimpulse.com
Port: 823
Please follow the instructions below for setting up Residential Proxies in the Workstation section. The configuration process for DataImpulse proxies remains the same across different use cases.
- Scroll down within the same window to provide your DataImpulse sub-user’s username and password. After entering the credentials, click on the Save button to save the settings.
- Once you have added the proxy, you need to assign it to a new session. Visit any website and open the add-on once again. Click on the New Stored Session button to create a new session.
- After opening a new tab, go back to the add-on and click on the three dots next to your newly created session. From the menu, choose Settings.
- In the Settings, navigate to the Other tab. Under the Proxy section, select the profile you have created.
That’s it! Your new session should now be using a different IP address than your own. To verify if the proxy is working correctly, you can visit a website that displays your current IP address.
SessionBox vs. Multilogin
SessionBox and Multilogin are two distinct solutions with varying features and pricing structures. However, SessionBox can be considered as a viable alternative to Multilogin. Both platforms provide features like managing multiple browser profiles, integrating with proxies, controlling browser fingerprints, and facilitating team collaboration. Notably, SessionBox offers a cost-effective option compared to the relatively higher-priced Multilogin.

