Proxy integration with DICloak browser
DICloak is a modern anti-detect browser that helps you ensure complete online anonymity by masking your digital fingerprint. It simulates numerous trackable parameters, allowing you to create various online identities and prevent data leaks. Using the browser protects you from unreliable connection while effectively managing your multiple accounts.
DICloak browser key advantages:
- Automatic Login
You don’t have to log in manually each time, as the browser saves sessions for each identity so that you can effortlessly switch between accounts. This is especially handy if you manage several online profiles as part of your daily routine.
- Multi-account management
Social media and e-commerce platforms usually don’t welcome multi-accounting. DICloak equips each account with authentic fingerprints to protect users from account linkage and failed requests.
- User-friendly interface
DICloak prioritizes simplicity in the user interface. Even if you’re new to anti-detect browsers, you will have no problems adjusting settings.
- Bulk operations and automation
Robotic Process Automation templates help you create numerous profiles, adjust proxies, and automate routine tasks. They will also positively influence your productivity while saving time.
- Maintain account privacy
With DICloak, admins can manage permissions for each member separately, ensuring sensitive information is only available to authorized staff. To prevent data leaks and ensure account privacy, features such as 2FA, password protection, and pop-up interception are available.
Many businesses today choose DICloak due to its top-tier features. To ensure an enhanced online experience, they provide regular updates and offer dedicated 24/7 customer support to help you solve any issues right away. You can also enjoy their new offer—a 7-day trial for as low as $1.14 with all the premium features included.
Now, let’s set up DataImpulse proxies with DICloak.
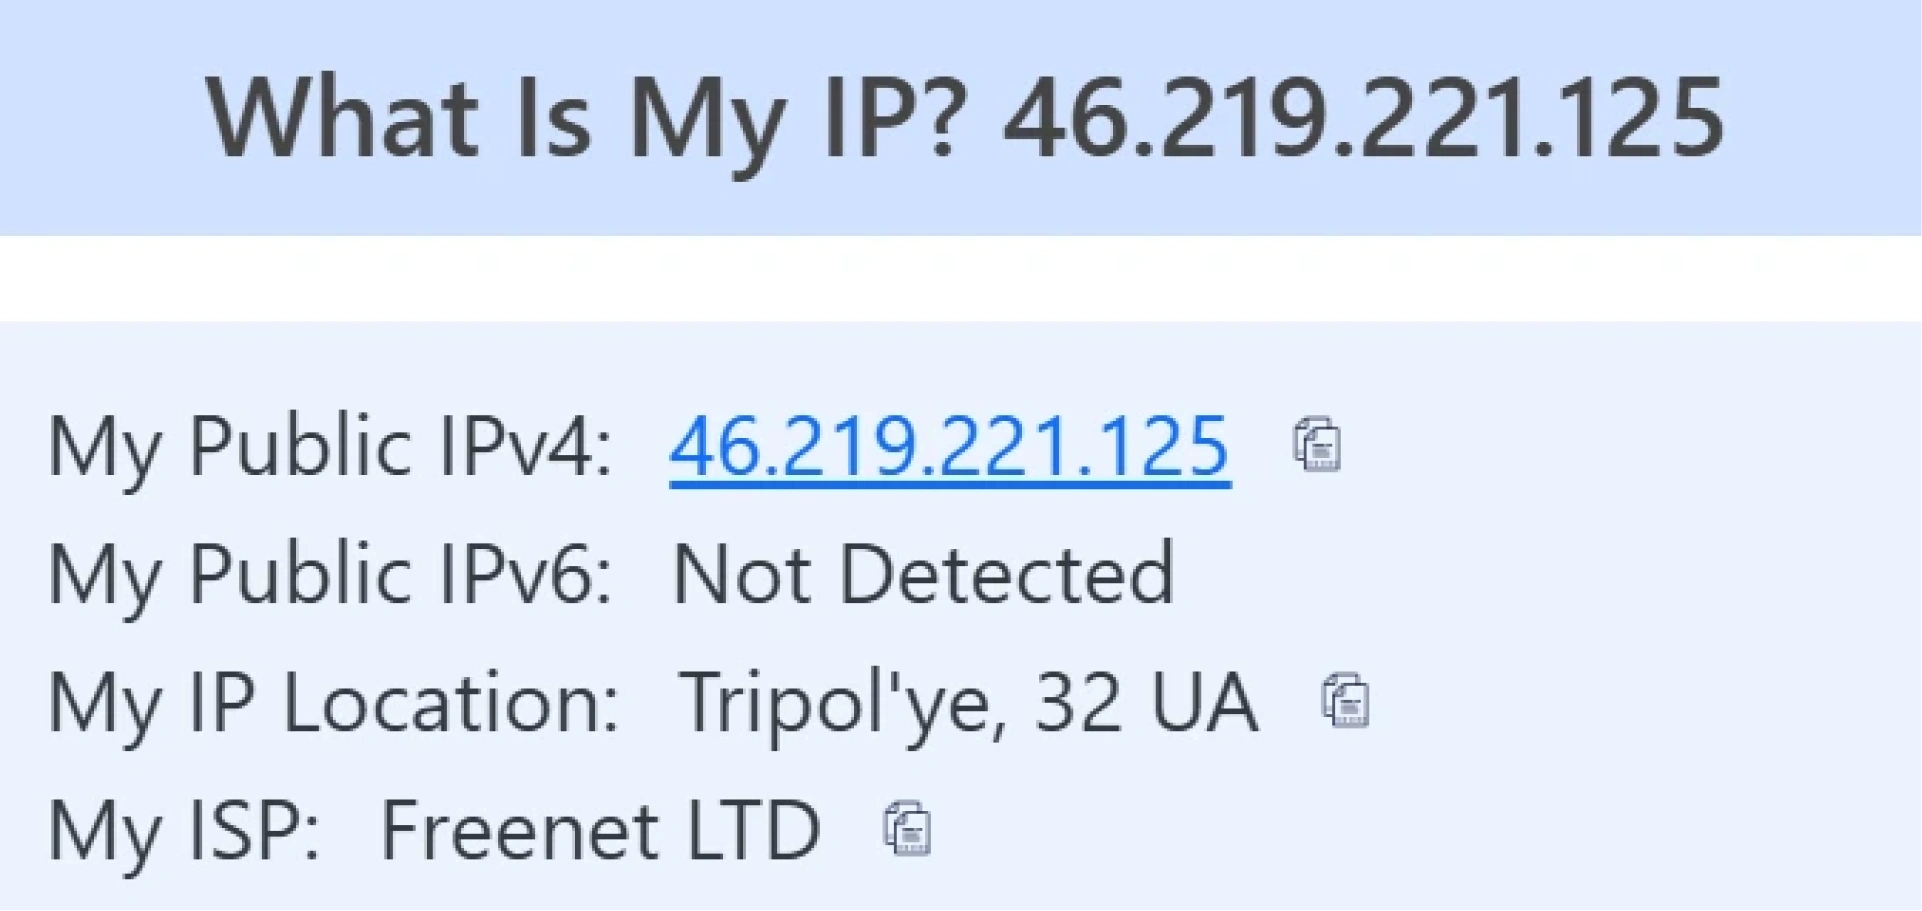
To make sure everything works, we may check our current IP location.
- First, use this link to create an account and download the browser. Once you’re done, follow the instructions from the installation manager. Log in using the same email address and password you used while creating a DICloak account. A quick guide will briefly explain how to use the DICloak browser.
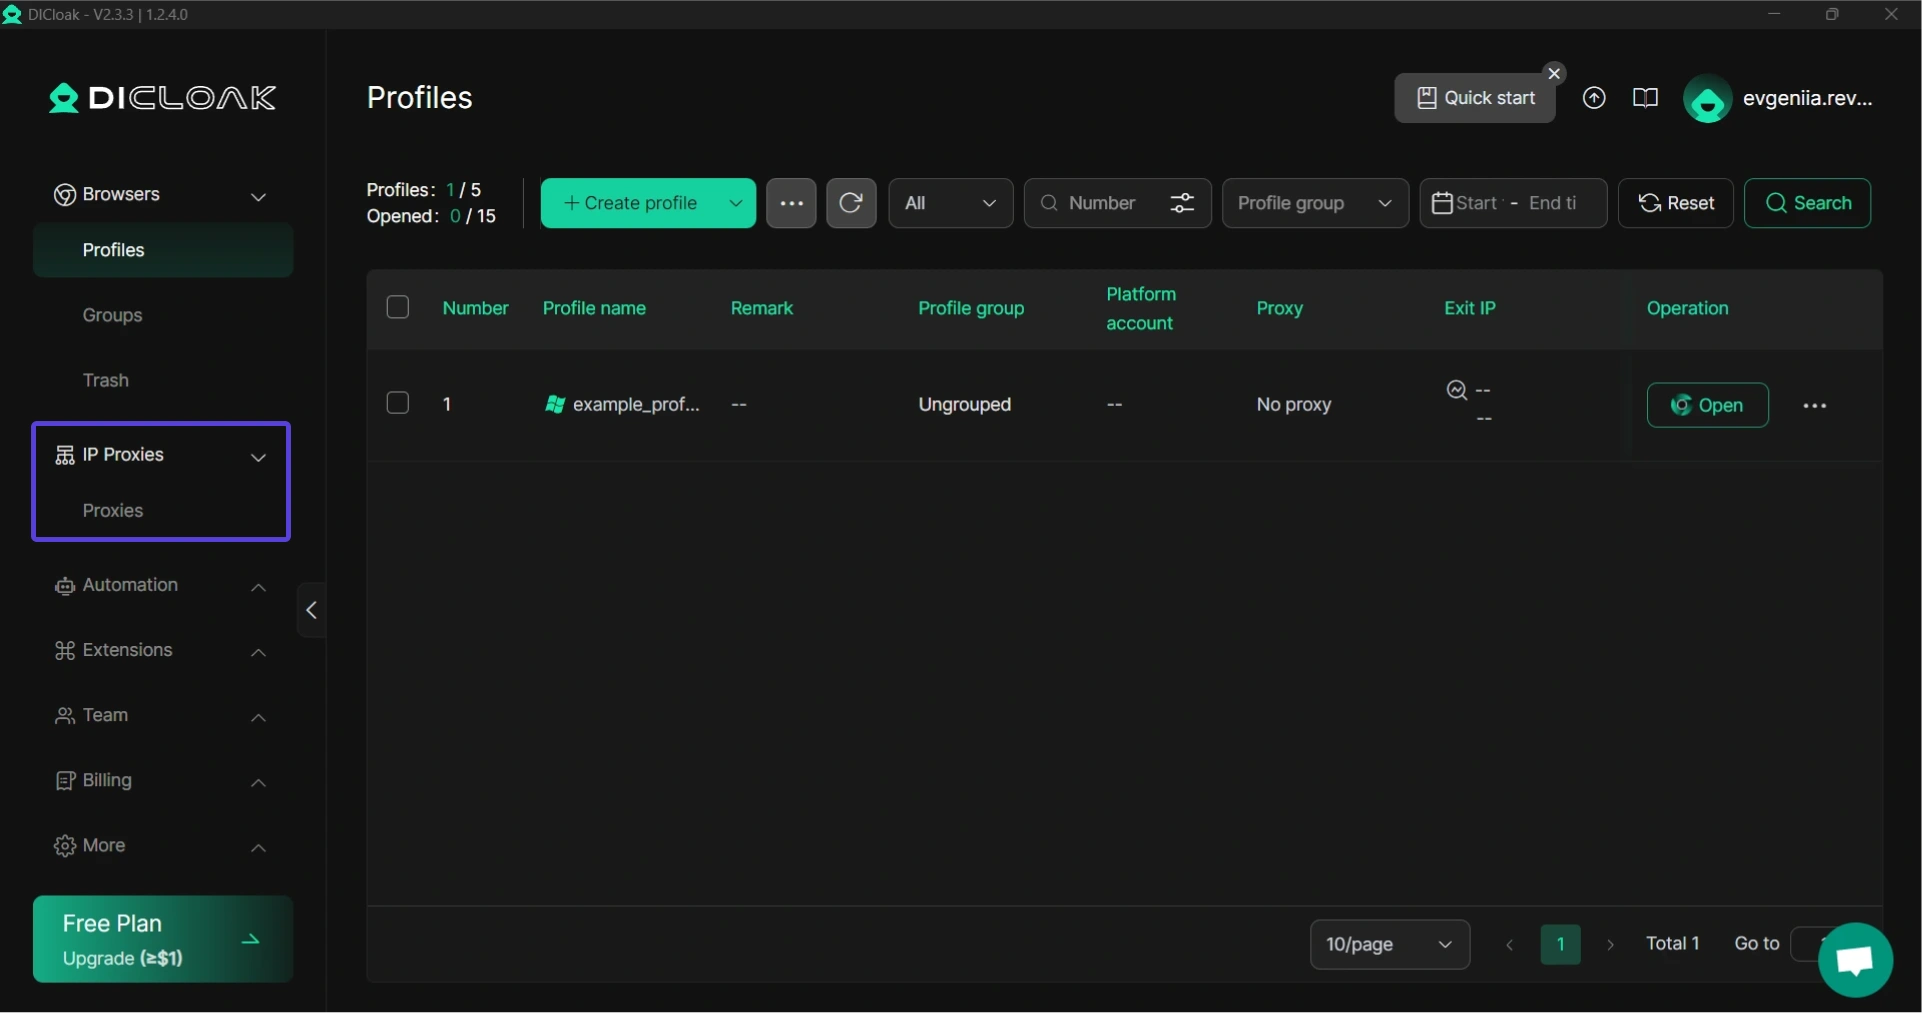
- To adjust proxies, navigate to “IP Proxies” and go to the “Proxies” tab.
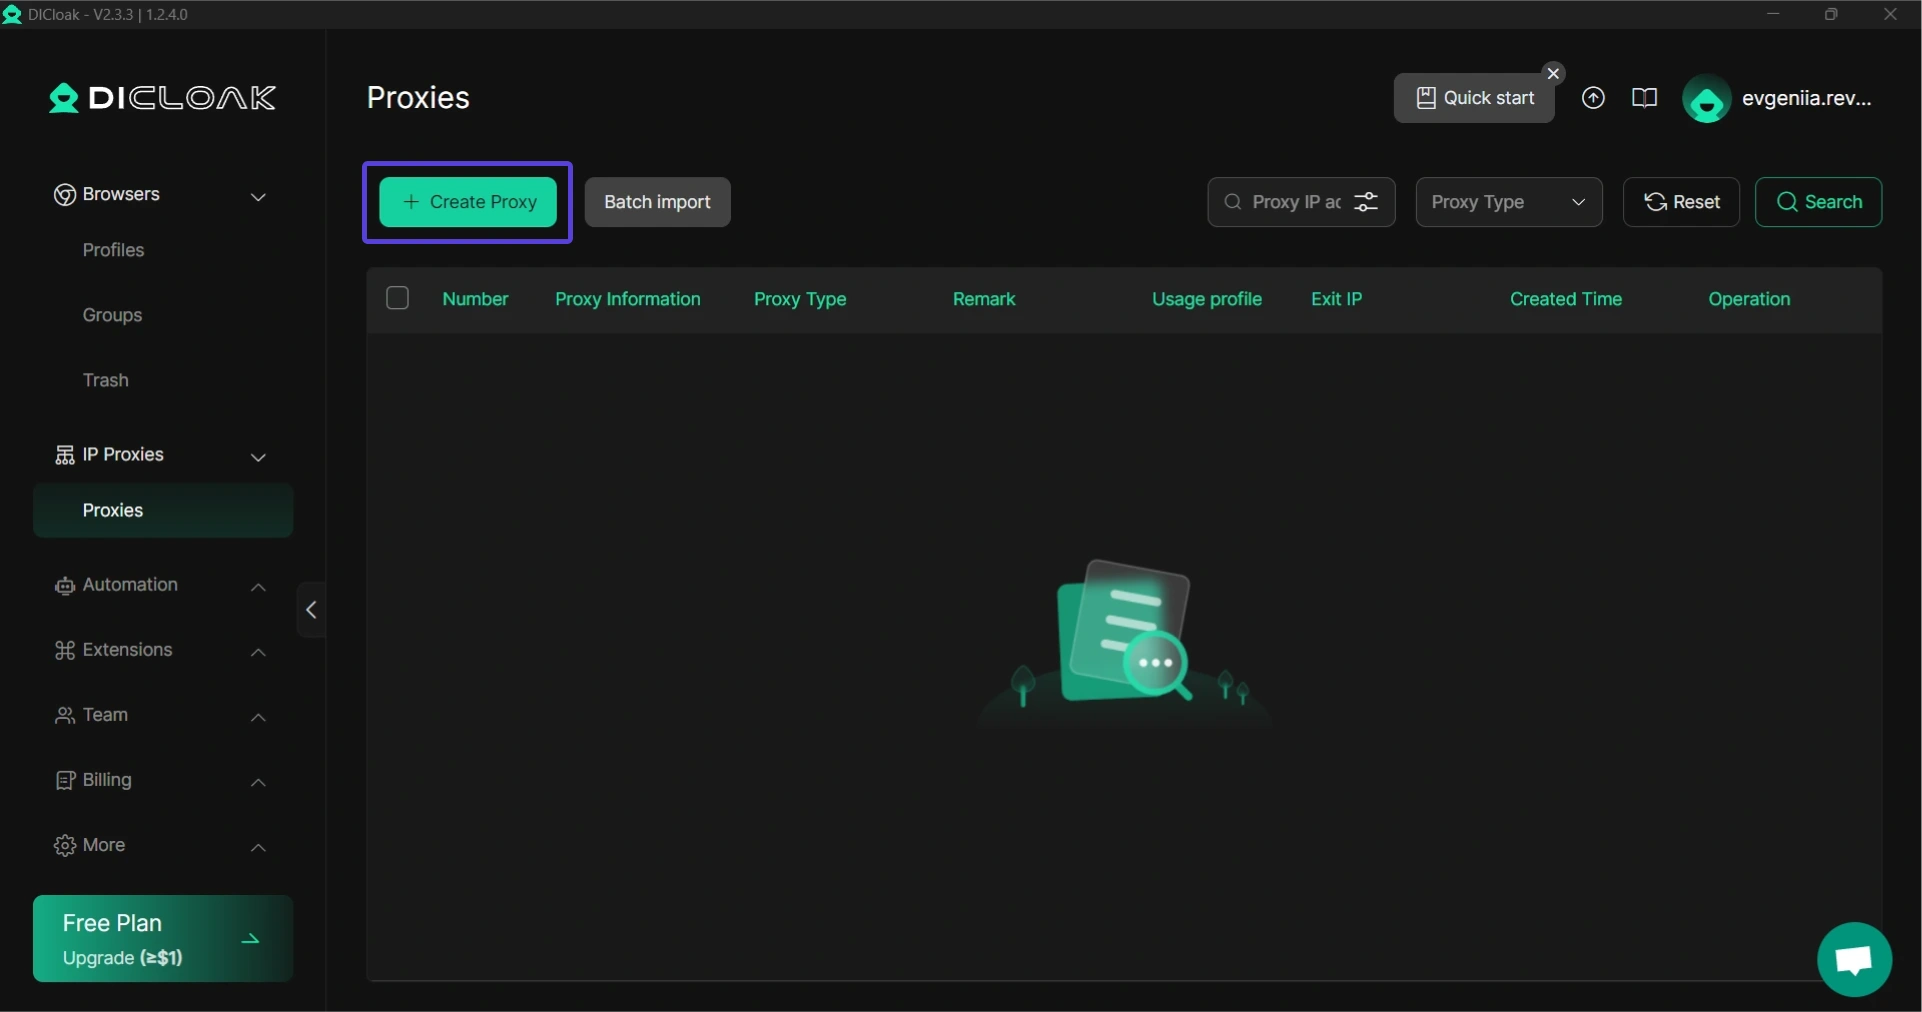
- Press the “Create Proxy” button, and a form will appear.
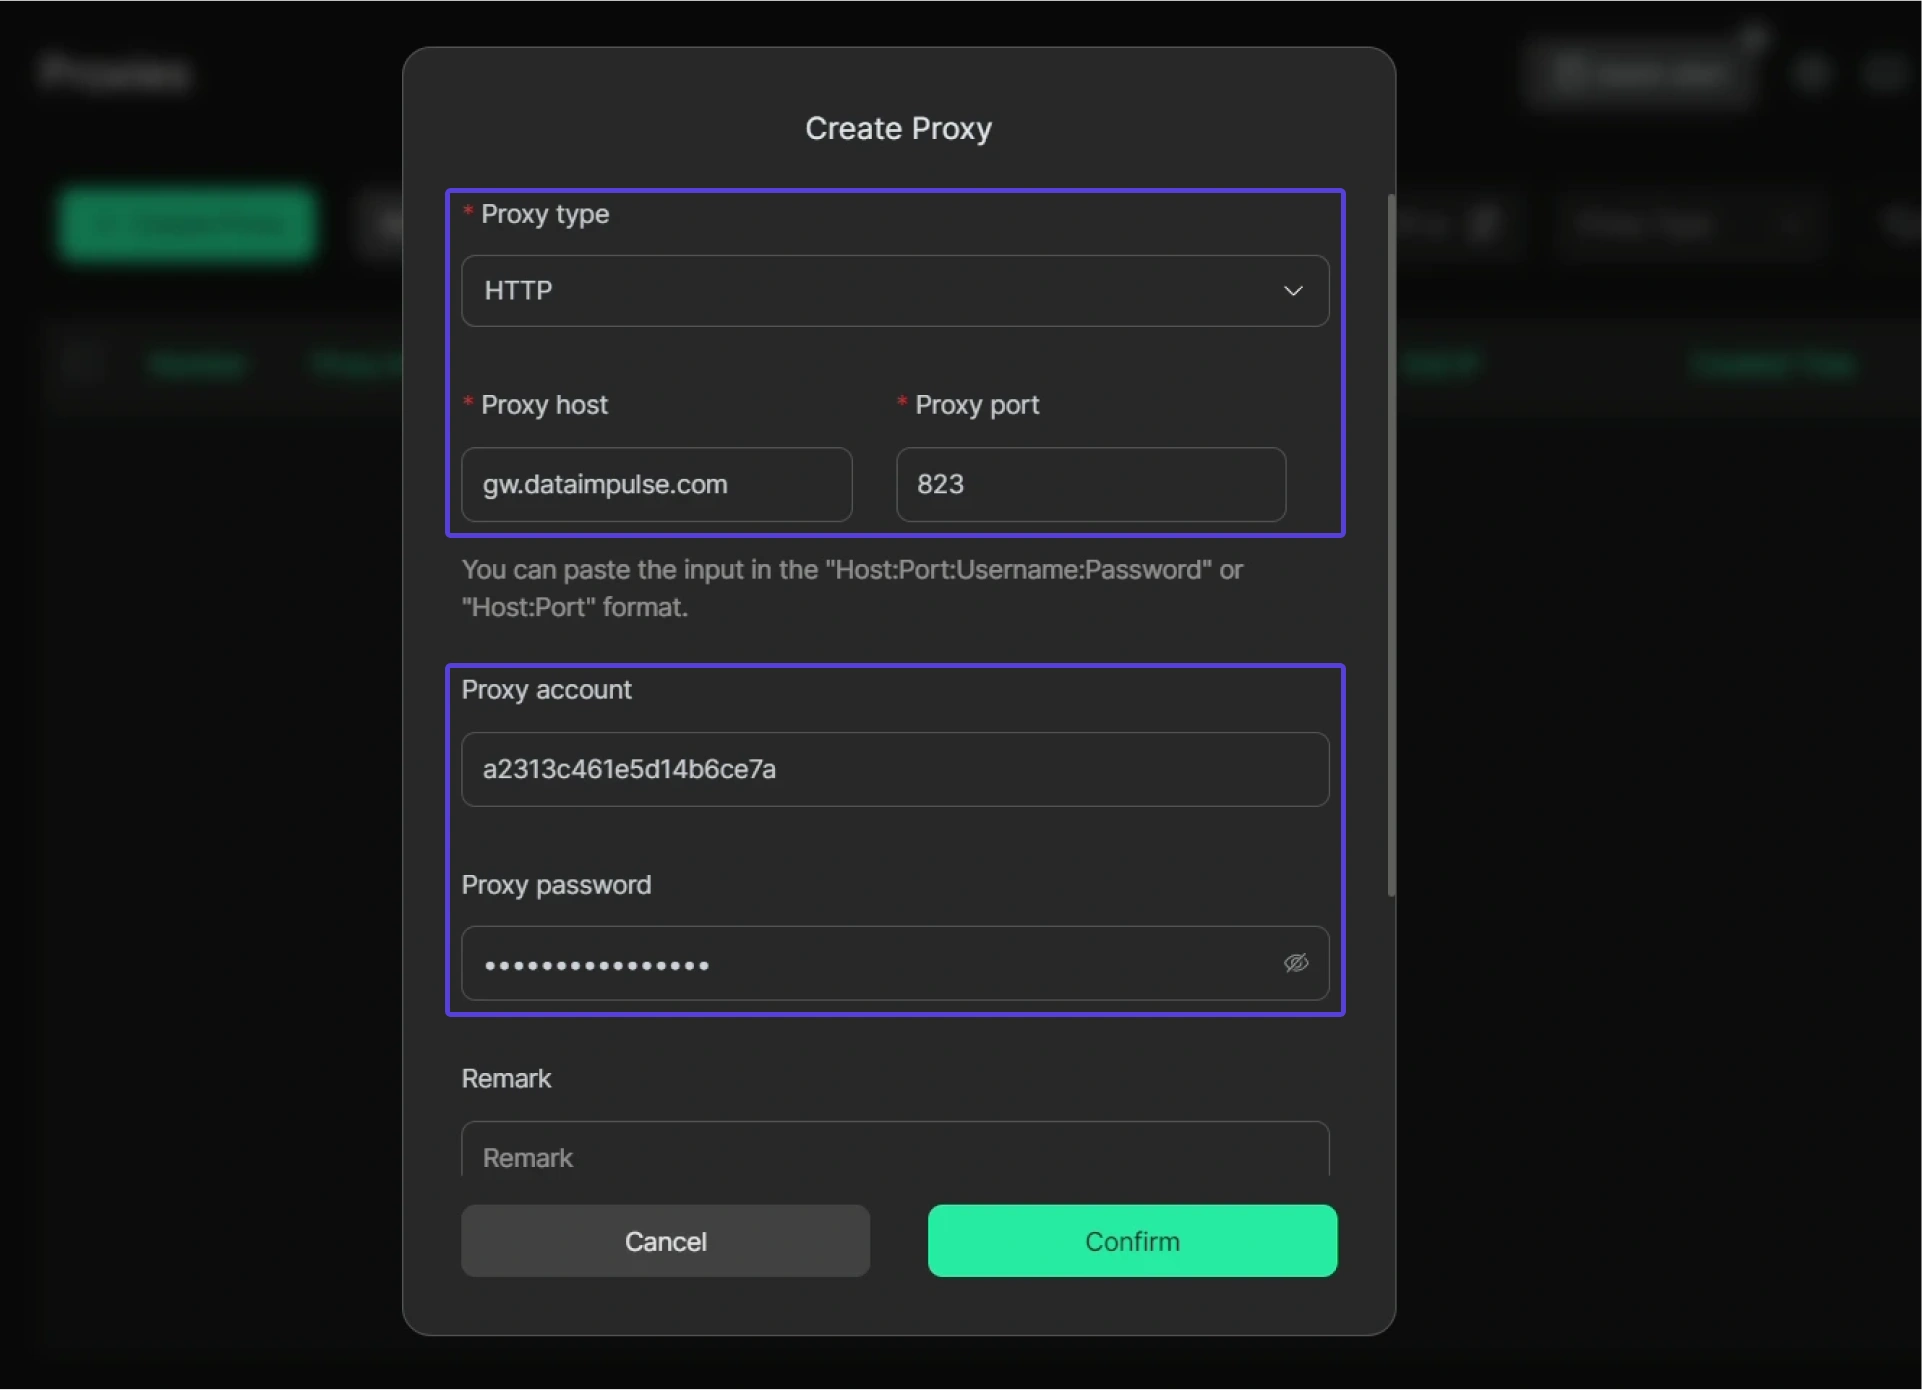
- Choose a proxy type. DataImpulse provides HTTP/HTTPS and SOCKS5 proxies. Here, you can read about the differences between them and decide on the best type for your needs. Then, fill in the host, port, account (login), and password.
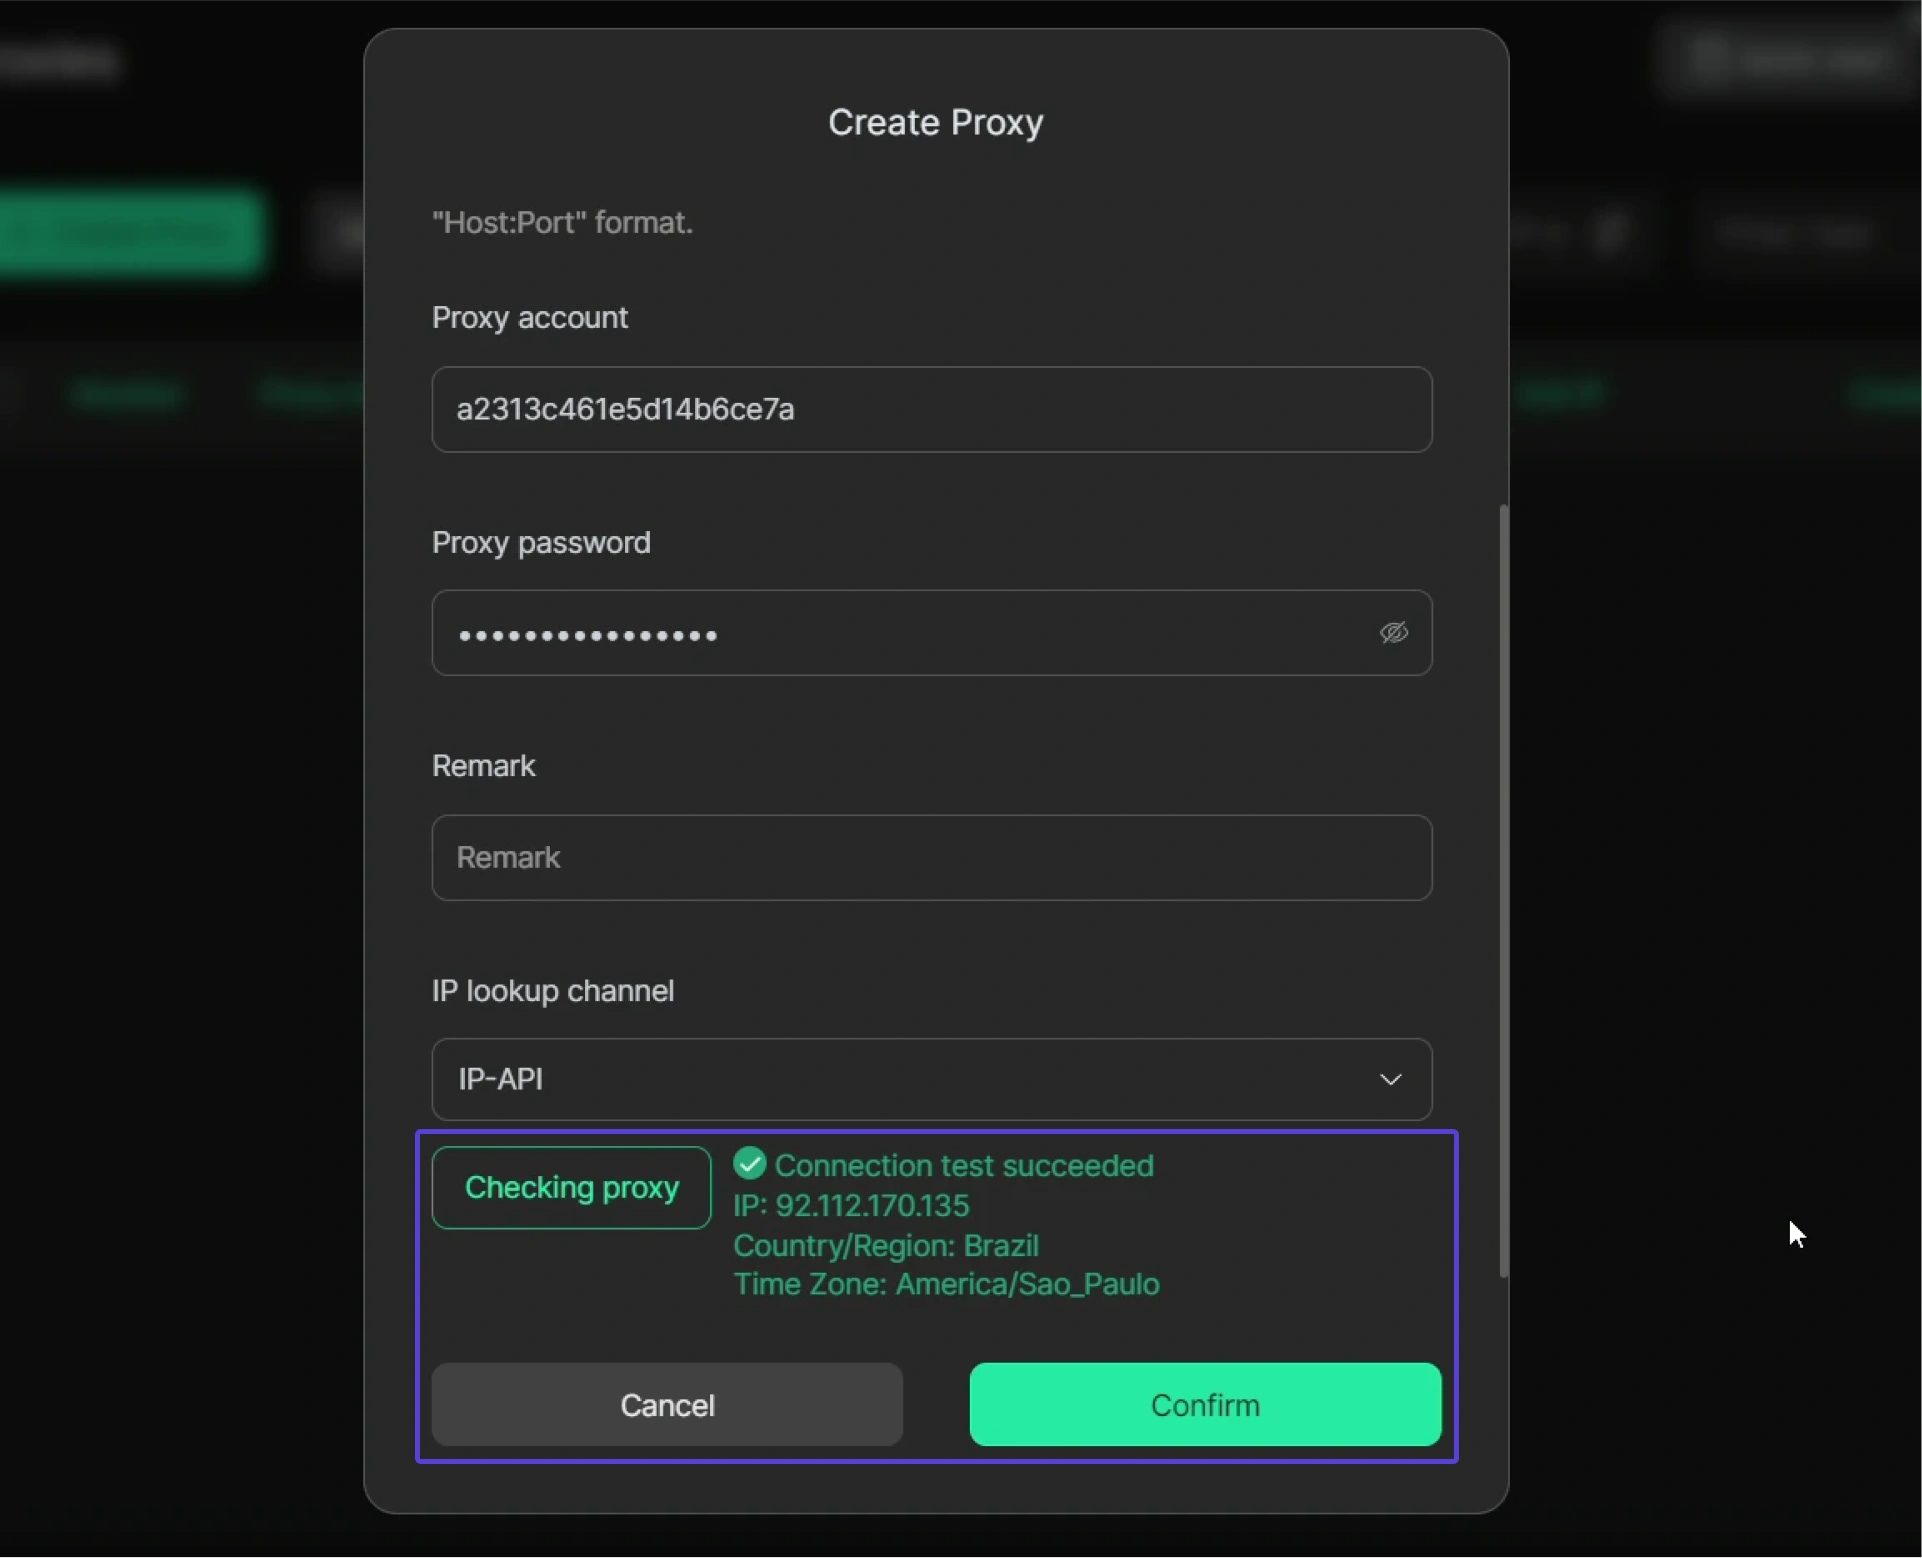
- Scroll down and press the “Checking proxy” button. You will see a proxy’s IP address and location. Finish the process by pressing the “Confirm” button.
Now, you can use your proxies when creating profiles. To do that, select “Saved proxies” and choose the necessary option.
Please also note that if you try to set up proxies within mainland China (Macau, Taiwan, and Hong Kong excluded), you must first create an overseas network using a VPN, VPS, or a dedicated international line. After that, follow the instructions above
That’s all you need to do to start using DataImpulse proxies with DICloak. It’s easy and requires a minute or two at most. However, it still takes your online privacy and multi-account management to the next efficiency level.

