In this Article
As online privacy and safety have become the most critical issues, it’s no wonder that anti-detect browsers are in demand. However, even when there are many options, finding the one that effectively addresses safety challenges, suits your business needs, and meets your price expectations may be challenging. In this article, we discover ixBrowser, a multifunctional tool that deserves your attention and is helpful for numerous purposes.
What is ixBrowser?
ixBrowser is a permanently free anti-detection browser that protects your online privacy and prevents third parties like advertisers or hackers from collecting your data. You can use it regardless of your niche, from online marketing to e-commerce.
Advantages of ixBrowser
There are numerous reasons why this browser beats others:
– unlimited number of profiles and team member accounts
You can create as many independent accounts as you need without any payments or profile click limitations. You also can invite as many colleagues as necessary to join your team.
– hides more than 20 browser fingerprints
UserAgent, Screen Resolution, Timezone, Language, WebRTC, Fonts, and other fingerprints may provide ideas about your identity. ixBrowser allows you to configure it all easily or randomly generate fingerprints.
– supports extensions
If you need additional features like auto tab closing, you can download them from the official Chrome Store or build them yourself and download a ZIP file. You can also configure extension settings for profiles and groups.
– right sharing and profile transferring
You will definitely appreciate the convenience of ixBrowser, as you can transfer profiles and proxies to other users. Fingerprints and proxies remain unmodified, so you don’t have to worry that settings will be lost during the transition.
– add blocking
ixBrowser also acts as an add blocker. It prevents you from watching unwanted scripts and saves bandwidth, so pages load faster and the whole surfing process is smoother.
All those features, paired with an easy-to-use interface, make ixBrowser a handy tool. It’s suitable for specialists like marketologists and developers and ordinary users who value privacy. ixBrowser will have you back in a lot of situations, for example:
– managing multiple social media accounts
– running ad campaigns
– protecting online safety
– ensuring stable access across the globe and handling request load
– testing applications in a secure environment
The best part of ixBrowser is that all its features are always free to use. The only stuff you have to pay for are proxies. ixBrowser is more effective when paired with proxies, as proxies are good for supporting a global connection and enhancing security. However, you don’t have to use proxies provided by ixBrowser; you can choose a provider on your own. DataImpulse proxies click perfectly with ixBrowser, and it takes only several minutes to start using them together.
Note that ixBrowser only works with Windows OS.
How to start with ixBrowser and integrate it with DataImpulse proxies
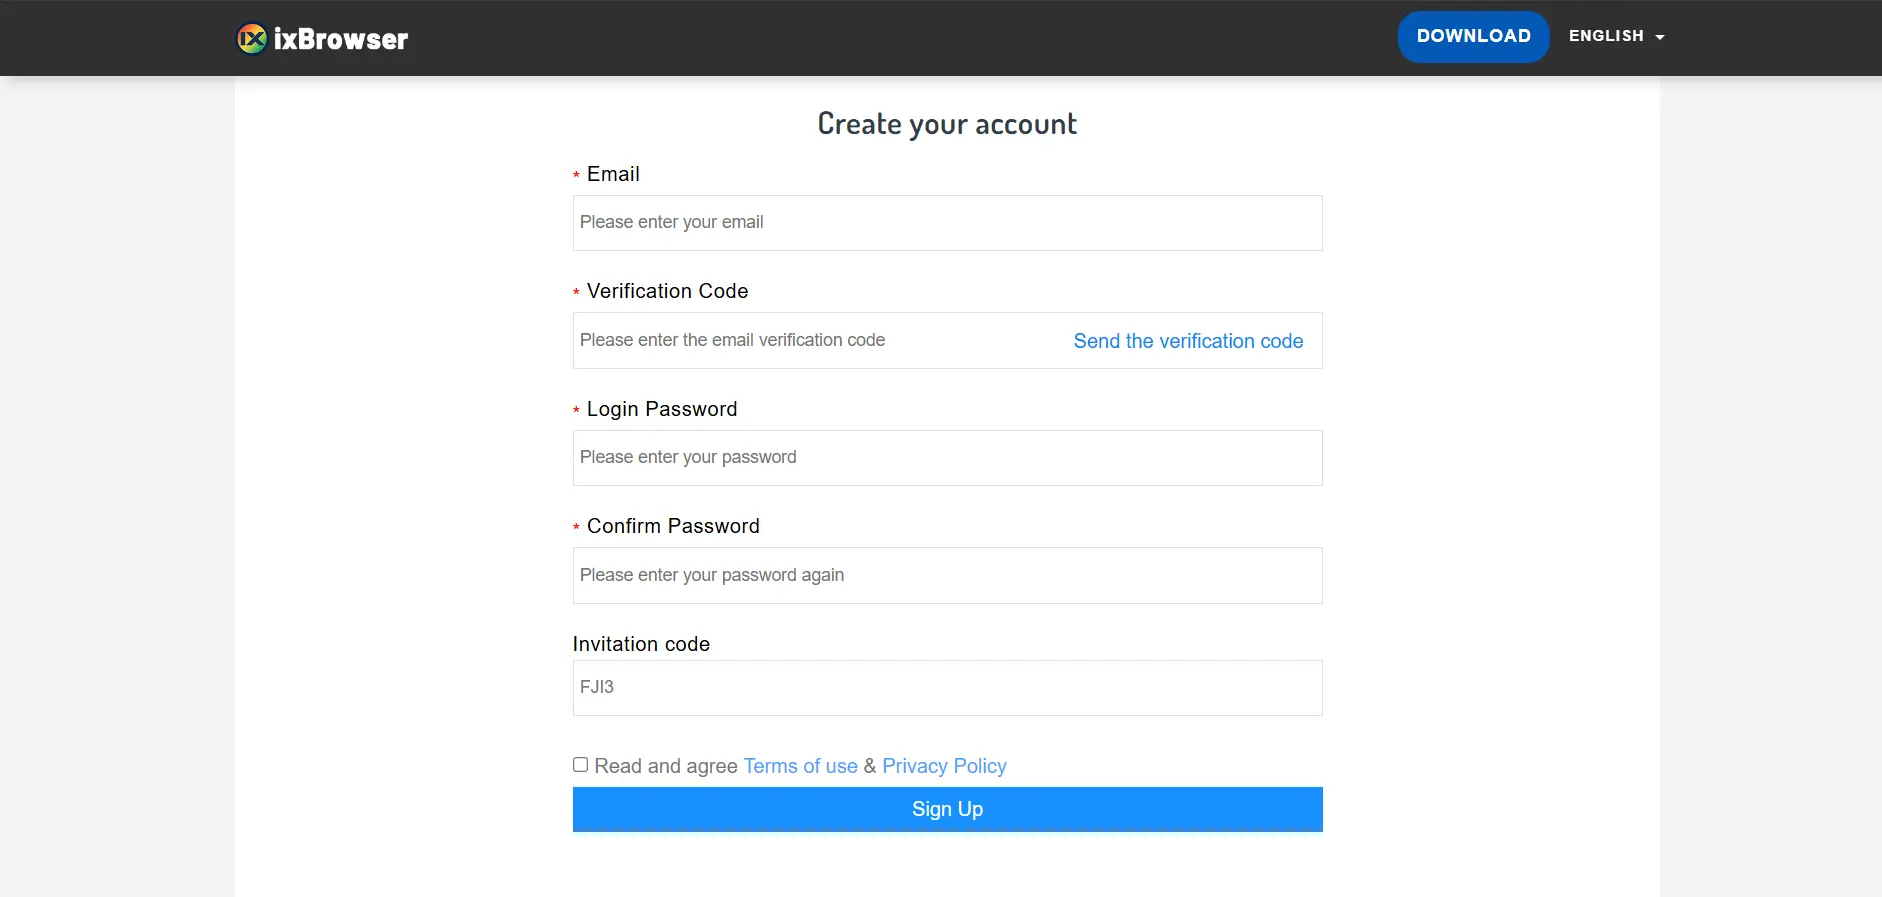
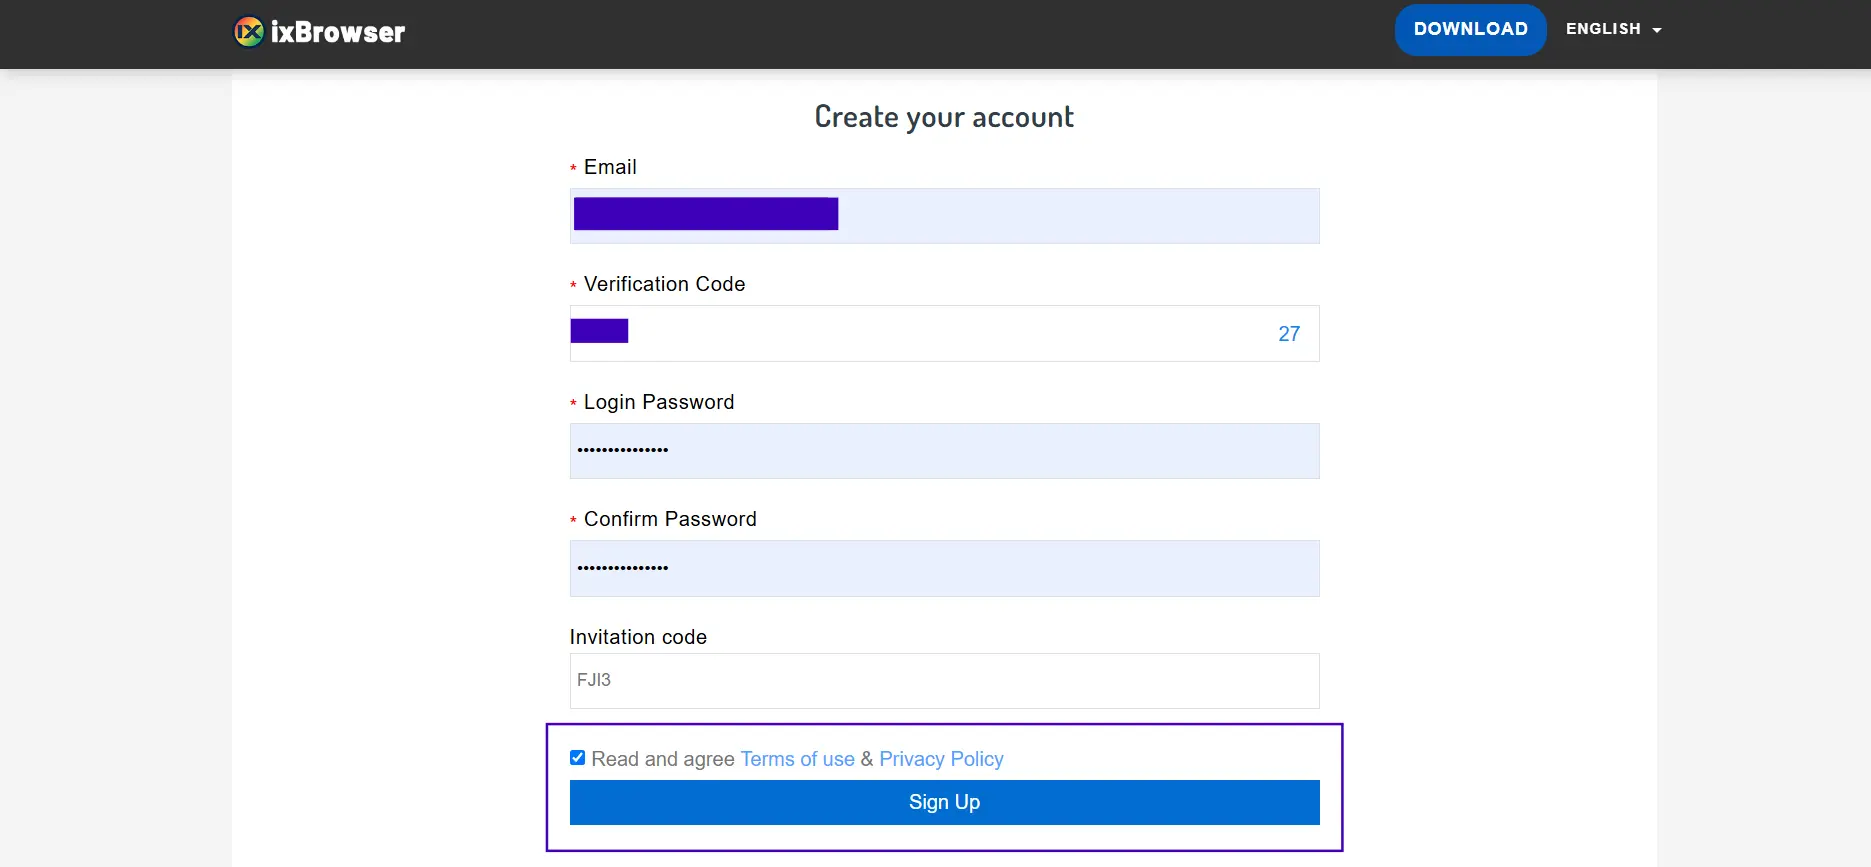
- Start by visiting this link and create your account. You will have to fill in all the fields, including the verification code. To get it, fill in your email address first and then press “Send the verification code.” The ixBrowser team will send the code to the email you provided. Be careful, as the code is only valid for 60 seconds from the moment you get it. Don’t forget to tick the checkbox to confirm that you’ve read the ToS and press the “Sign Up” button.
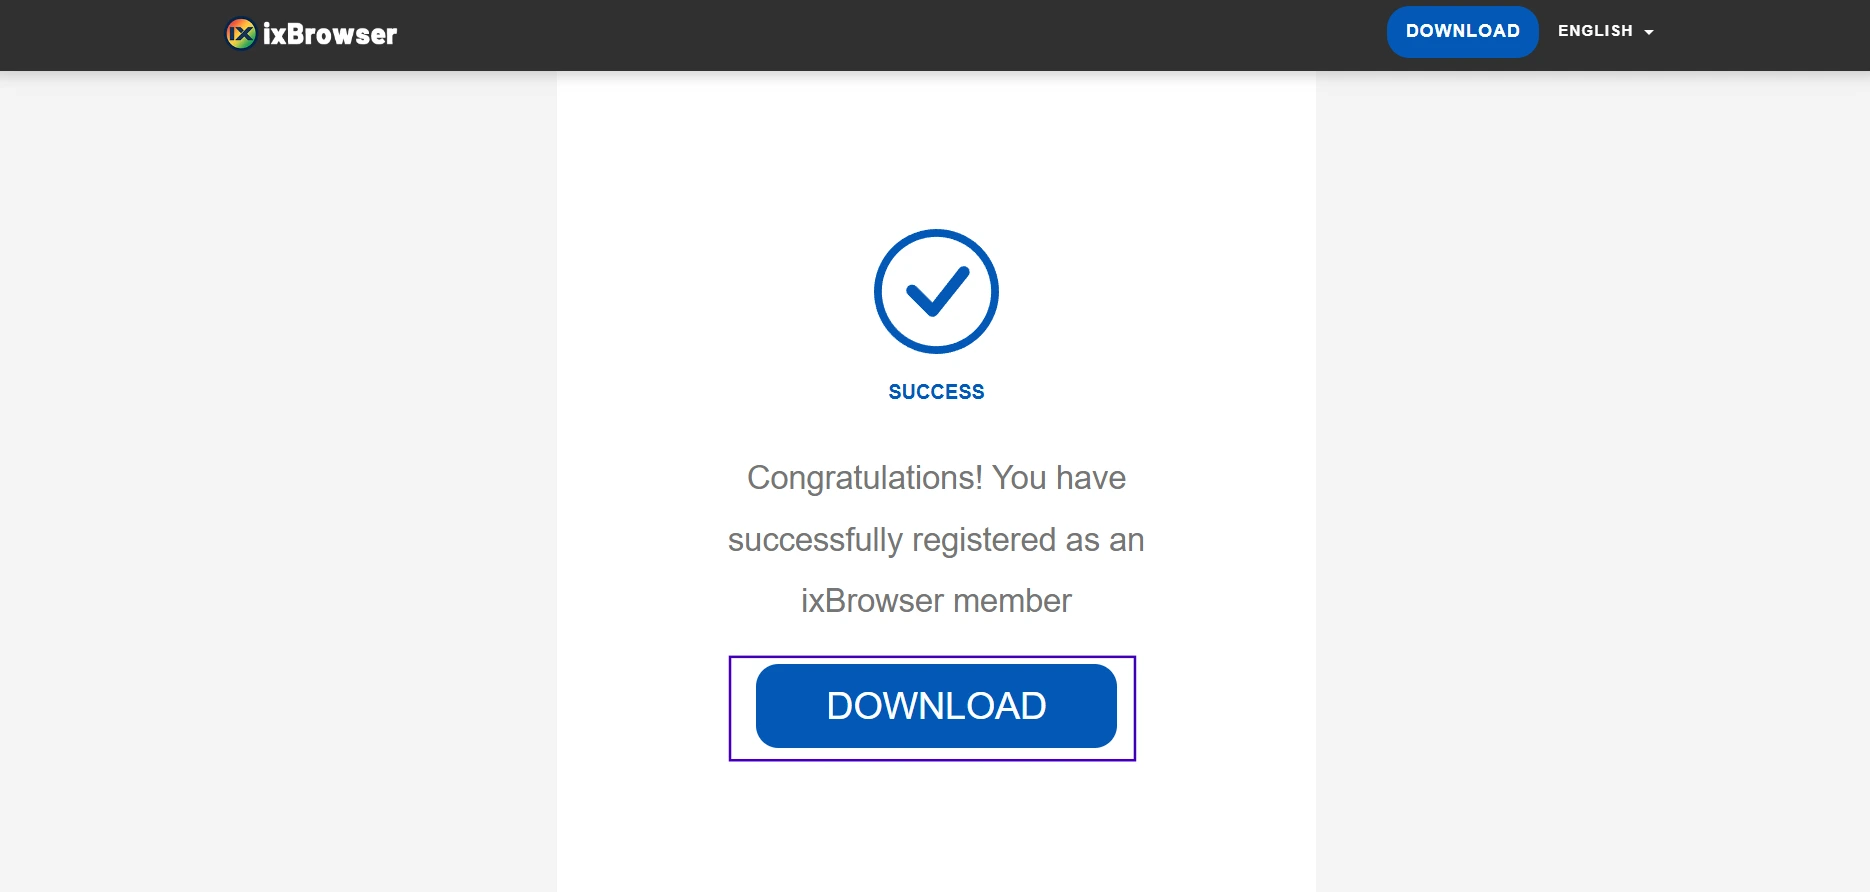
- After that, a note saying that you’ve succeeded will appear on your screen and the “Download” button.
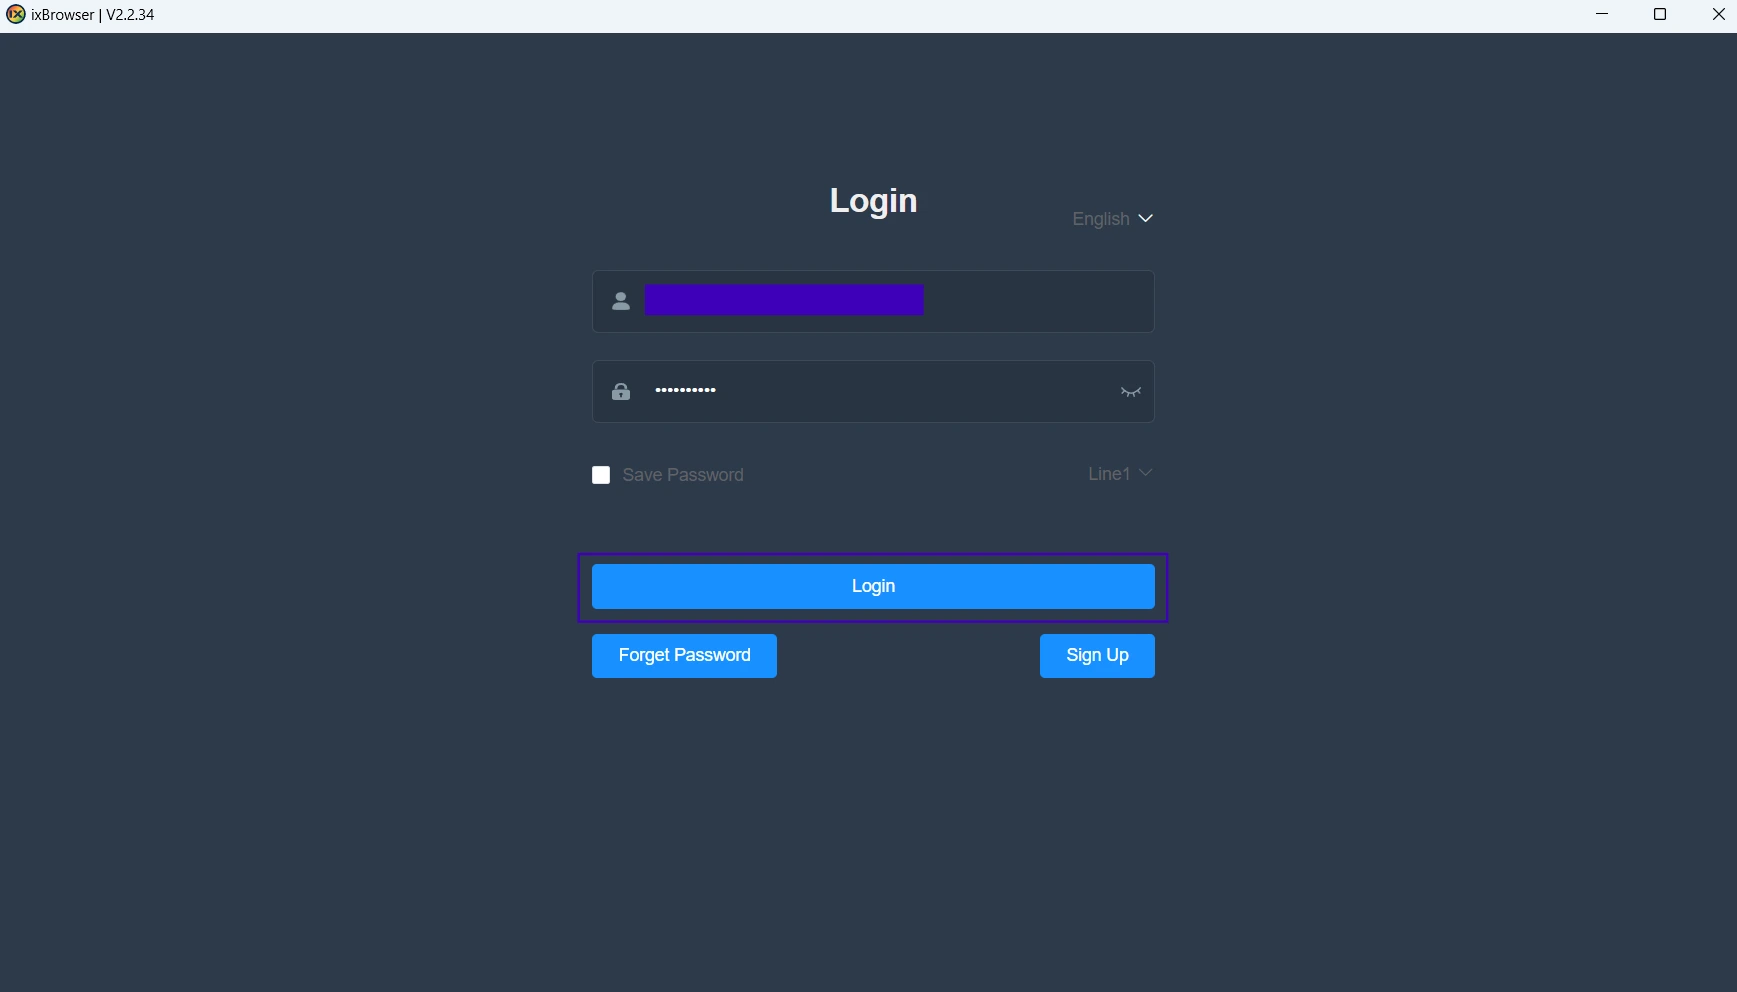
Press it and follow the installation manager’s instructions. After ixBrowser is installed, it opens, and you have to log in. To do that, use the email and password you used while downloading it. If you didn’t memorize your password, you can reset it. When you’re done, press the “Login” button. ixBrowser will greet you with a video tutorial on quickly starting with the browser, including creating profiles. We recommend you watch the video.
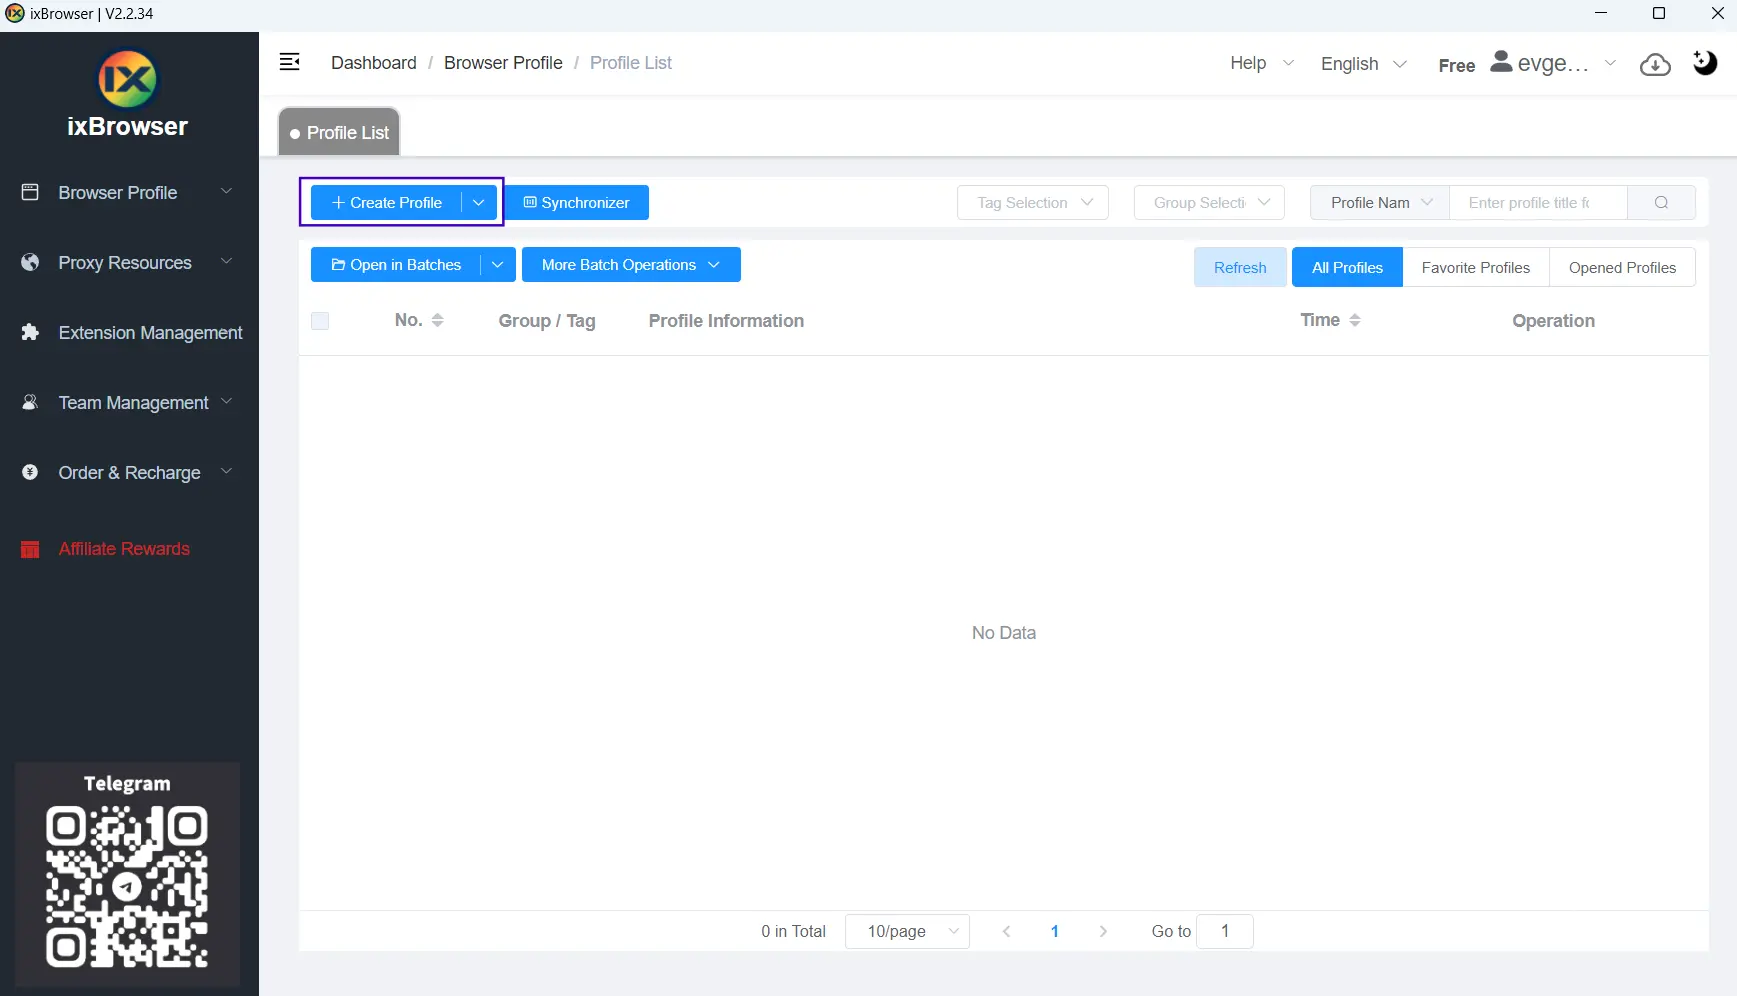
- To connect DataImpulse proxies, start by pressing the “Create Profile” button.
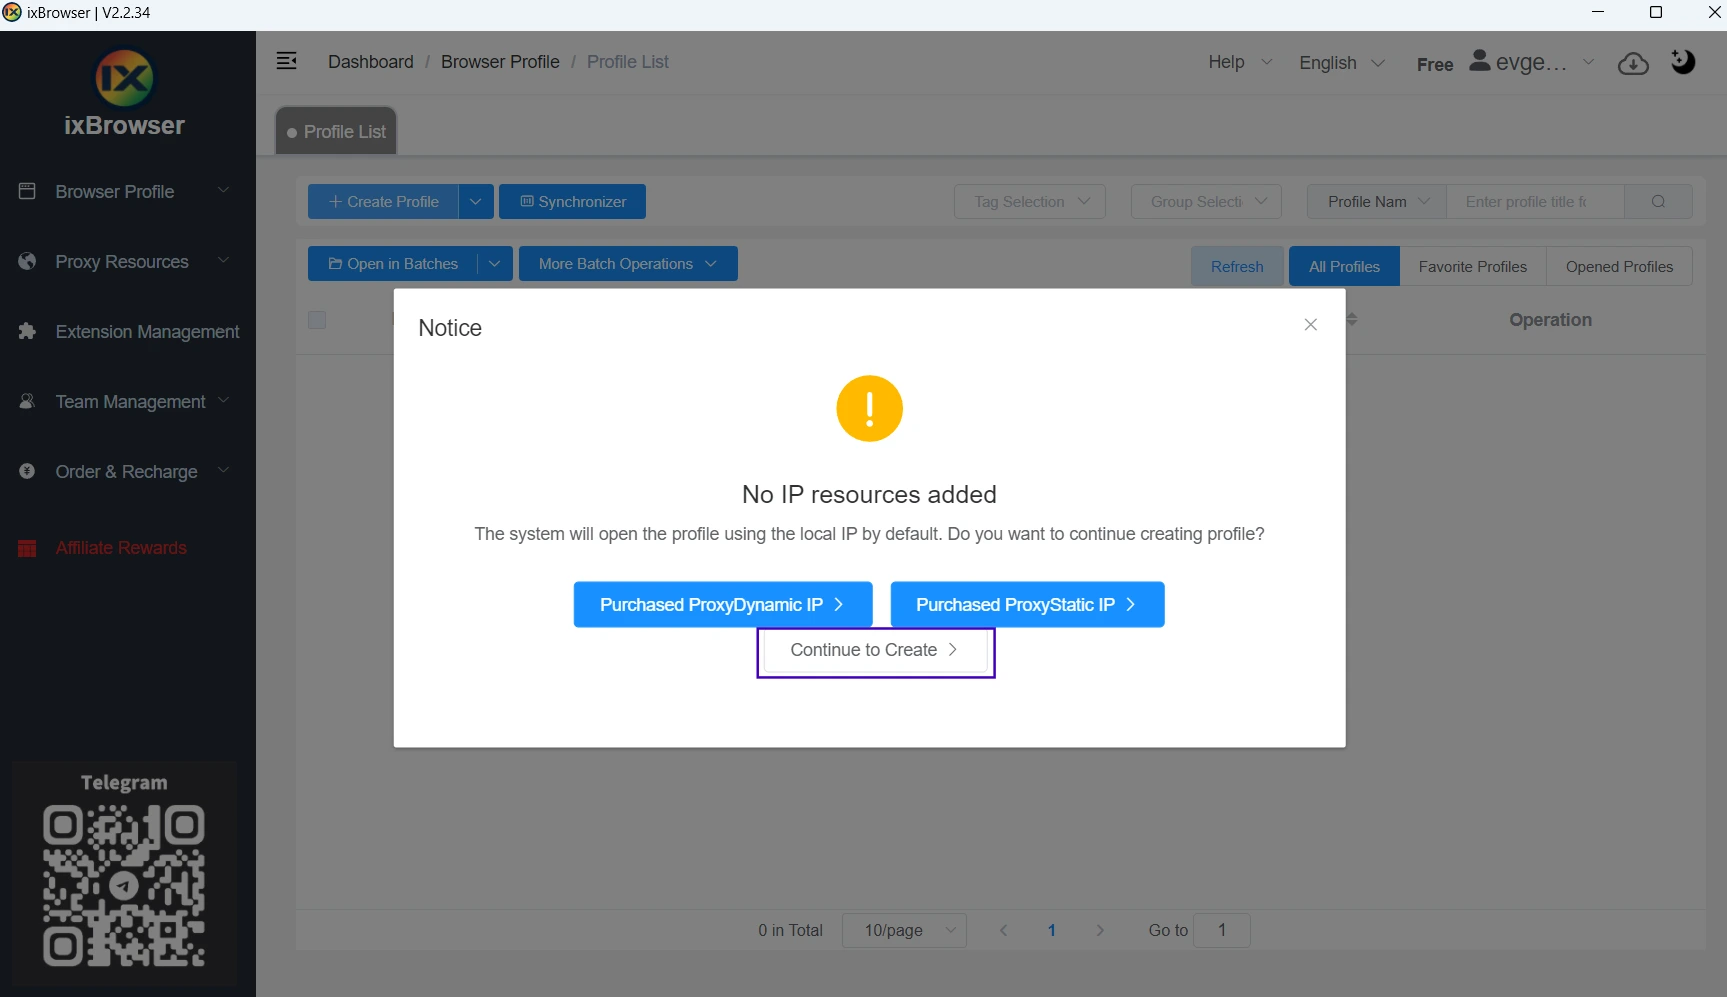
If you see a notice saying, “No IP resources added,” press “Continue to Create.”
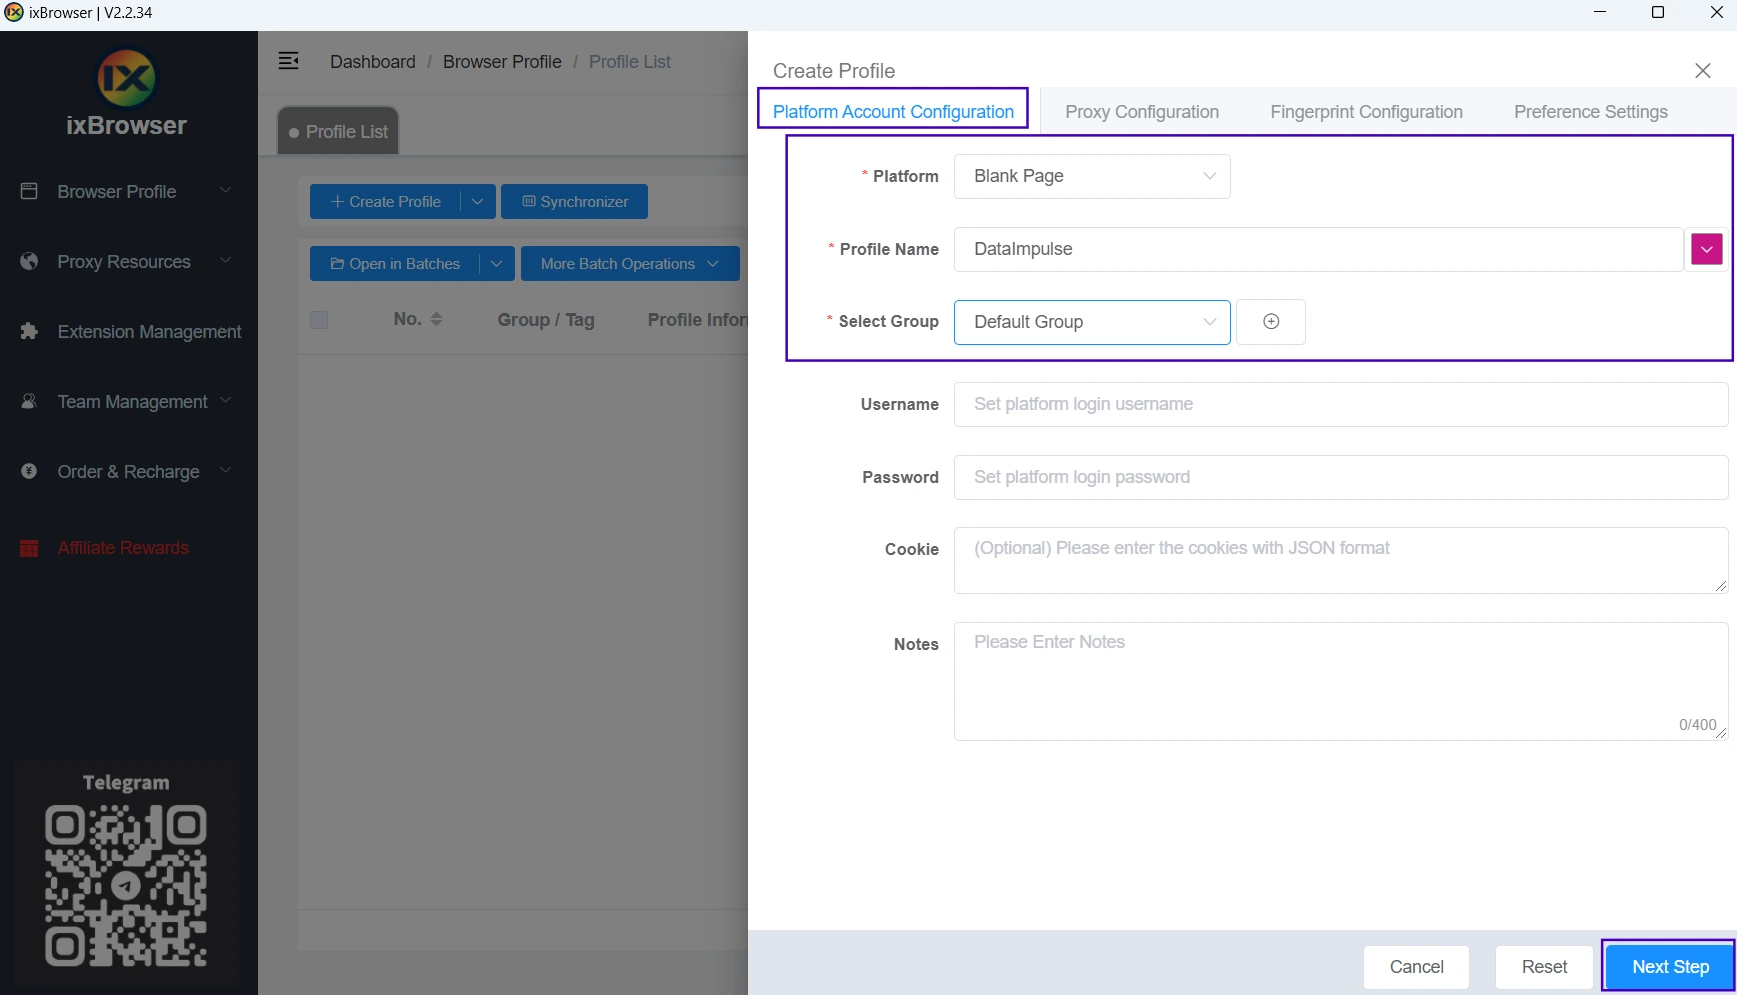
- Select the necessary platform from the drop-down list and name your profile. If necessary, fill in additional details and press the “Next Step” button.
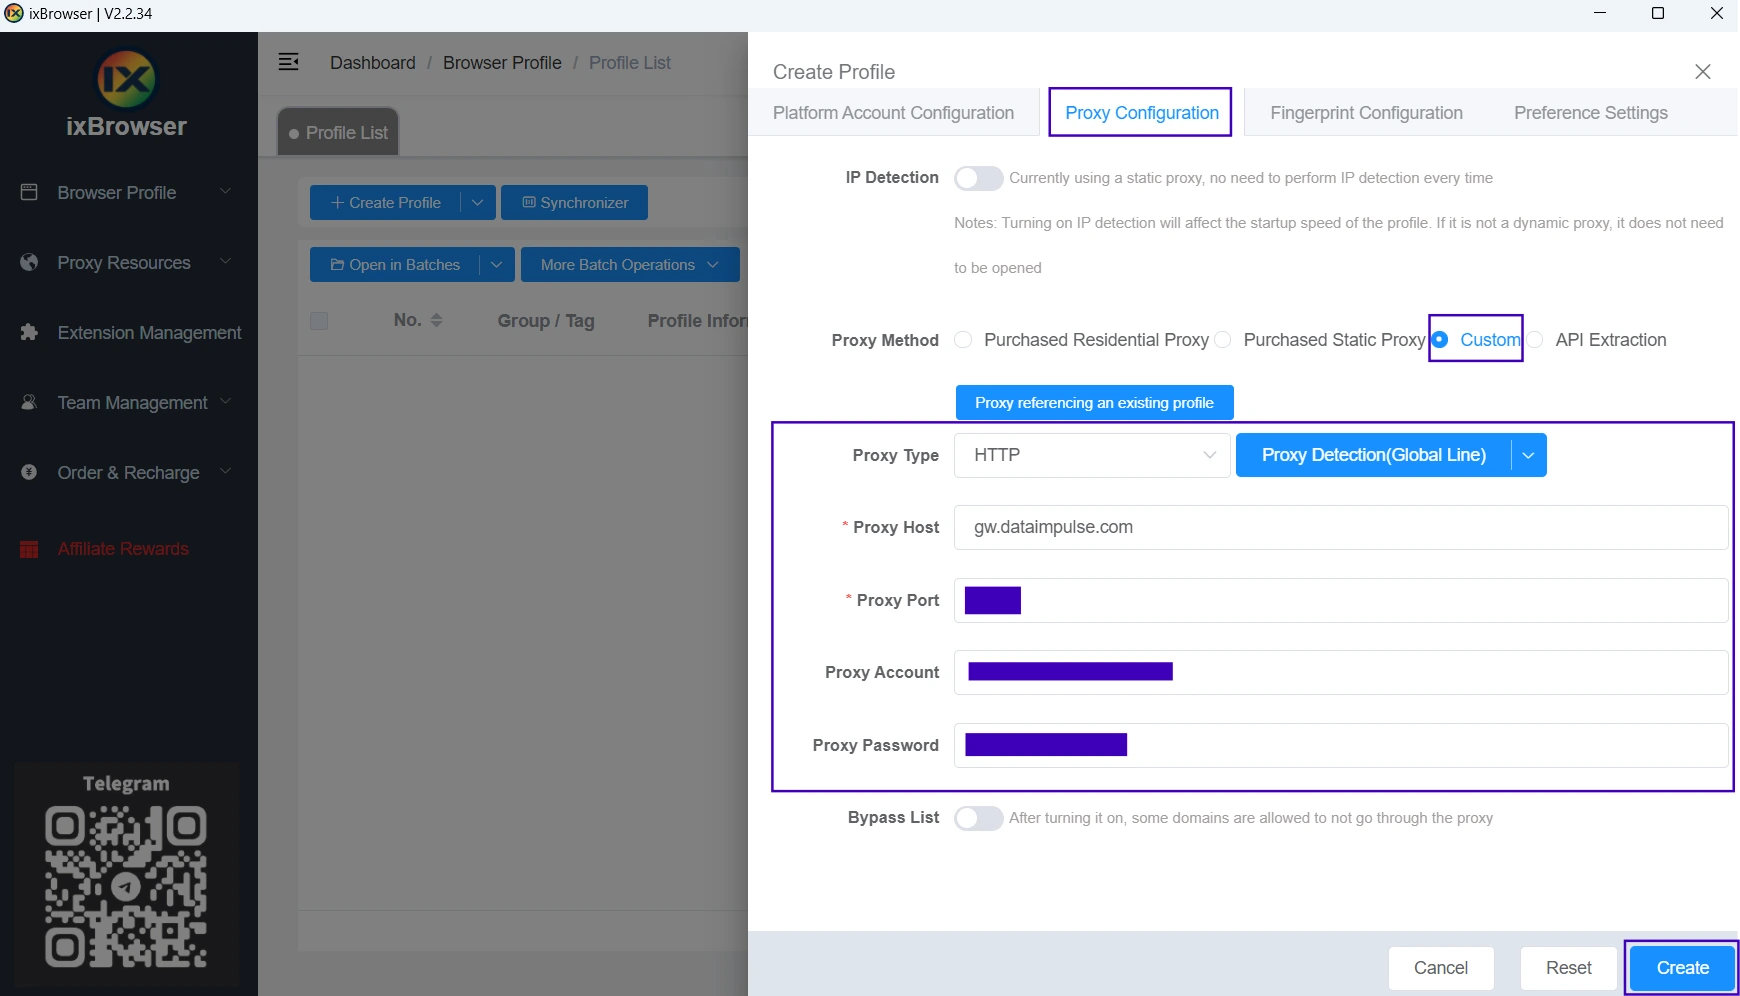
- The program will redirect you to the “Proxy Configuration” tab (if that doesn’t happen, switch to the tab manually). In the “Proxy Method” line, select “Custom” and choose proxy type. DataImpulse provides you with HTTP(S) and SOCKS proxies. Then, fill in the host, port, account (login), and password.
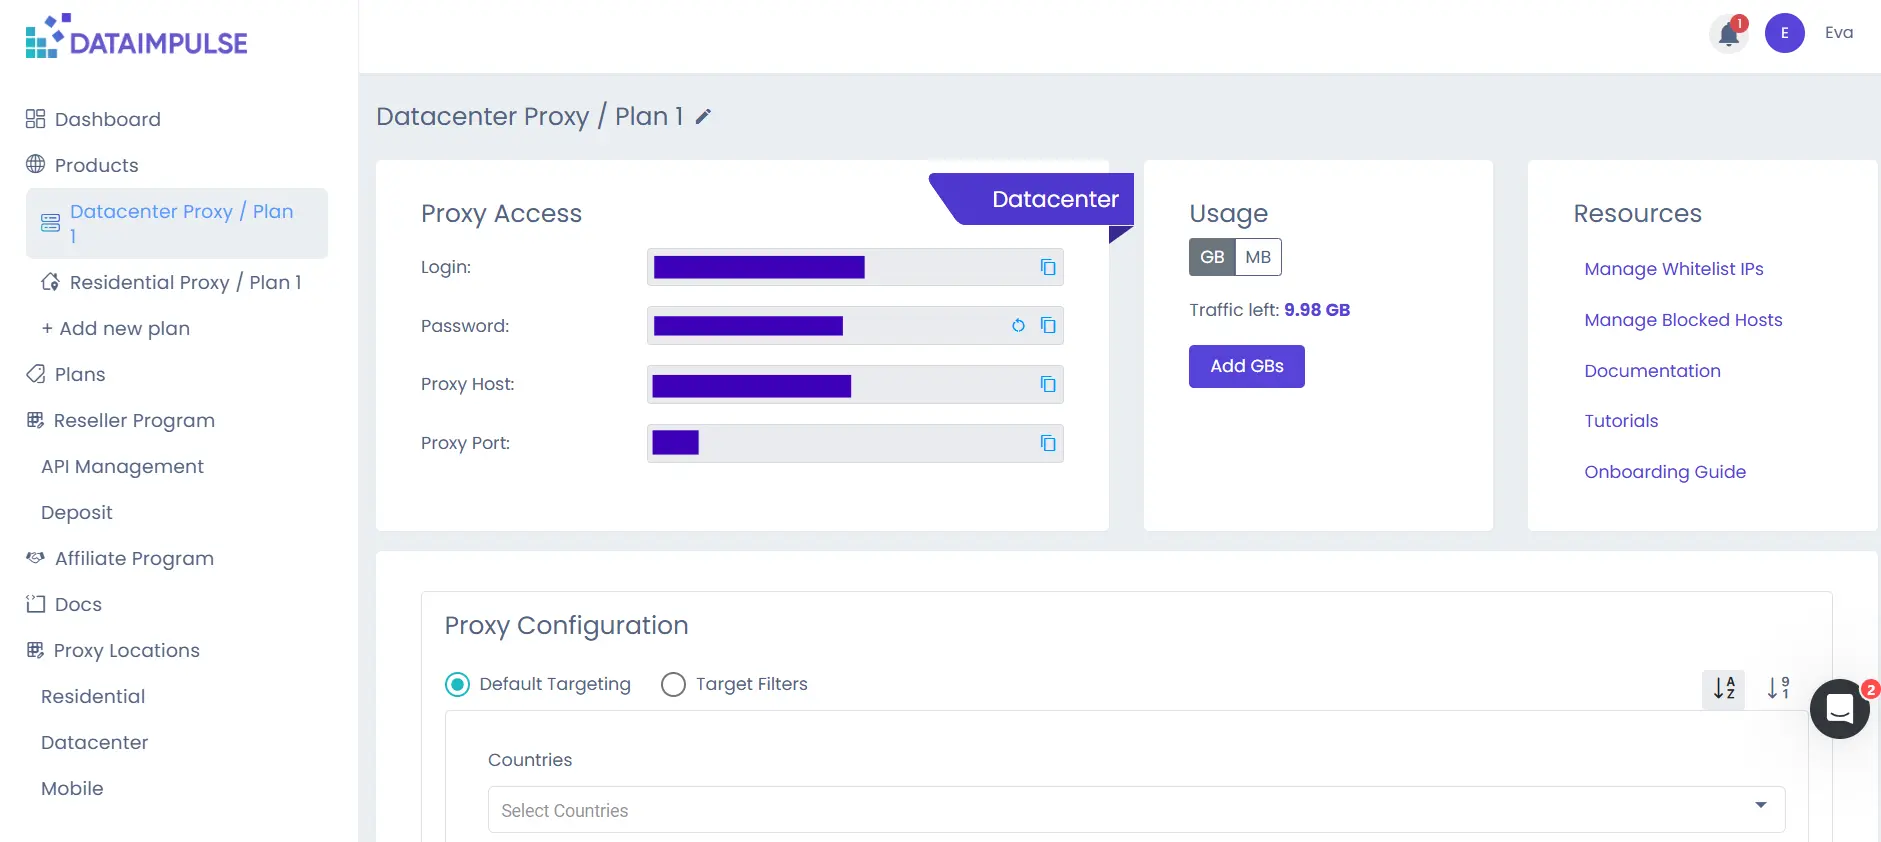
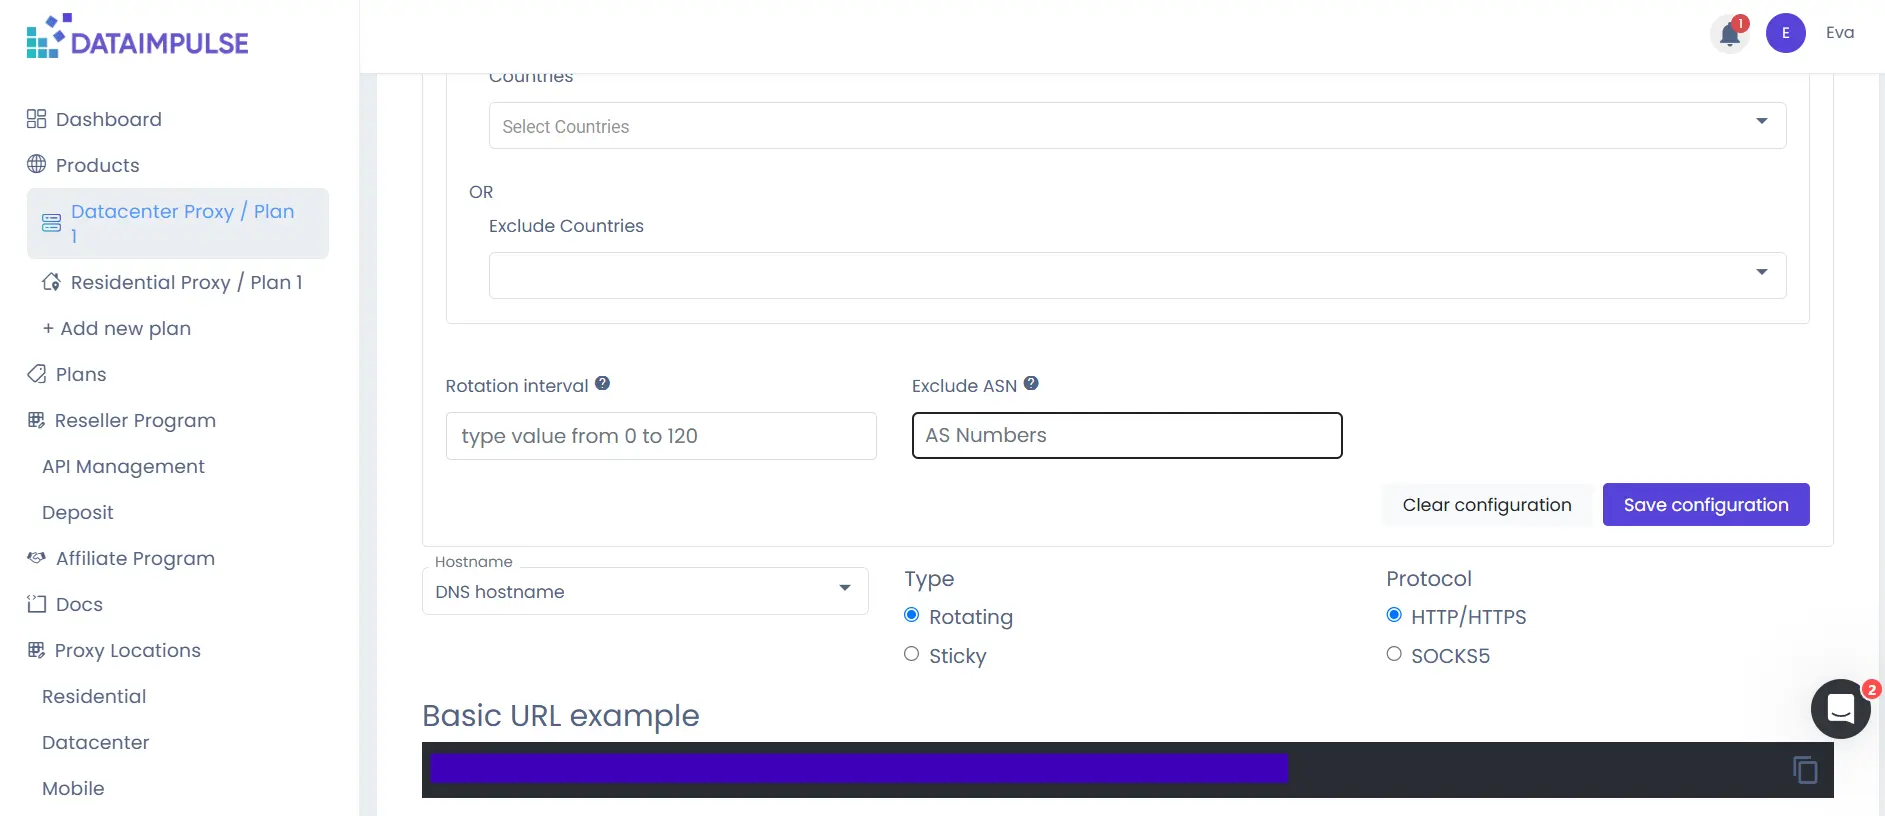
Go to your DataImpulse dashboard and copy your credentials from the necessary plan tab to get this data.
Check that the proxy protocol selected on the dashboard matches the proxy type you specified on ixBrowser. If you have any difficulties, please check our manual on managing your DI account. Press the “Create” button to save your settings.
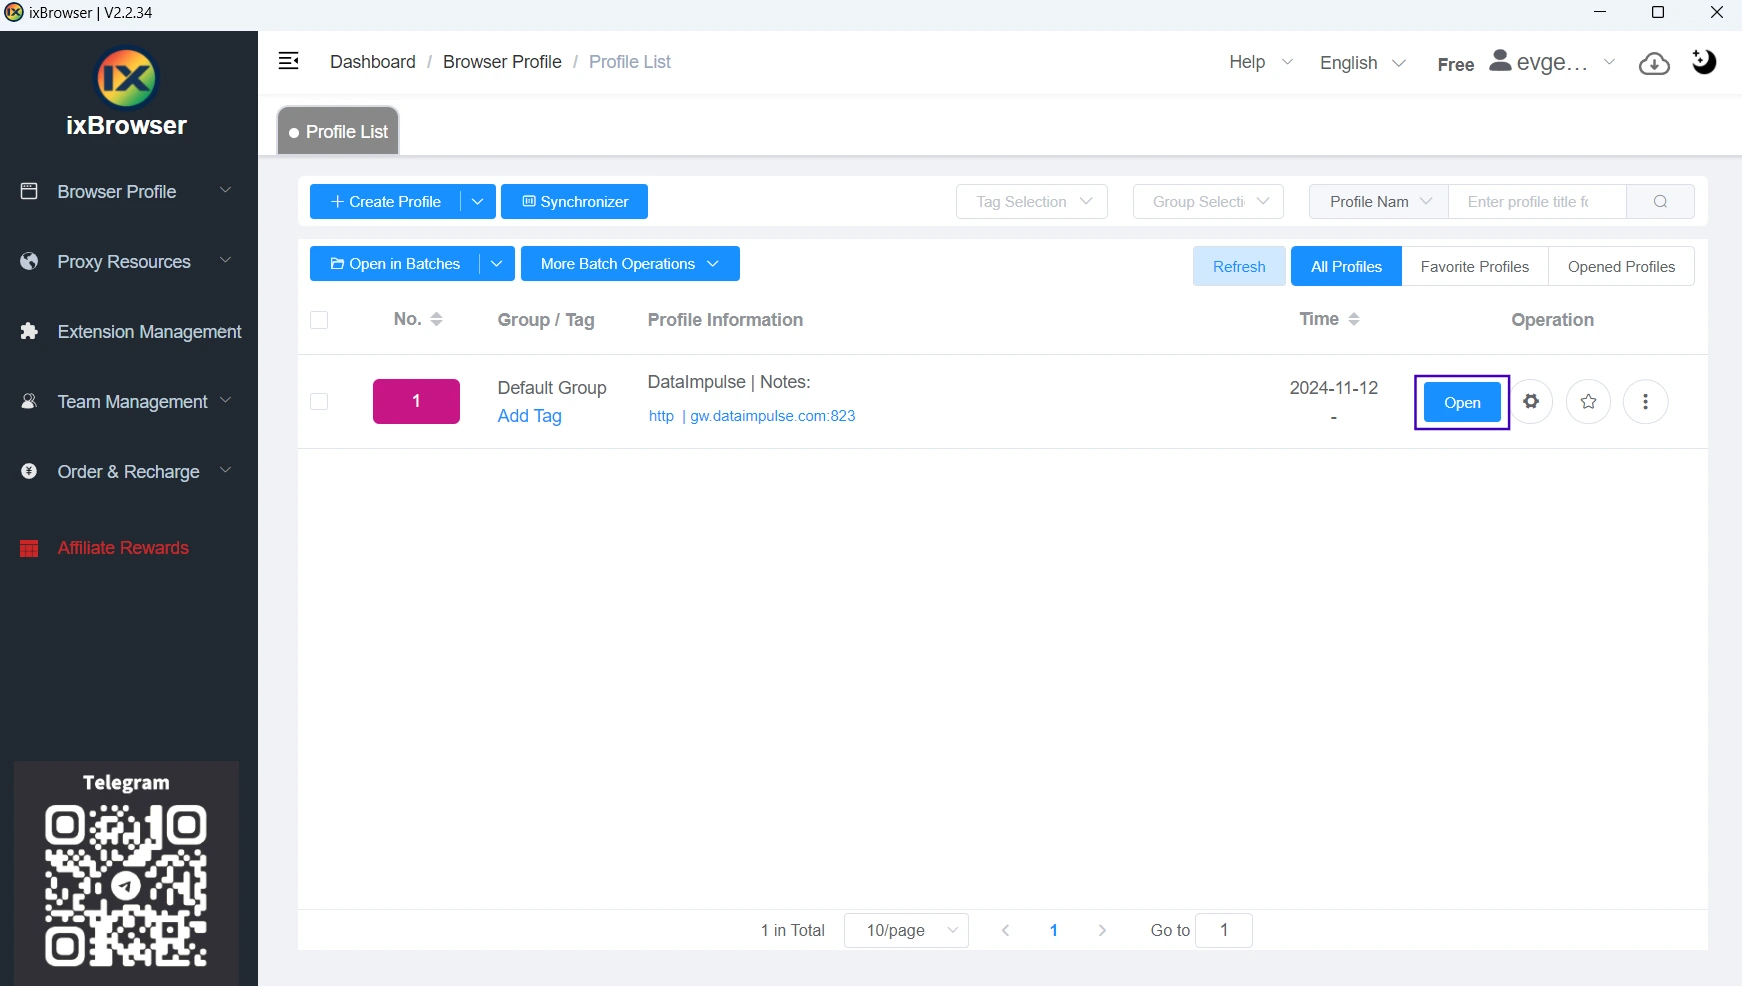
- That’s ready! To start surfing the Net with ixBrowser and DI proxies, press the “Open” button. You can create as many profiles as you need.
To wrap up
Online safety isn’t a luxury today; everyone can afford it with tools like ixBrowser. Whether you need to stay anonymous, have smooth access to global data, or have to run multiple ad campaigns, ixBrowser will be your reliable assistant. It allows you to create an unlimited number of profiles, transfer accounts, and add extensions, which is forever free. ixBrowser also enables the usage of third-party proxies. Combined with a trustworthy provider like DataImpulse, it will help you maintain your privacy and nail your tasks. Press the “Try now” button in the top-right corner of the screen to start with us.

