Configuring DataImpulse Proxies in WinGate
WinGate is an official and secure app specially designed for Windows OS. It supports numerous protocols, including HTTP(S), SOCKS5, FTP, SSL, and more. You can configure it for browsers and apps. In addition, WinGate provides additional options like traffic filtering, data scanning for viruses, access rule customization, and others. The app offers three different plans, so you can choose the one that will meet your needs and keep your wallet safe.
To configure proxies in WinGate, follow these steps:
- Installation: First, download the latest WinGate version and follow the installation manager instructions. Before you start, remember to close all the programs, as the app will ask you to restart your computer at the end of the installation process.
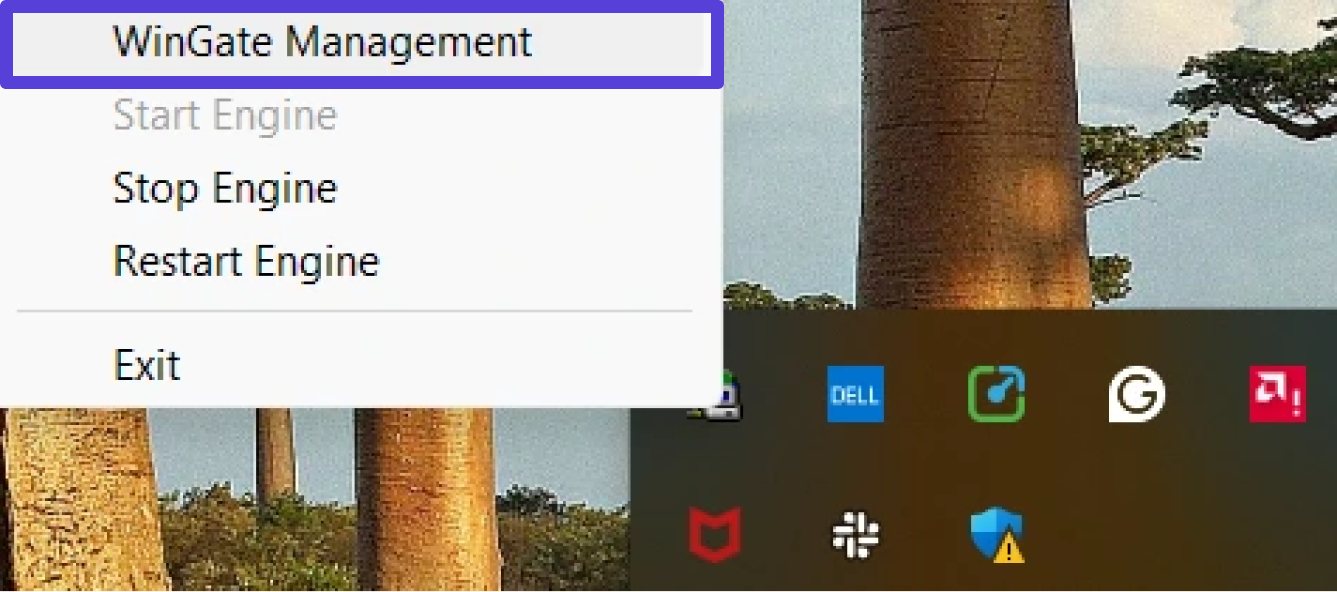
- Launching the app: Once done, open the hidden icon, right-click on WinGate, and select WinGate management.
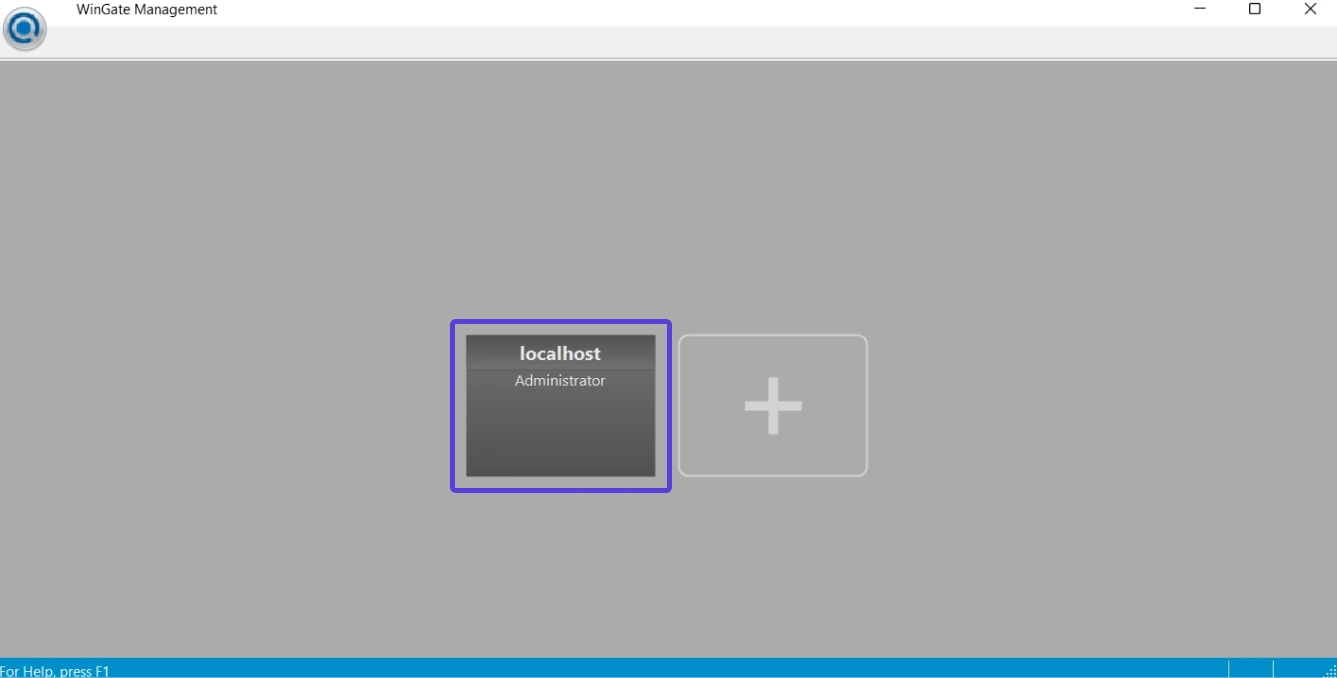
- Getting a license: Click on the grey “localhost” box to download modules.
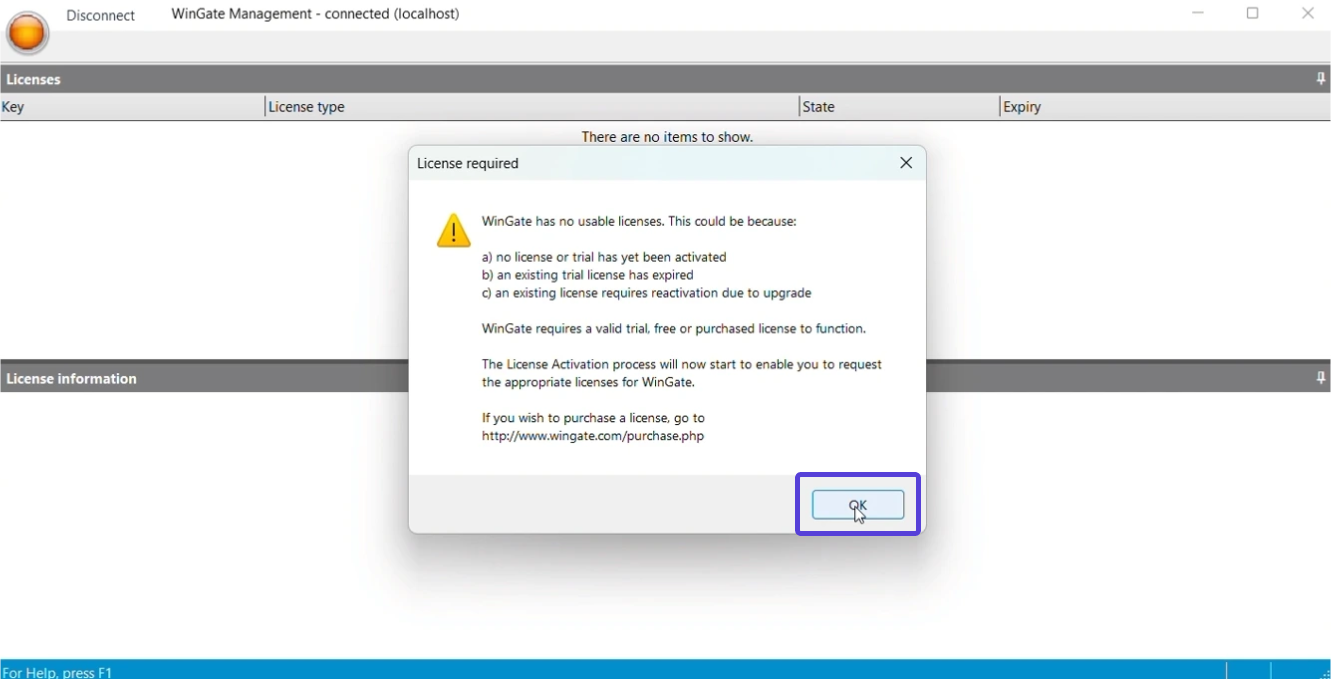
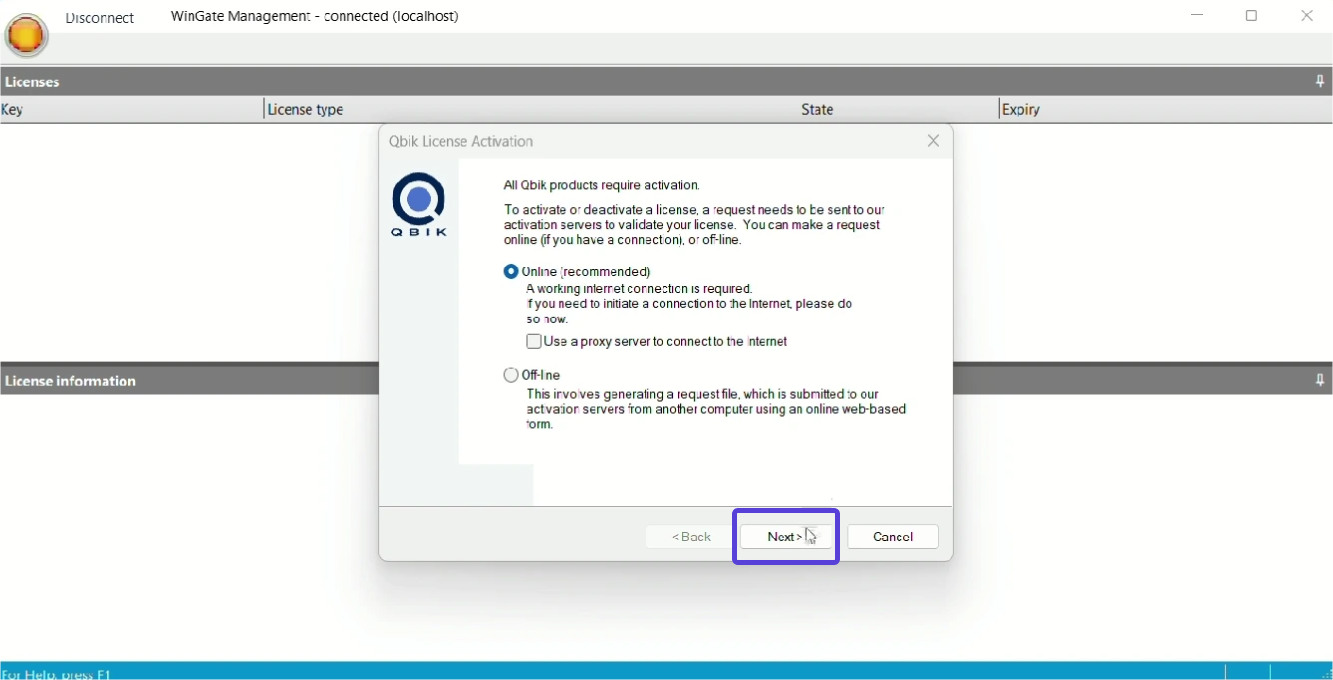
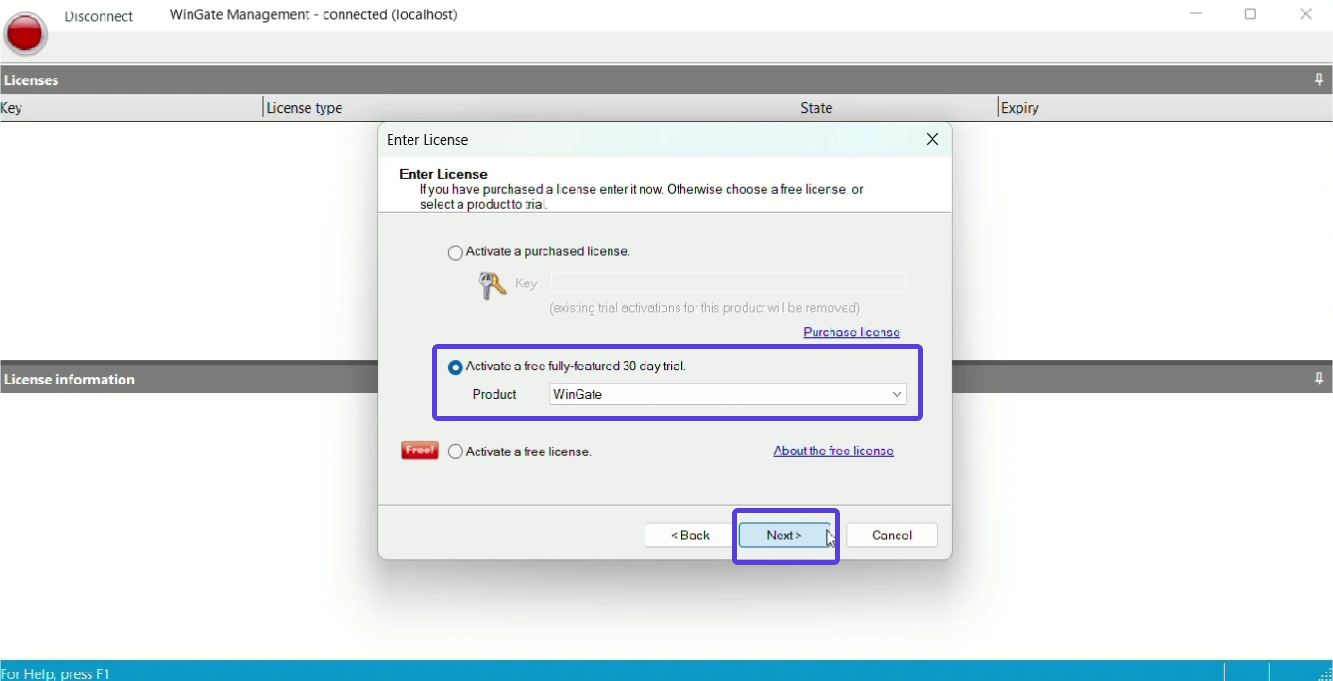
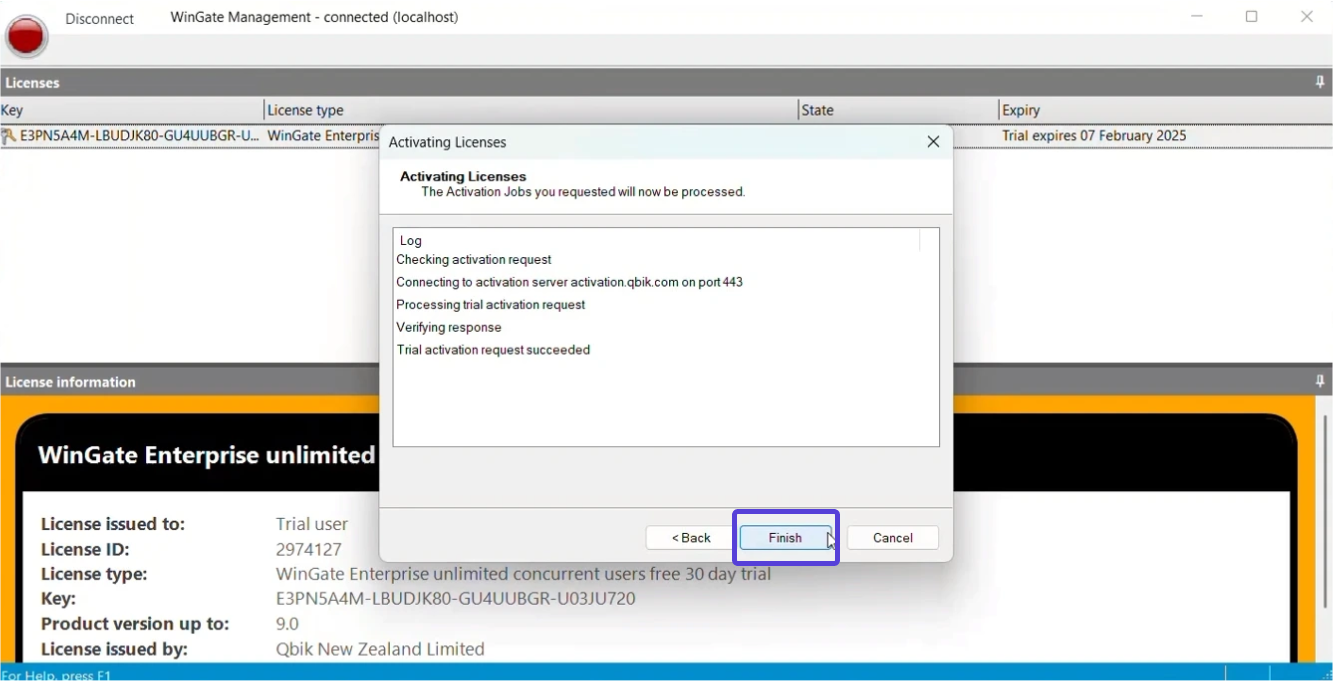
The app will also ask you about your license. You can have a 30-day free trial before purchasing the app, so we recommend doing that. You don’t have to choose anything manually, as the app automatically offers you the best options. Just proceed with it. Once the license is ready, click “Finish.” WinGate will then reboot
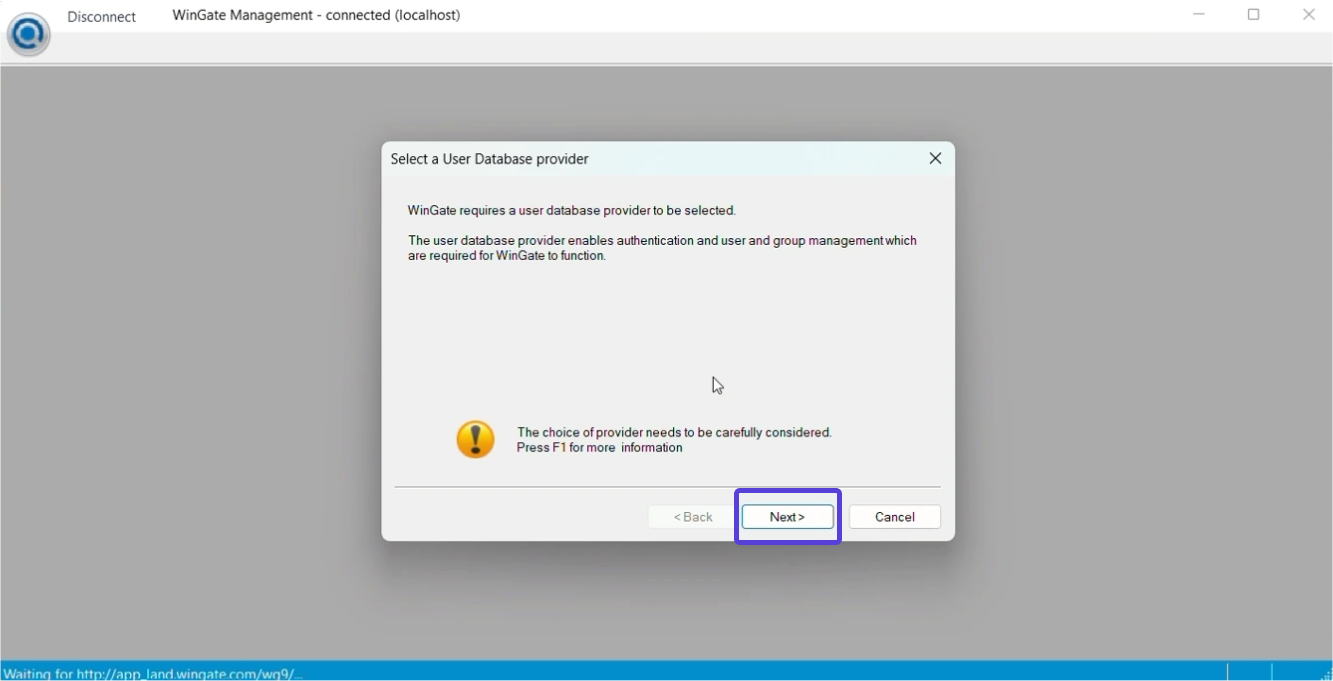
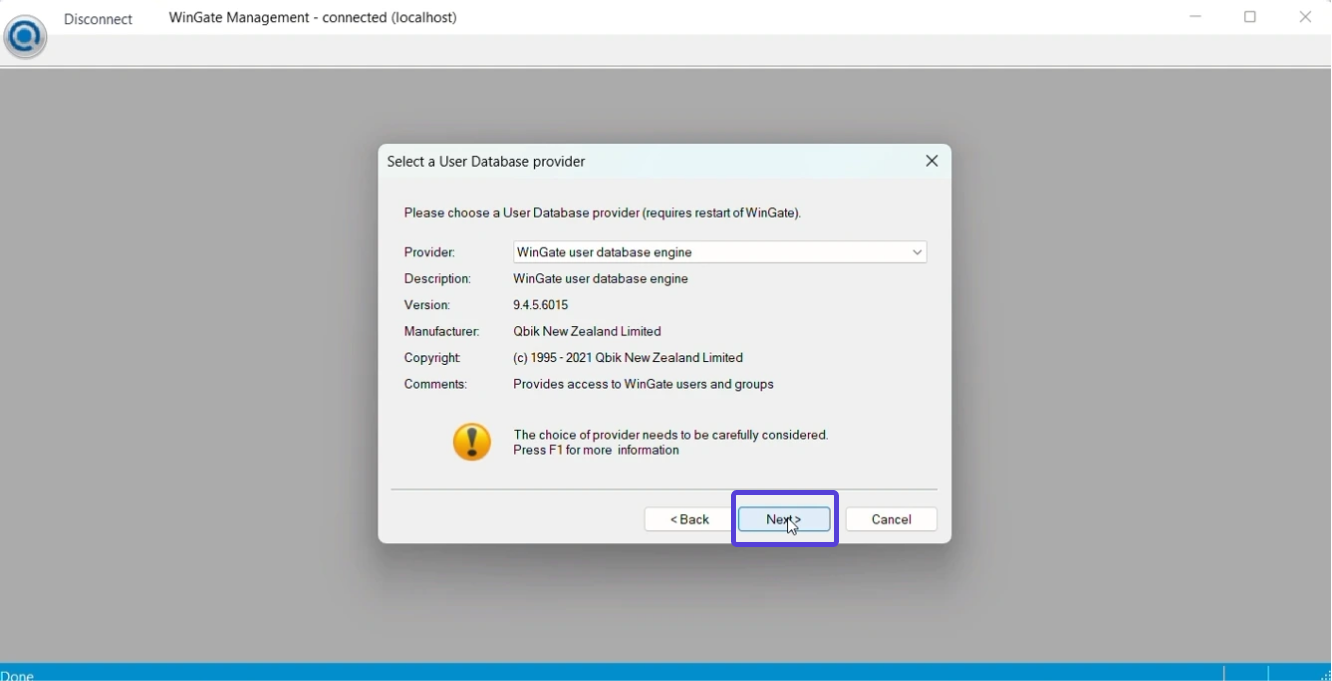
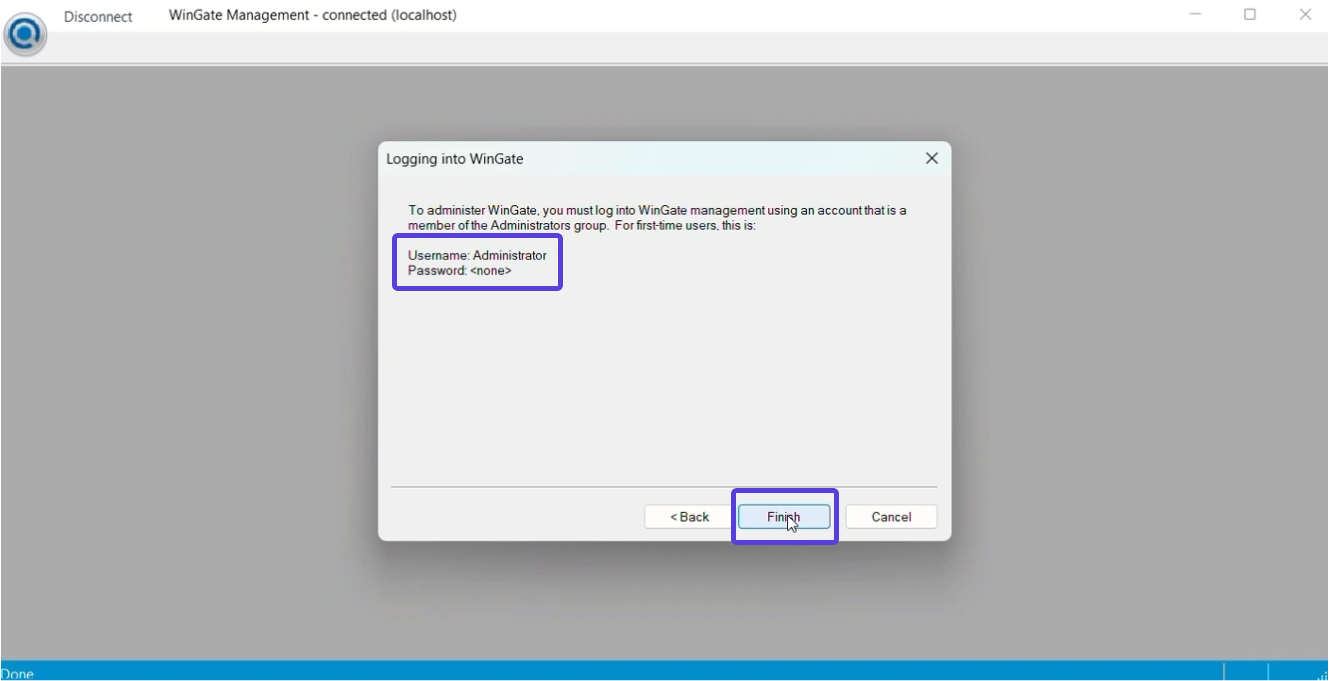
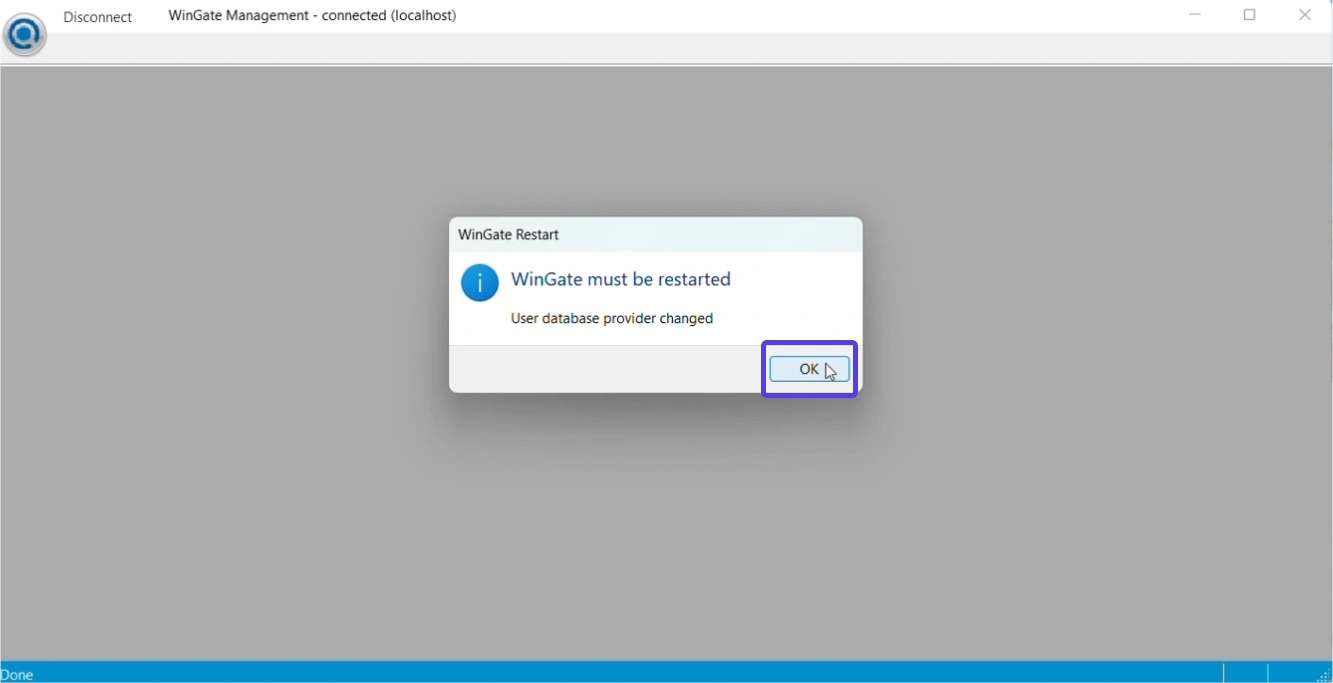
- Selecting a database: Wait until the app connects and allows you to select a database. Again, you should click “Next” every time and press “Finish” once the database is ready. Pay attention to the credentials you see.
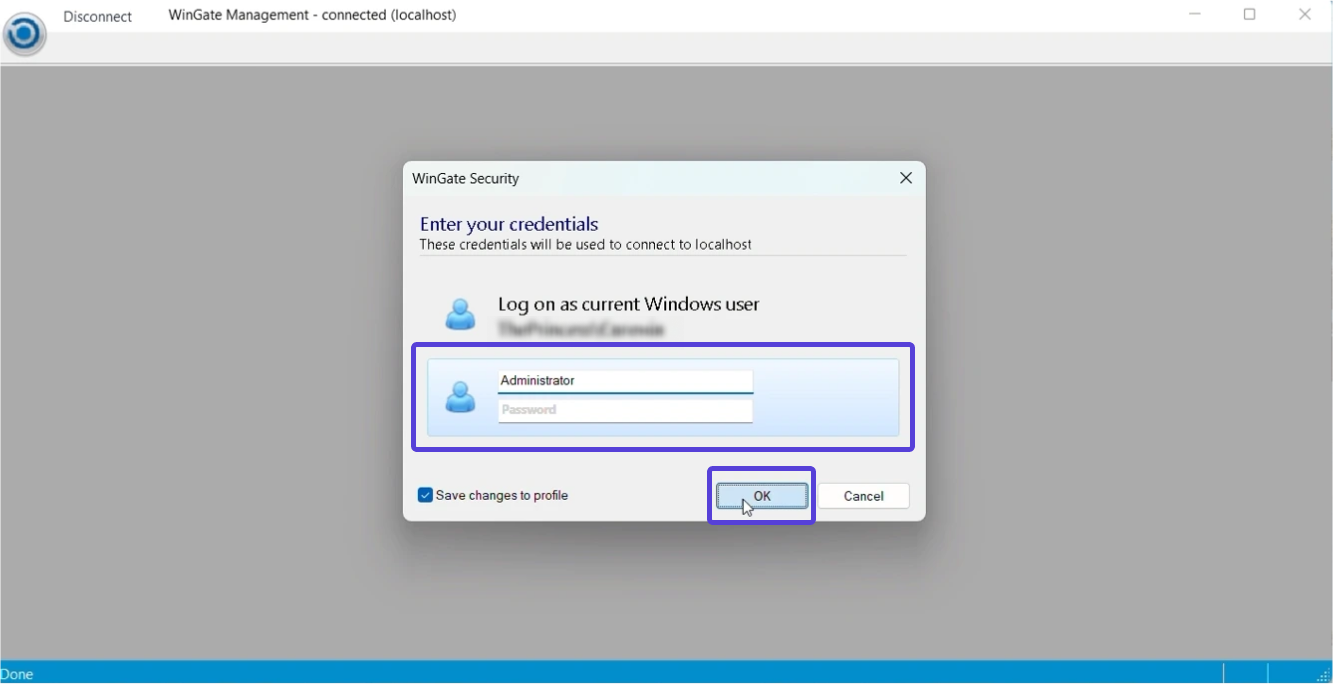
- Entering credentials: Wait one more time for WinGate to connect. Then, you will be able to choose a user. Opt for “Use another account” and enter the credentials you saw earlier. Click “Ok” and wait while the app synchronizes modules.
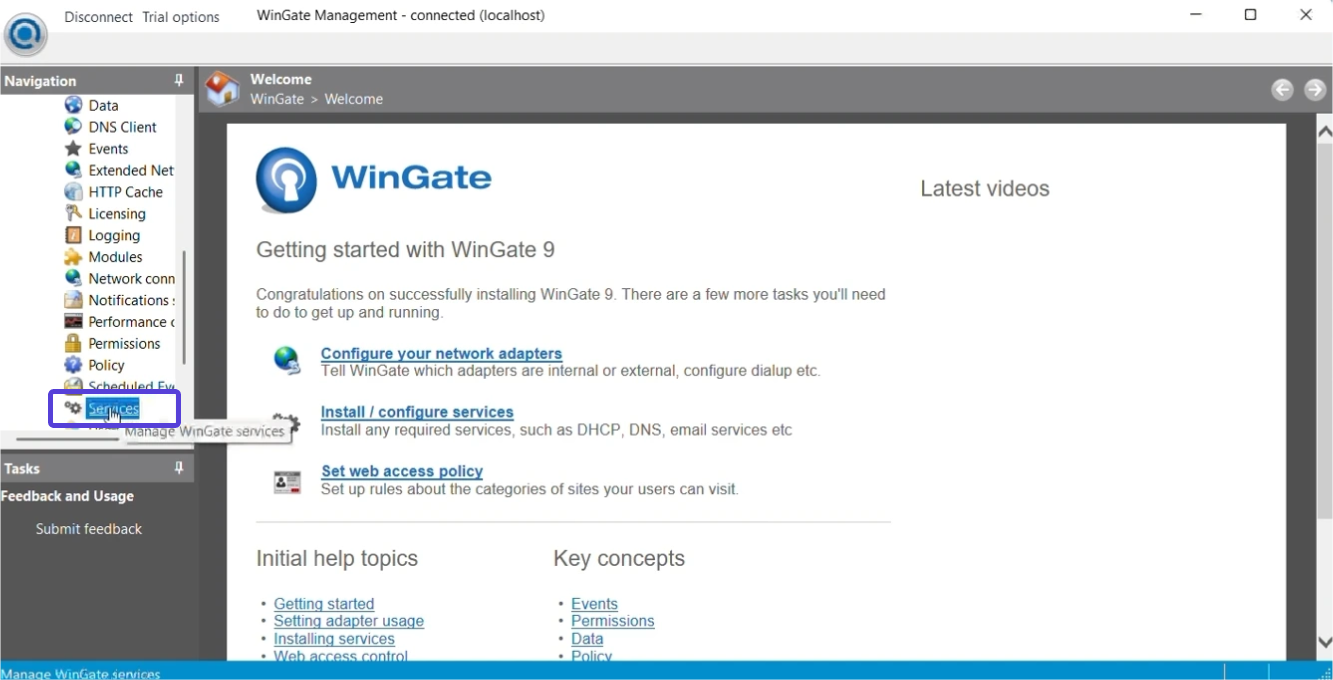
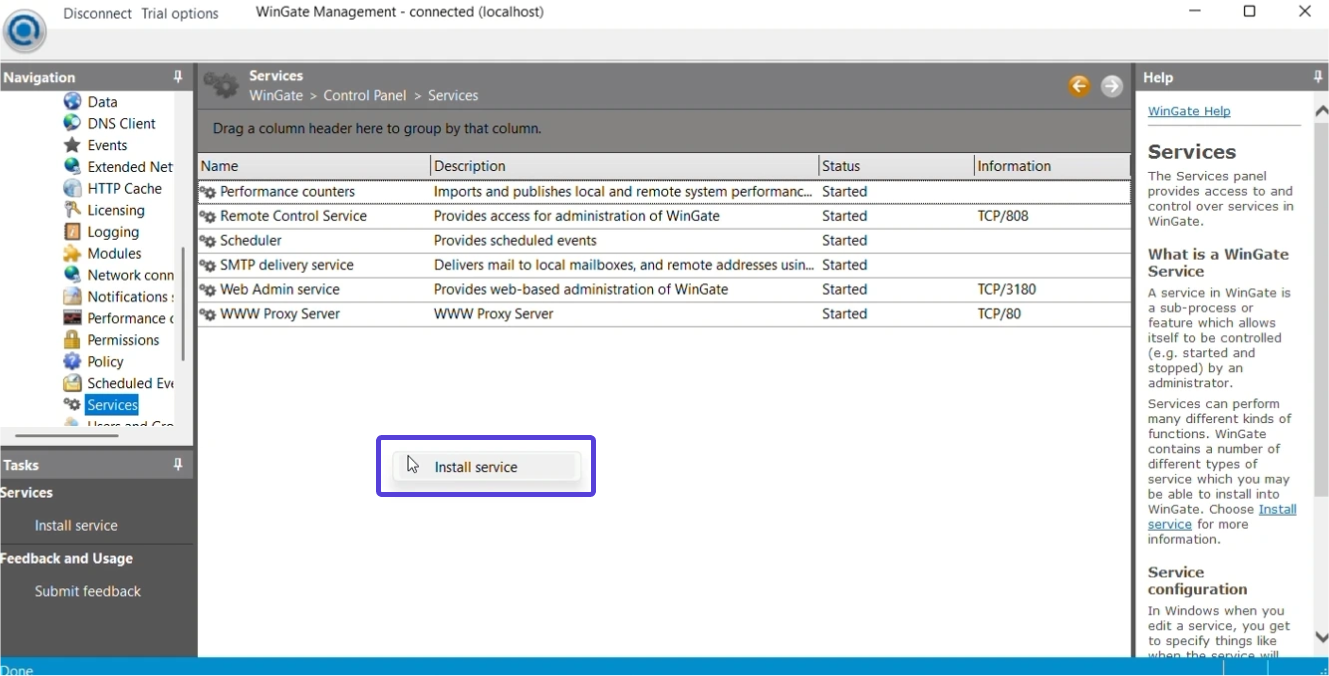
- Configuring a proxy server: In the “Navigation” settings, scroll to “Services,” right-click on the empty area, and click on “Install service.”
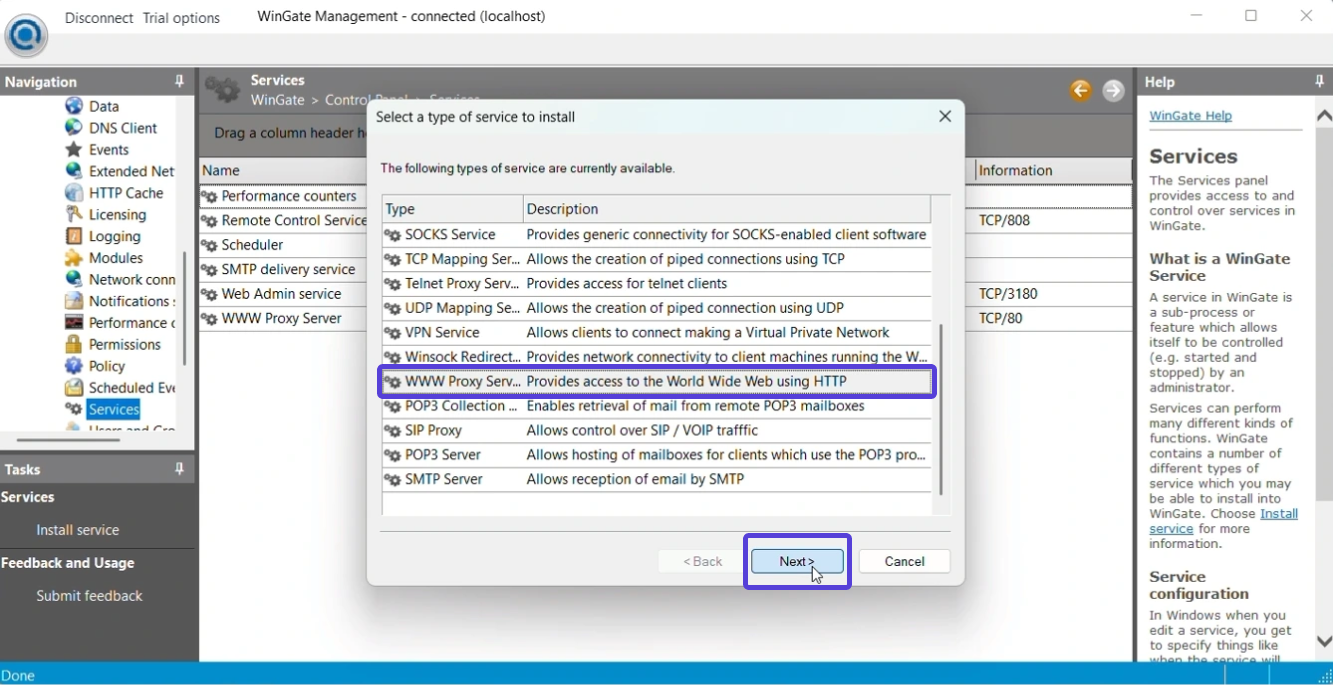
Choose “WWW proxy service” and press “Next.”
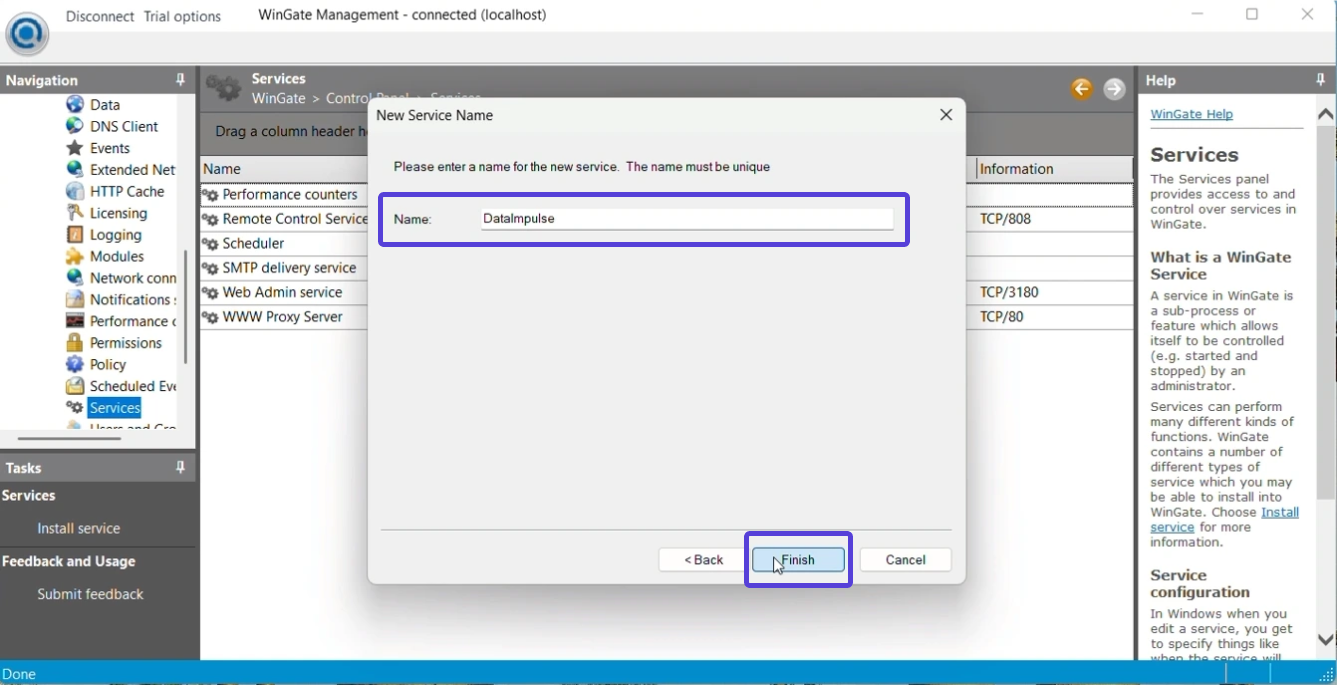
Name your service and click “Finish”.
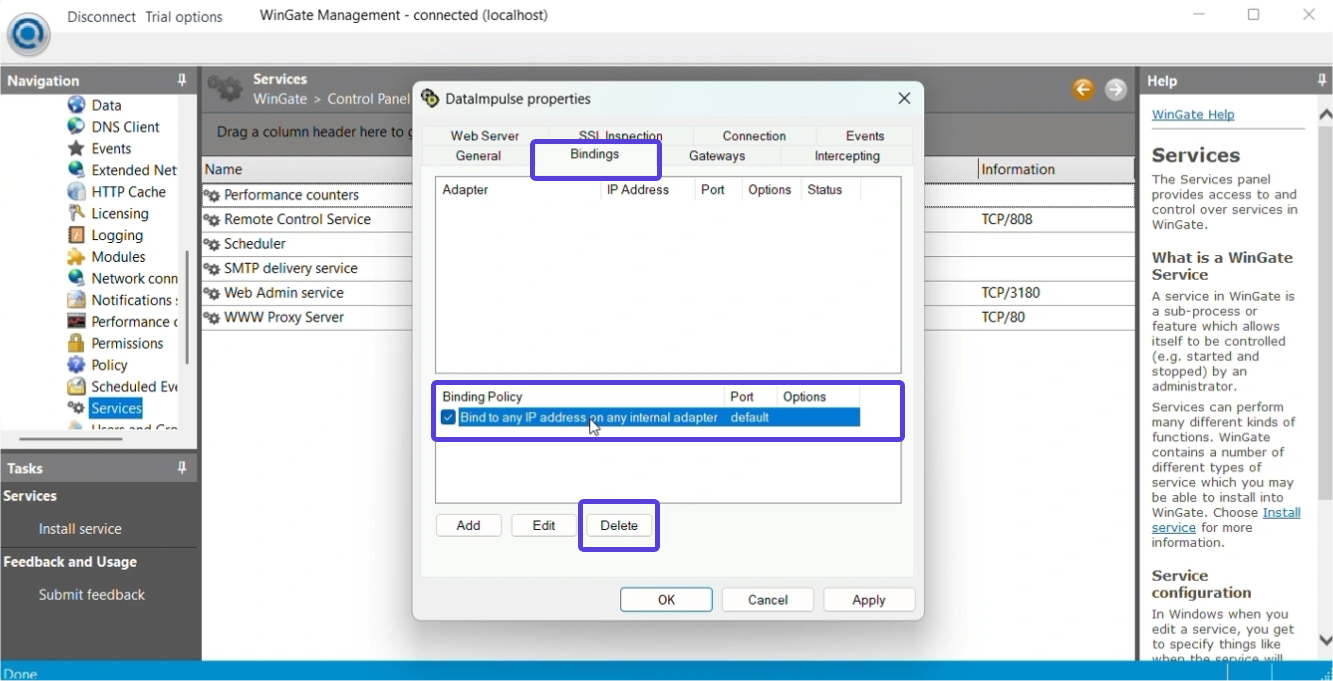
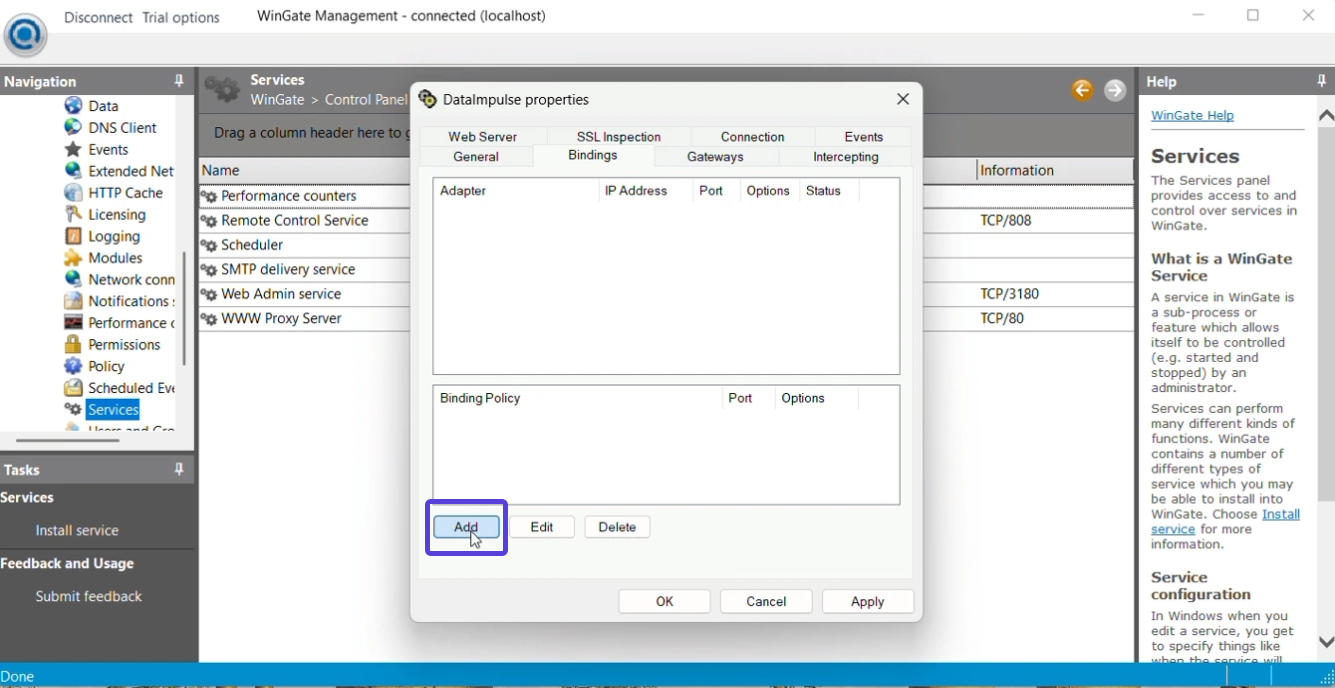
Another window will appear. Here, navigate to “Bindings” and delete all the options from the “Binding policy” section by selecting it and clicking “Delete.”
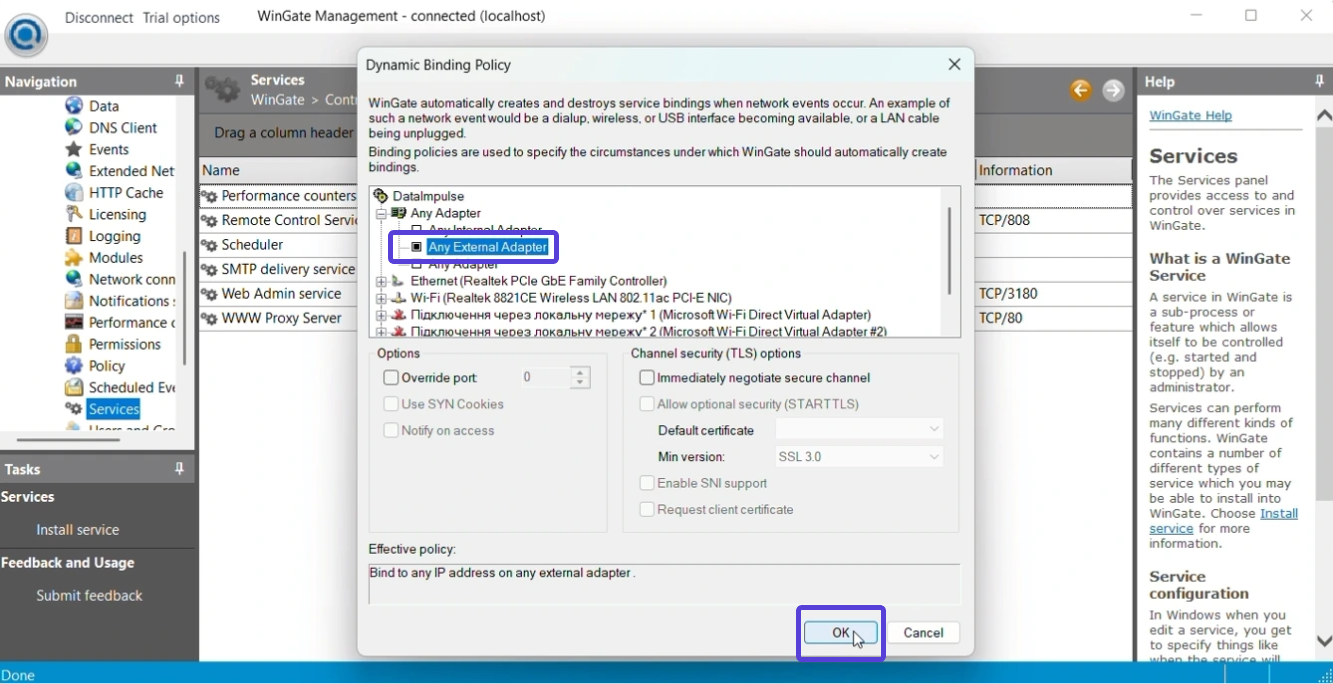
Then, press “Add,” opt for “Any external adapter,” and confirm it is using the “Ok” button.
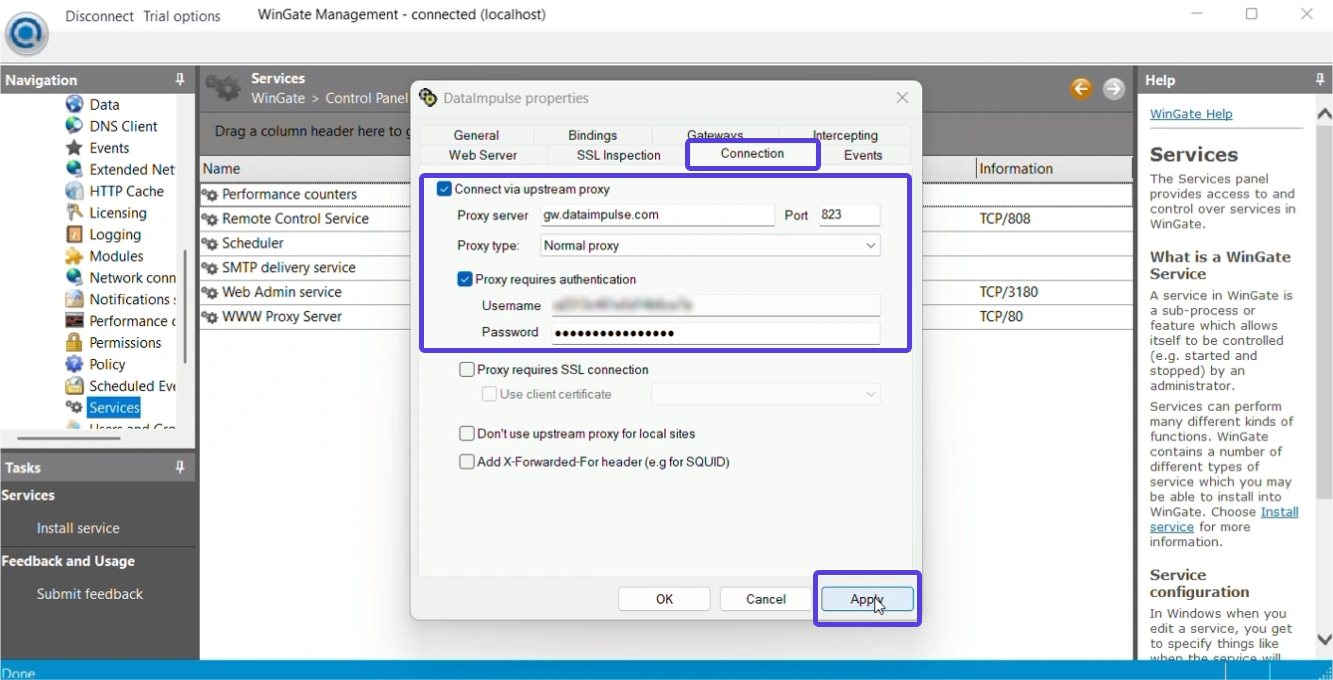
Switch to “Connection,” tick both the “Connect via upstream proxy” and “Proxy requires authentication” boxes, and paste your DataImpulse credentials*. Finalize the process by pressing “Apply”.
That’s it! Now, you use proxies to their fullest potential on your Windows device.
*You can copy the hostname, port, login, and password from your dashboard’s corresponding plan page. Here is a detailed guide for managing your DI account.

