Launch your setup with DataImpulse Proxies on the Hidemium Browser

What is a Hidemium browser?
Hidemium is an antidetect browser that changes your browser’s fingerprint, letting you create and use multiple profiles at the same time. It works by using Chrome to build different profiles, each with a unique IP address. This makes managing multiple accounts on one device easy without exposing your personal data. Hidemium fully modifies browser fingerprints and mimics the hardware and software of your device.
This browser is one of the top choices for scaling e-commerce business. It works on different e-commerce platforms such as Shopee, Lazada, Amazon, eBay, and Etsy. It’s also useful for handling profiles and running ads on social media platforms like Facebook, Google, TikTok, and Instagram. Plus, it keeps transactions secure and anonymous on digital payment services.
Main benefits of using the Hidemium browser:
- Up to 10,000+ profiles;
- 99.99% uptime;
- Built-in proxy support;
- Advanced management system;
- Auto-search feature;
- 3-day trial period;
- smart cookie and cache control;
- 5 free sample scripts and much more!
Managing DataImpulse proxies in Hidemium
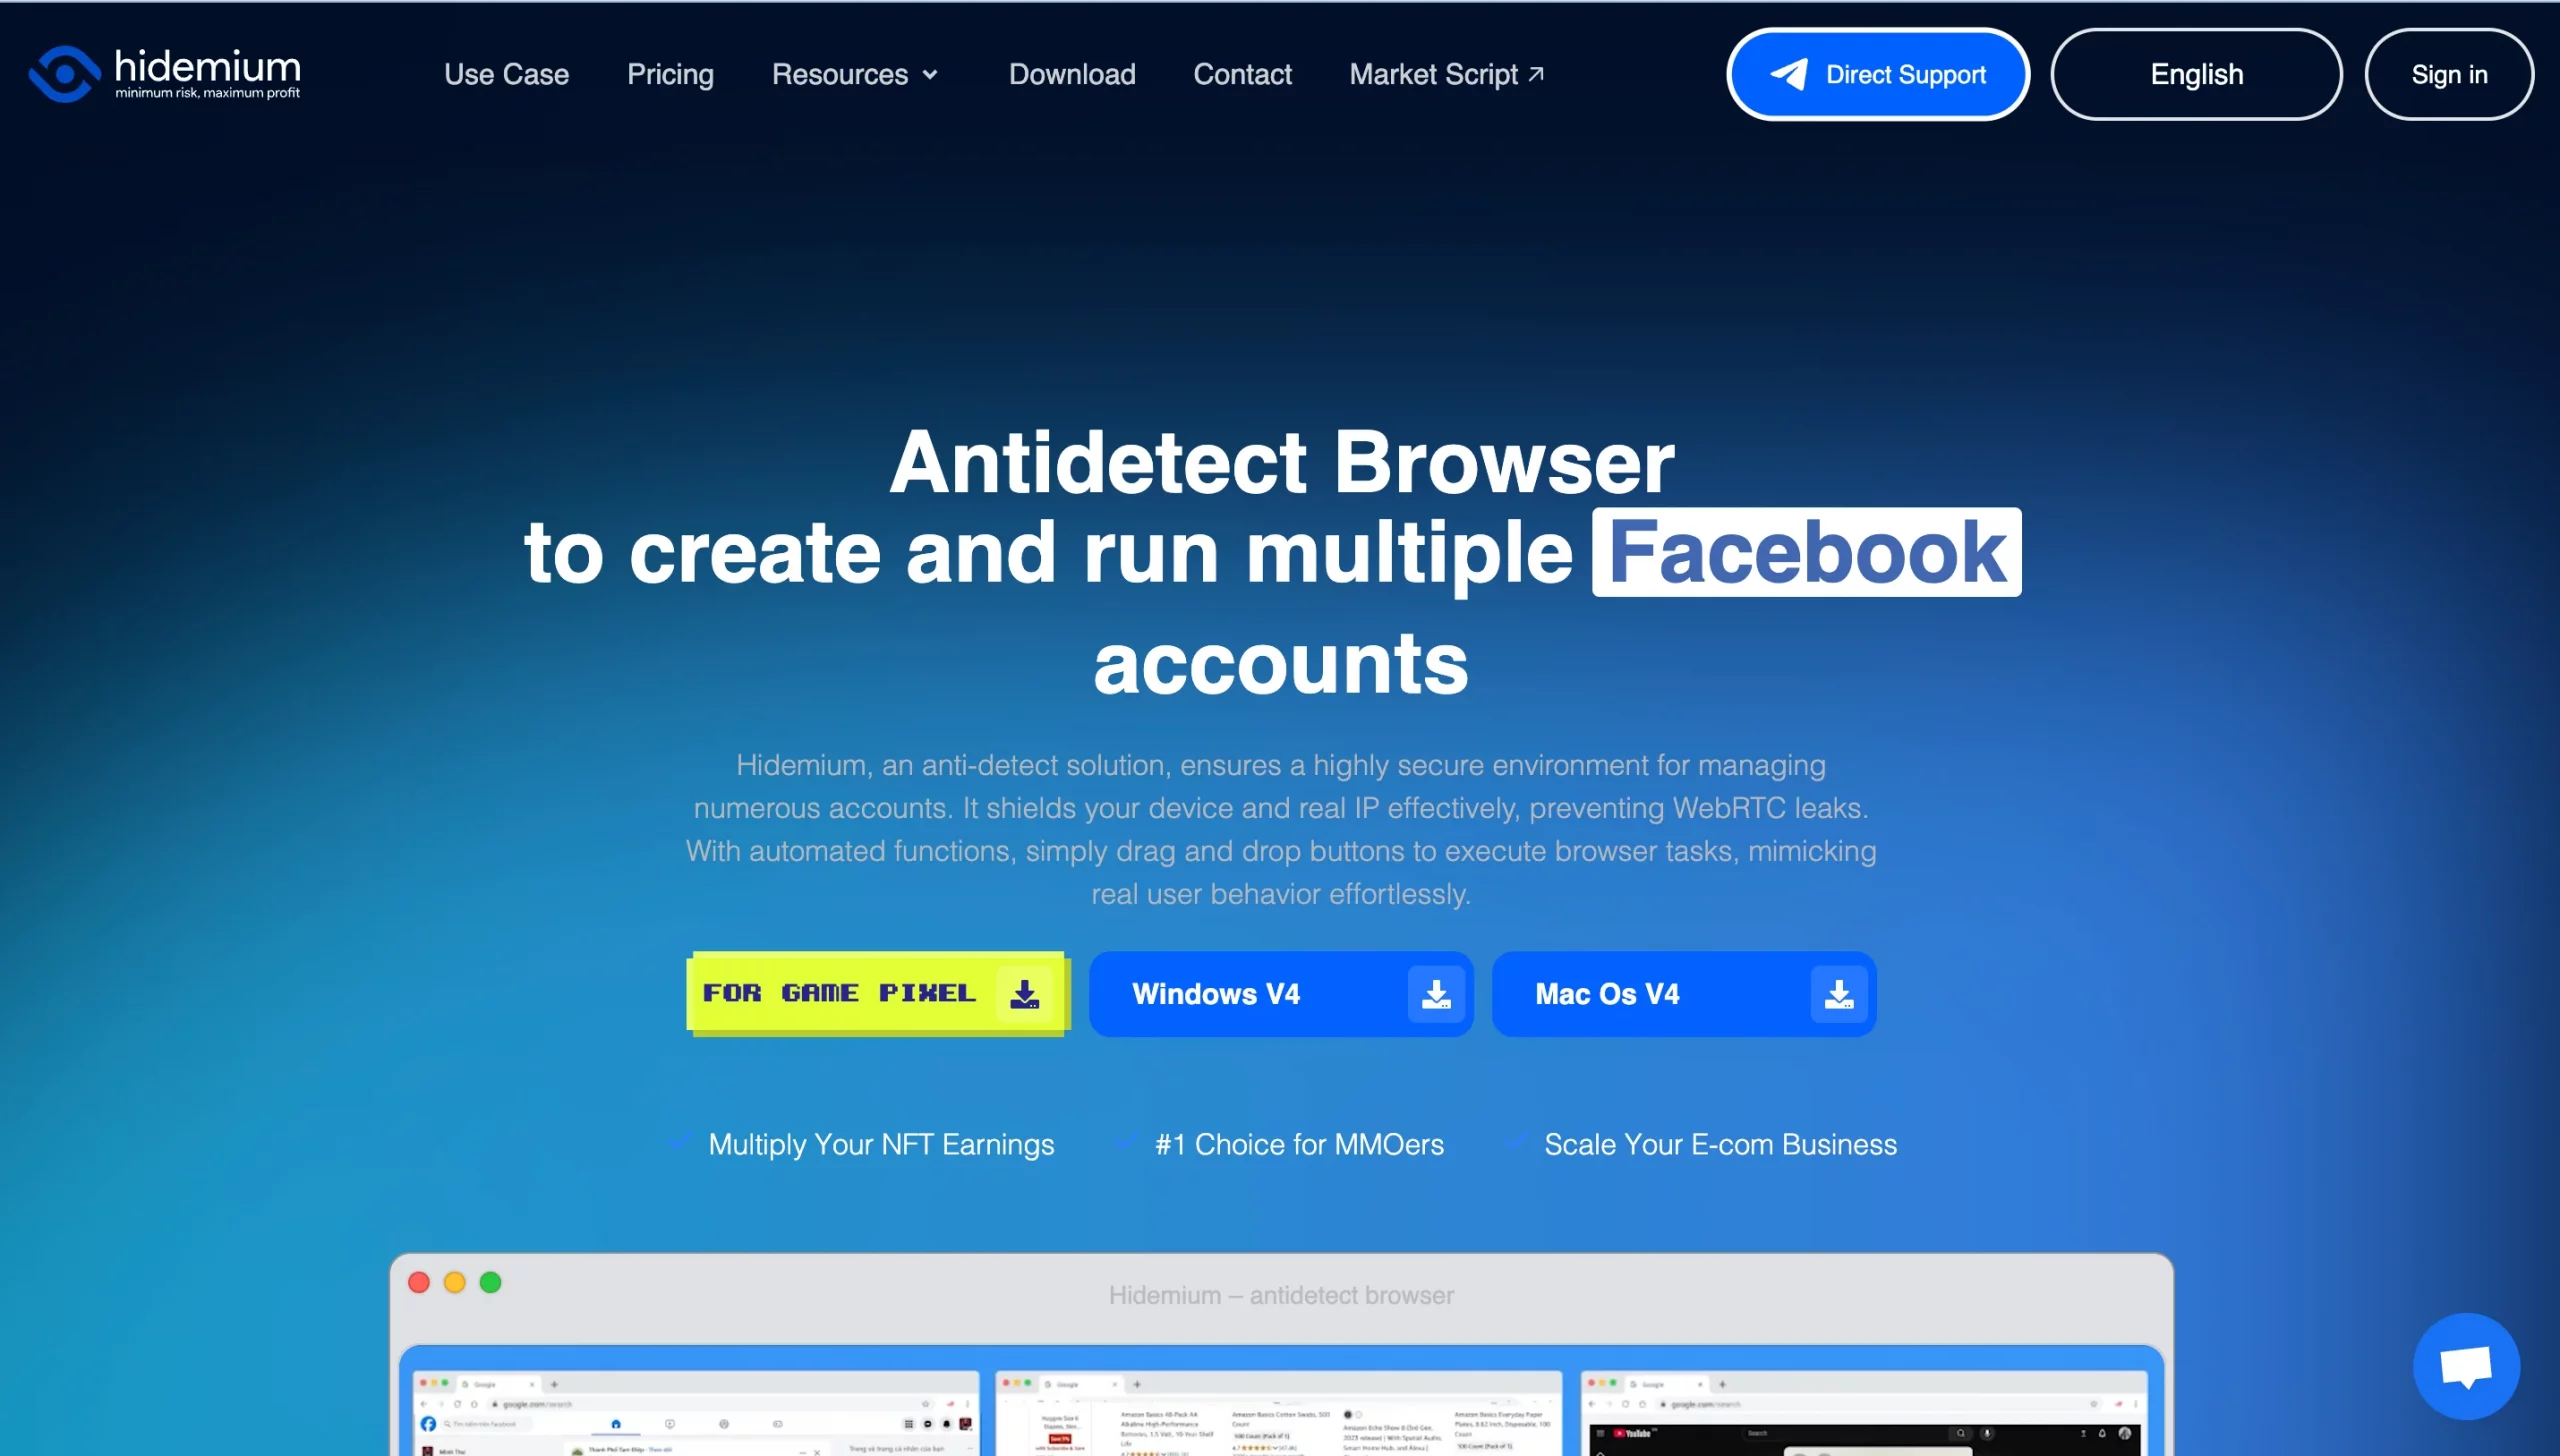
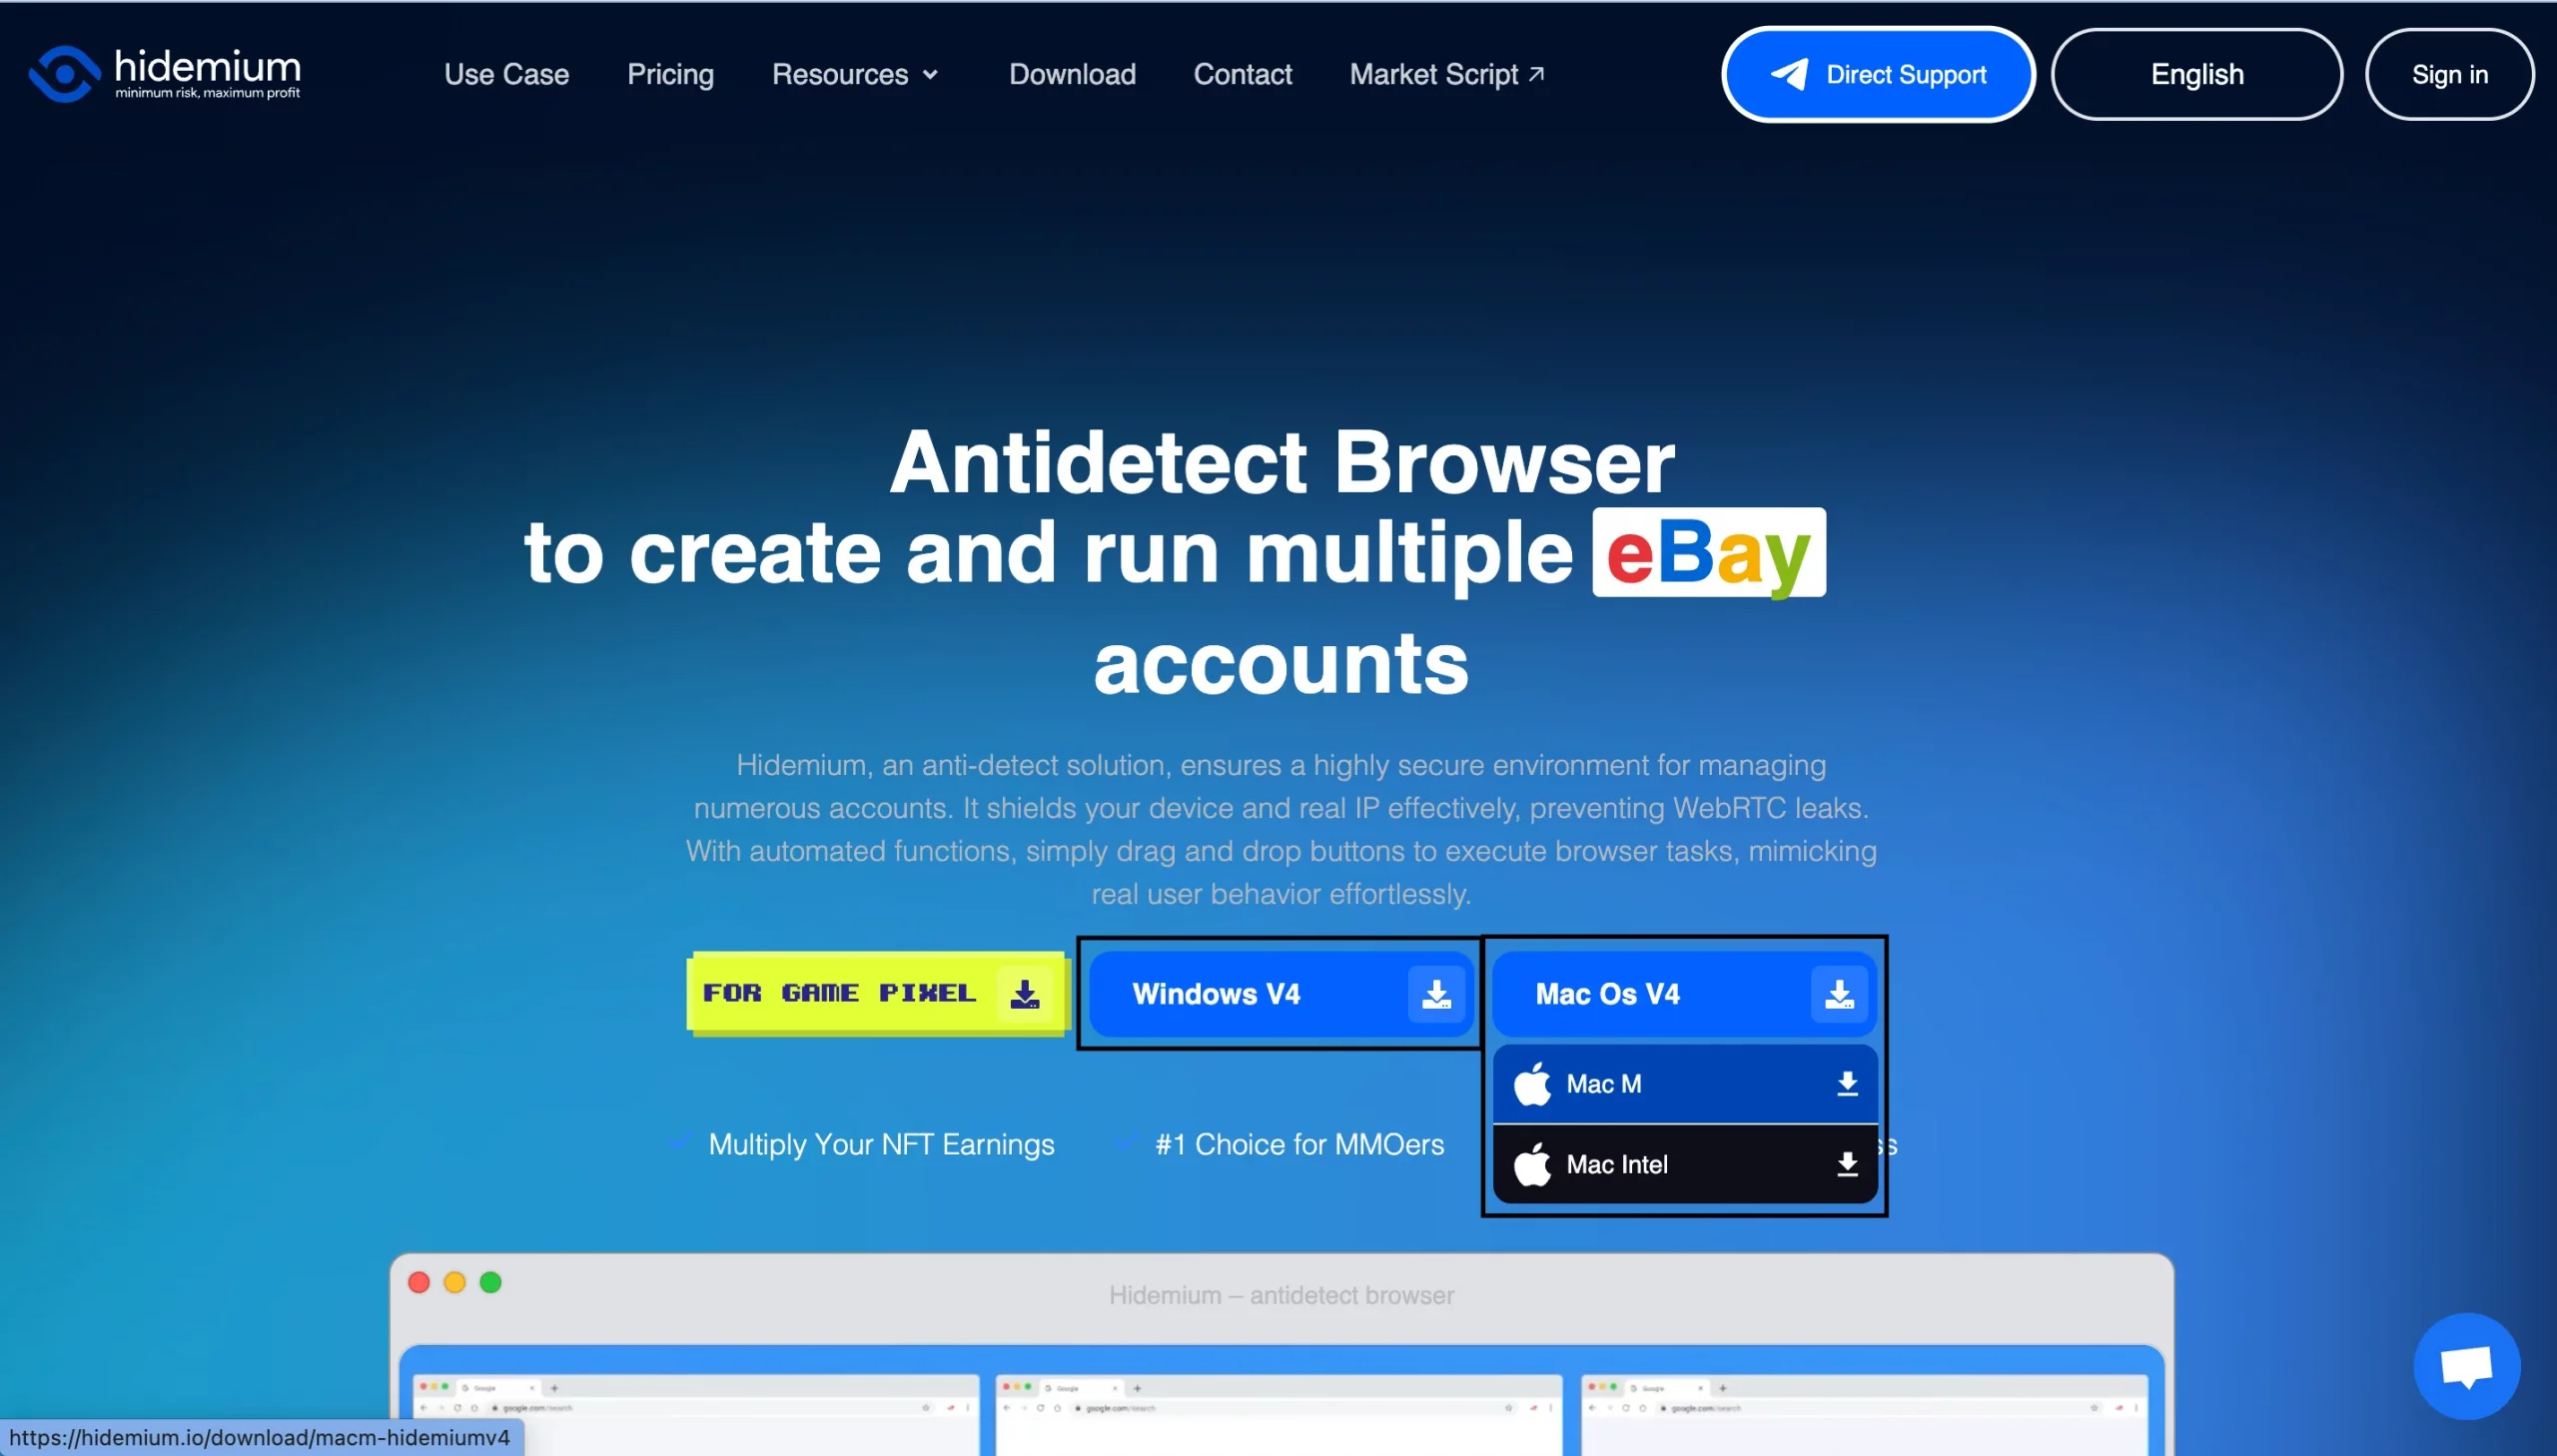
1. Go to the Hidemium website and download the browser for your operating system. Follow the on-screen instructions. In our tutorial, we’re using MacOS (M-series).
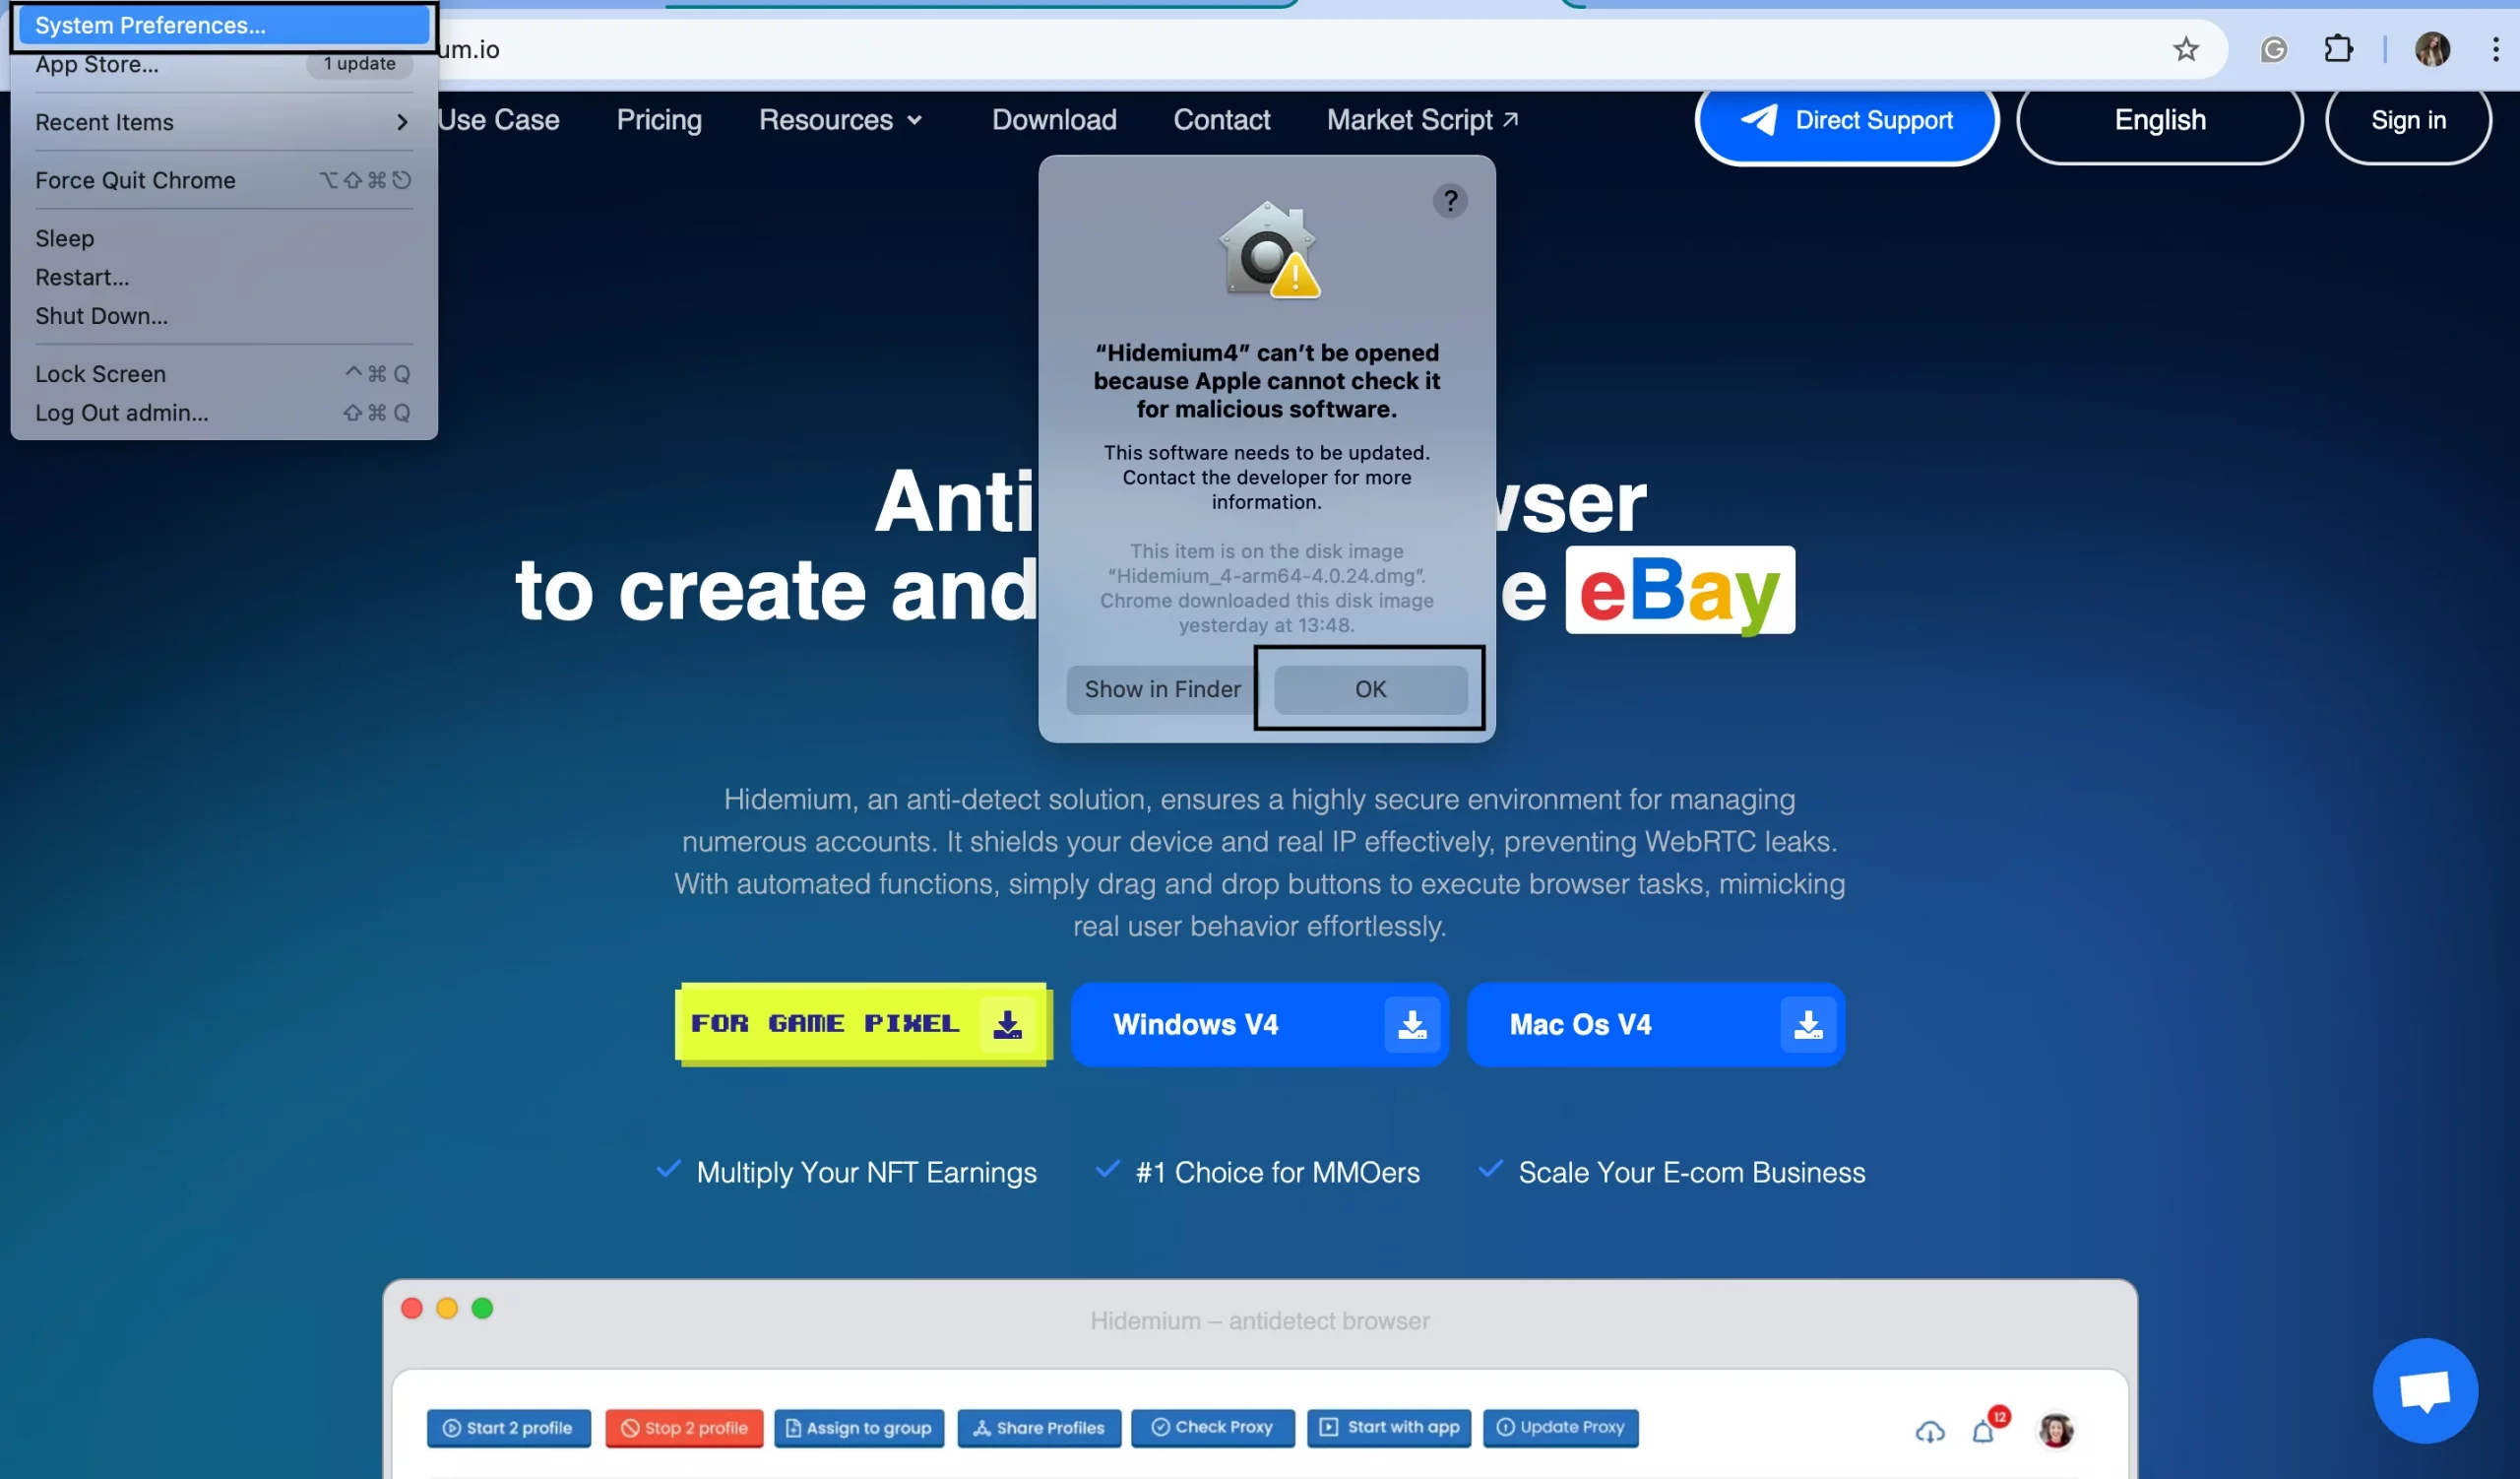
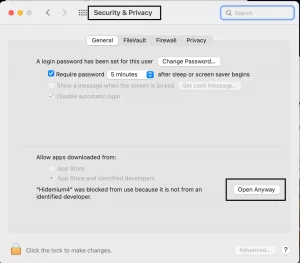
2. Download and open the installation package. If the Mac system shows a message saying the application cannot be installed, go to System Settings/Preferences. Select Security&Privacy, scroll down, and click Open Anyway. After that, complete the steps for authorization, and the installation will proceed automatically.
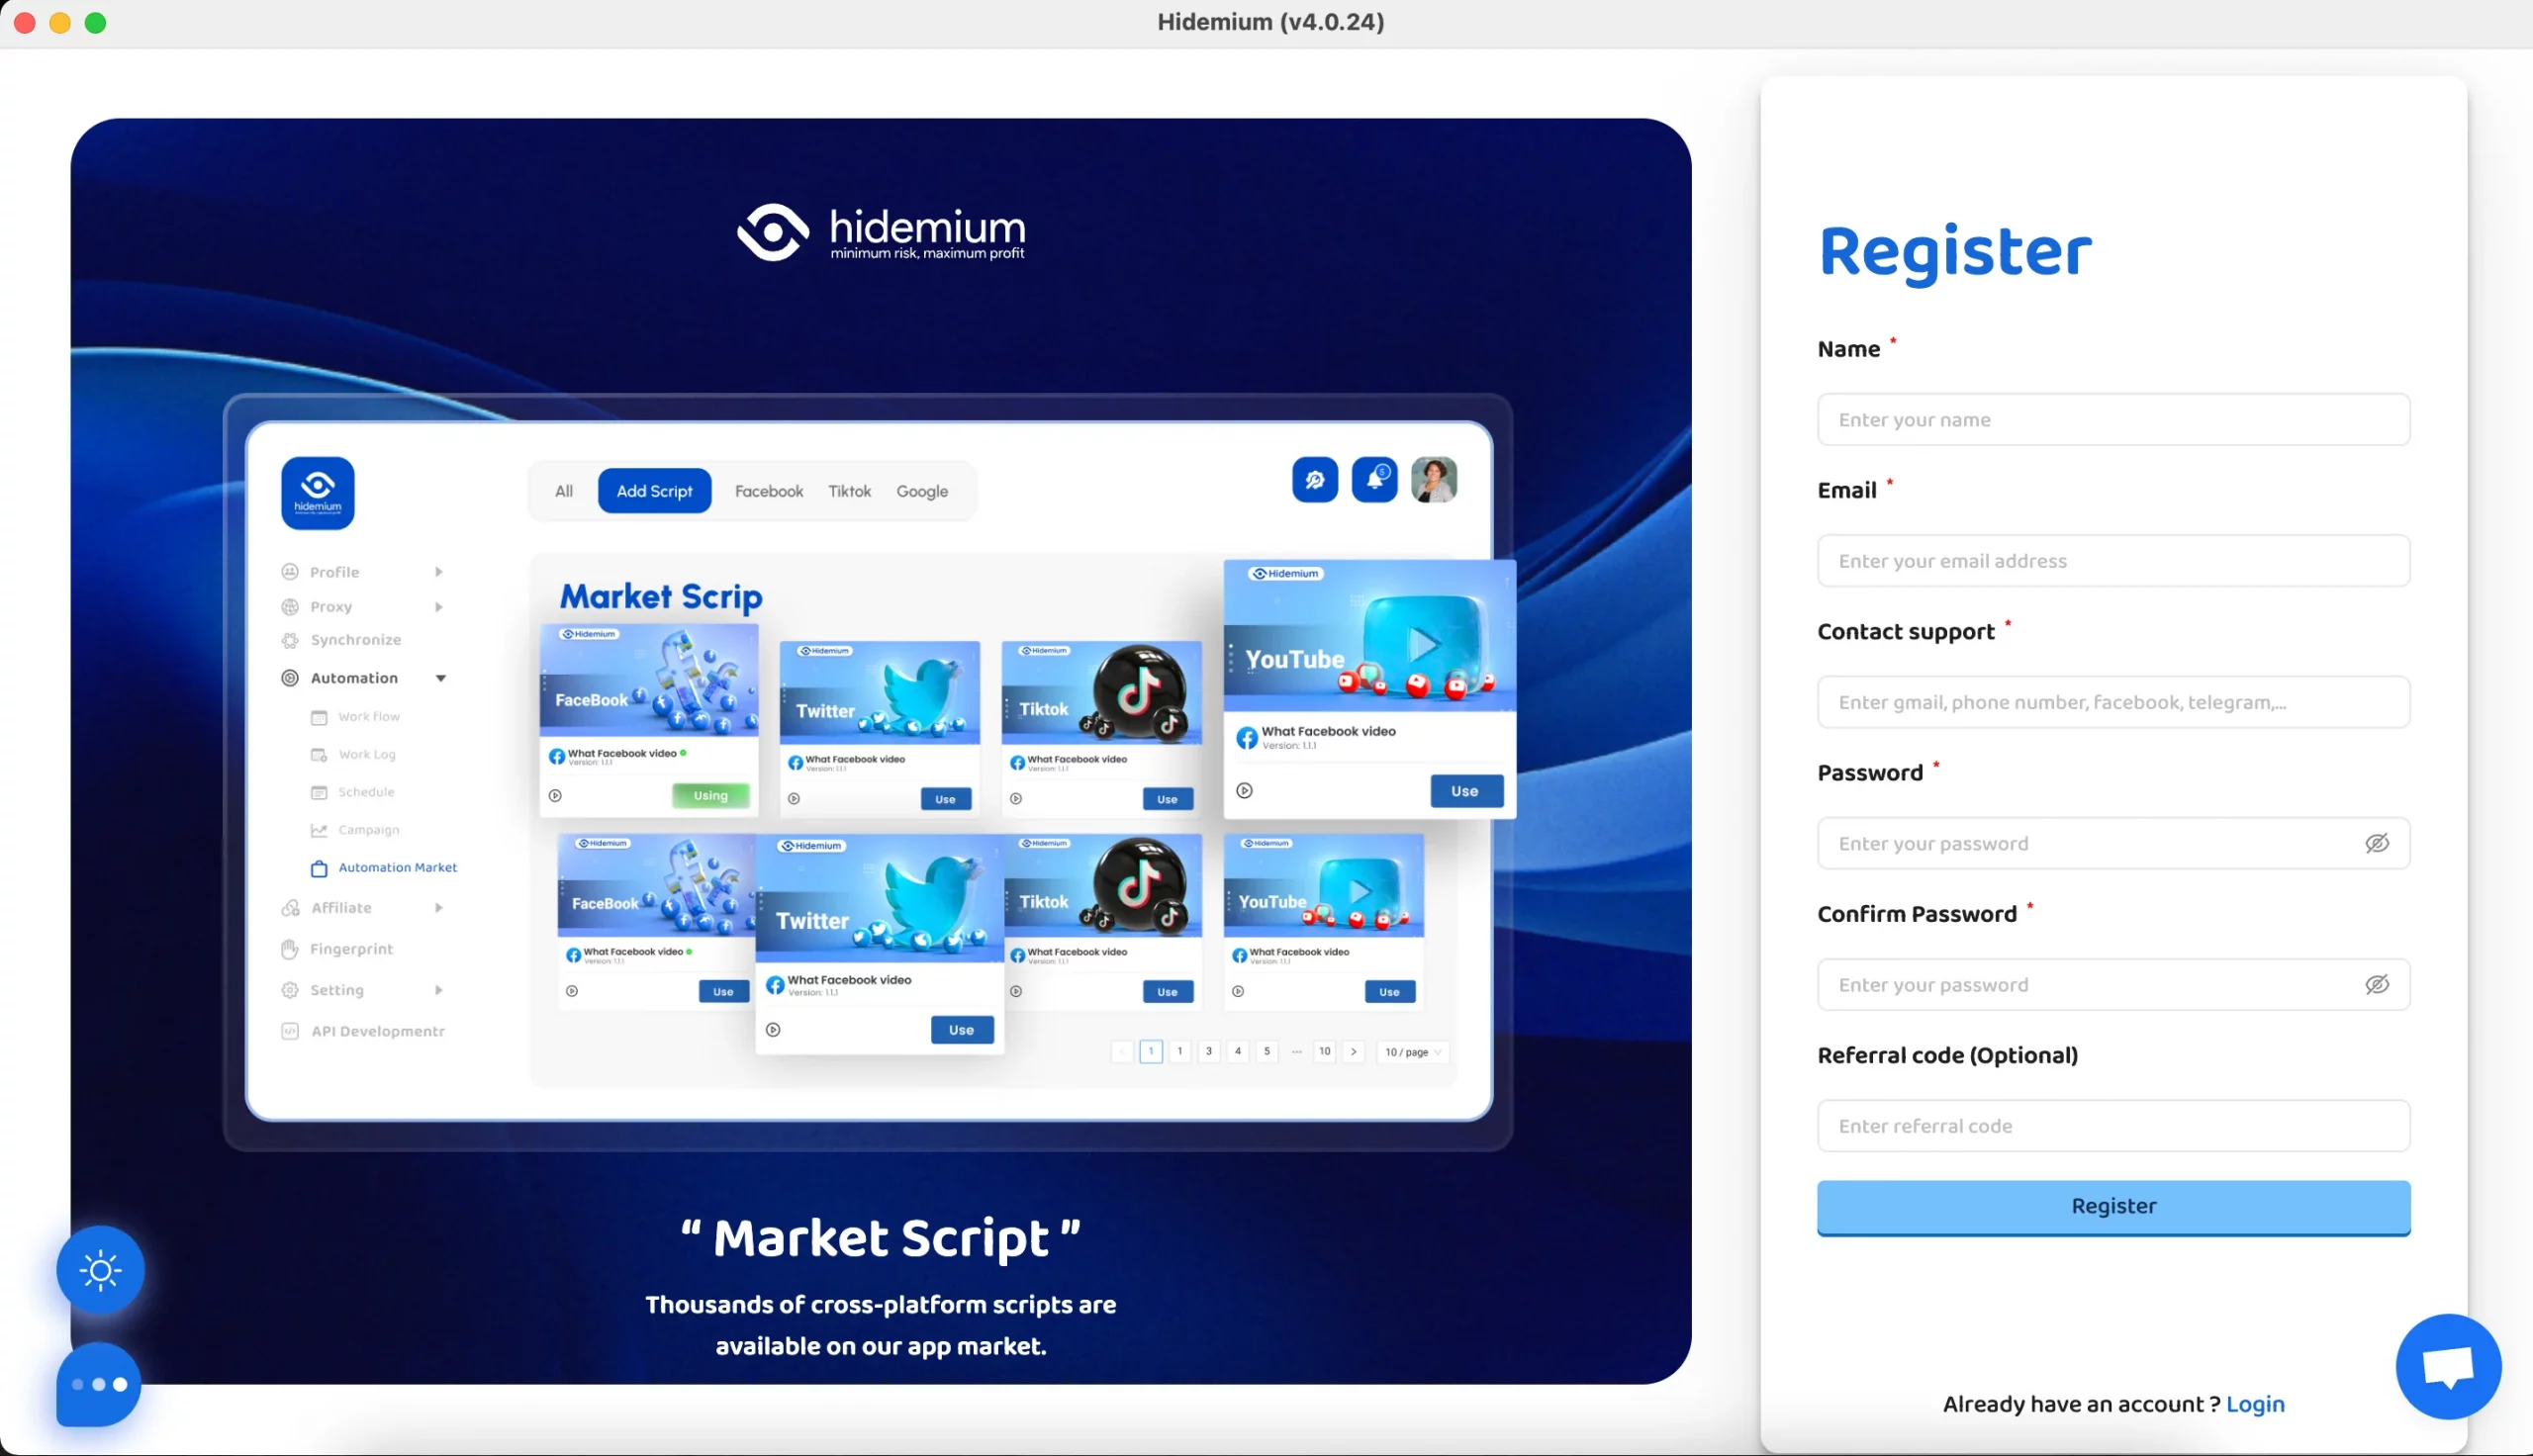
3. Open the app and begin registering unless you already have an account.
*Please note that they only accept the following email providers: Gmail, Outlook, Hotmail, iCloud, MinhHoangJSC.
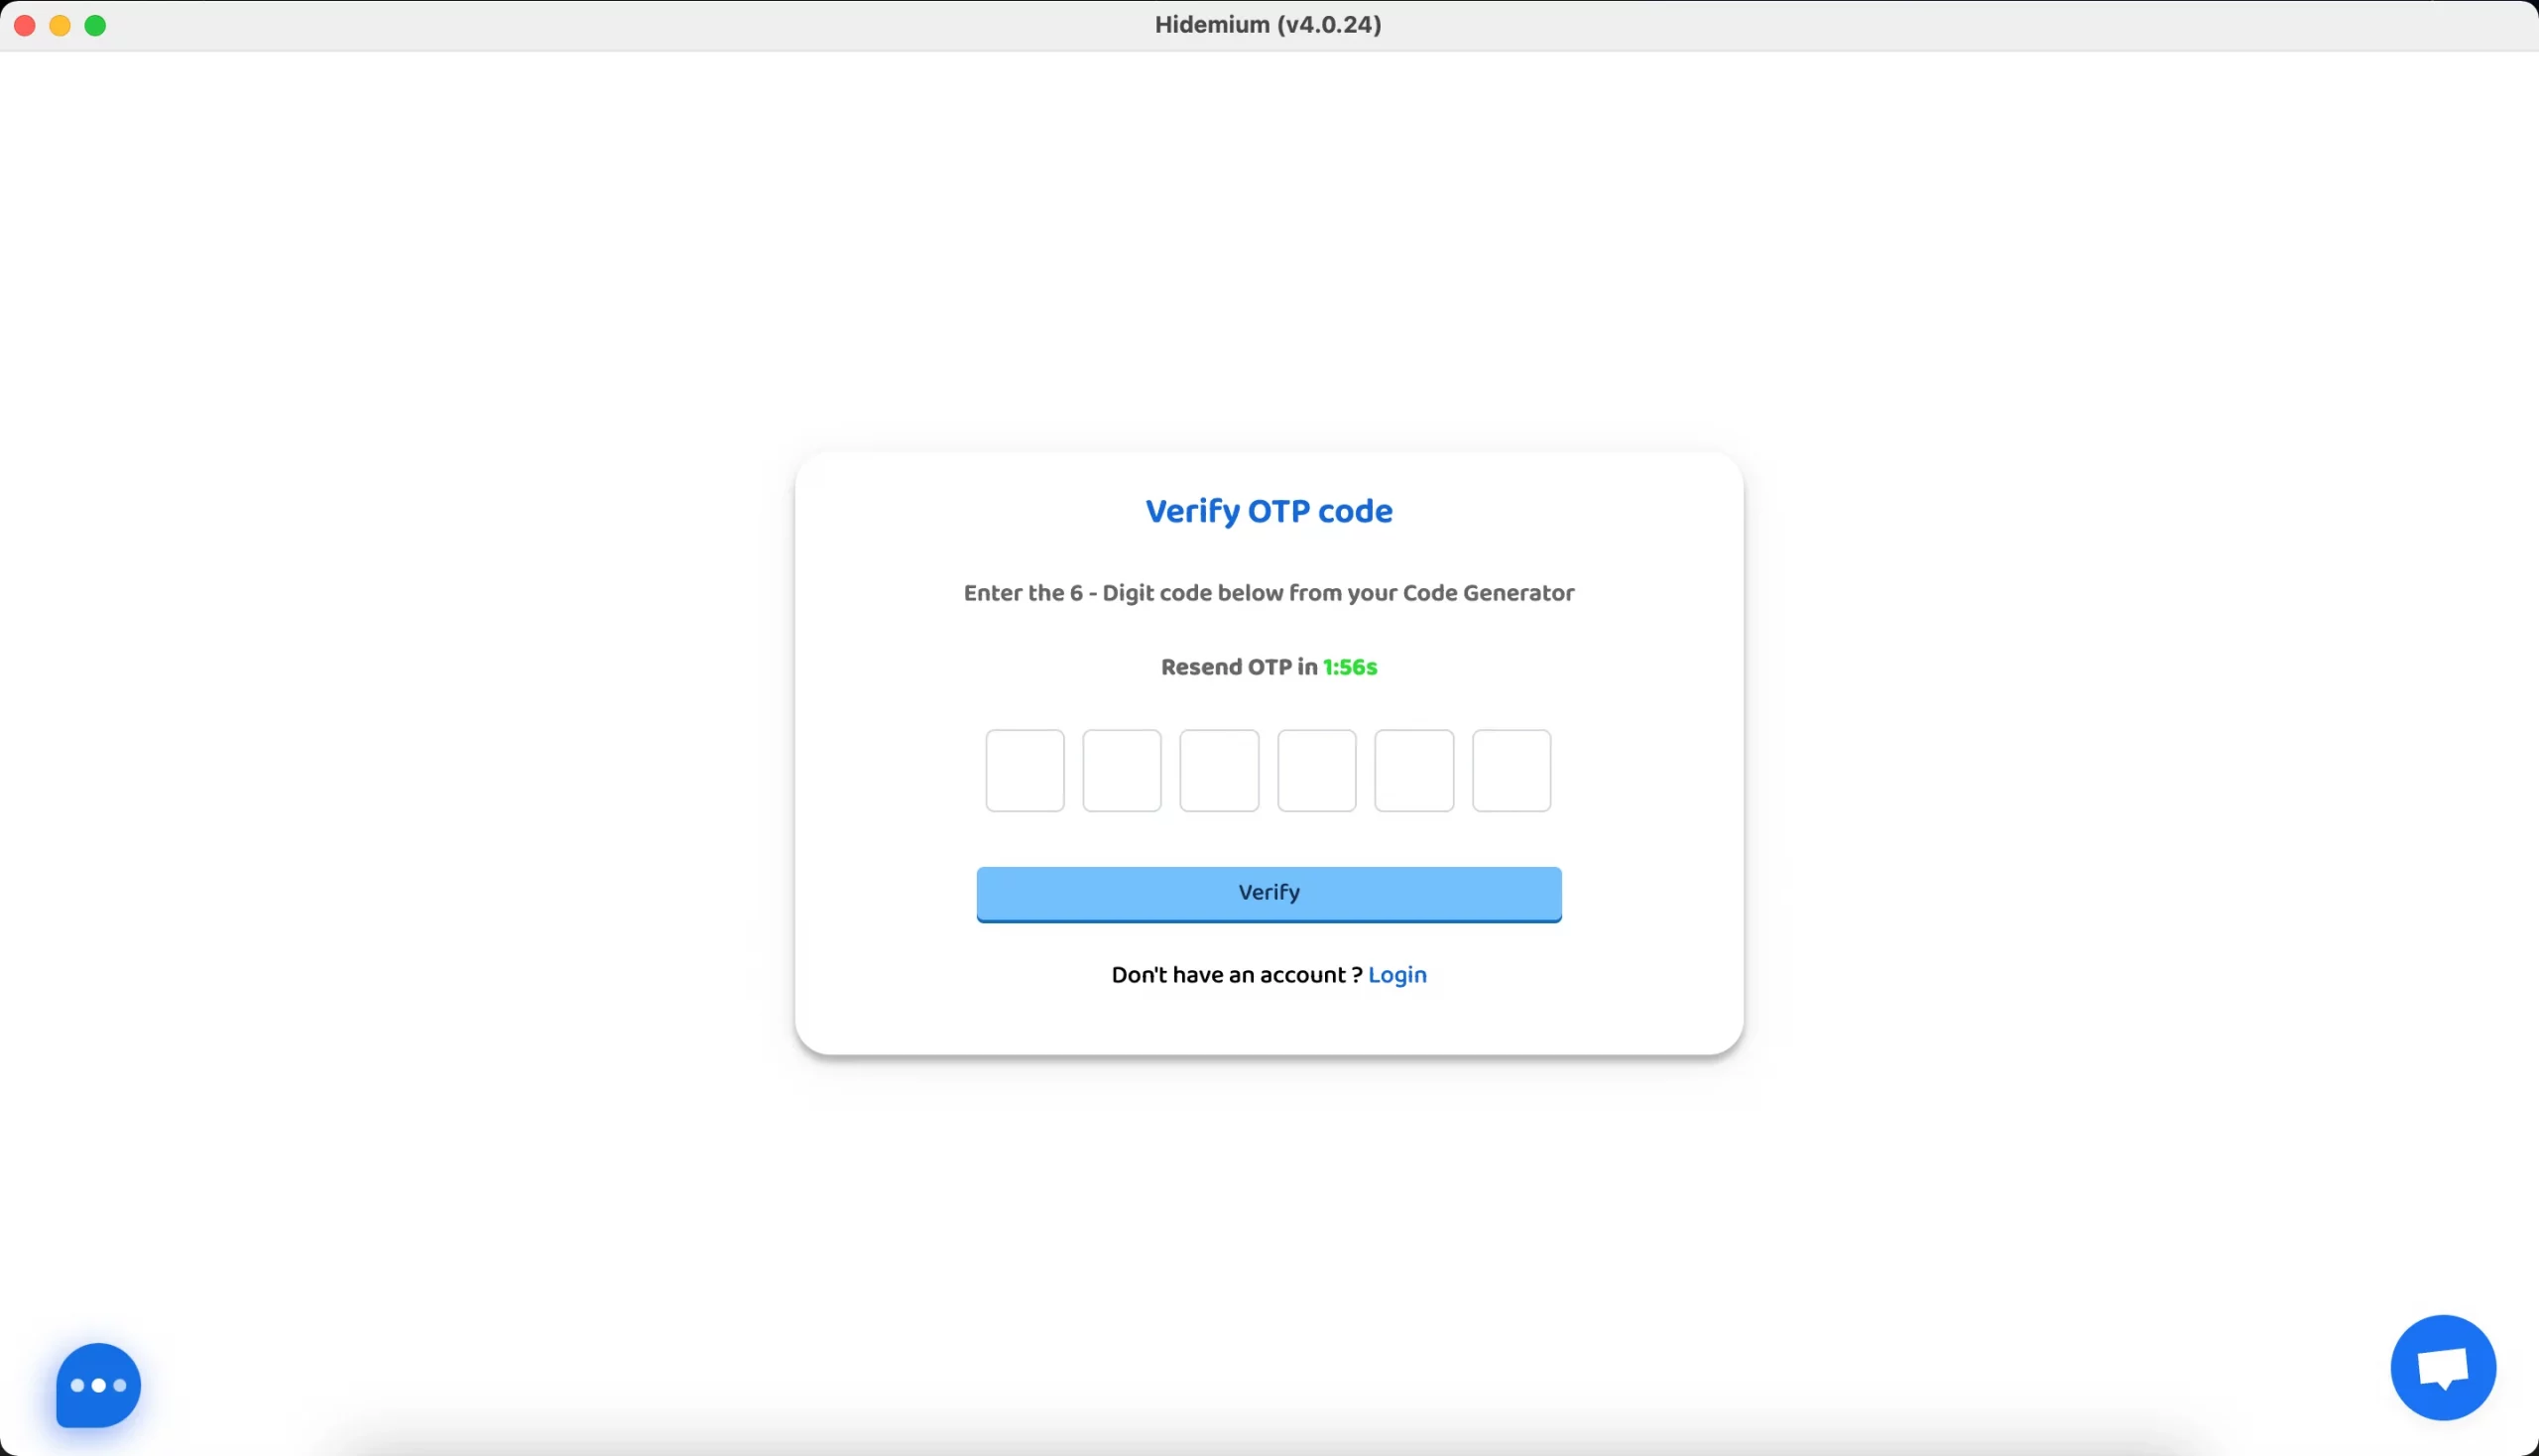
4. Confirm your Hidemium account by entering the OTP code sent to your email.
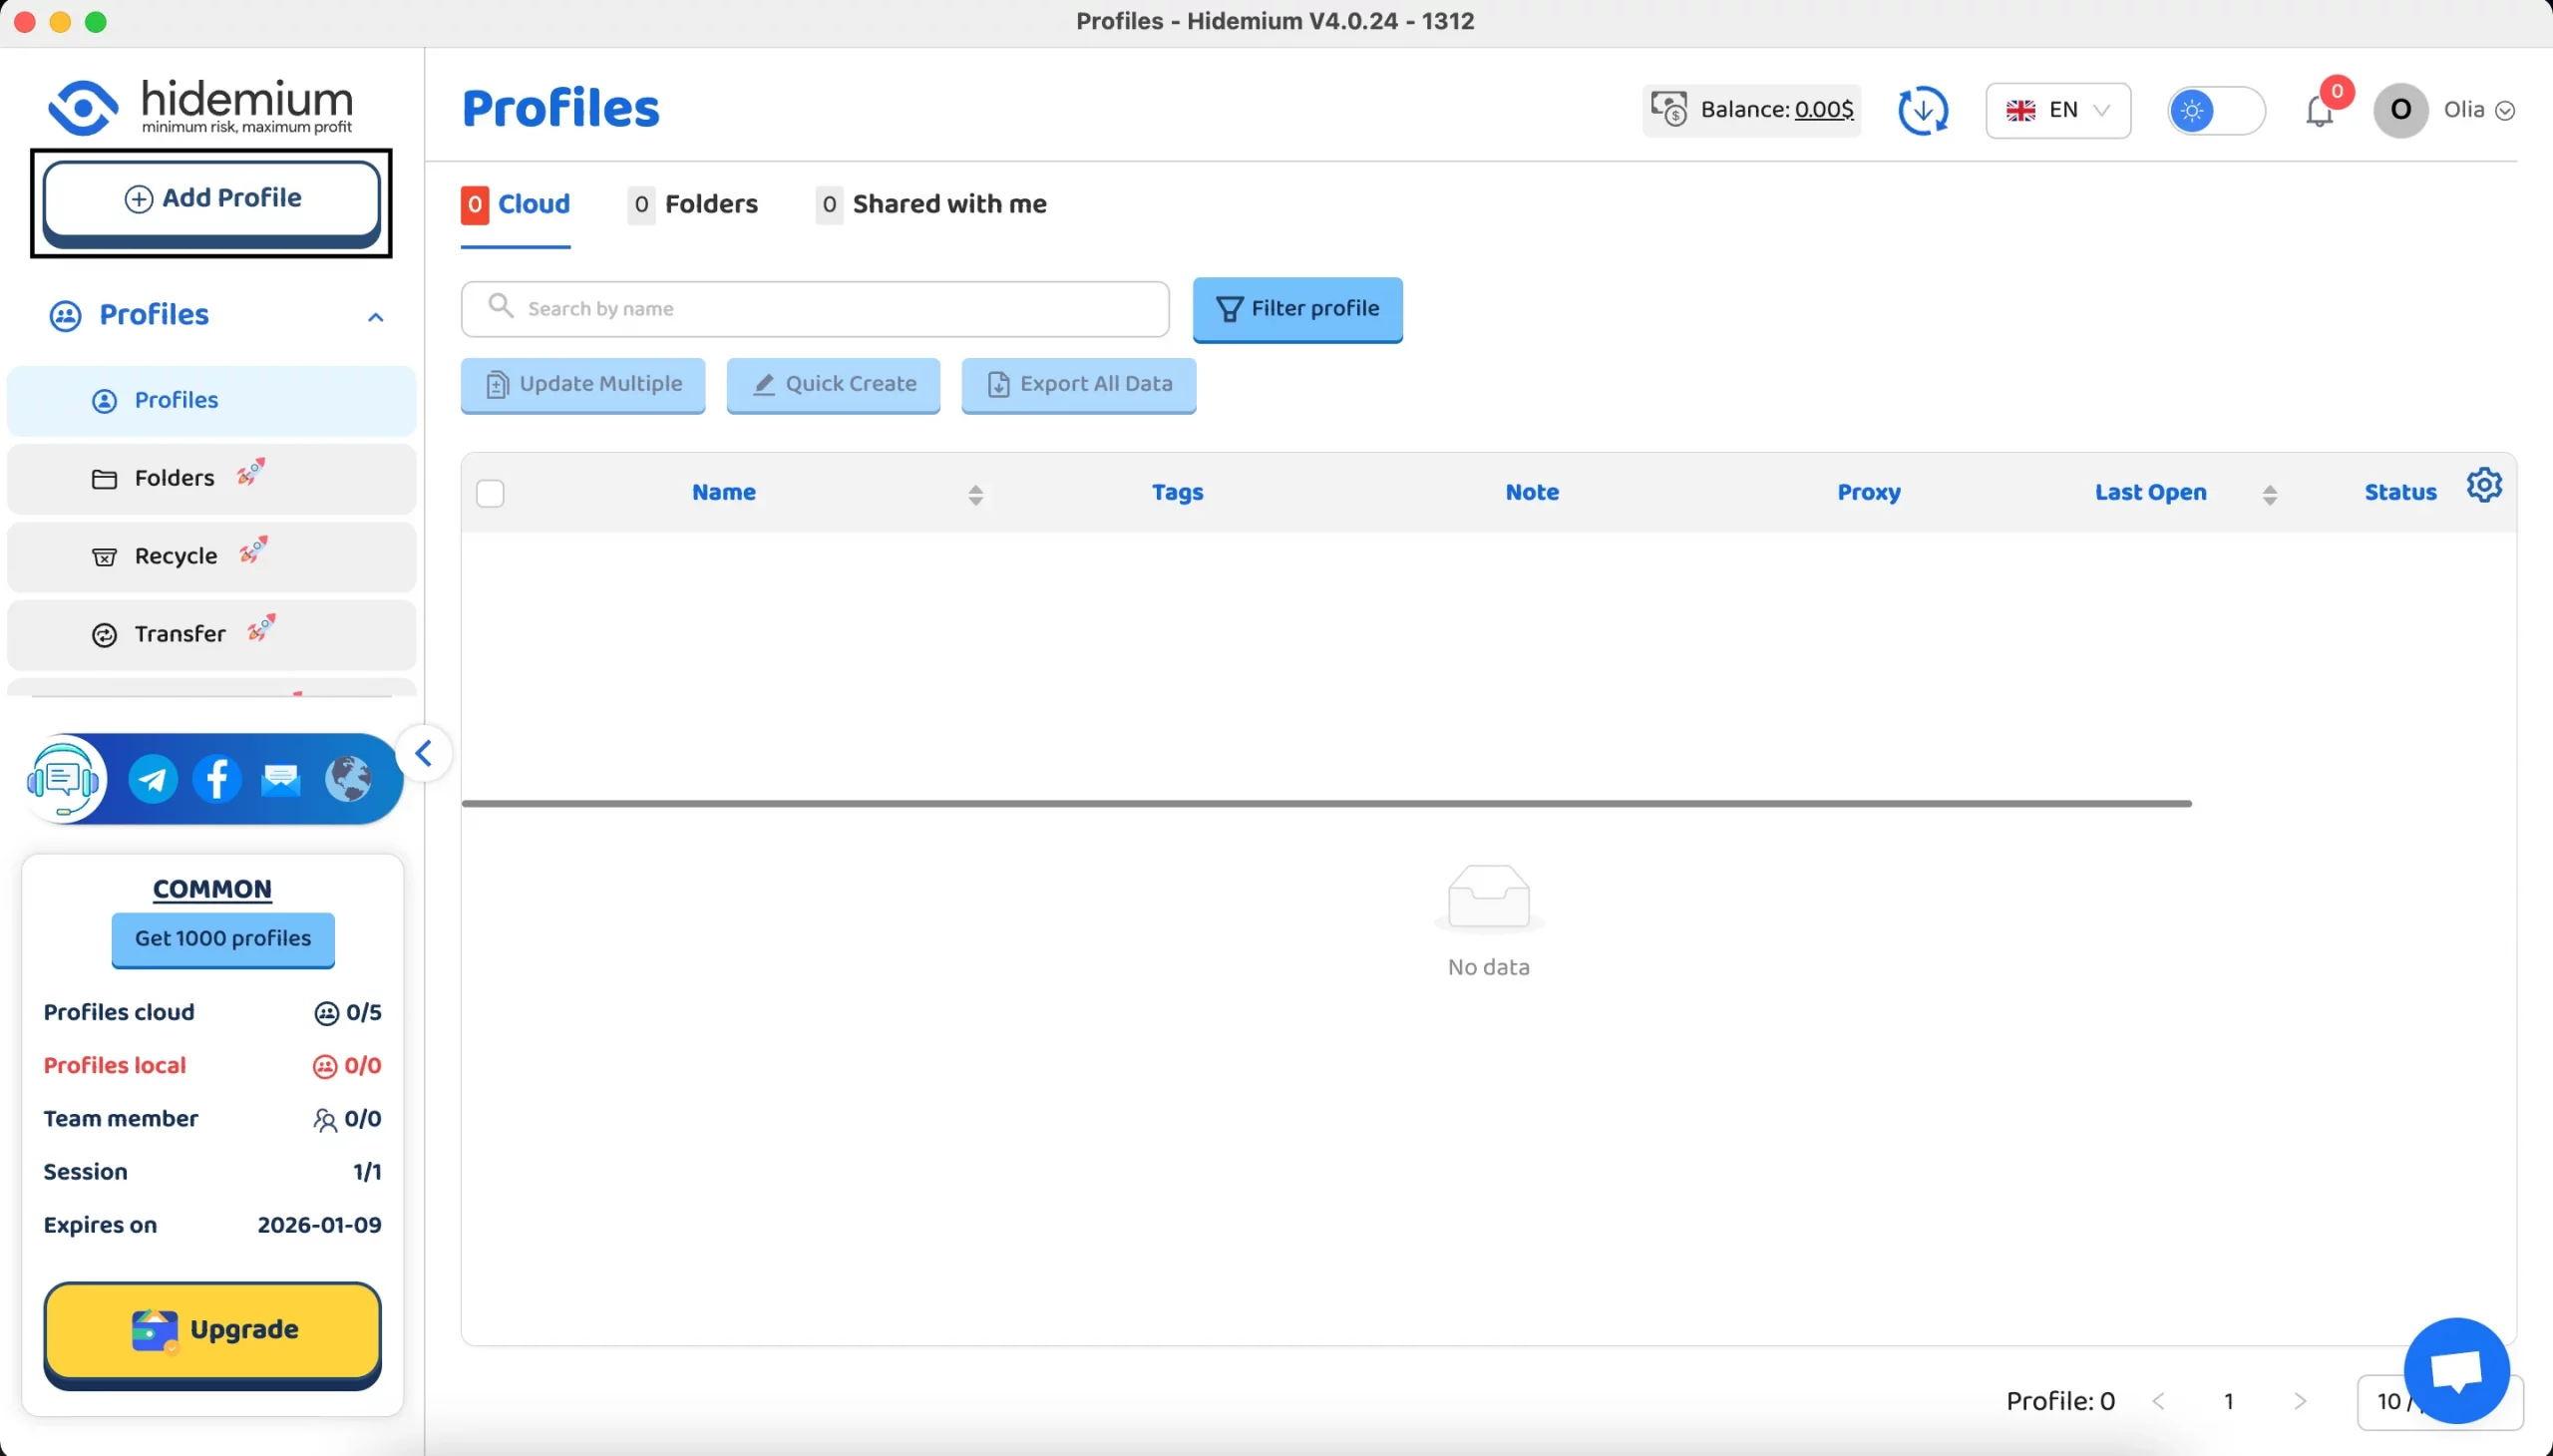
5. After all these steps, you’ll be redirected to the main page of this browser. To add our proxies, create a profile first. Simply click ‘Add Profile’.
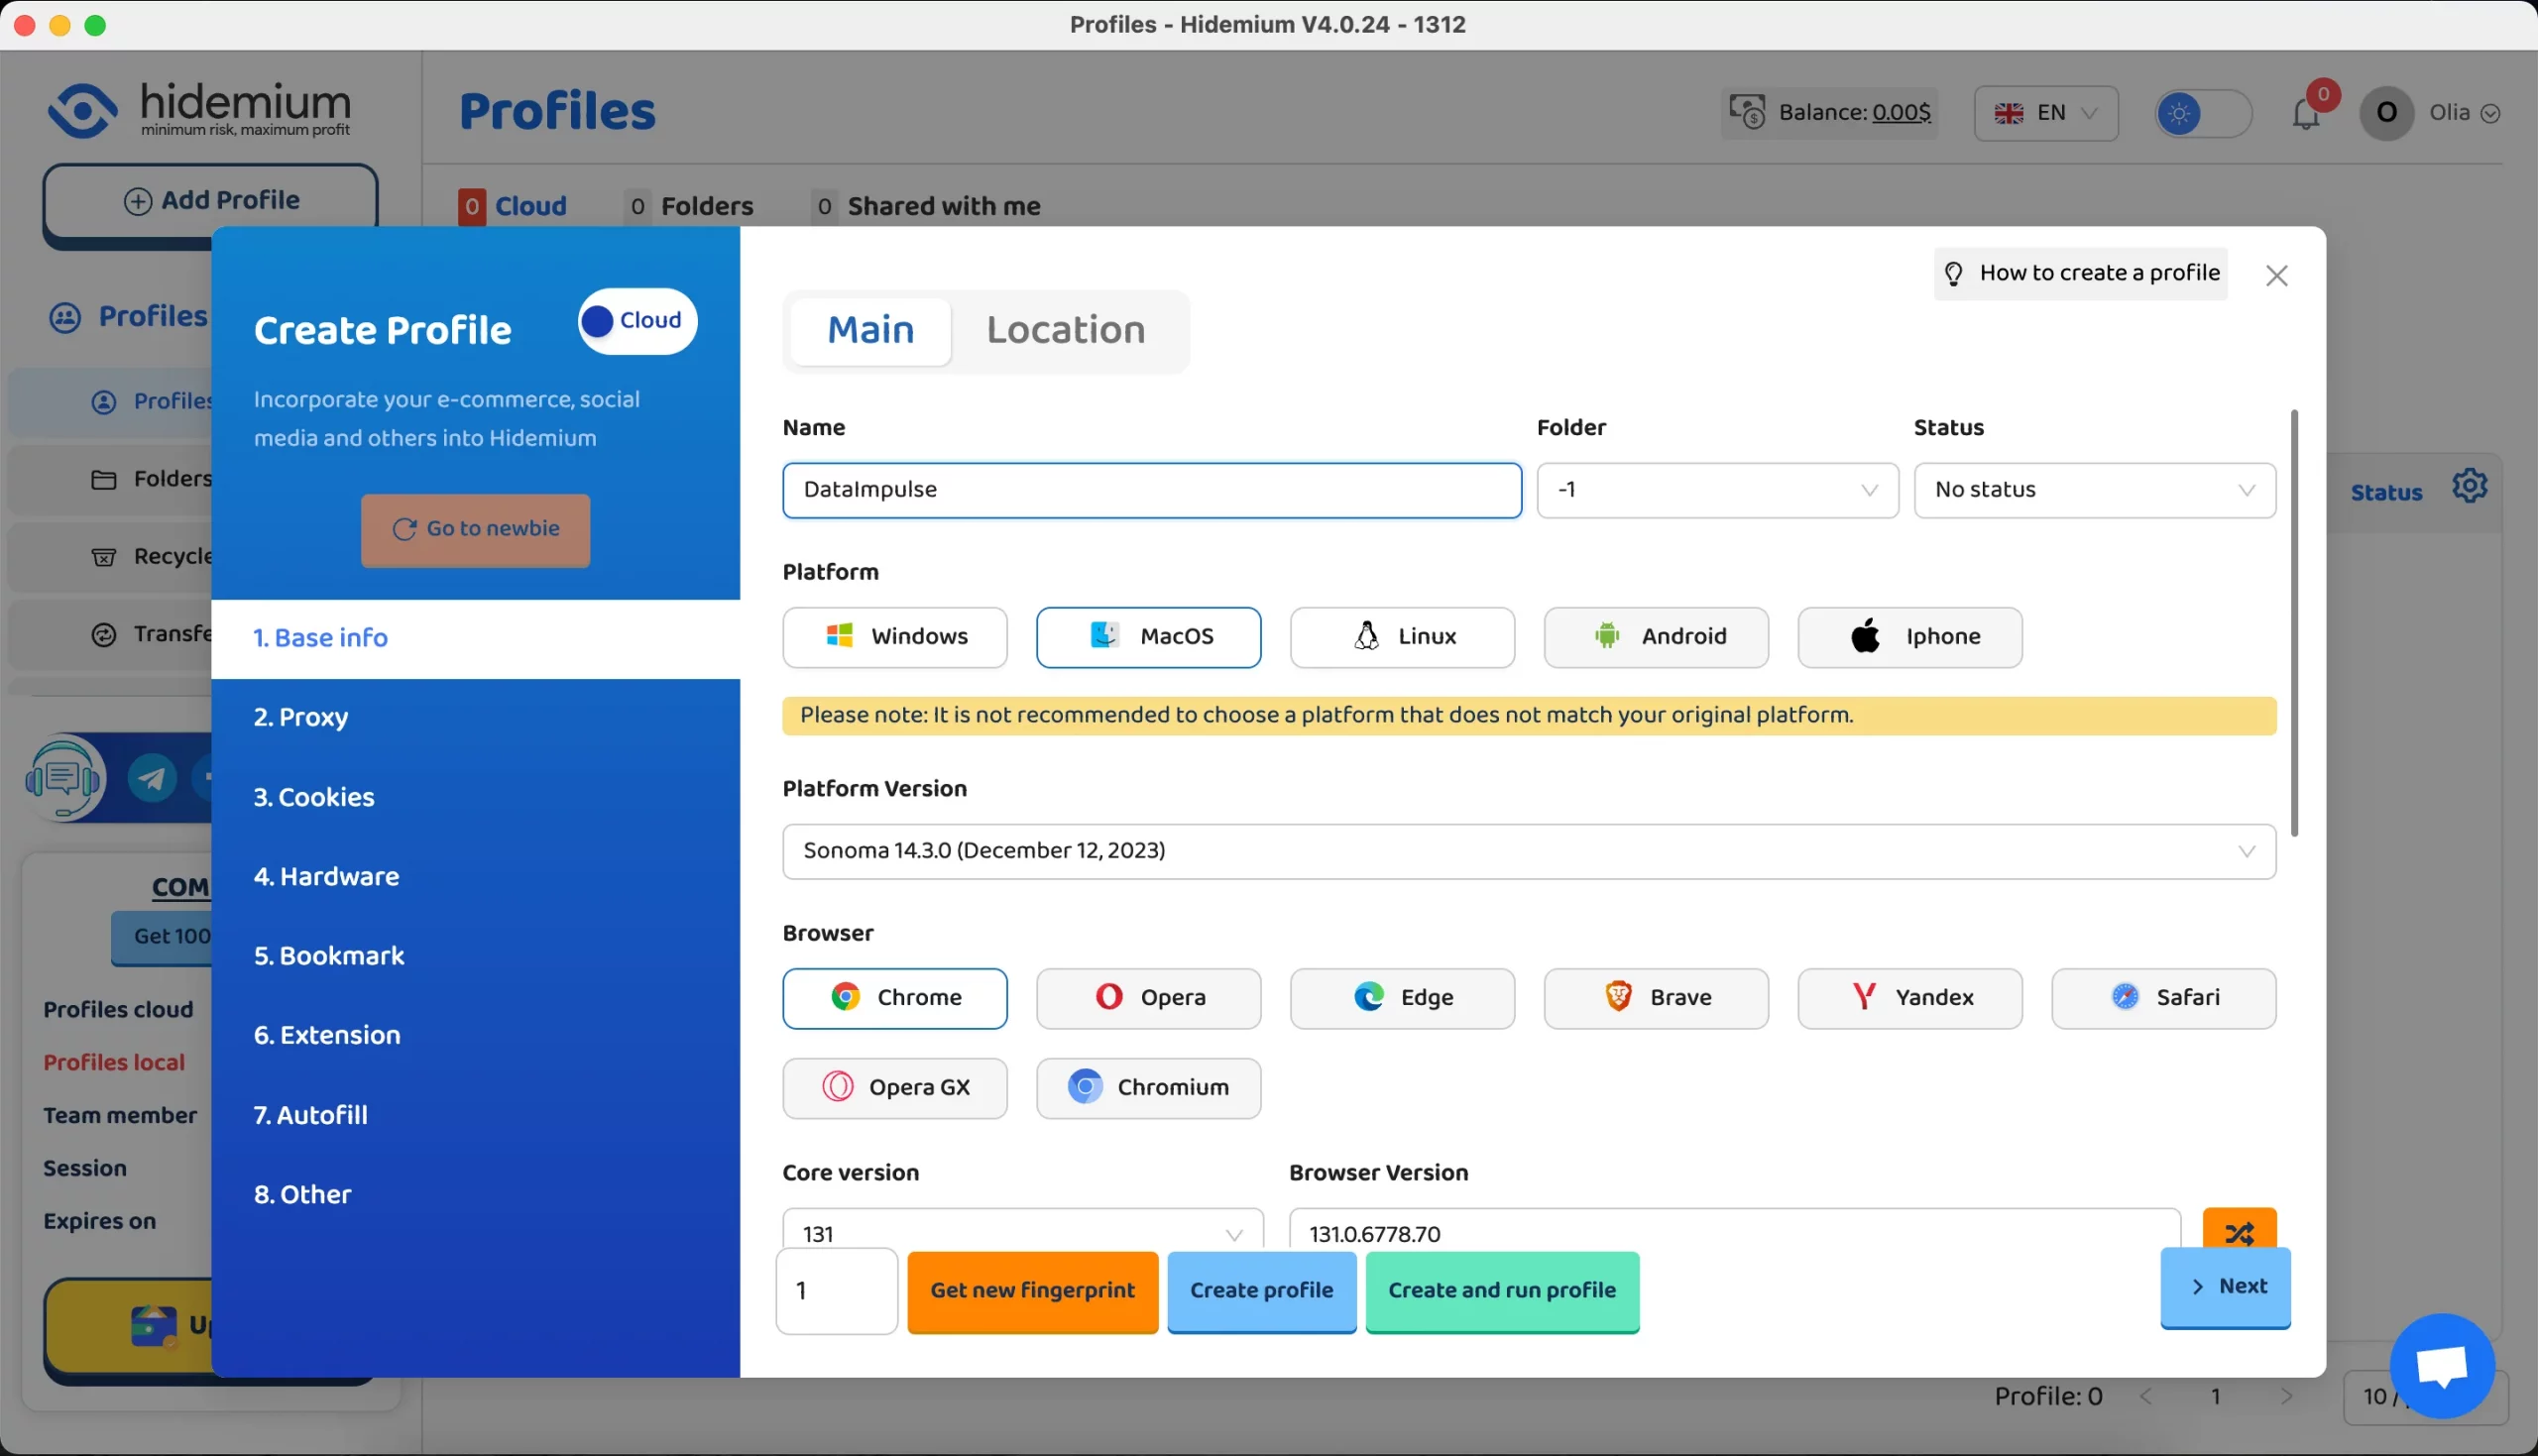
6. Fill out the Base info section by providing the preferred profile name, platform, browser, and other necessary details.
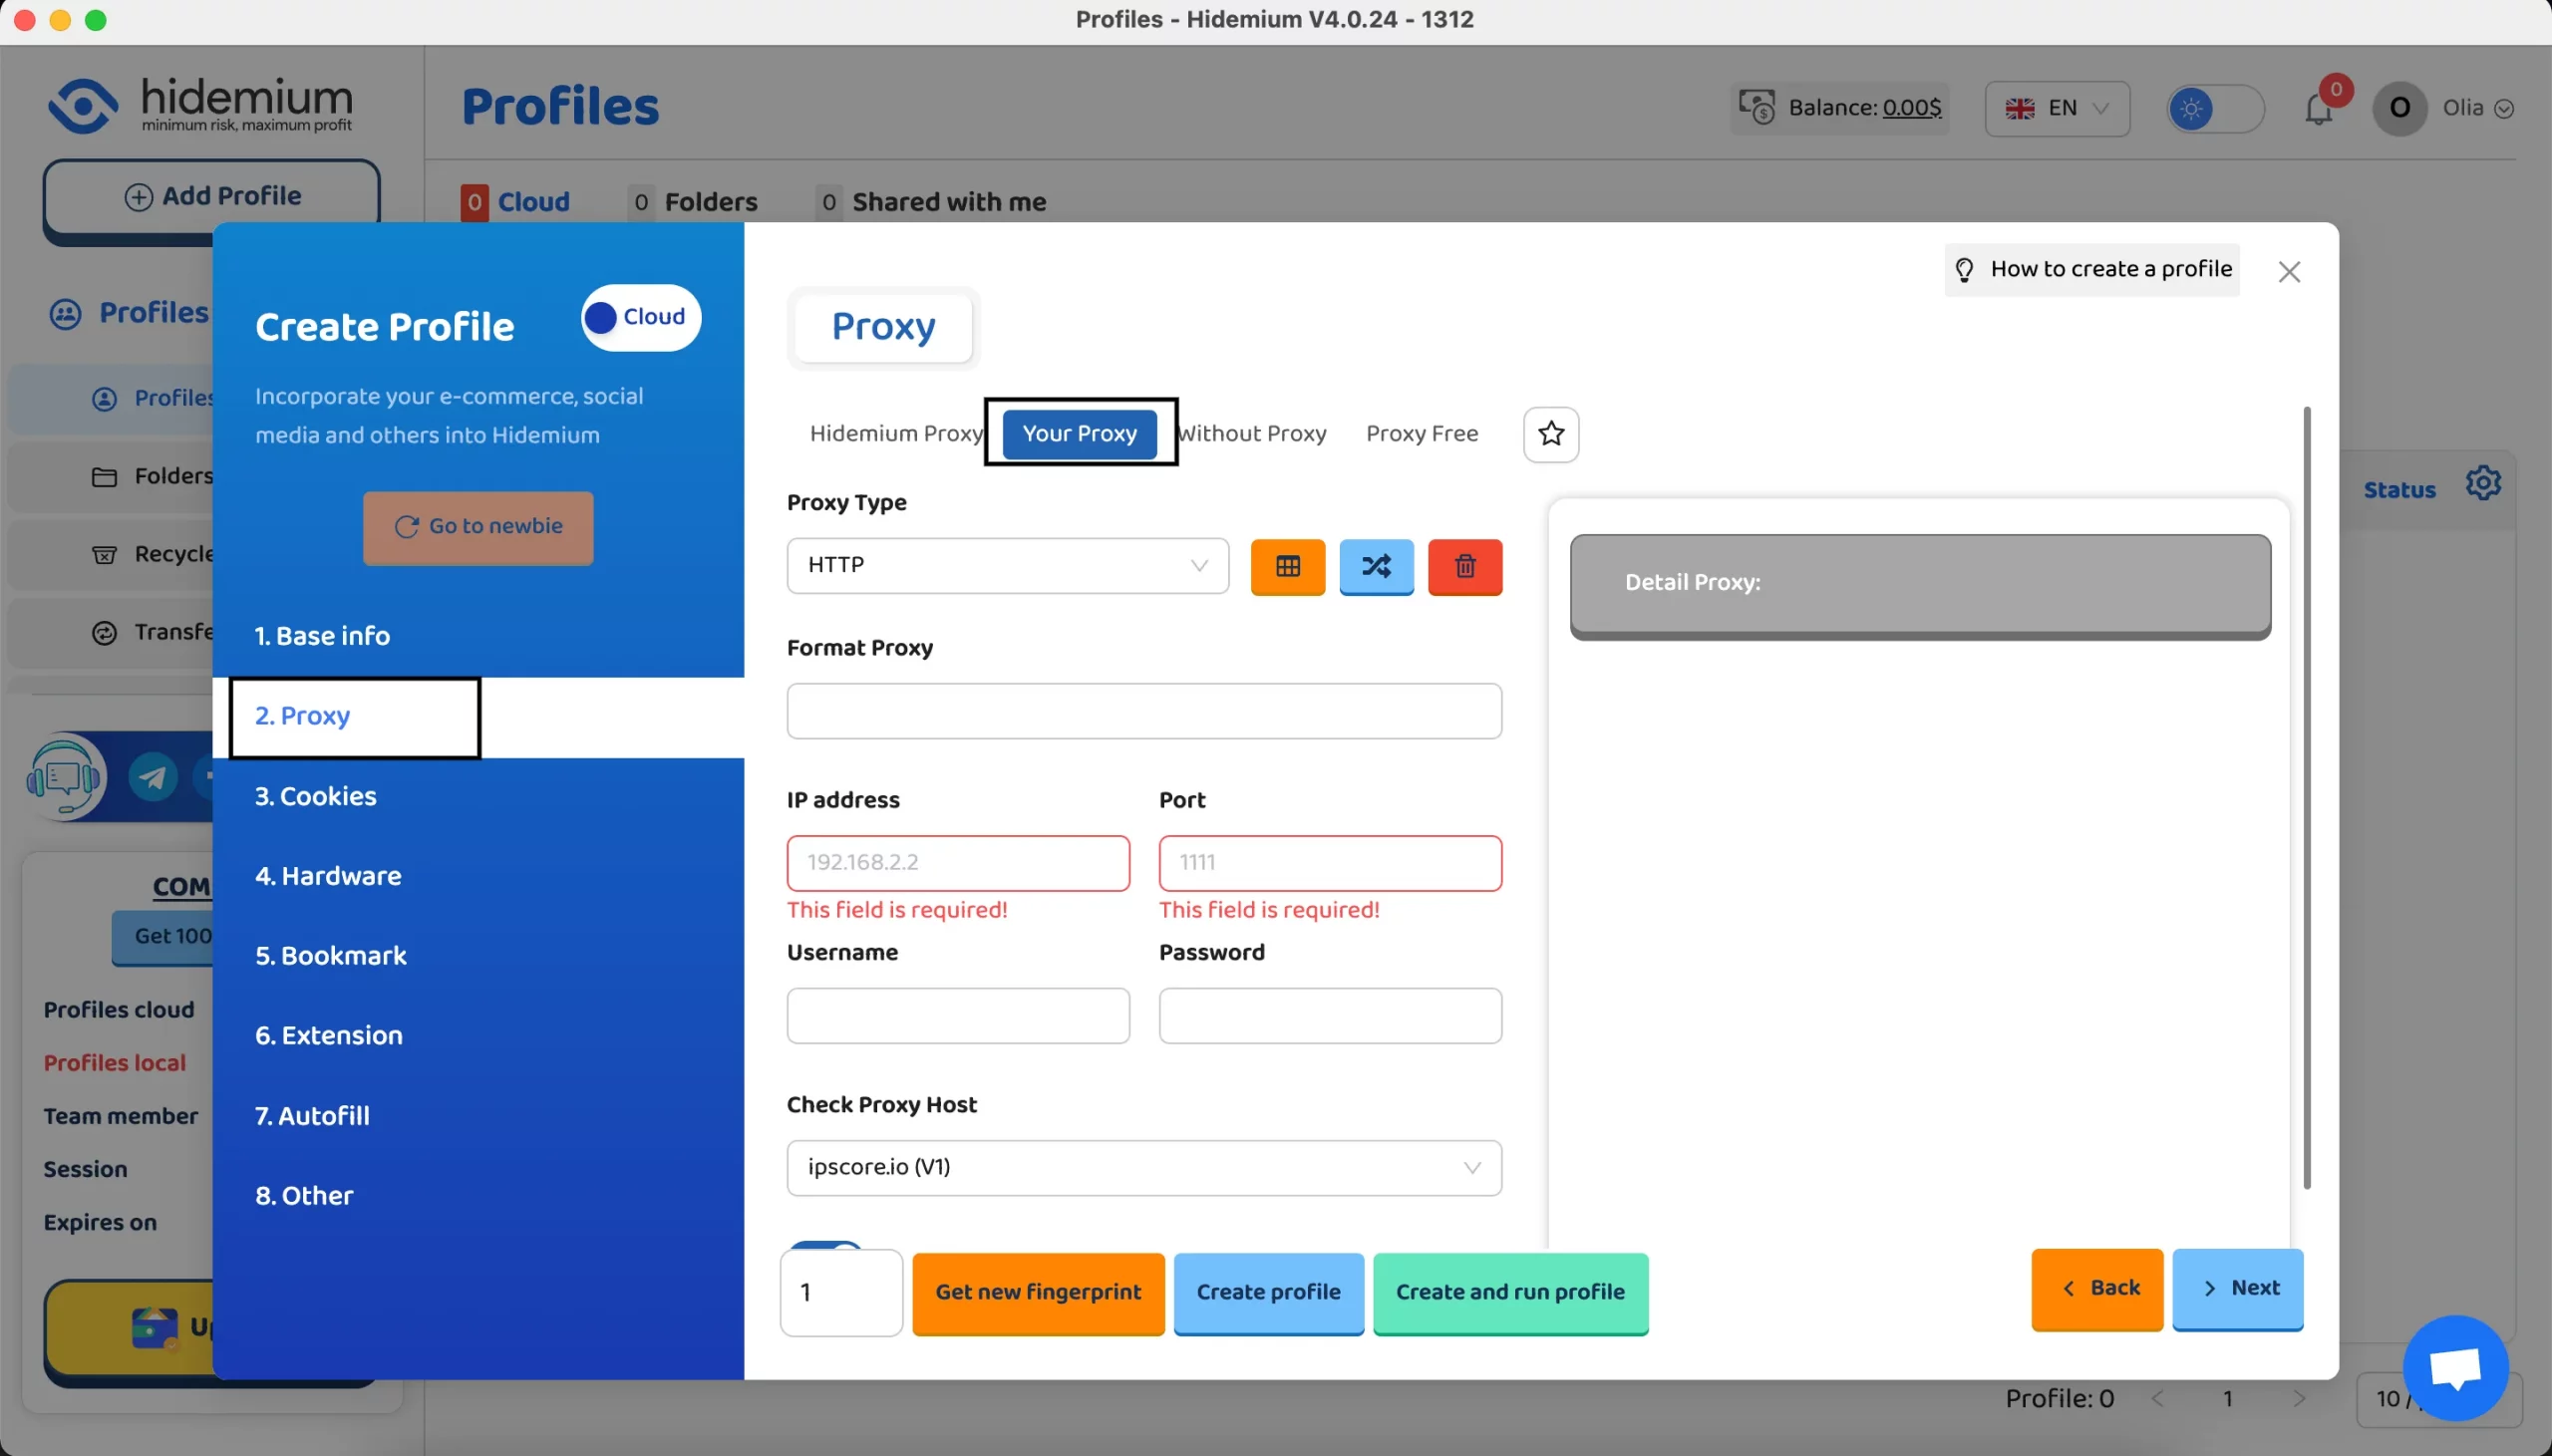
7. Finally, in the Proxy section, select the Your Proxy option to set up DataImpulse proxies. Choose the type and format of a proxy. Then, enter DataImpulse proxy details such as IP address (proxy host), Port, Username (proxy login) and Password. Find all these credentials on your DataImpulse dashboard within a specific proxy plan.
*If something isn’t working right on your DataImpulse dashboard, follow our guide for step-by-step instructions.
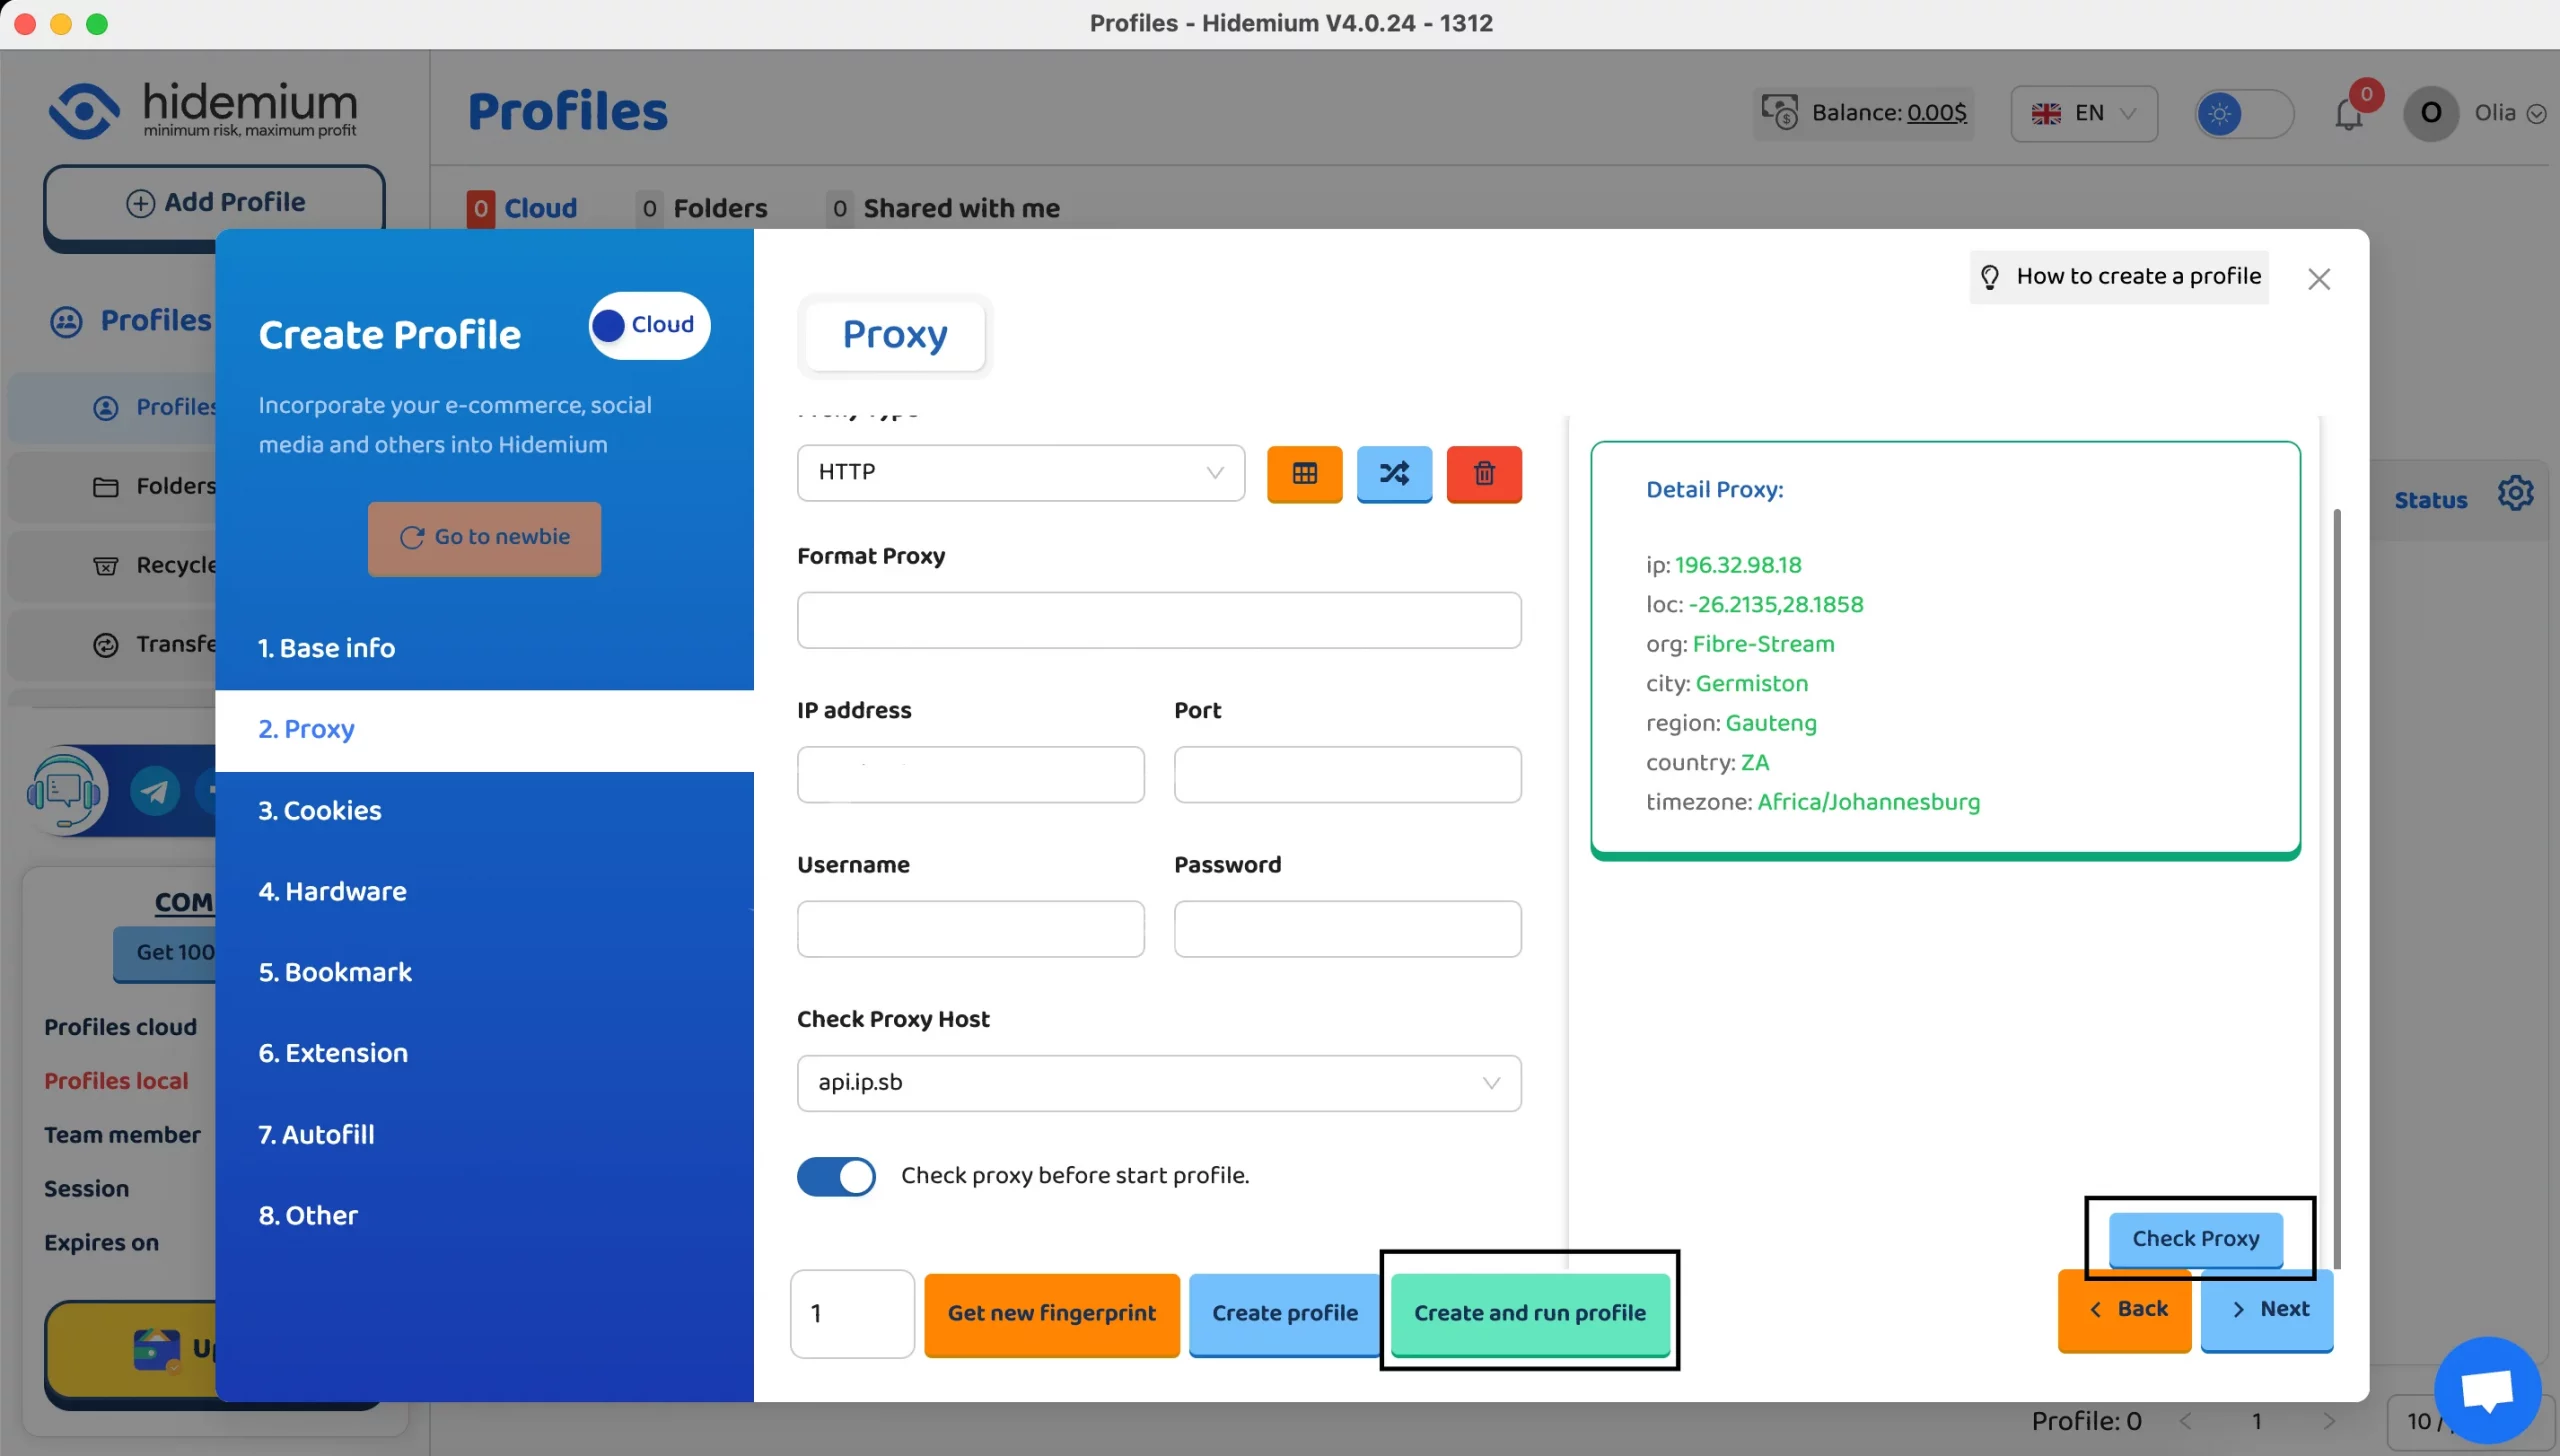
8. Next, verify the proxy before starting a profile. To do this, select your preferred proxy host from the dropdown list. After entering all the proxy details, click the ‘Check Proxy’ button. You will then see additional specific details.
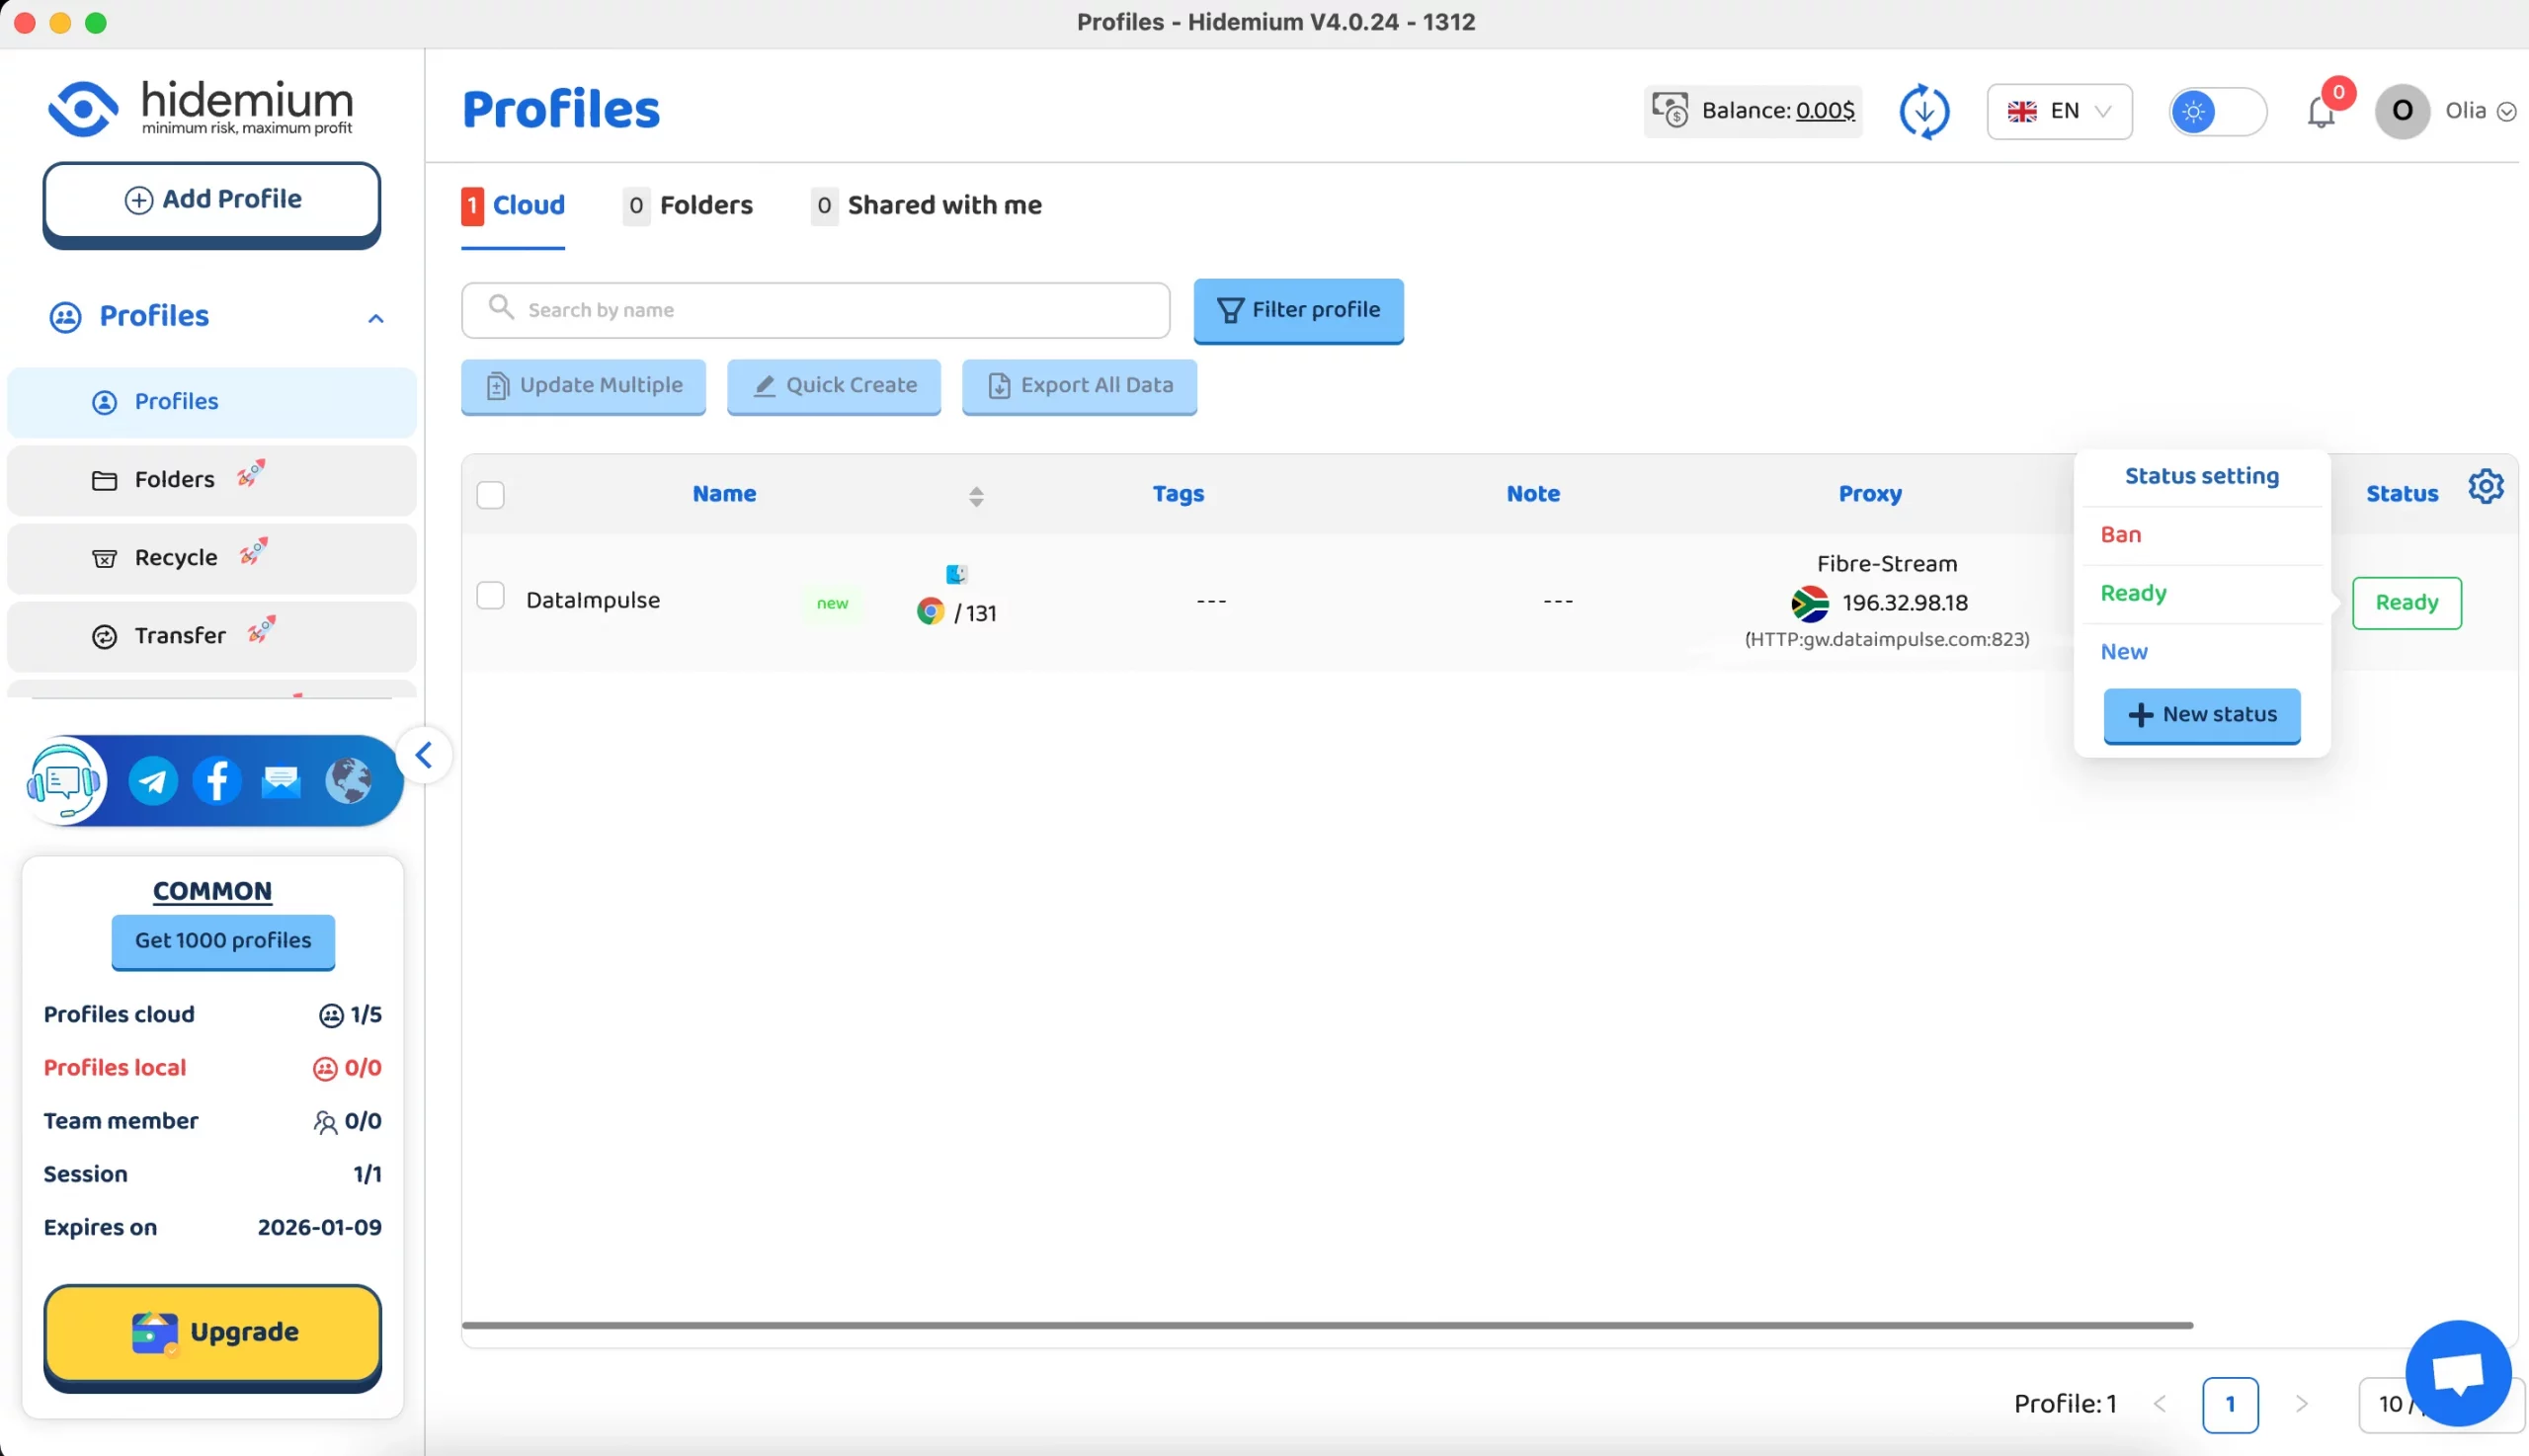
9. Click ‘Create and run profile’. After that, you’ll see your new profile. In the status settings, choose the Ready option.
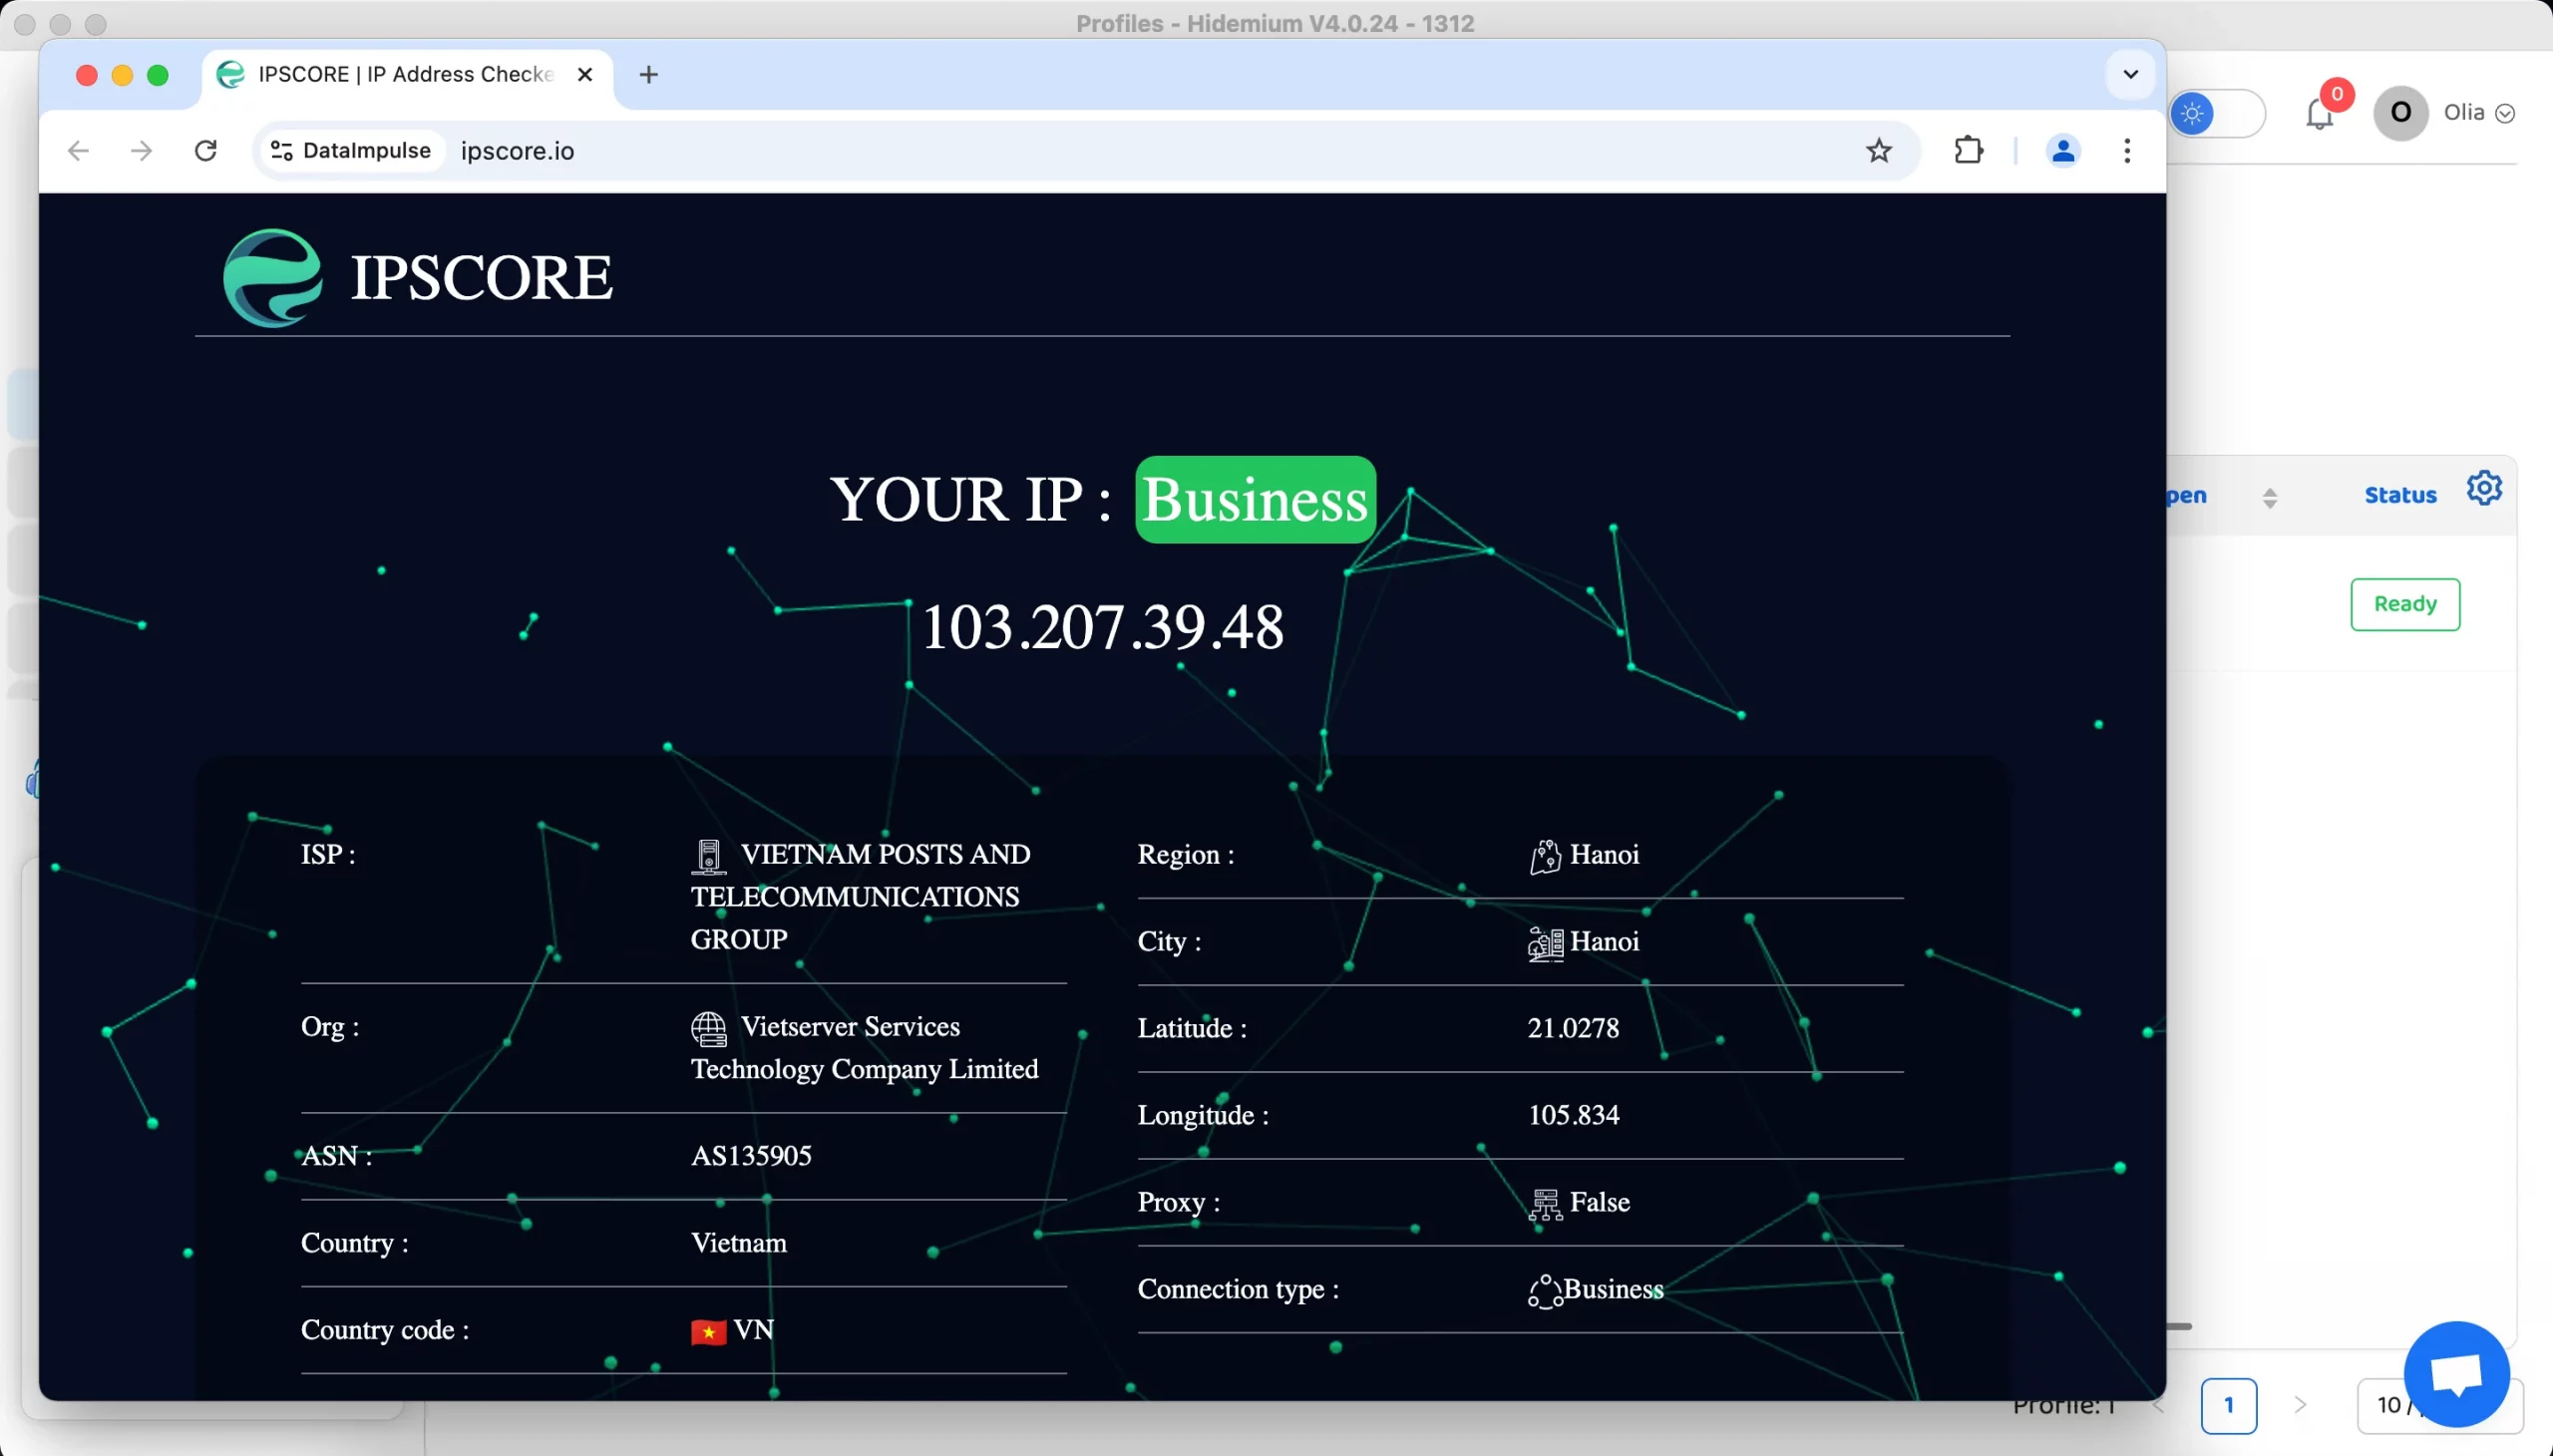
10. Finally, your proxy is successfully set up and tested.
Great job! You configured DataImpulse proxies in the Hidemium browser. Interested in upgrading to premium proxies for even better performance? Have a look.
Having trouble with your setup? Contact support for more information.

