Simple steps to integrate DataImpulse proxies with Antik Browser

What is Antik Browser?
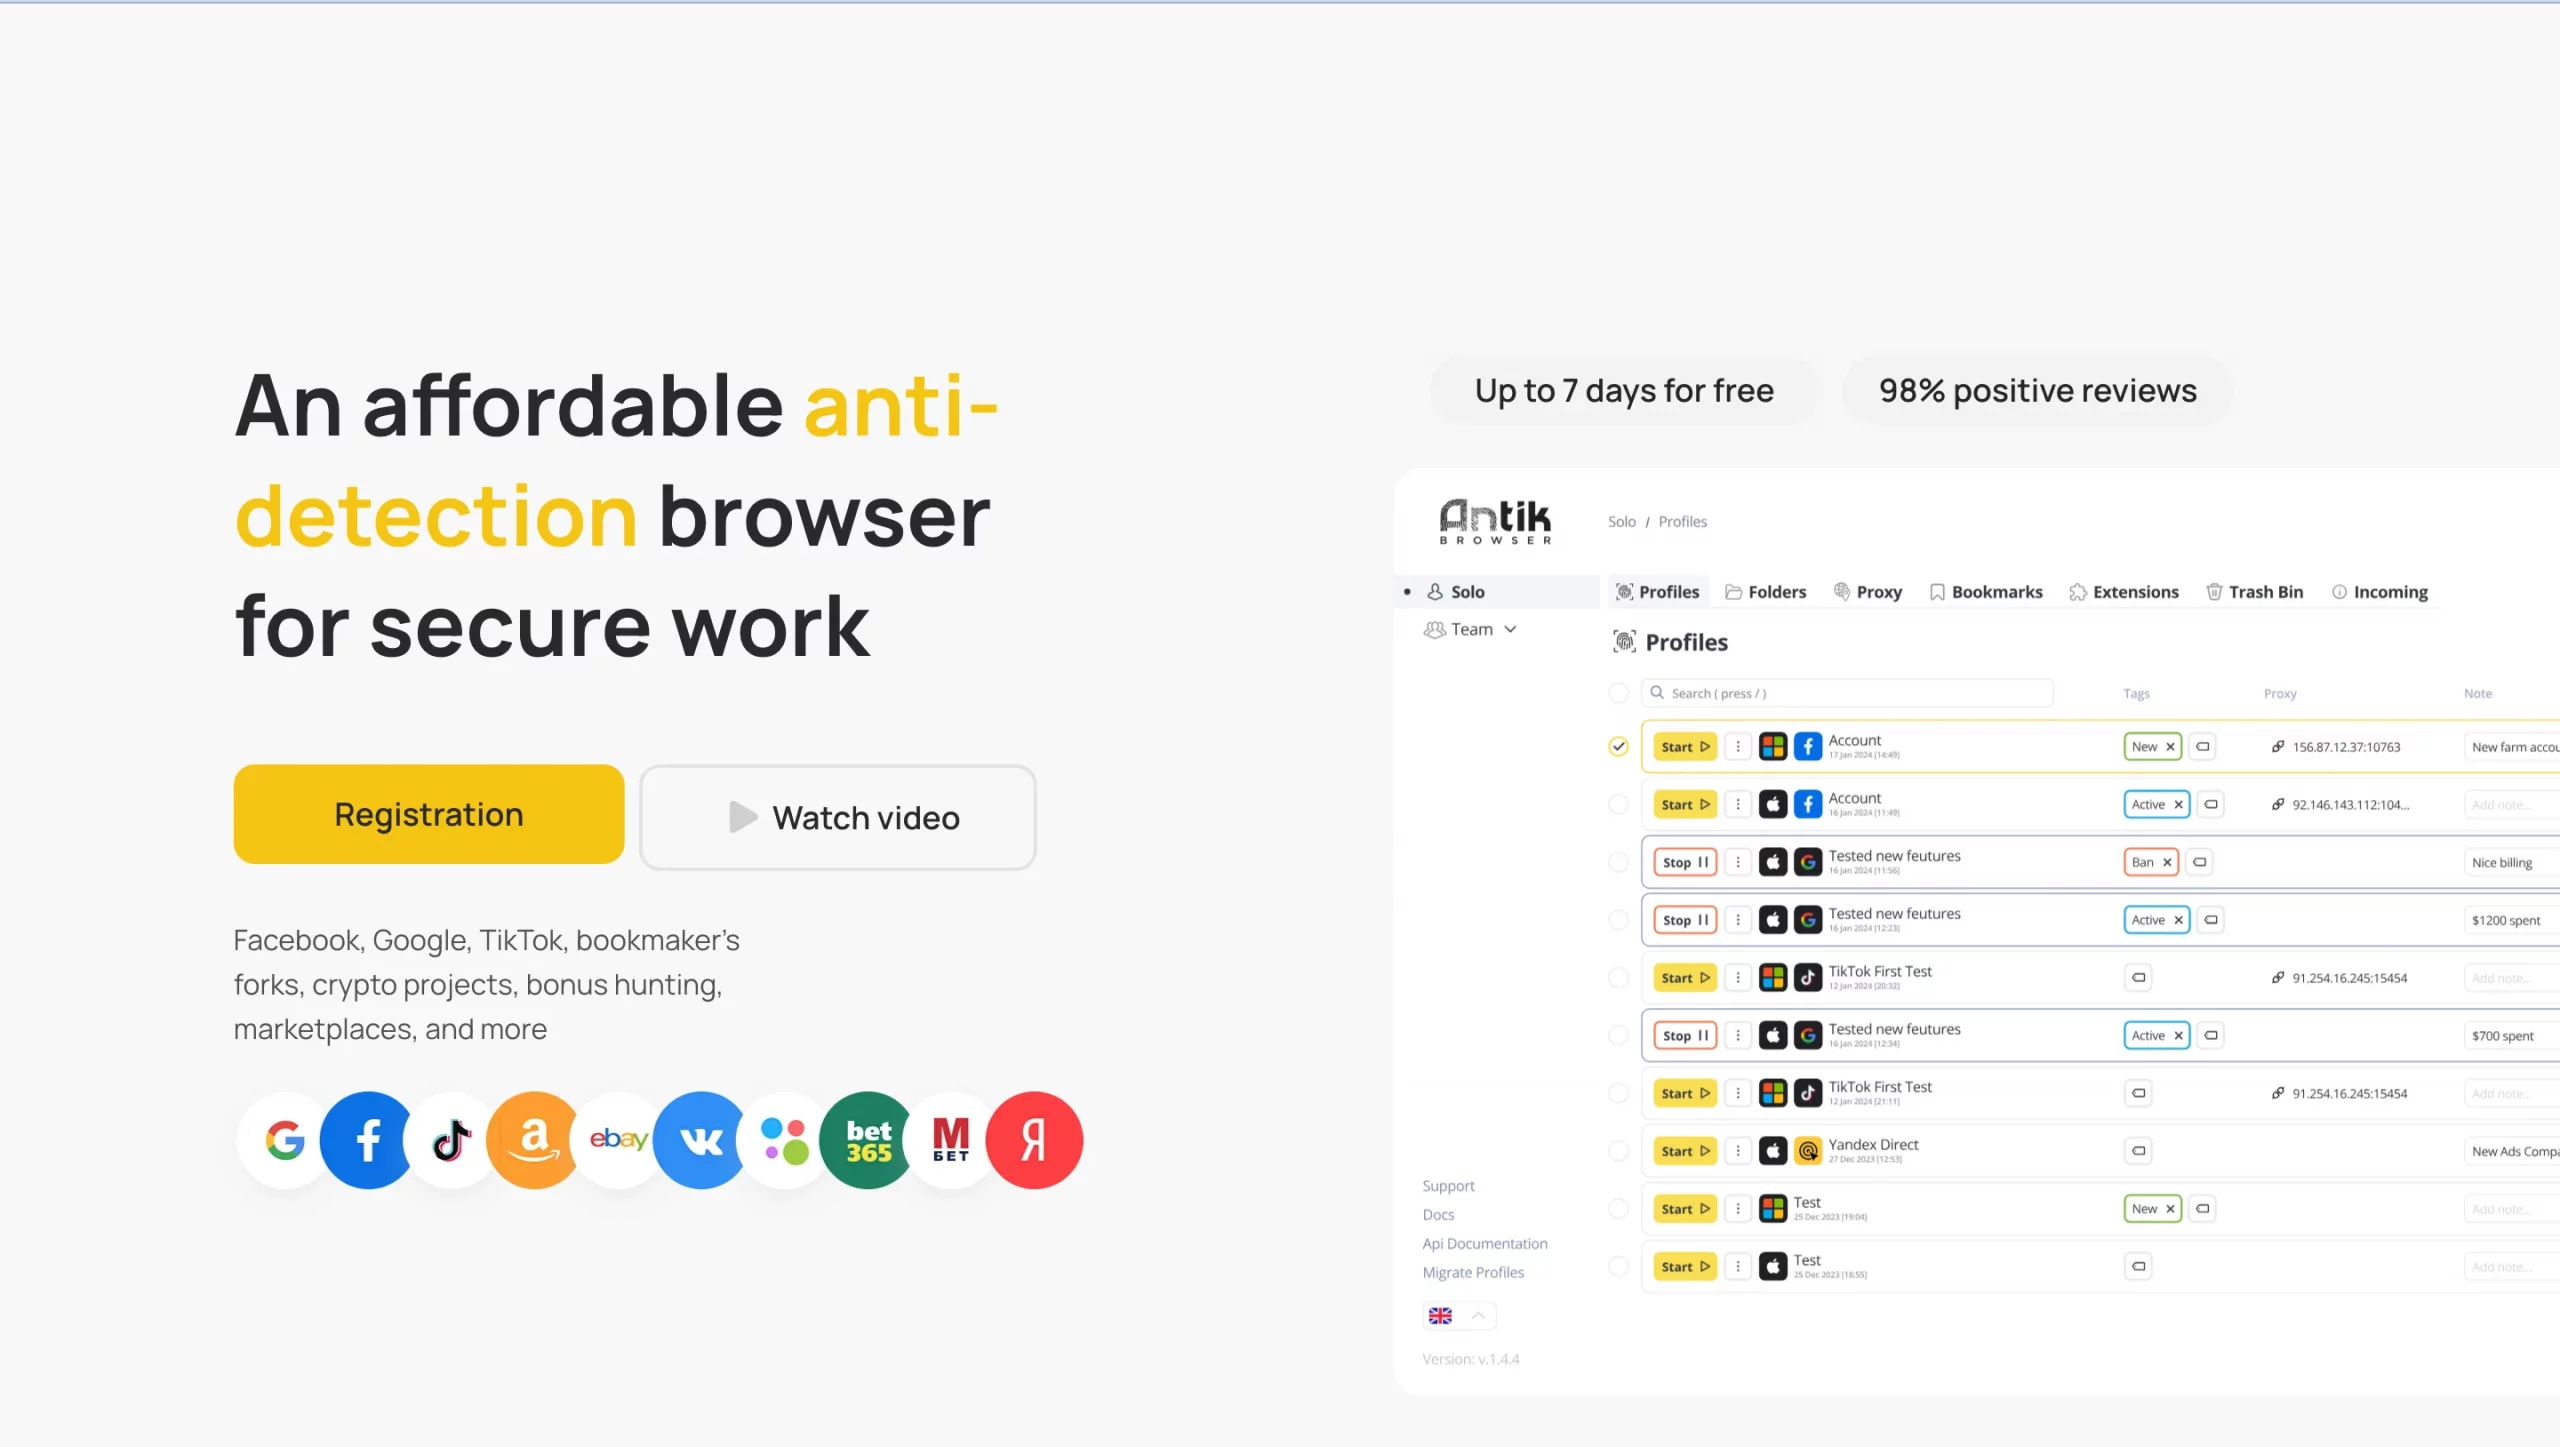
Antik Browser – is a new anti-detect browser that helps you create a perfect environment for organizing, protecting your workspace while fully protecting your accounts. This browser works with all popular platforms like Google, Crypto, TikTok and FB. It’s compatible with Windows (10+), MacOS (both Intel and M-series). Antik offers flexible plans, including solo, team (with unlimited participants), and custom options. The browser provides advanced features like profile sharing, note-taking, tag assignment, and even a trash bin for deleted items. With 98% positive customer reviews, Antik Browser is proven to be reliable and highly recommended.
Benefits of using Antik browser:
- Support for all types of proxies;
- Convenient and functional interface;
- Team mode;
- 100% anonymity;
- Custom fingerprints for different platforms;
- Workspace Management: folders, tags, notes;
- Minimum bans;
- Referral Program;
- 7-days free trial and much more.
Quick Proxy Setup Instructions
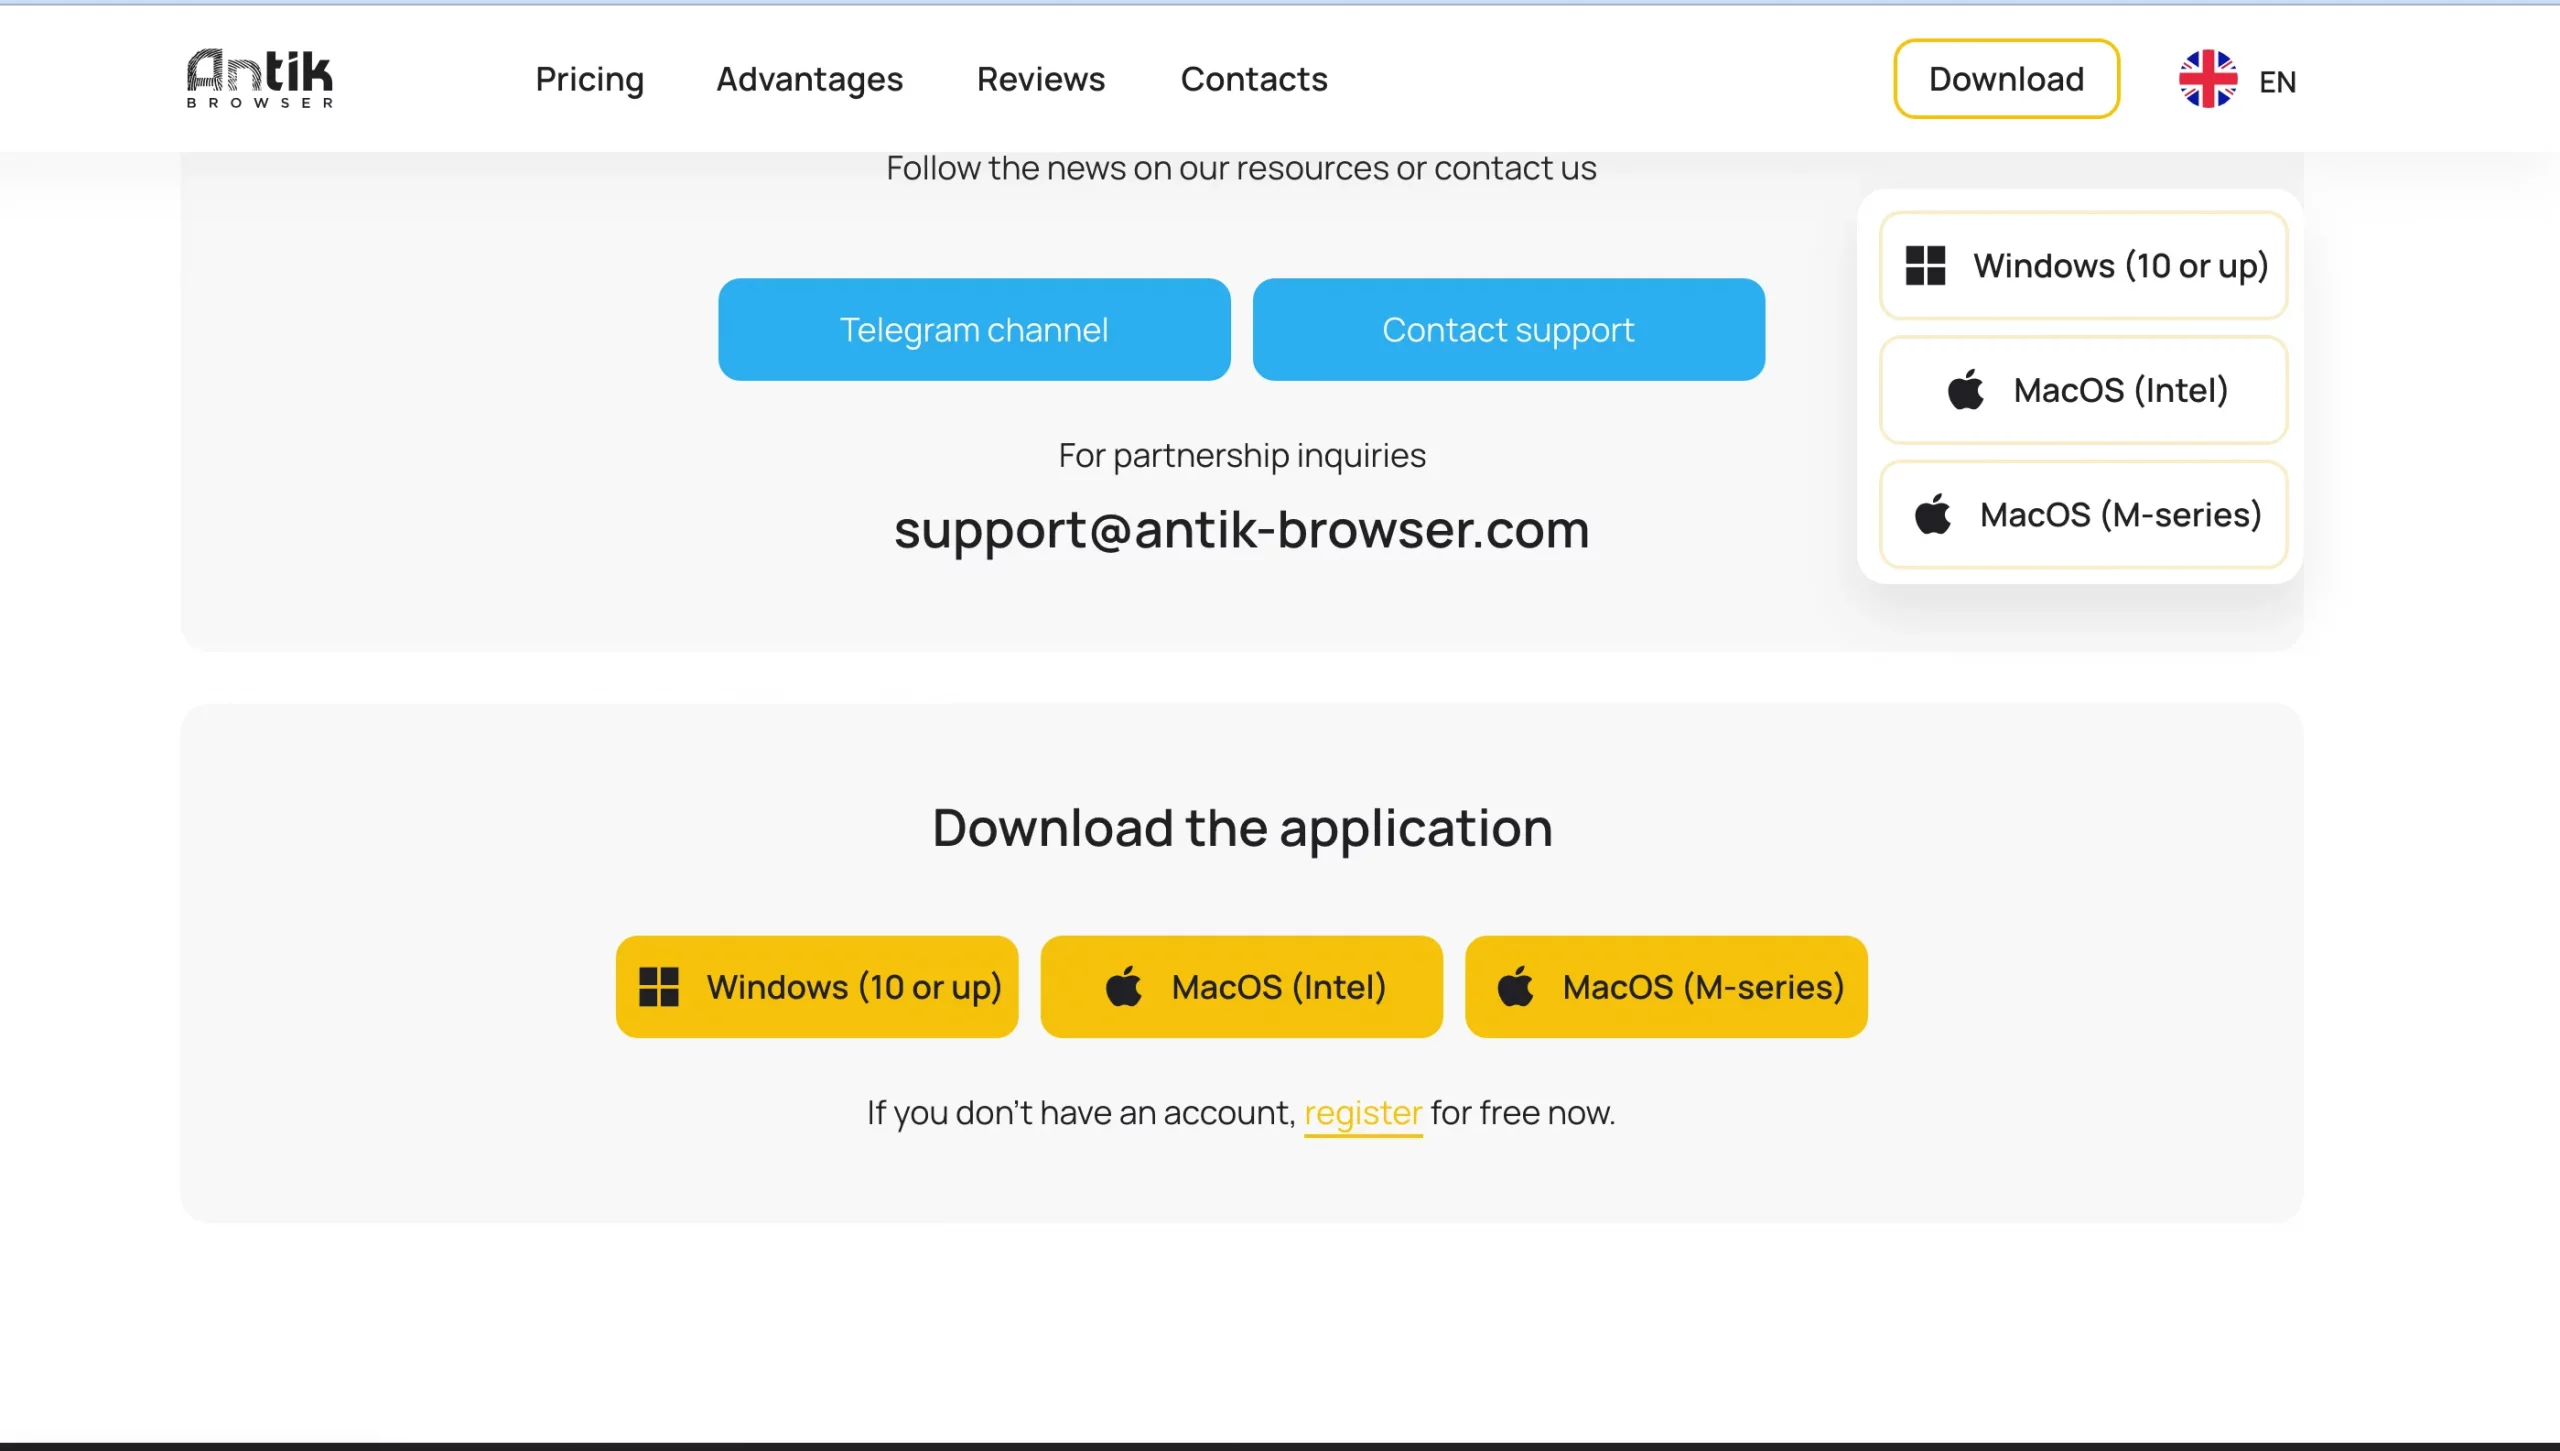
1. Visit https://antik-browser.com/ official site and download the Antik Browser. Select your operating system. In this tutorial, we’re using MacOS M-series. Simply click the relevant download button, and the process will start instantly.
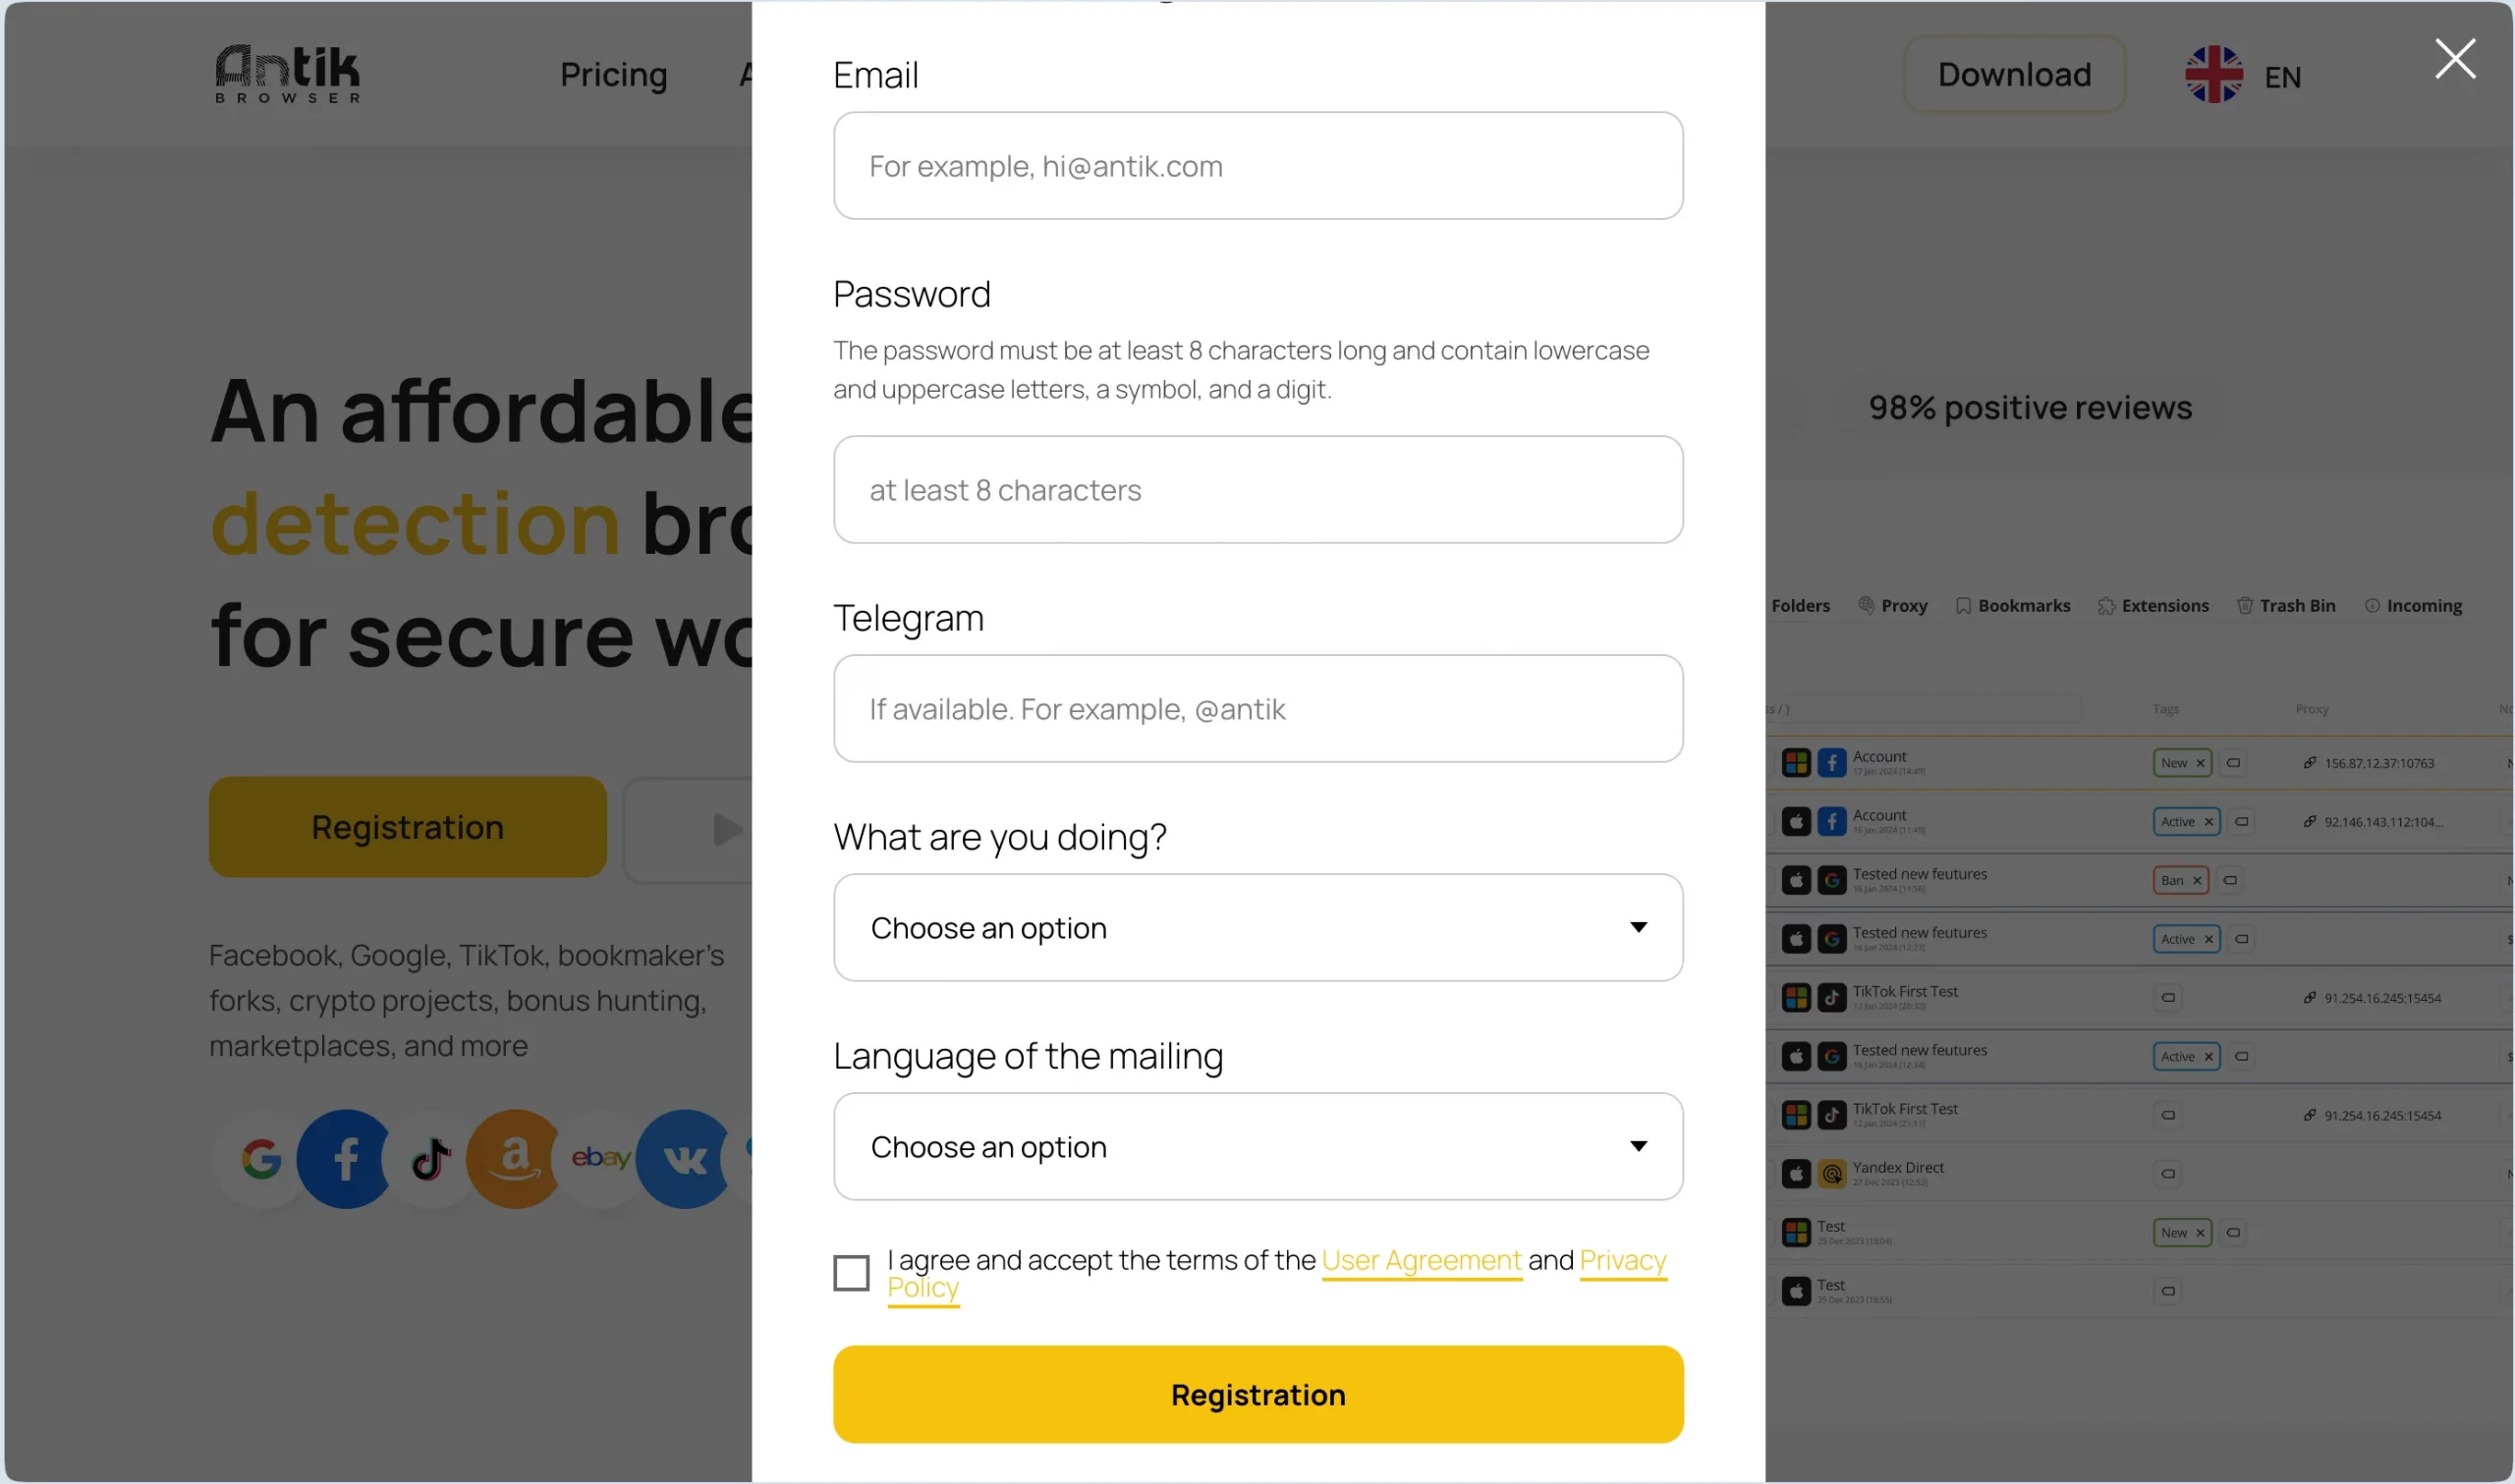
2. Fill in all the necessary info, such as your Email and Telegram. Create a password. Choose the desired platform from the dropdown menu and the language. Don’t forget to accept the terms.
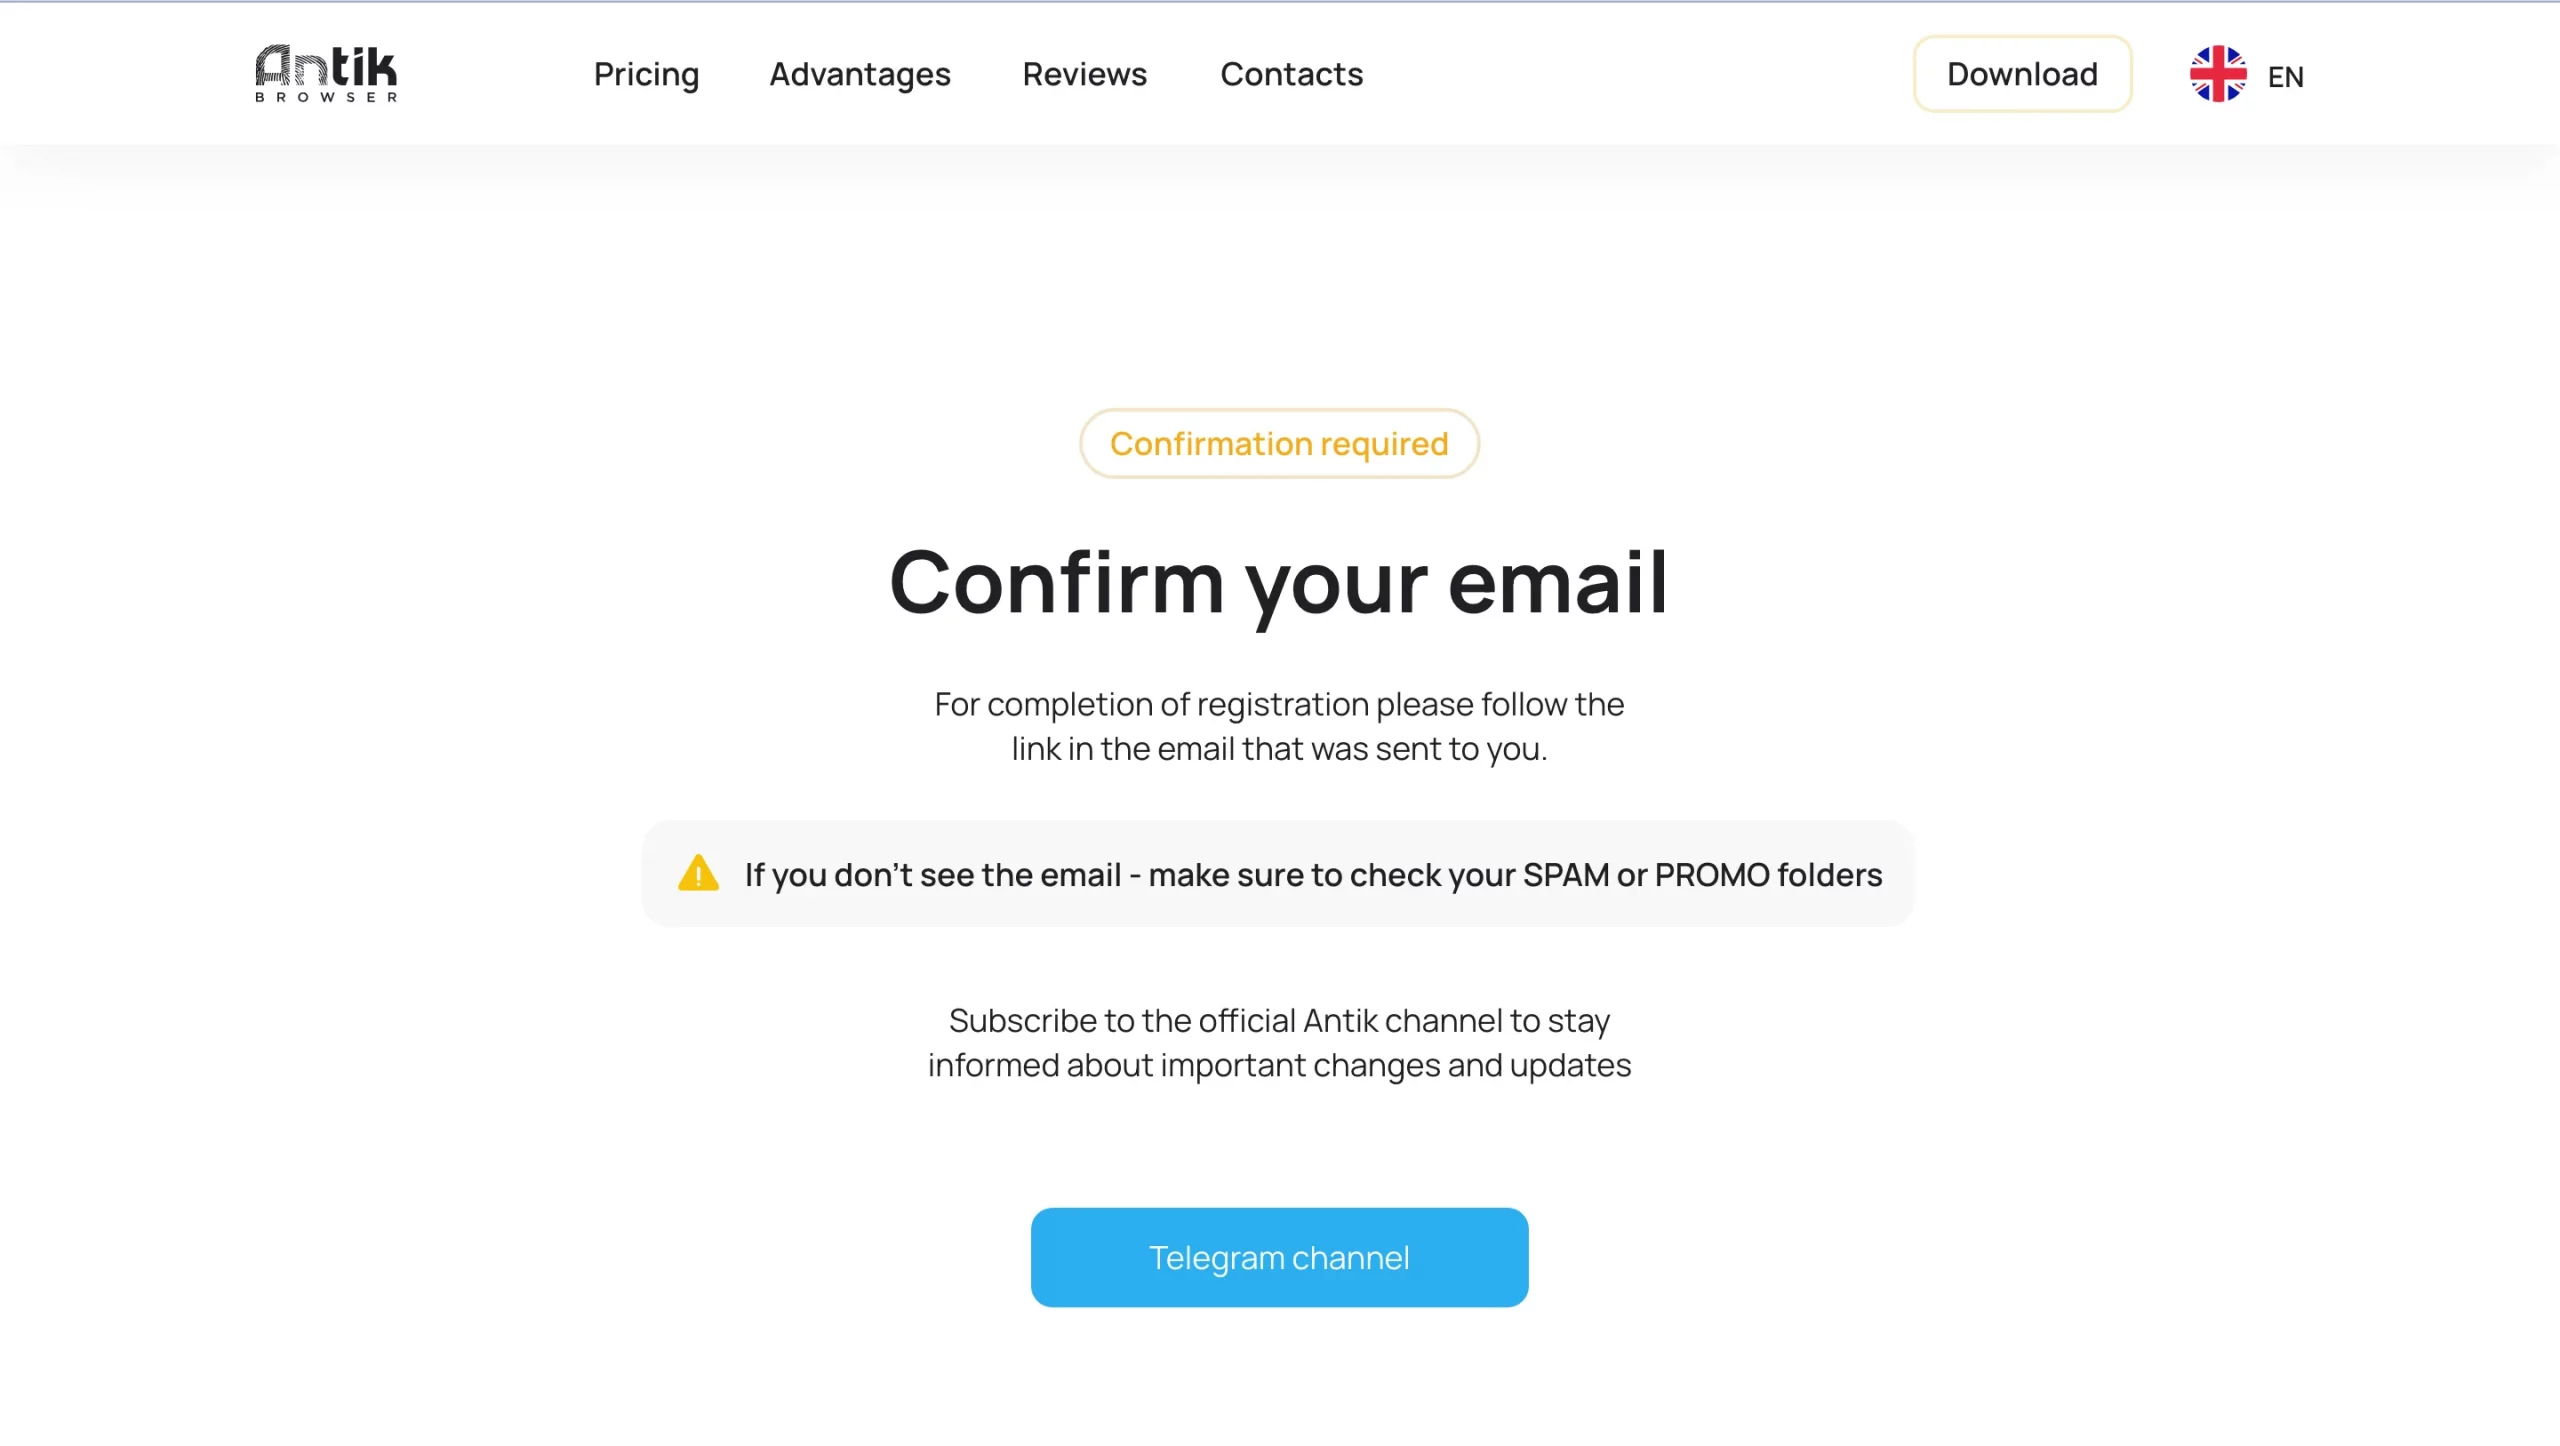
3. Finish the registration process by confirming your email. Check your inbox.
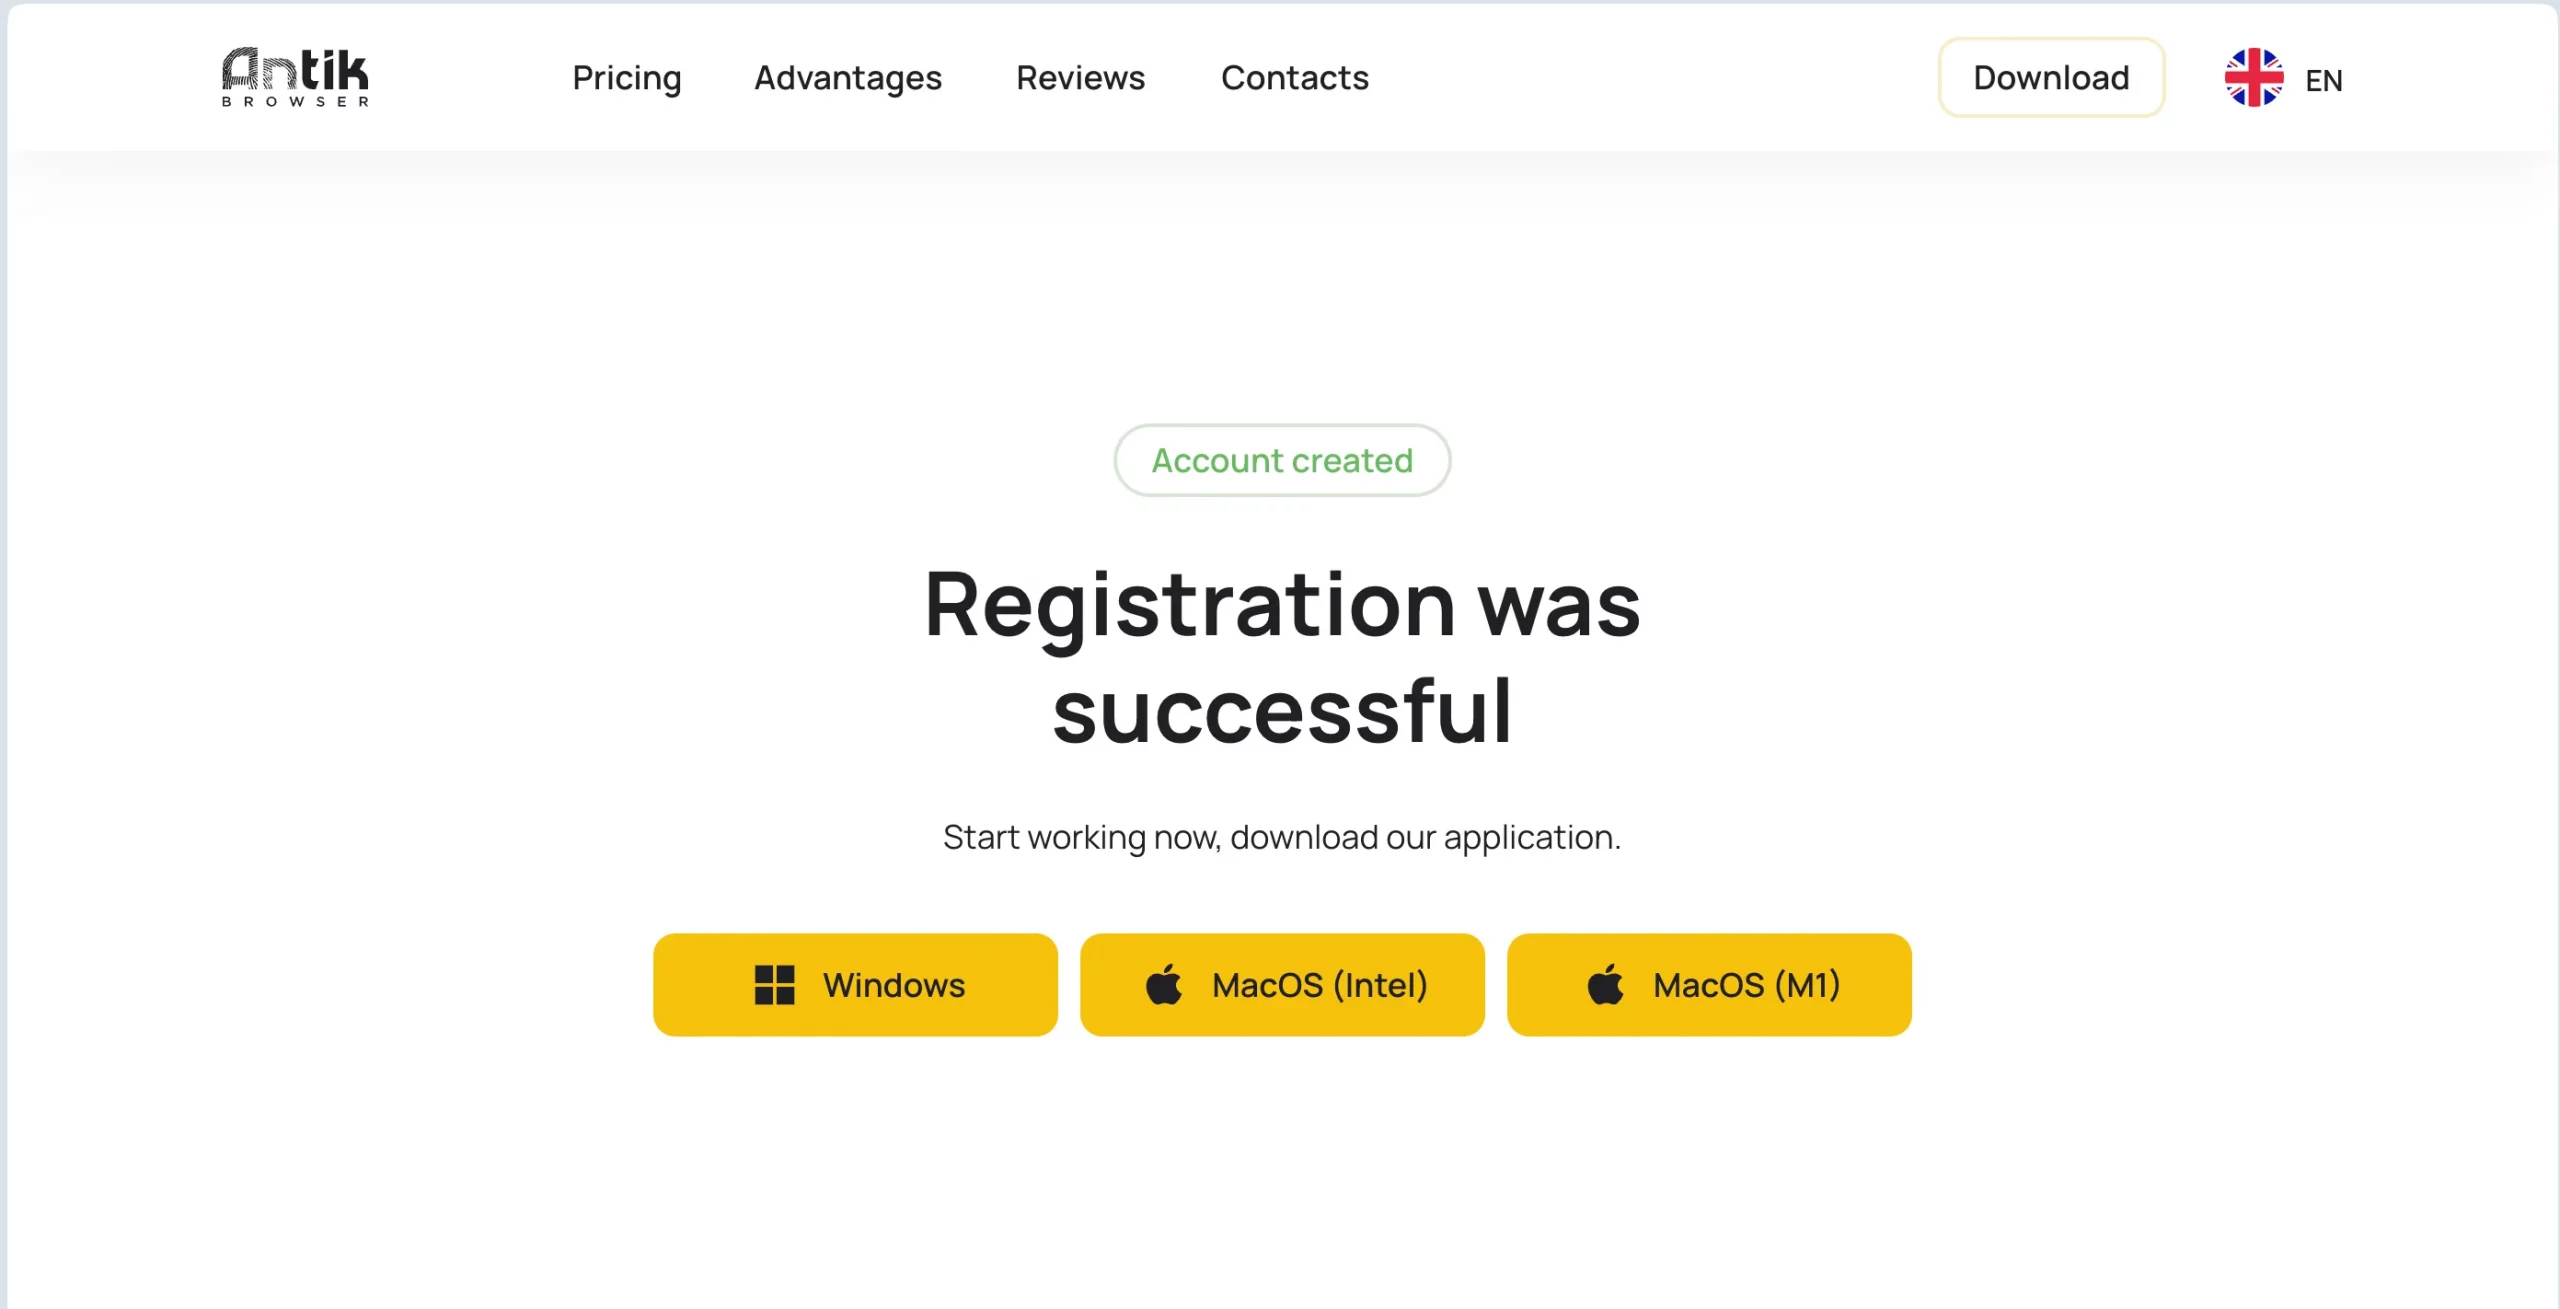
4. If the registration is successful, you’ll see a message saying “Account created.”
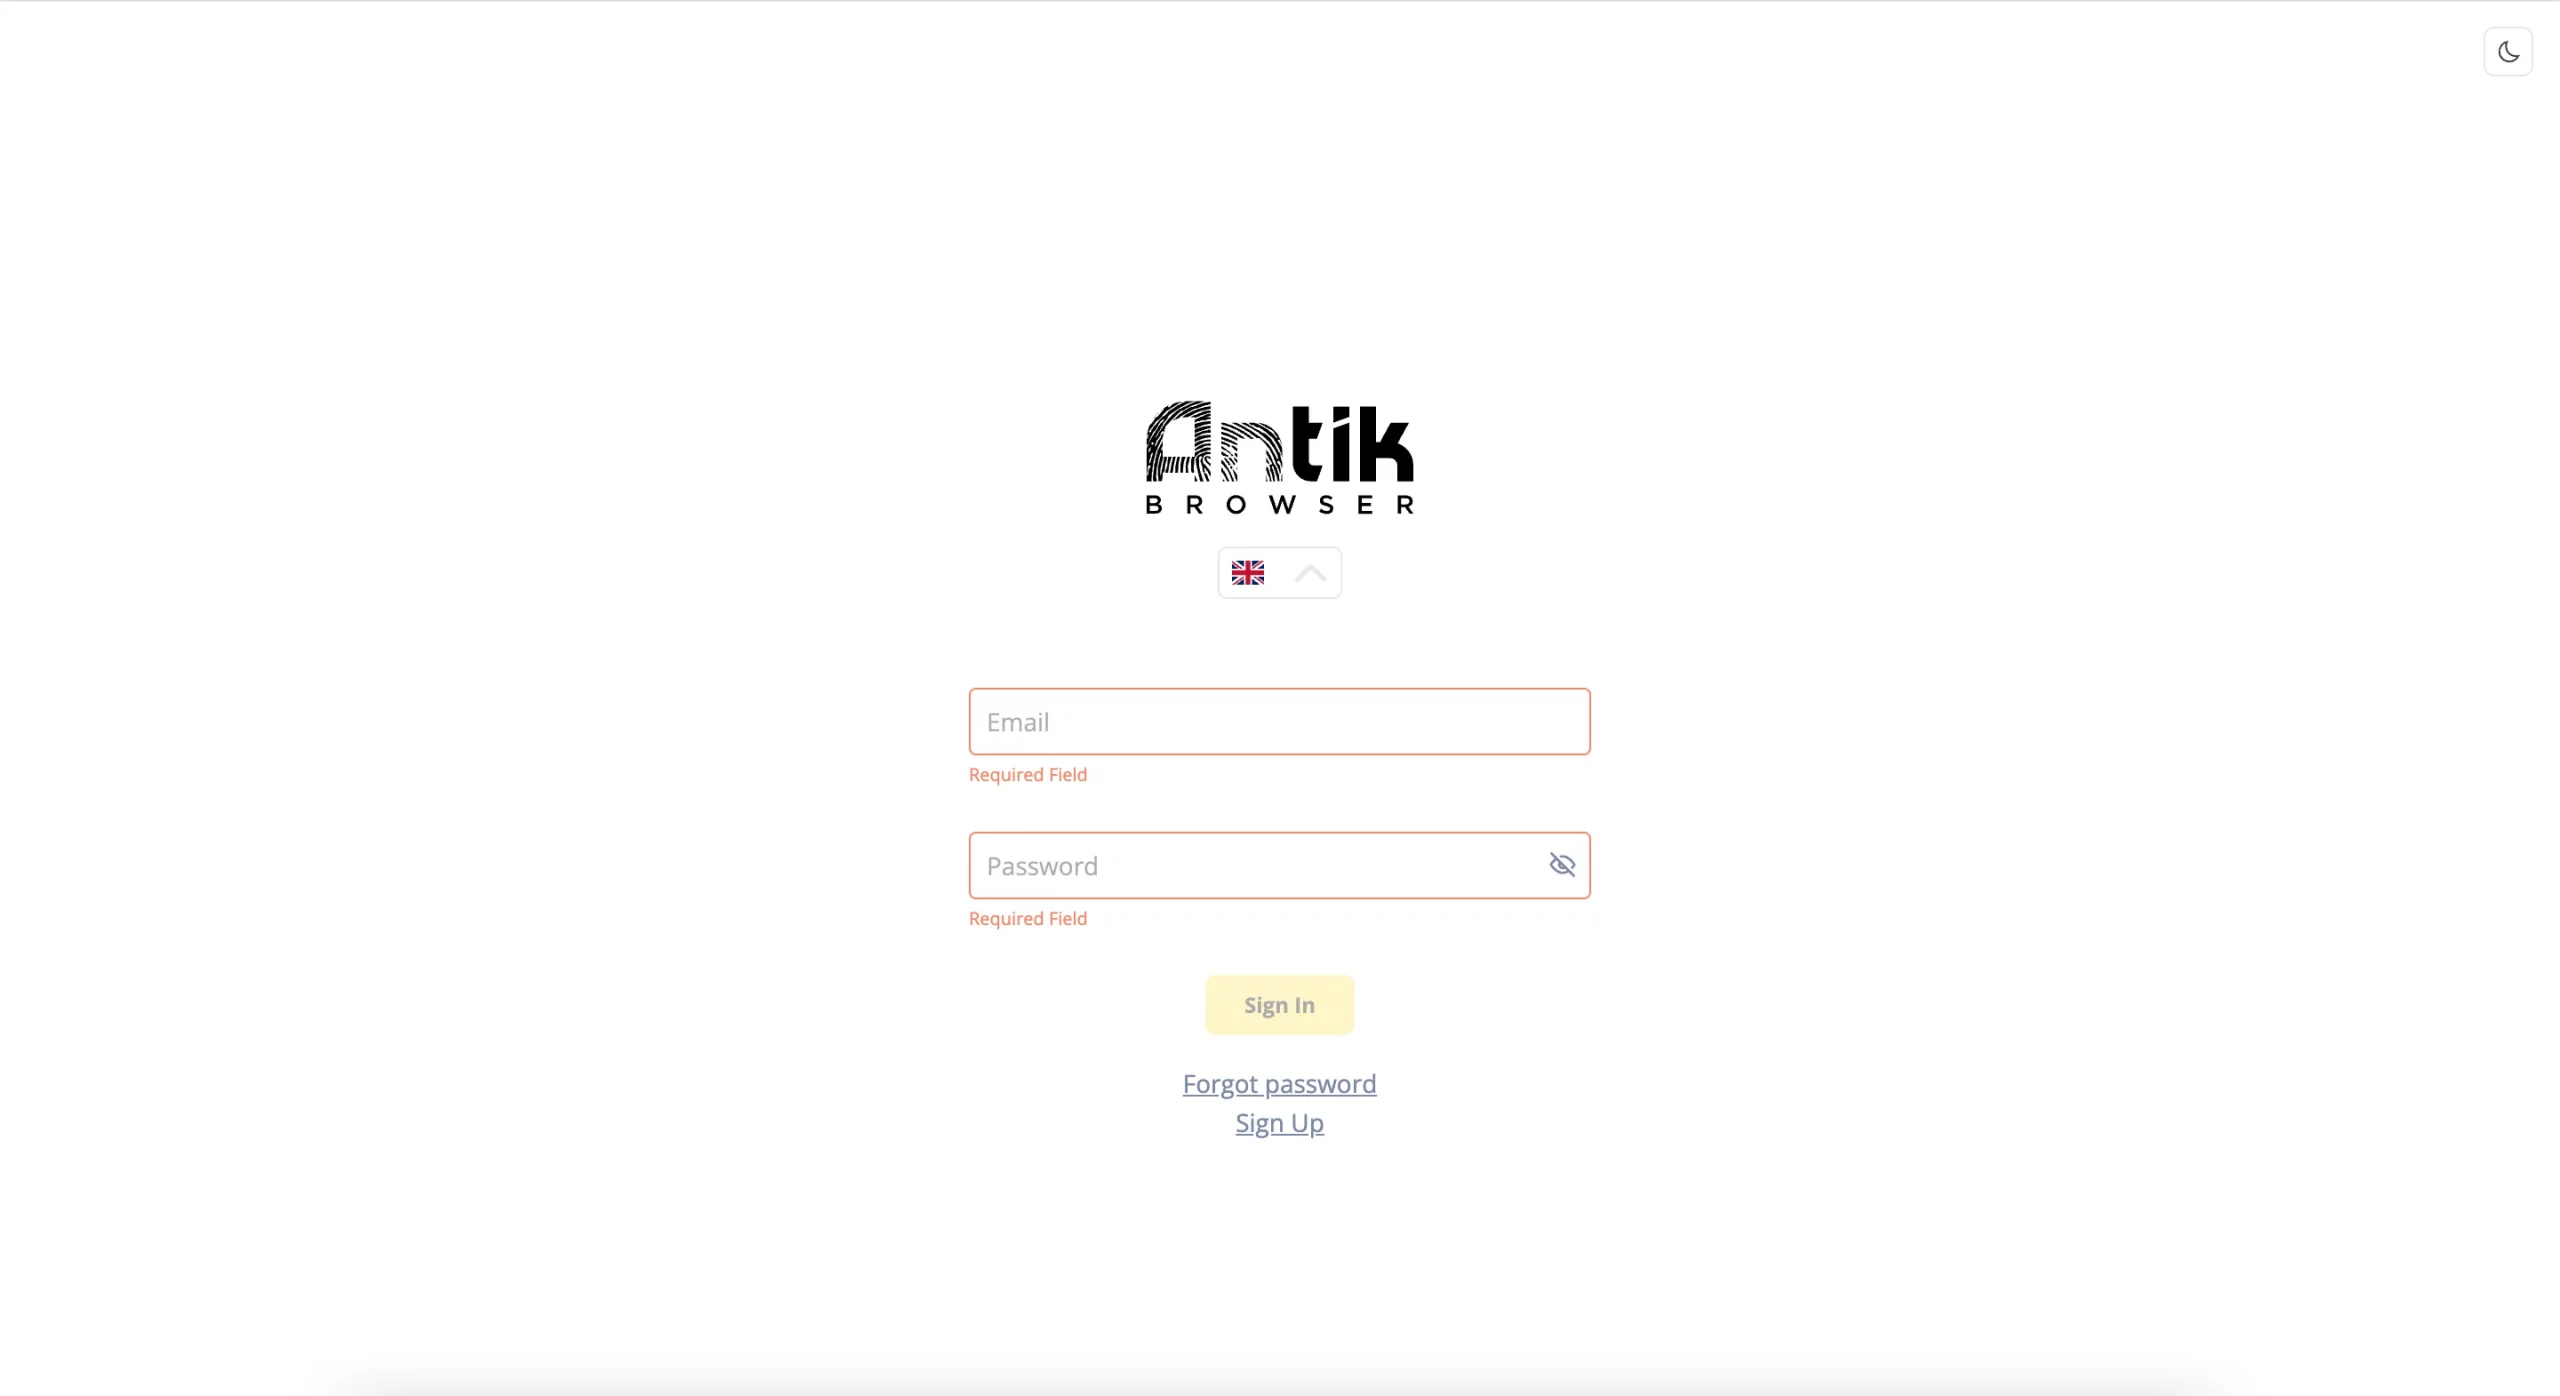
5. Next, go back to the Antik browser app and sign in with your Email and Password.
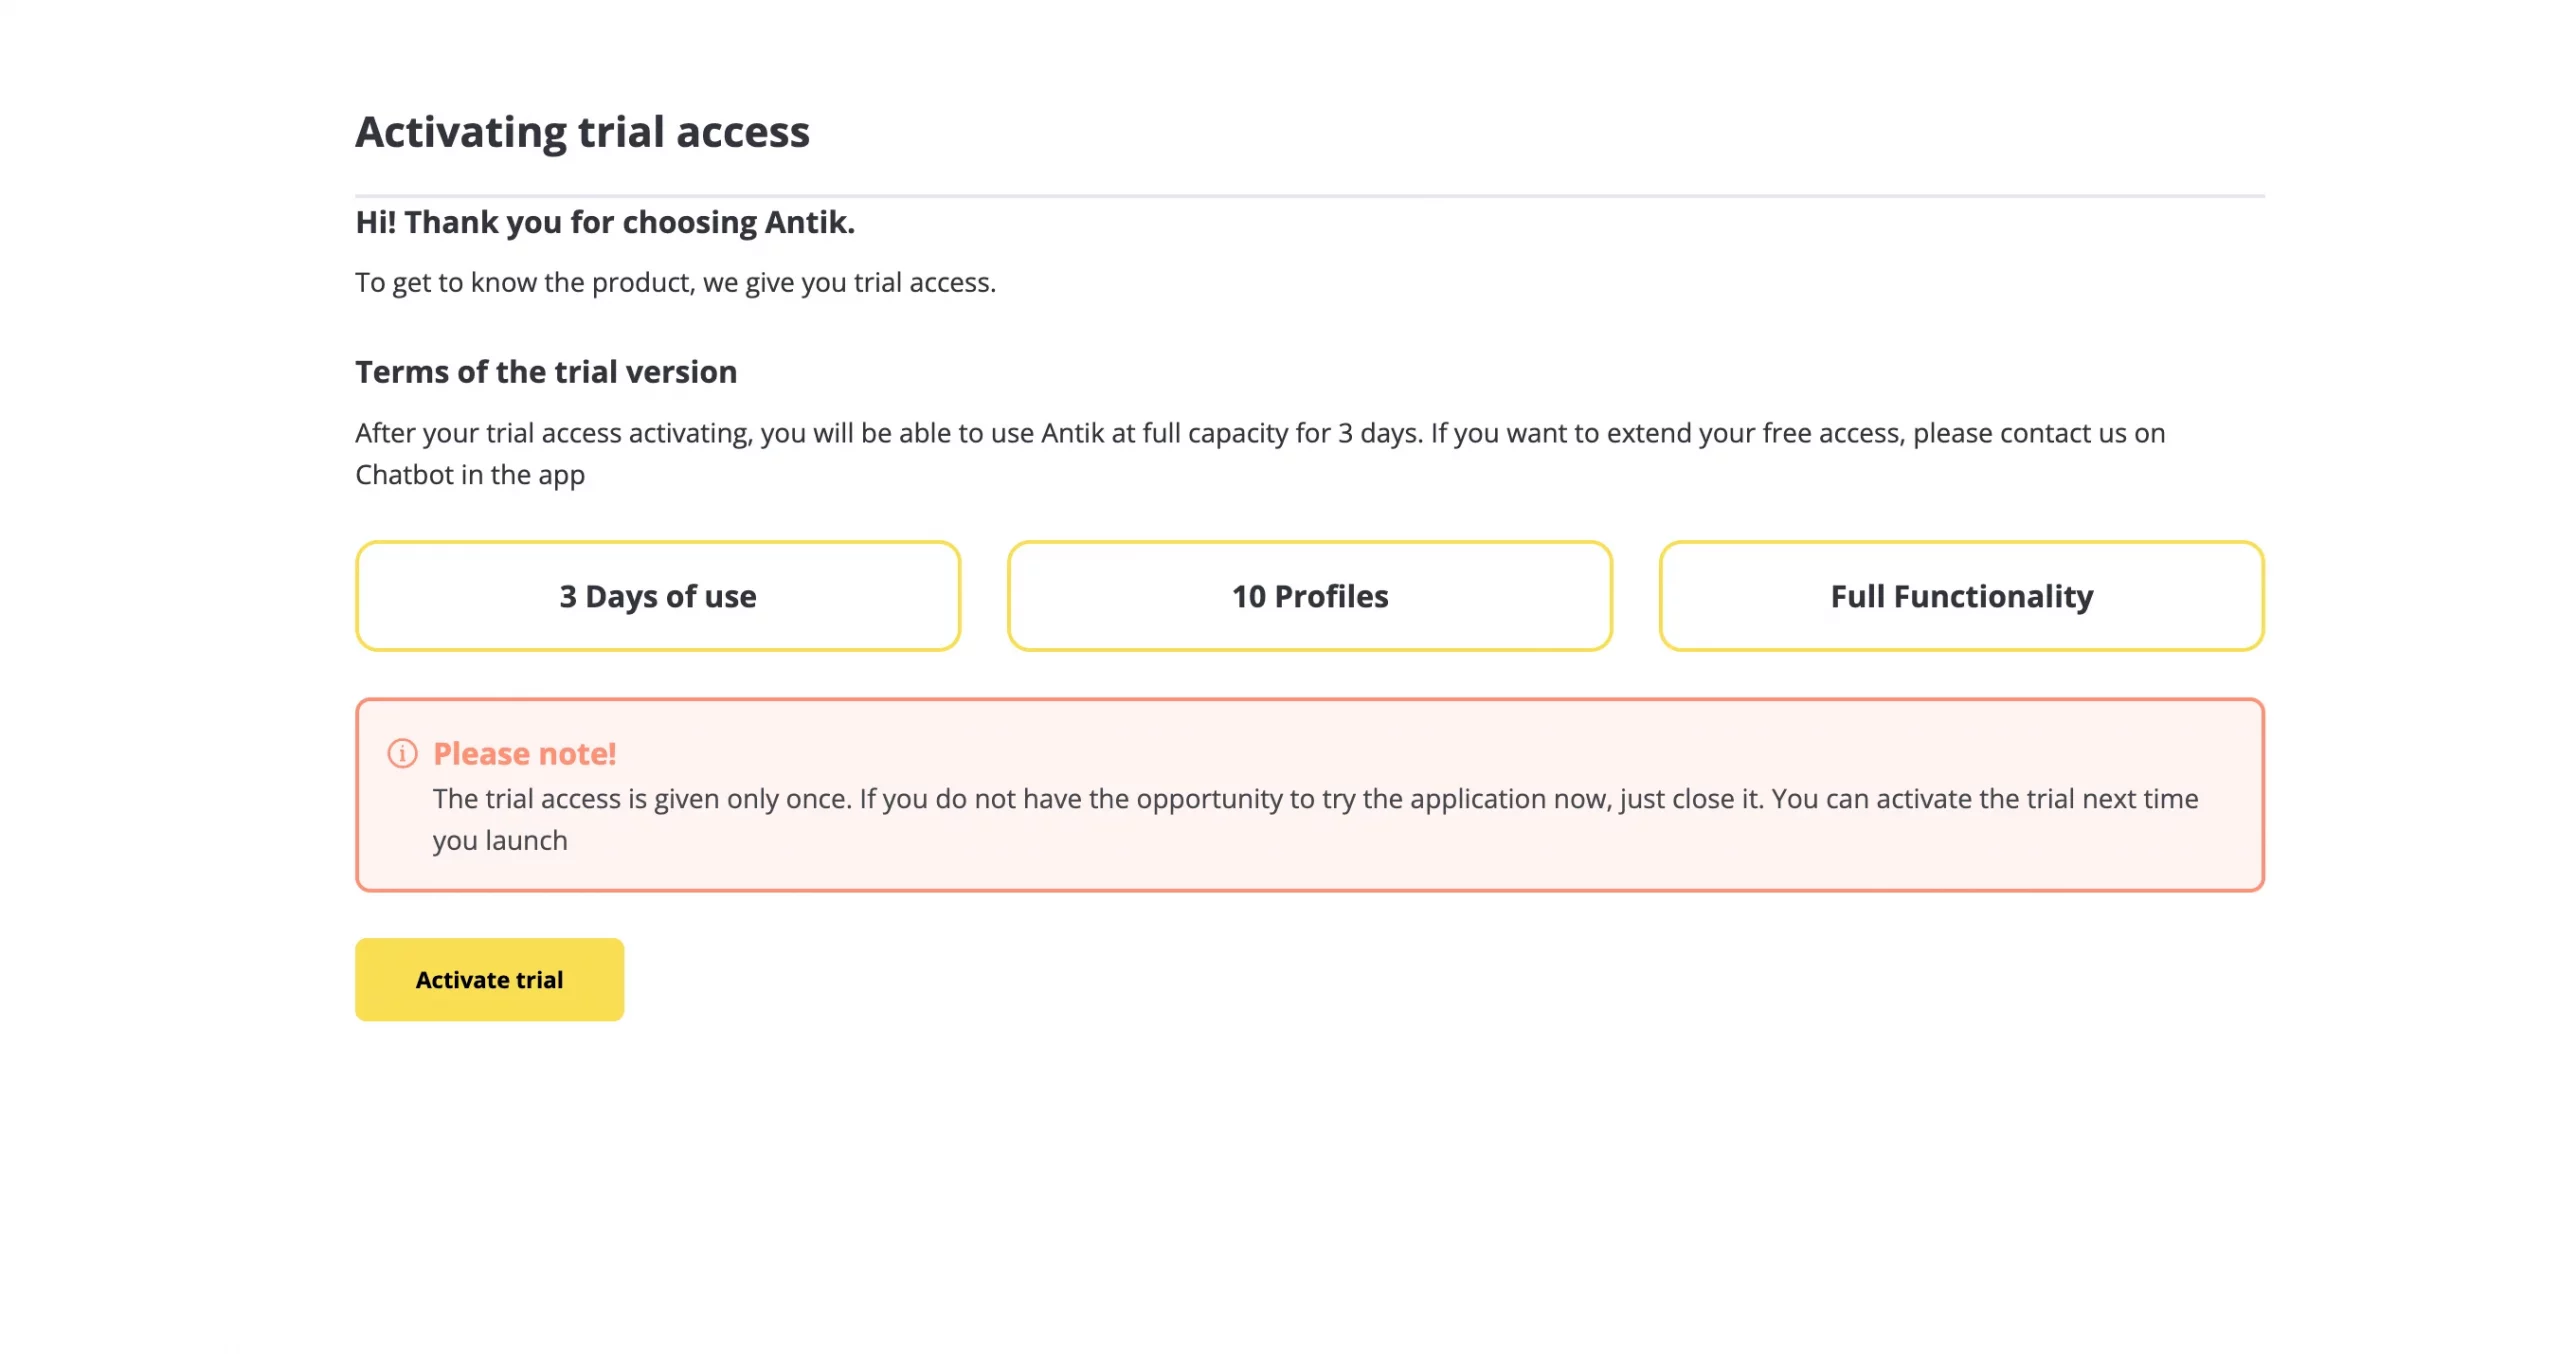
6. Activate your free trial.
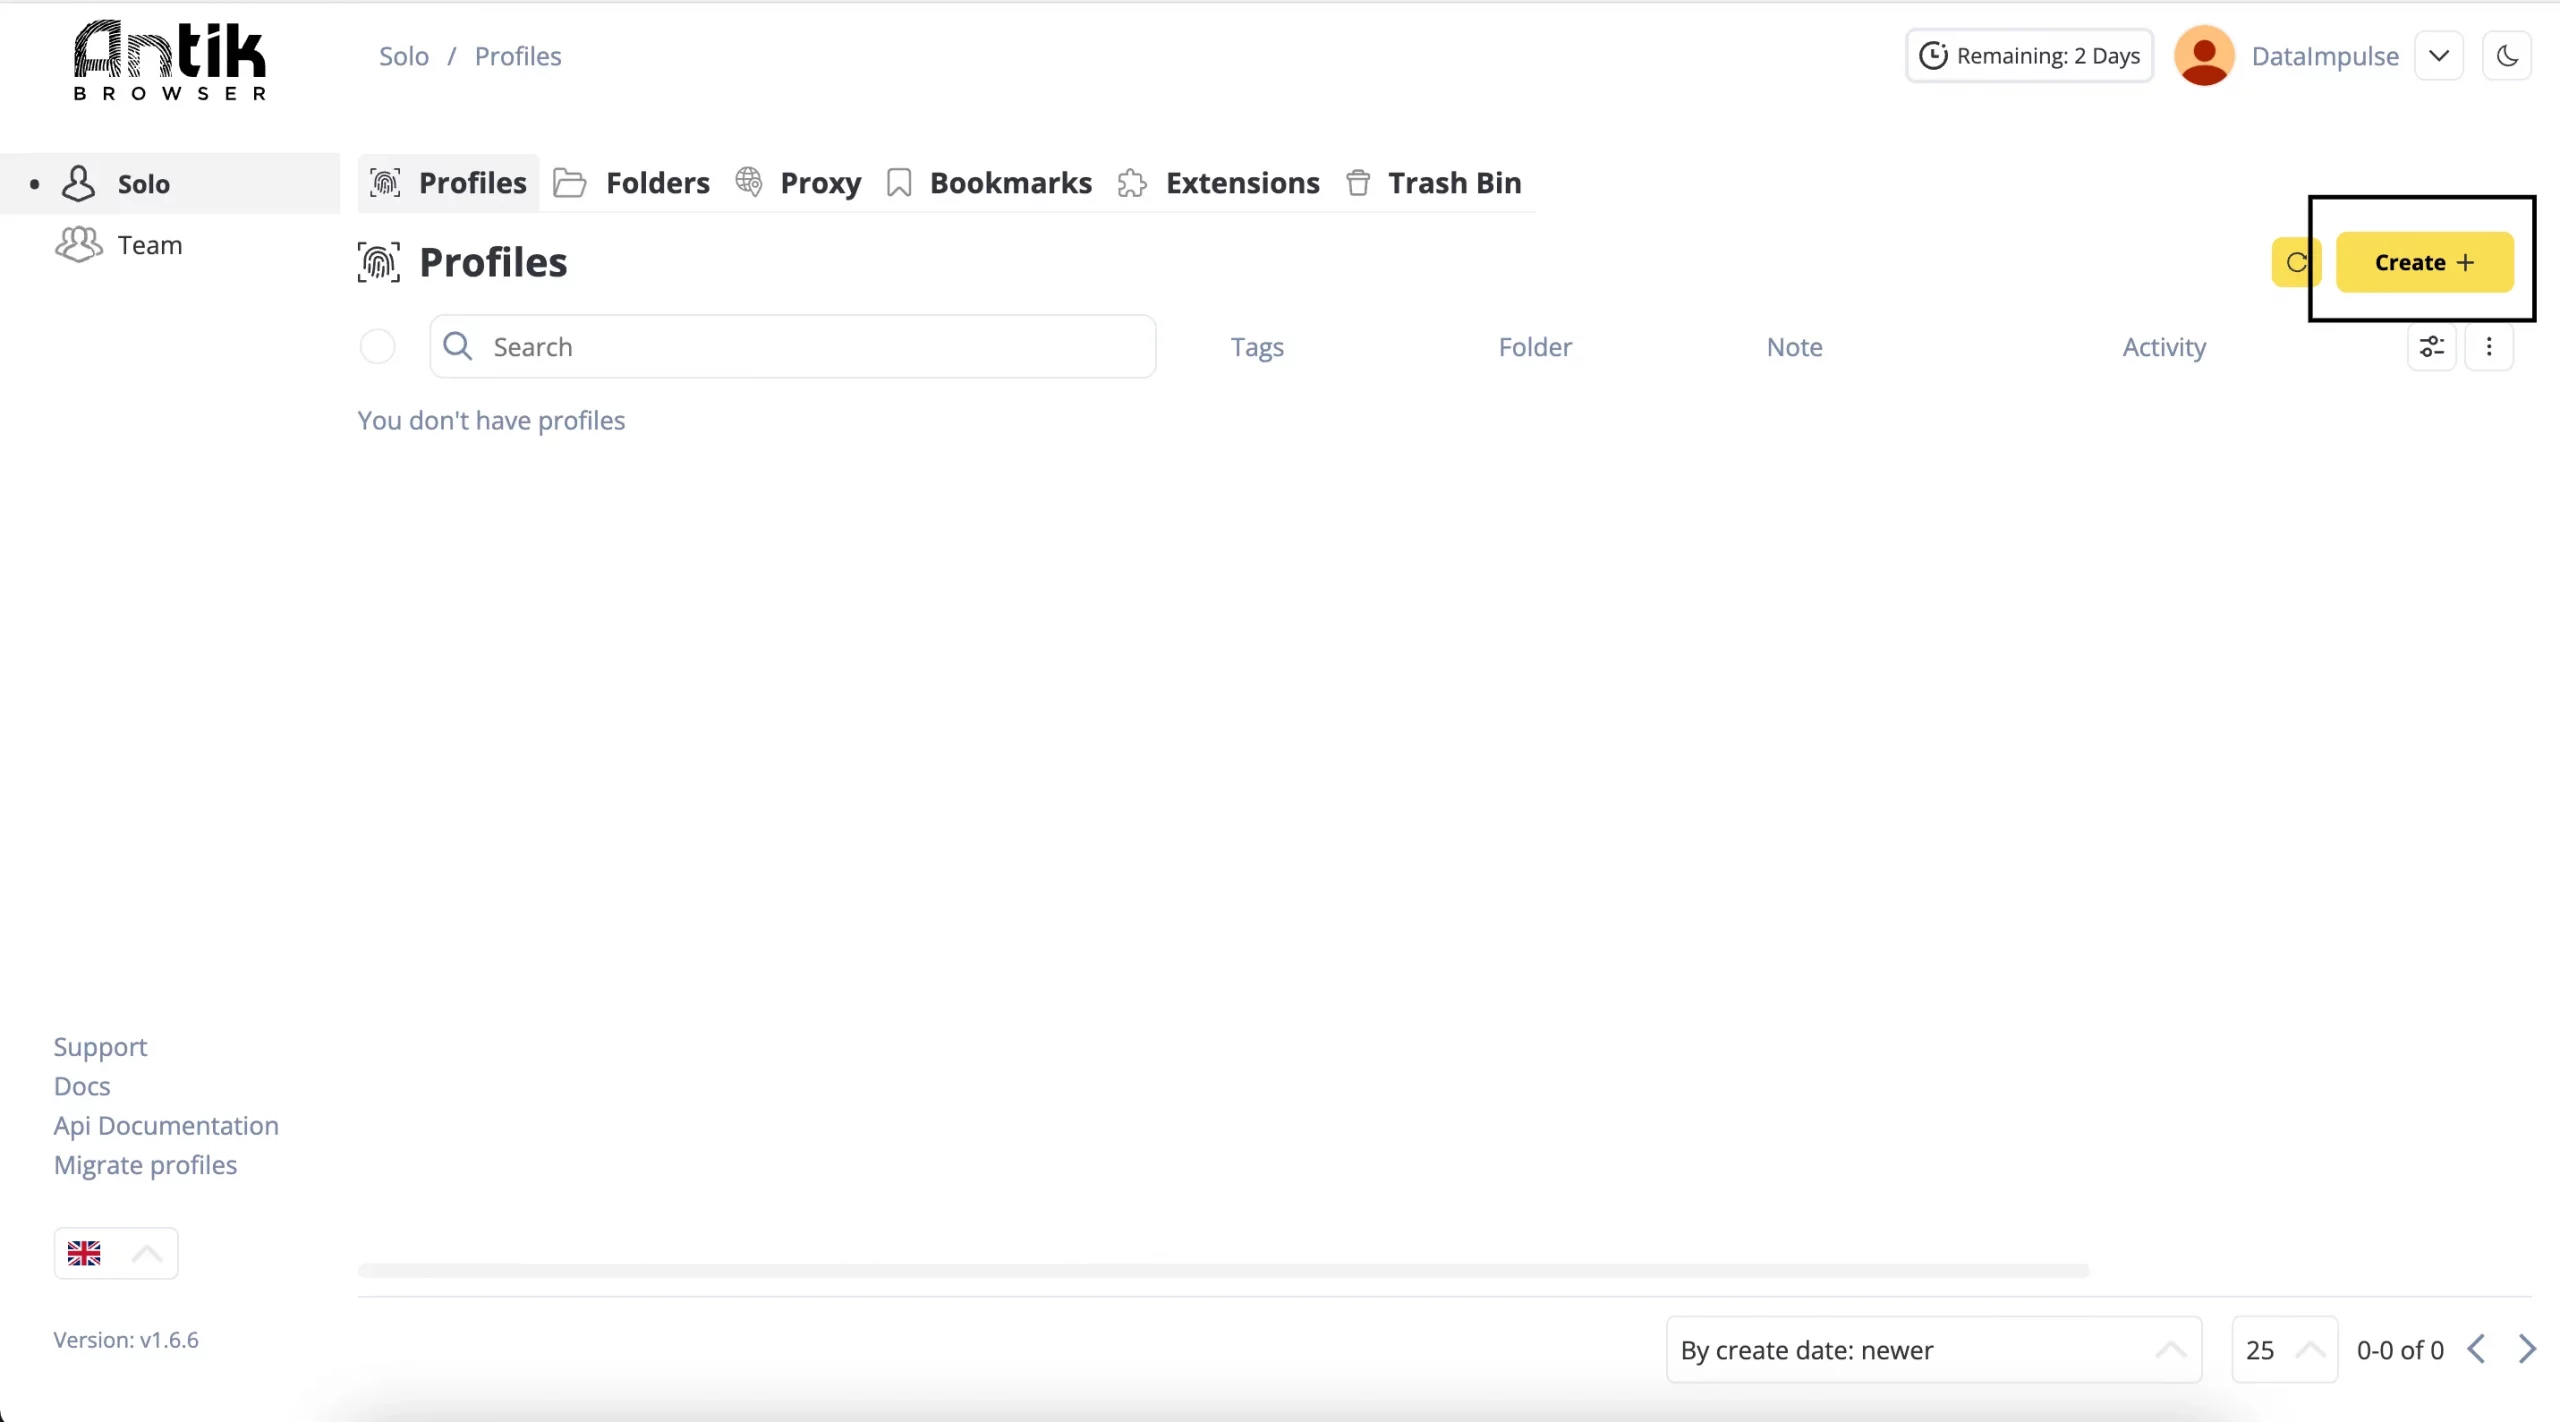
7. Once you’re on the main page, click ‘Create+’ in the Profiles section.
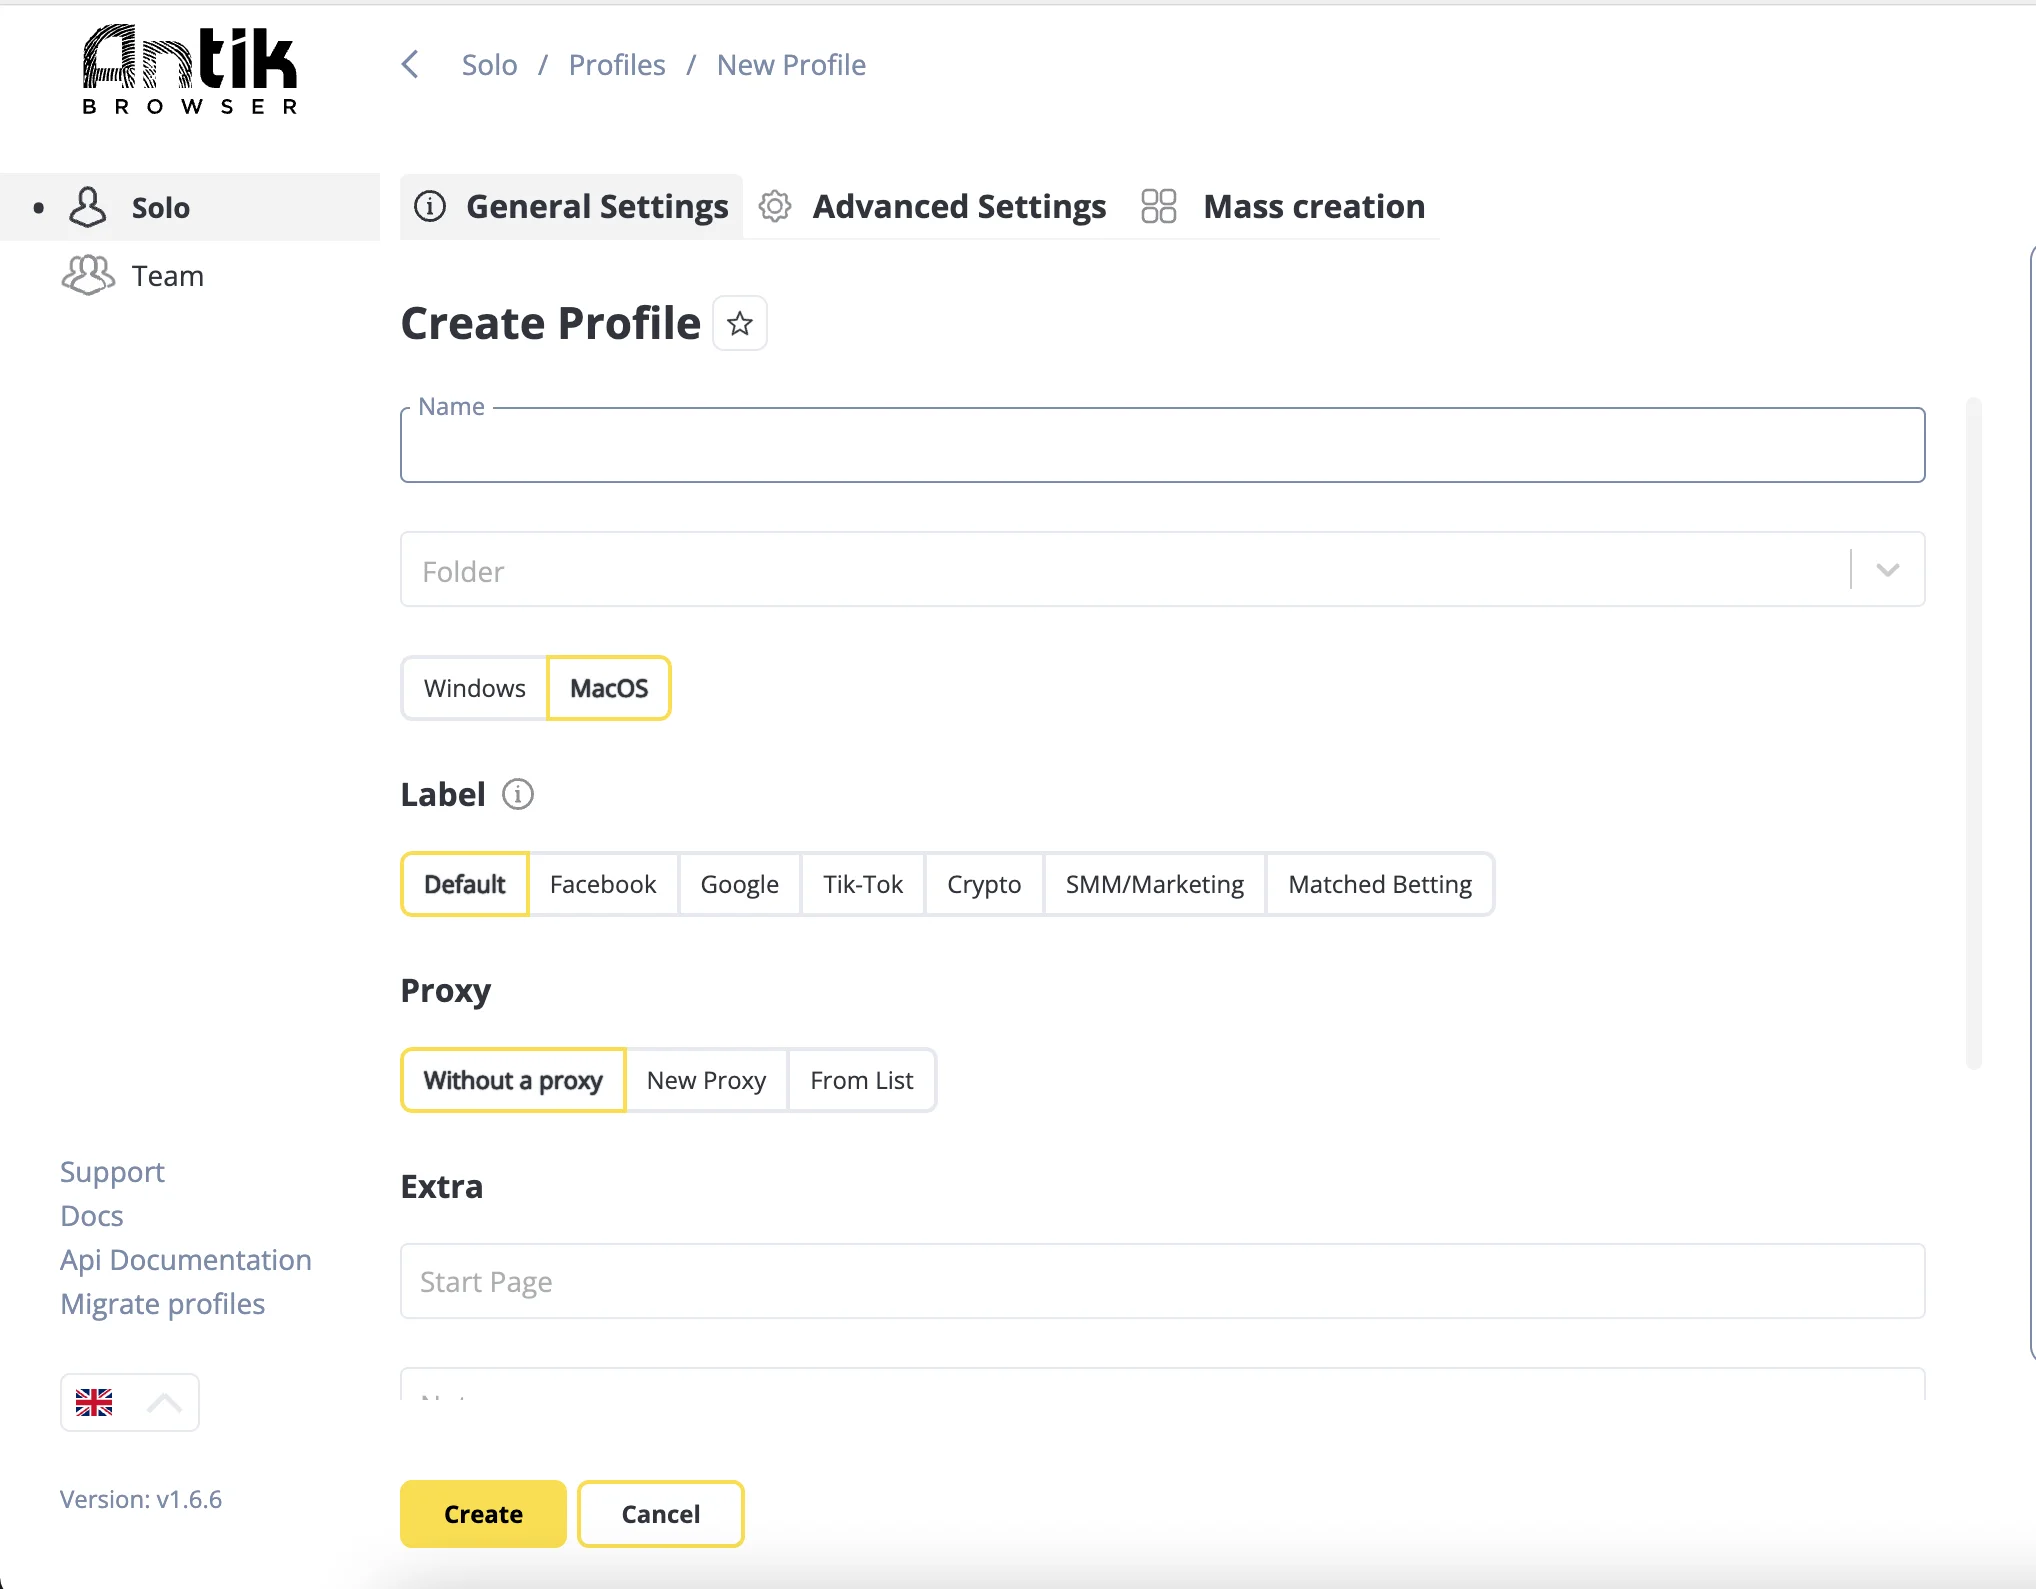
8. Create your profile, name it, and optionally assign it to a specific folder. Next, select the platform for your activities and configure your proxy by choosing the ‘New Proxy‘ option.
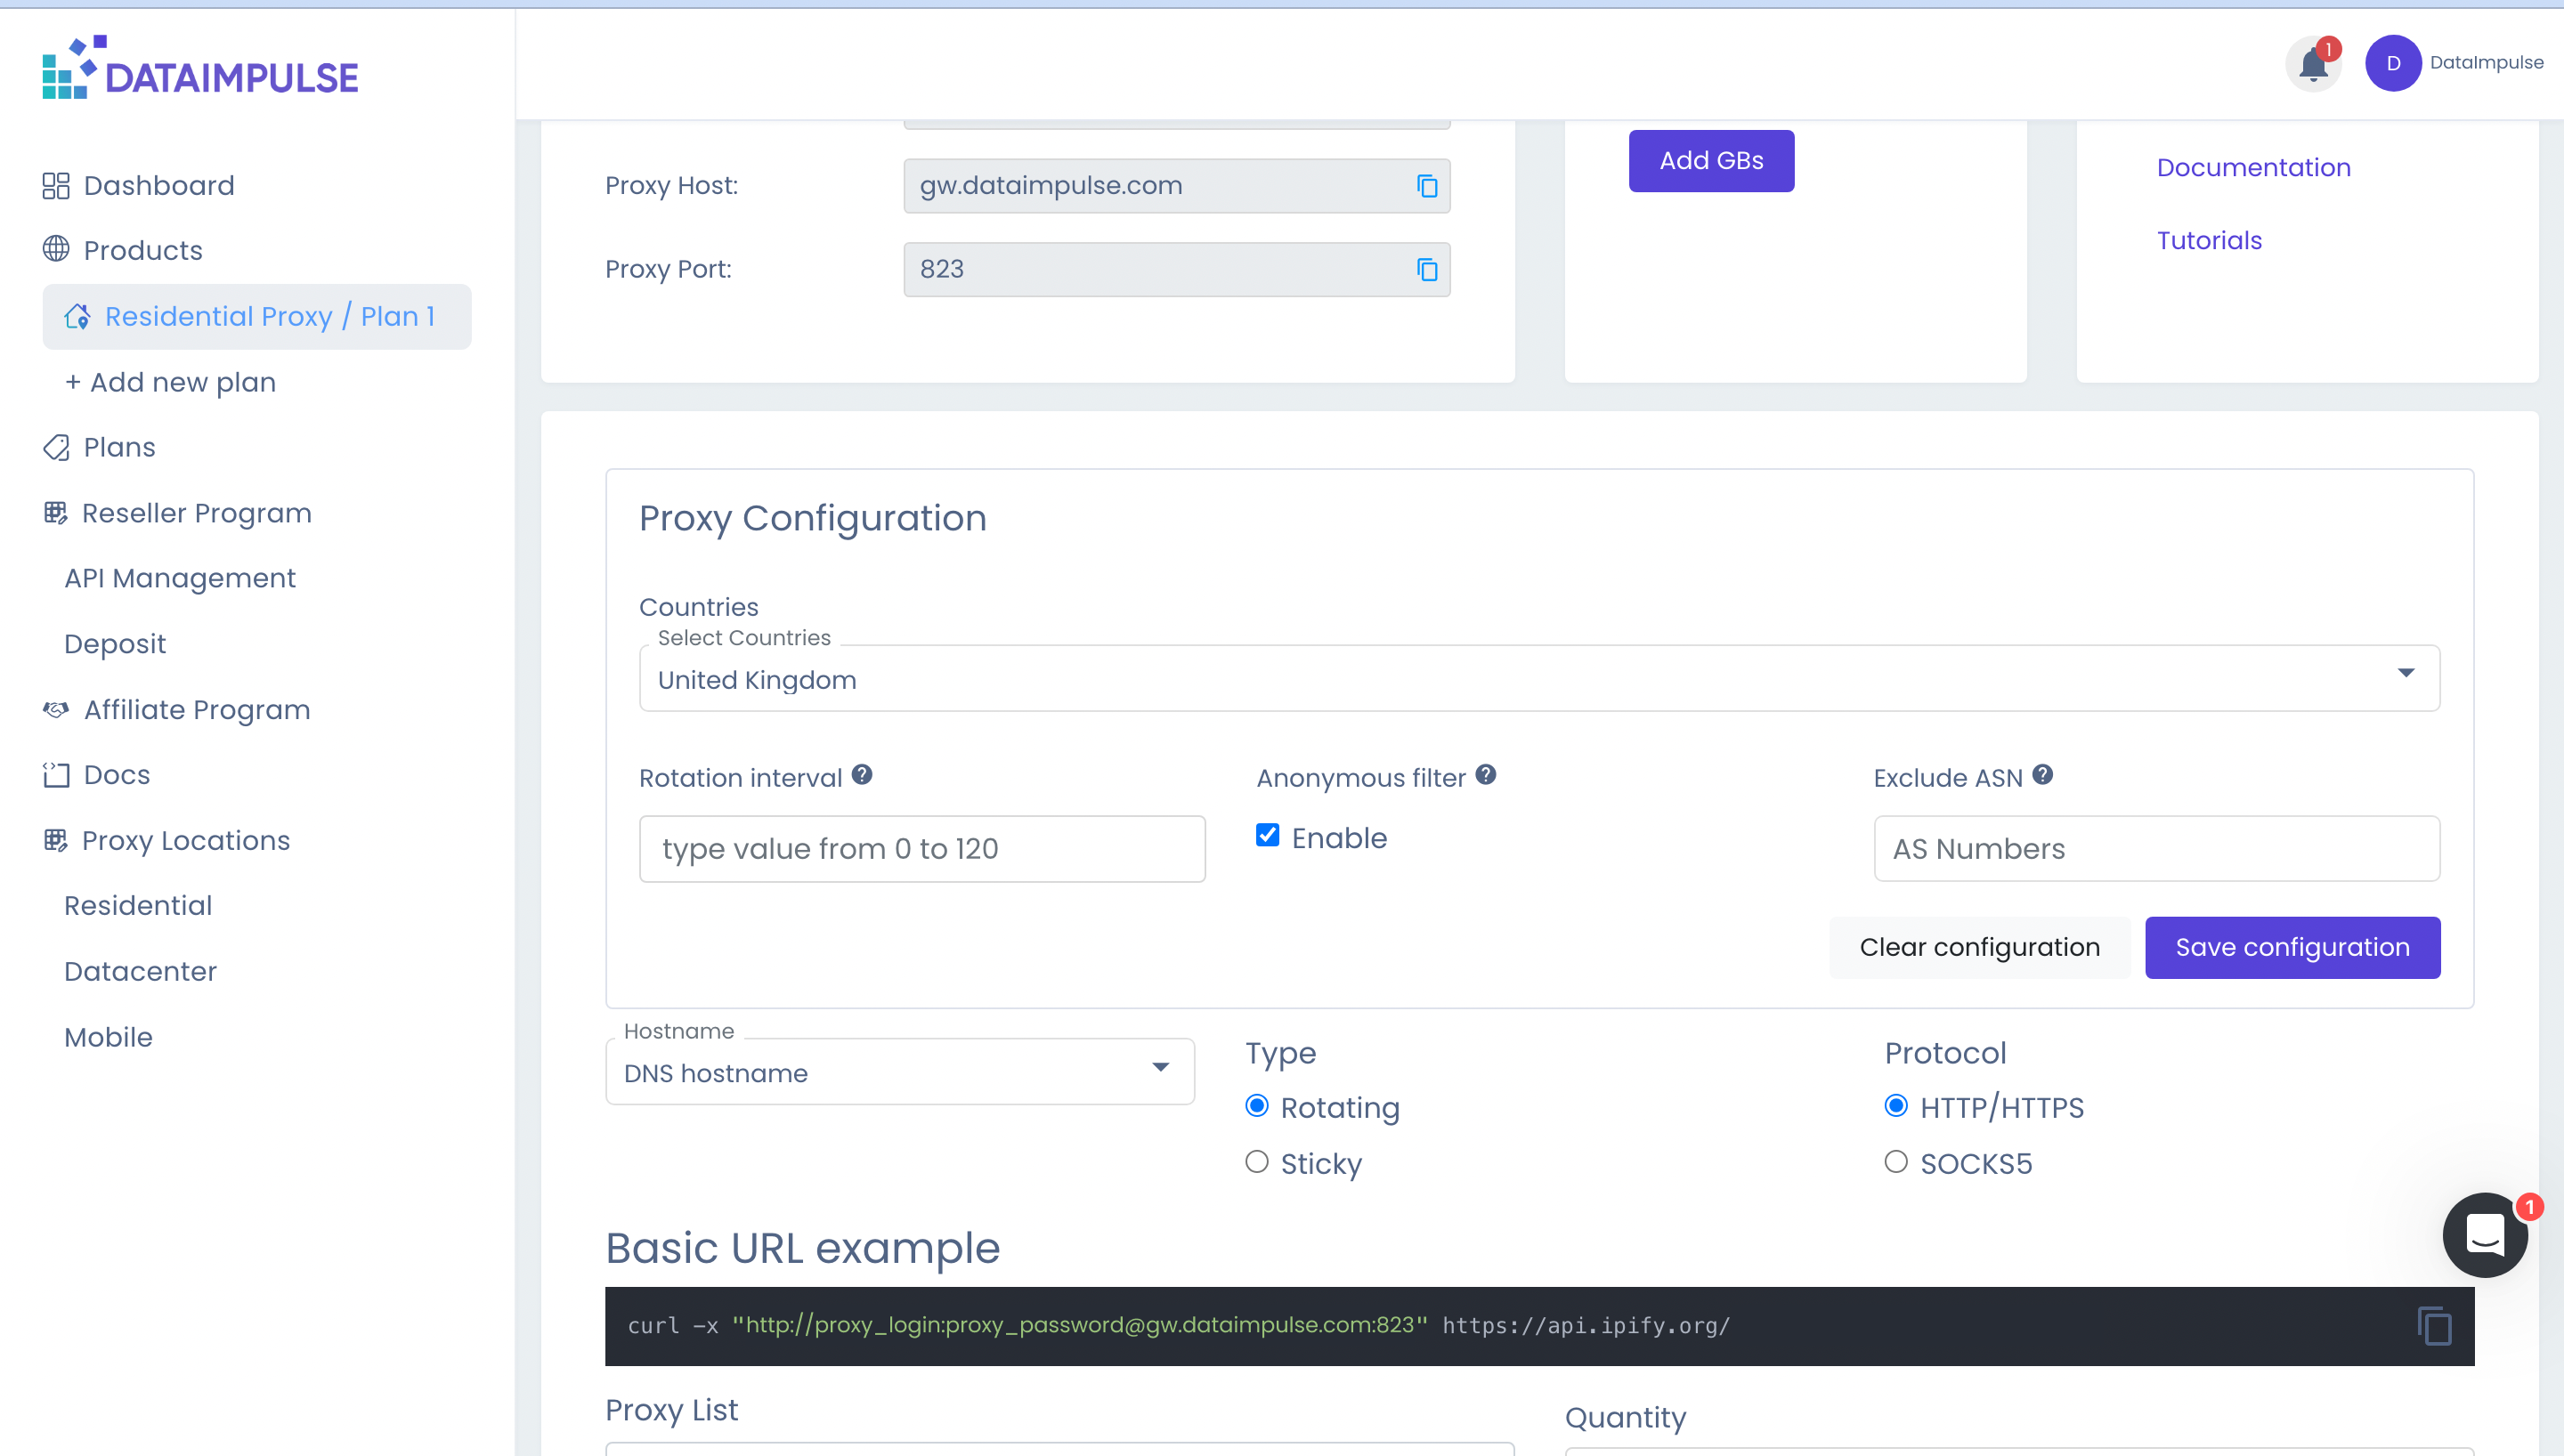
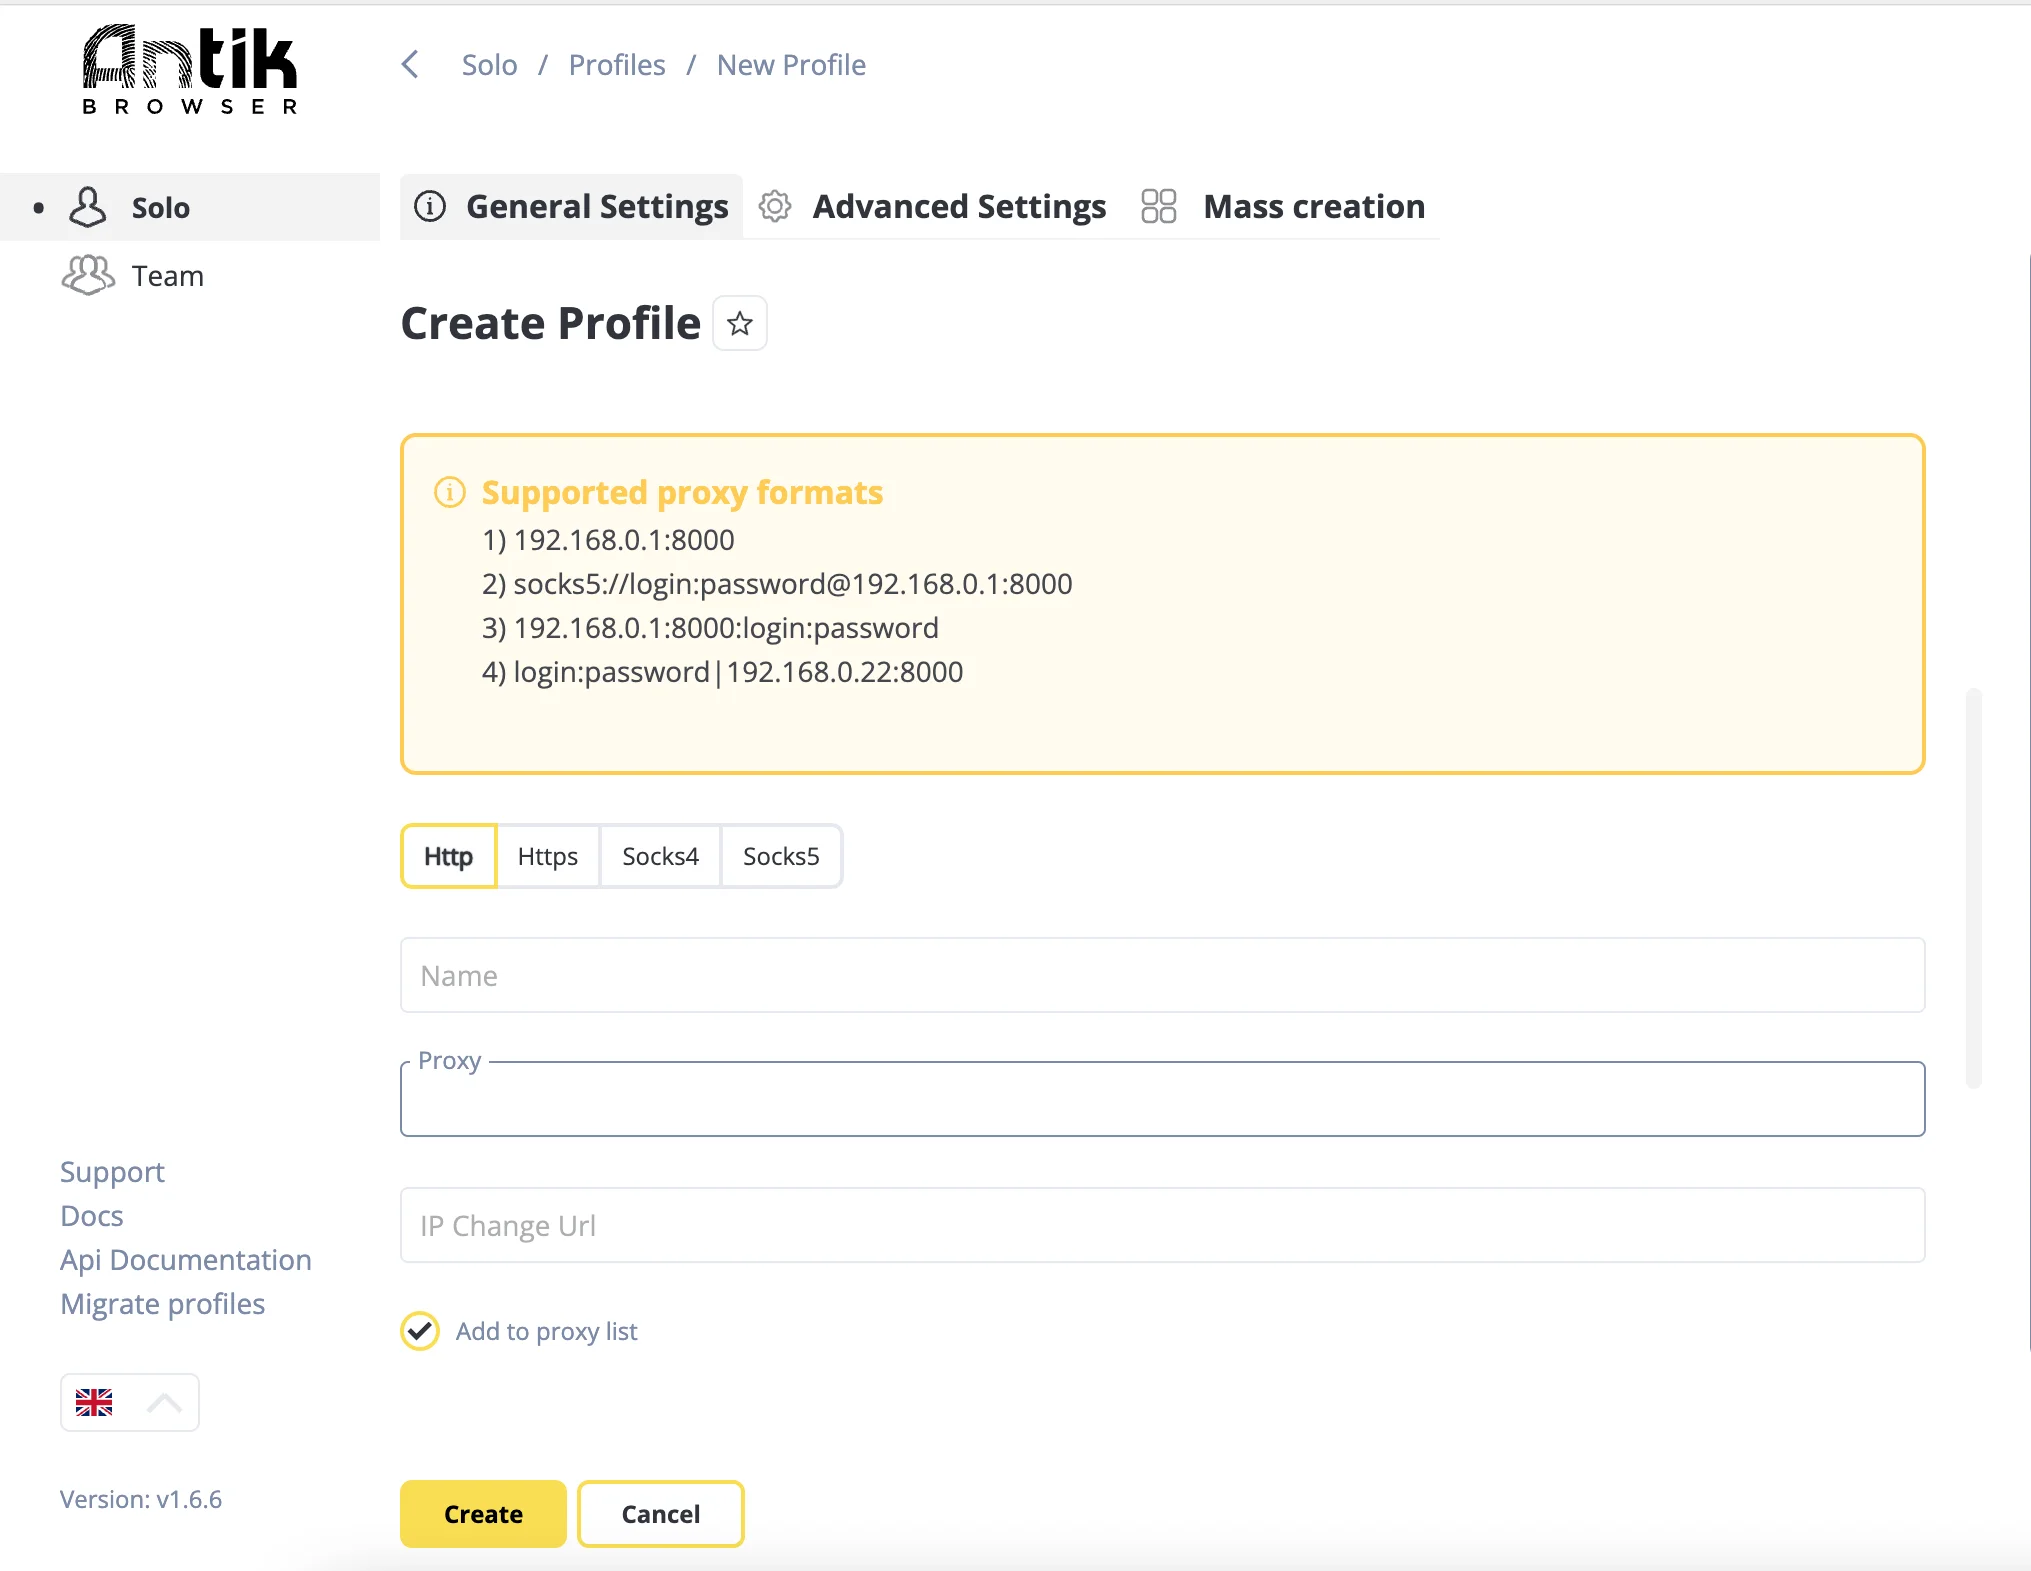
9. You’ll see the supported proxy formats. You can use a preferred one. In our case, we simply copied our URL (Basic URL example) from the DataImpulse Dashboard under the selected plan and pasted it into the Proxy section.
Once you’re ready, click ‘Create’.
10. You’ll see your newly created profile. To complete the process, click ‘Start,’ and you’ll be redirected to a secure browsing page.
That’s it. Now you can begin managing multiple accounts without worrying about being detected.
Interested in getting premium proxies for your online tasks? “Try now”

