Proxy Integration With GoLogin
GoLogin is a powerful web automation and browser fingerprinting solution. It seamlessly integrates proxies, making proxy management and rotation effortless. With support for multiple proxy protocols and a vast pool of reliable residential and data center proxies, GoLogin guarantees high performance and compatibility. It enhances online anonymity, security, and productivity for individuals and businesses engaged in web scraping, social media management, and SEO.
What is GoLogin?
GoLogin offers a range of powerful features to enhance online anonymity, security, and productivity:
- Proxy Integration: GoLogin seamlessly integrates with various proxy protocols (HTTP, HTTPS, SOCKS4, SOCKS5), allowing users to manage and rotate proxies effortlessly. This ensures compatibility with a wide range of applications and systems.
- Extensive Proxy Pool: GoLogin provides an extensive pool of high-quality residential and data center proxies, ensuring reliability, speed, and excellent performance. This diverse proxy pool enhances privacy and enables users to avoid detection and IP blocking.
- Automation and Task Management: GoLogin offers web automation capabilities, enabling users to streamline repetitive tasks and save time. It allows users to create and schedule automated actions, navigate websites, and interact with web forms.
Overall, GoLogin provides a comprehensive solution for proxy integration, browser fingerprinting, and account management, empowering individuals and businesses to navigate the internet securely, enhance privacy, and boost productivity.

How to use a proxy in GoLogin?
Here’s a super easy guide on how to use a proxy in GoLogin:
- Launch GoLogin: Open GoLogin
- Sign up in the app to create your first profile
- In the window that appears, simply enter the required information for your proxy.

Residential Proxies
Connection type: HTTP proxy
New address: gw.dataimpulse.com
Port: 823
- Create a profile: Click the “Create Profile” button to complete the setup.
- That’s it! You’re all set. Click the “Run” button and wait for the browser to load.

Note: If you’ve completed all the steps correctly, opening http://myip.gologin.app will display your custom fingerprint information, which represents your new virtual identity.
Managing Multiple Profiles with Proxies in GoLogin
Nowadays, there are many environments where multiple accounts are required. It can be social media management, e-commerce operations, web scraping, or ad verification. If you need complete session isolation and more efficient management of activities across various IP addresses, then follow these steps:
Step 1: Add Multiple Profiles
1. Open GoLogin and click the arrow next to “Add profile”.
2. Enter the number of profiles you want to create.
3. Click on “Add multiple profiles” to generate them automatically.

Step 2: Choose Proxy Configuration
4. You’ll see the newly created profiles listed.
5. If needed, you can rename the profiles, but in this case, we’ll proceed to set up the proxies.
6. Click on the proxy configuration icon or go to the proxy section for bulk editing.

Step 3: Assign Proxies
7. Paste the proxies you want to assign to the profiles. Each proxy should be on a separate line and correspond to a specific profile (e.g., one with port 10000, another with 10001, etc.).
For example, profile 27 and profile 26:
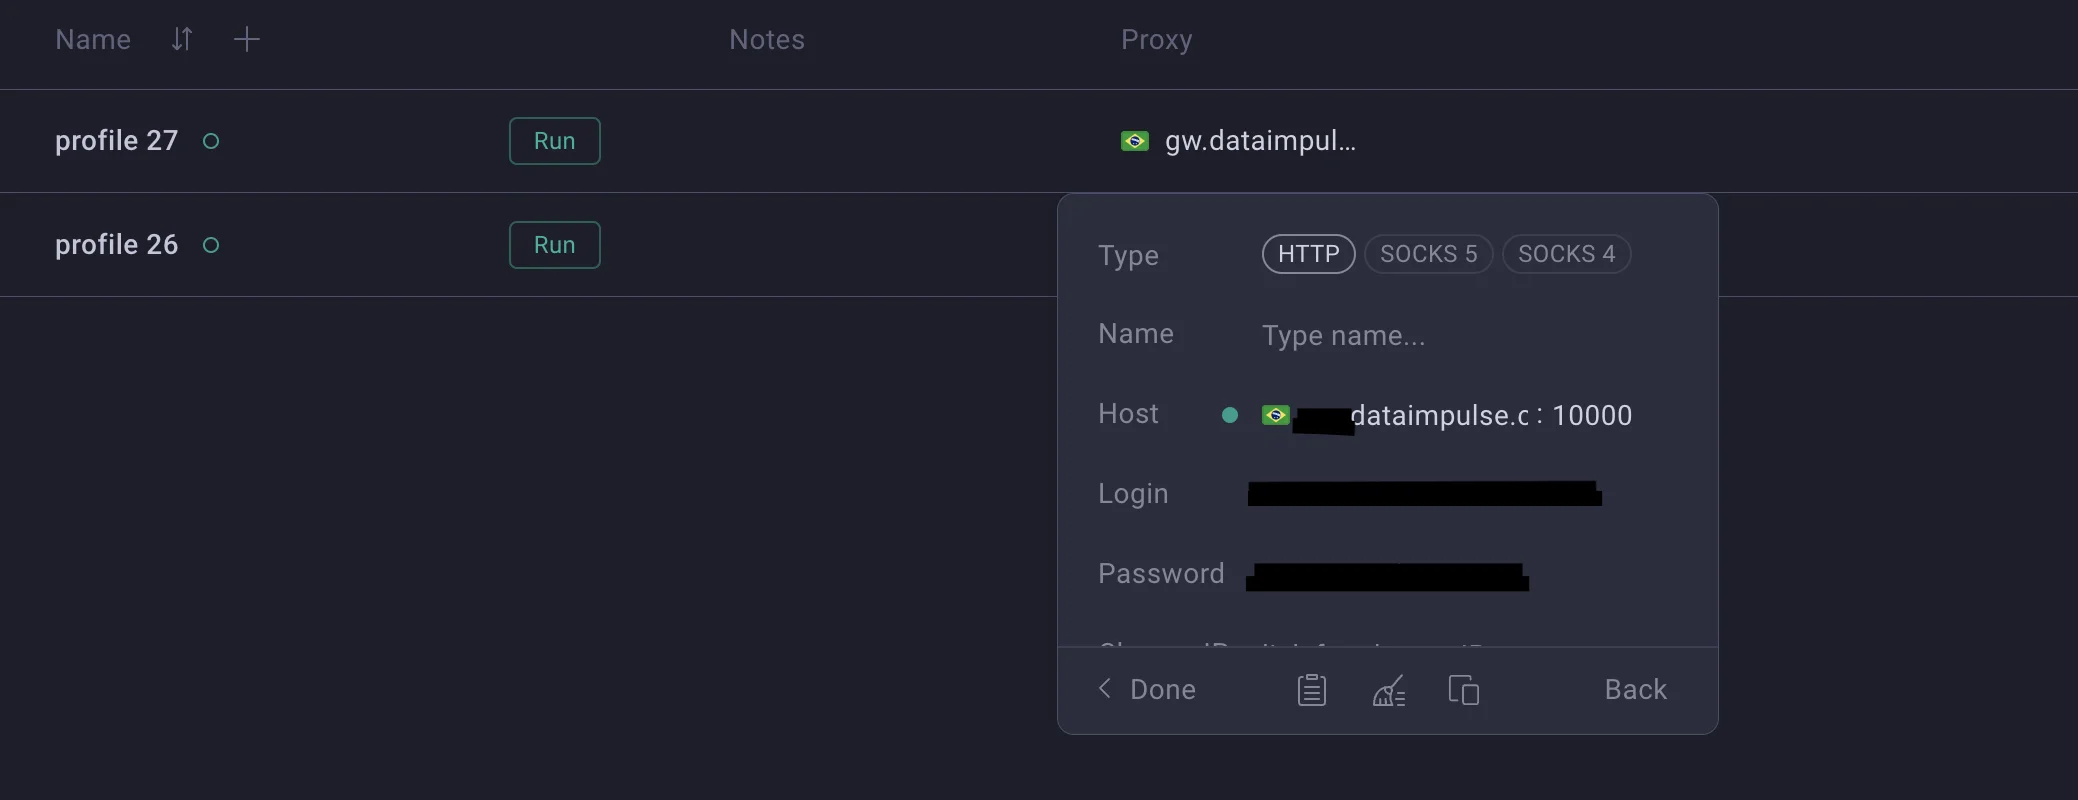
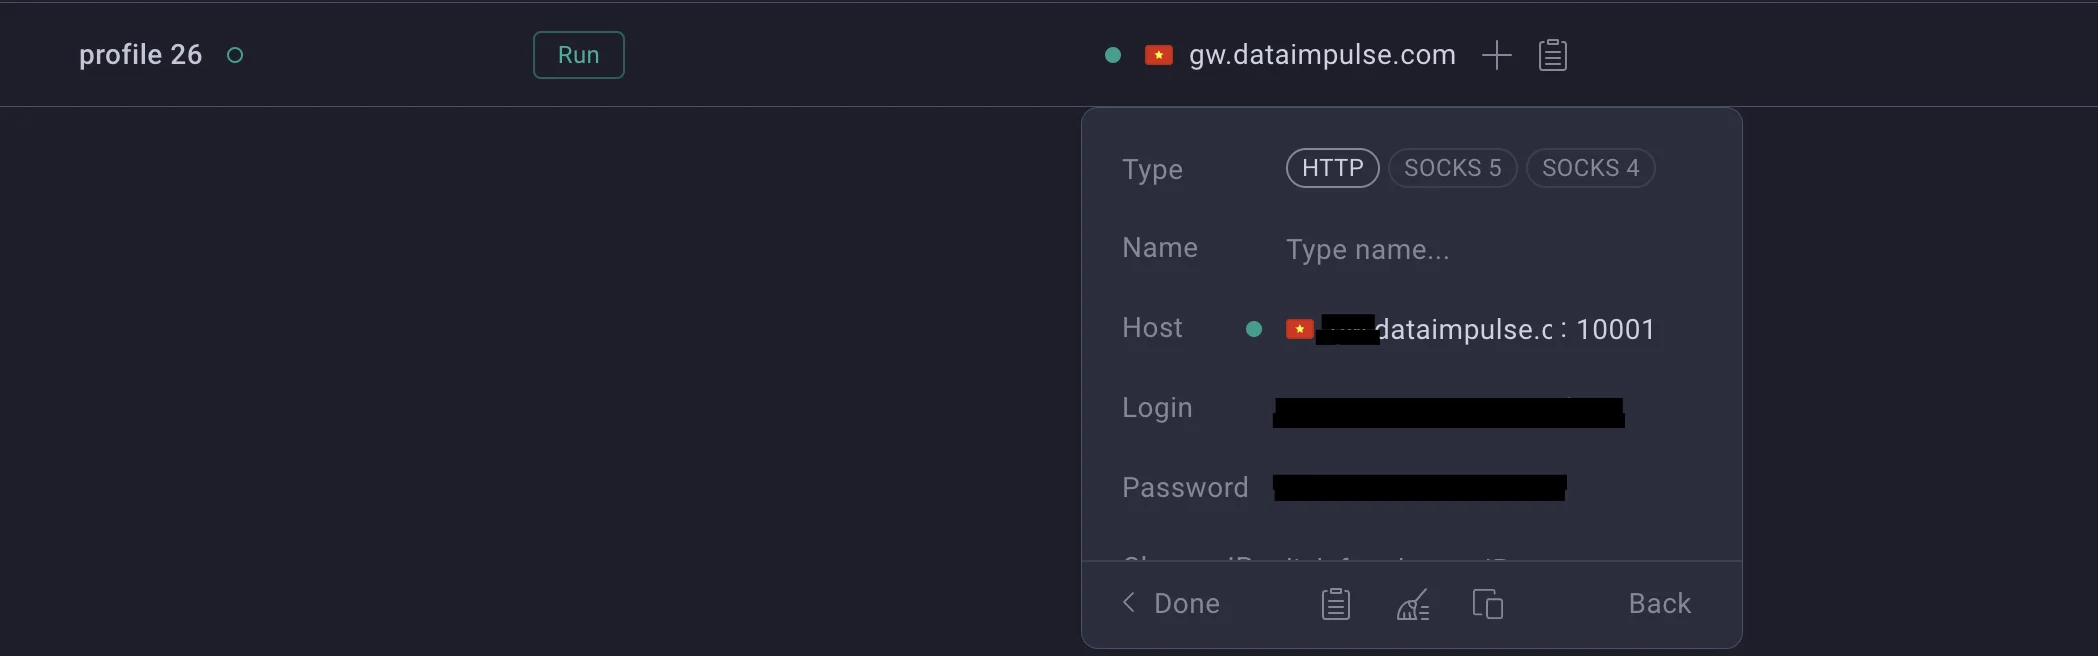
8. After entering the proxies, click “Update Proxy”.

Result: Each profile will now have a unique proxy assigned to it. Well done!
Choose high-quality proxies for successful account management. Choose DataImpulse 🚀

 State/City/Zip/ASN Targeting


