Setting Up Proxies for MuLogin
MuLogin is a software application designed to simplify the process of managing multiple user accounts for various online services and platforms. It allows users to conveniently switch between different accounts without the need to log in and out manually.

Setting up proxies in MuLogin is a straightforward process. Here’s how you can do it:
- Begin by downloading MuLogin from the official website. Once downloaded, install the application and launch it on your computer.
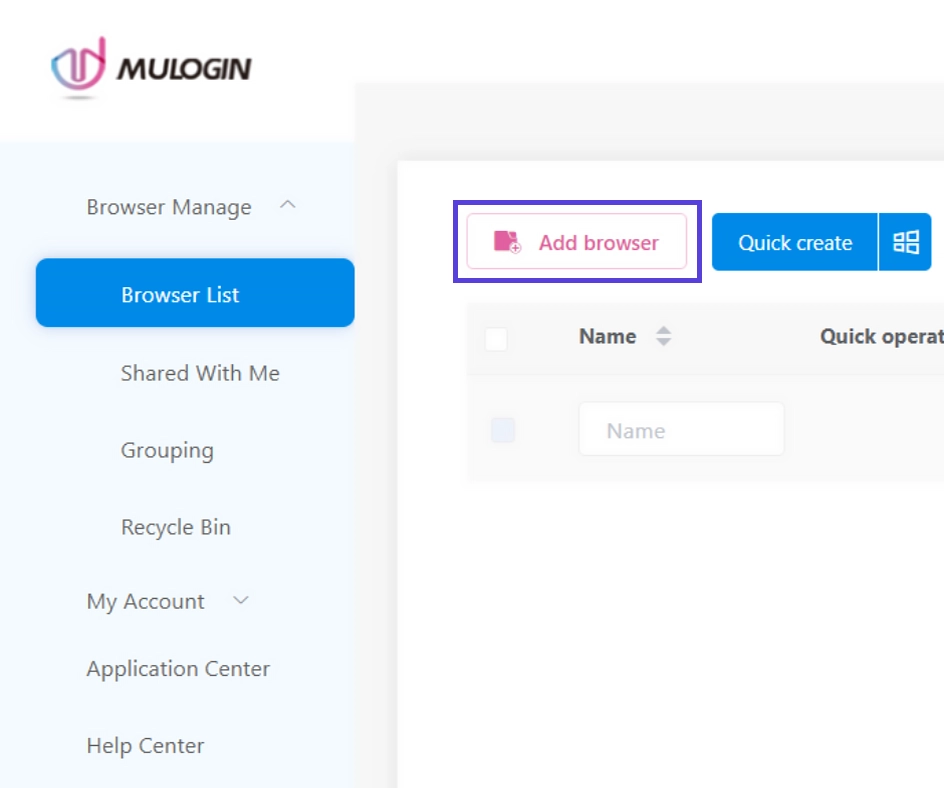
- When MuLogin is open, locate and click on the “Add browser” button.
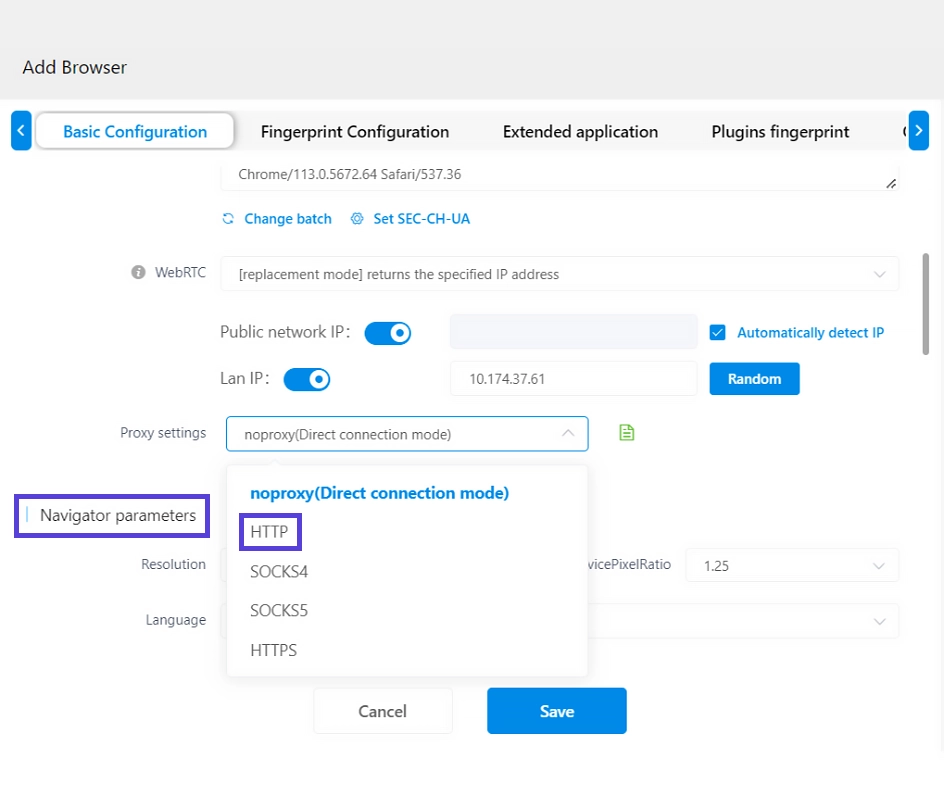
- In the MuLogin tool, you will find yourself in the Basic configuration section. Scroll down the page until you reach the Proxy settings section.
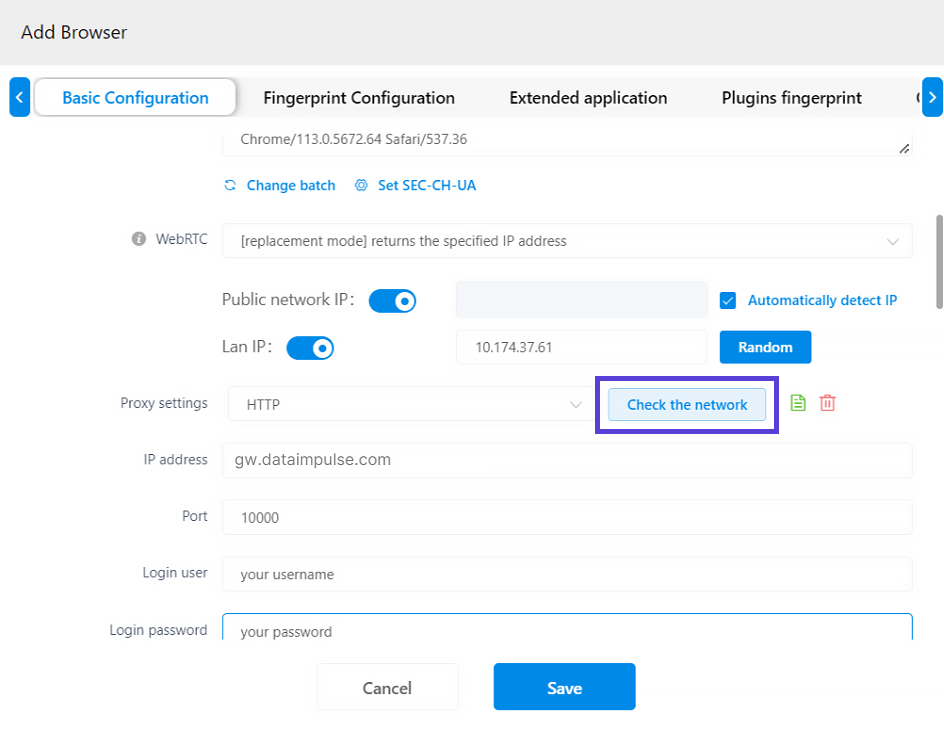
- Select either HTTP or SOCKS5 as the proxy protocol and provide the necessary information based on your proxies.
Residential proxies
Proxy type: HTTP
IP address: gw.dataimpulse.com
Port: 823
Login user: customer-username
Login password: sub-user’s password
- Once you have entered your information, you can verify the network settings to ensure that the process is functioning correctly. This will display detailed information about the IP address and country.
Please note that when using Residential Proxies, specific locations are configured through login user details.
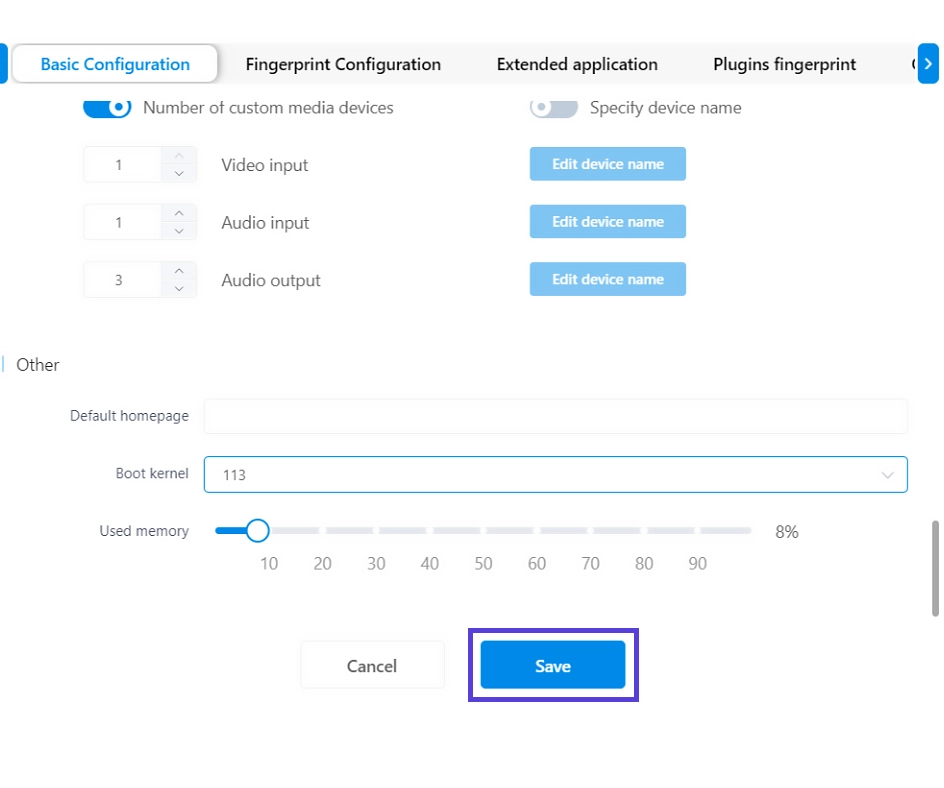
- Finally, provide a Display name for your configuration, scroll down, and click on the Save button.
And there you have it! Your setup is now complete.


