Proxy Integration With ParseHub
ParseHub is a user-friendly web scraping tool that allows you to extract data from websites in a structured and organized manner. It simplifies the process of gathering information from web pages by automating the data extraction process. With ParseHub, you can easily select and extract specific data elements, such as text, images, and tables, from websites without any coding knowledge. It provides a visual interface where you can navigate and interact with web pages, making it convenient for both beginners and experienced users to scrape data from various websites

Integrating DataImpulse’ proxies with ParseHub is a simple process
Before you begin, make sure to whitelist your IP address in the DataImpulse dashboard in Residential plan section > Manage Whitelist IPs. Keep your user credentials handy as you may need them for authentication in ParseHub.
Now, let’s go through the steps:
- Download ParseHub and install it on your computer.
- Open ParseHub.
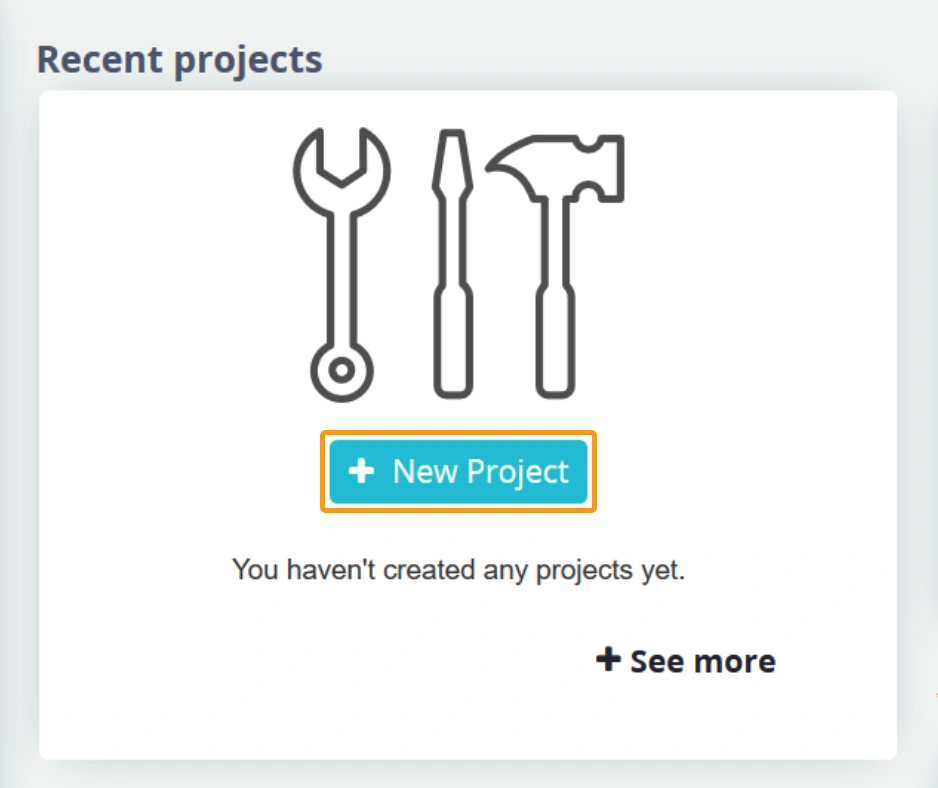
- Start a new project by clicking the “+ New Project” button on the home screen.
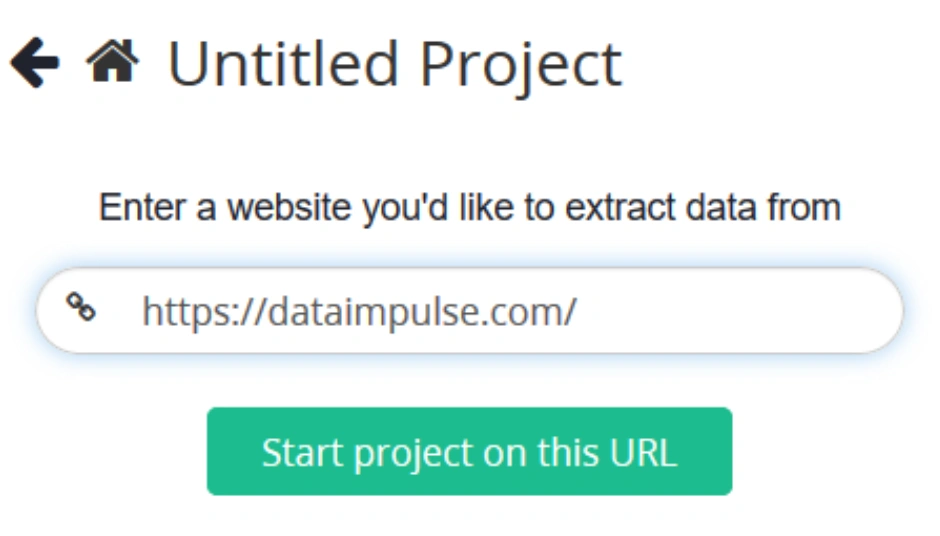
- Enter the URL of the website you want to scrape, such as dataimpulse.com Click on “Start project on this URL.”
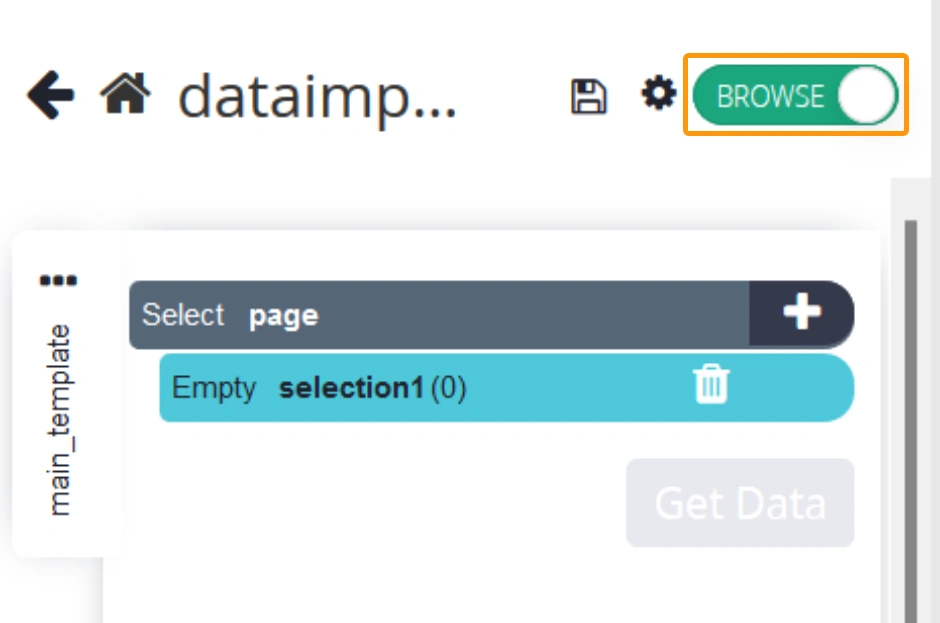
- Wait for the project to be prepared and switch to the “Browse” mode.
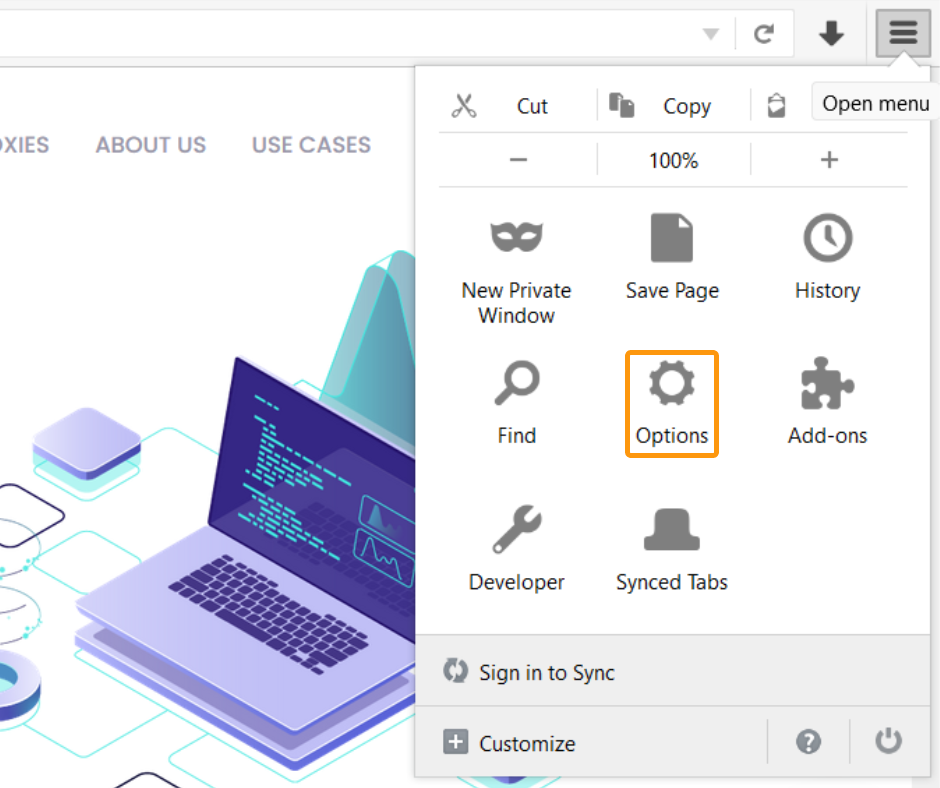
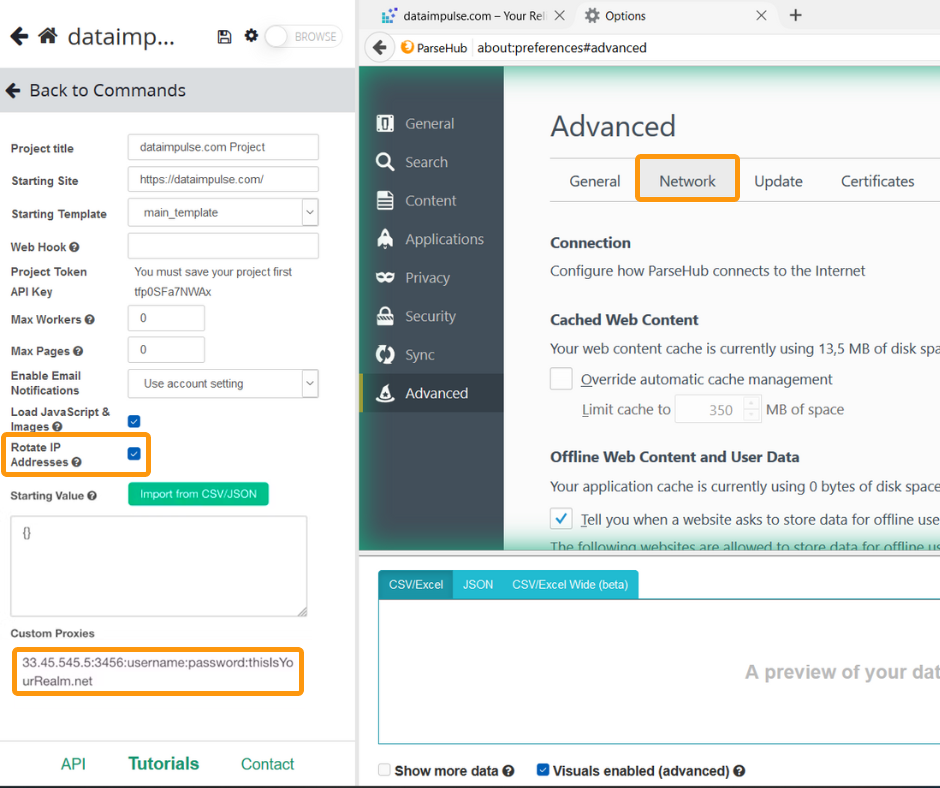
- When the “Browse” slider turns green, click on the drop-down list at the top-right corner and select “Options.”
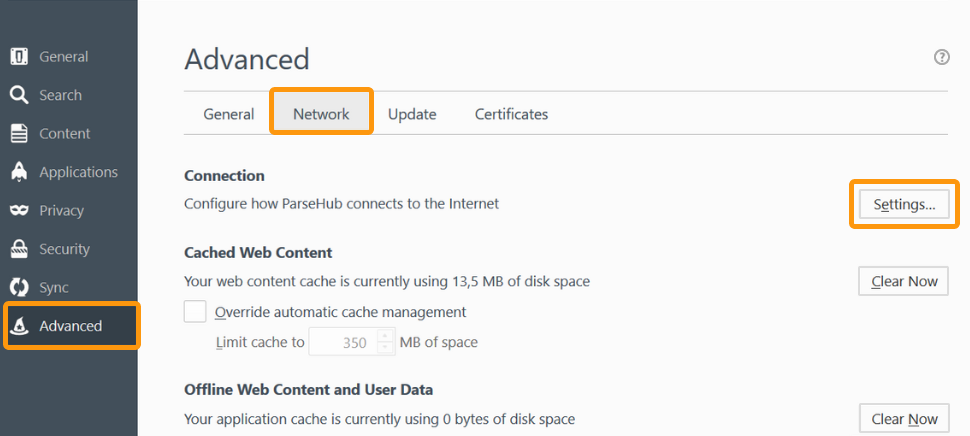
- Choose “Advanced,” then click on the “Network” tab and select “Settings.”
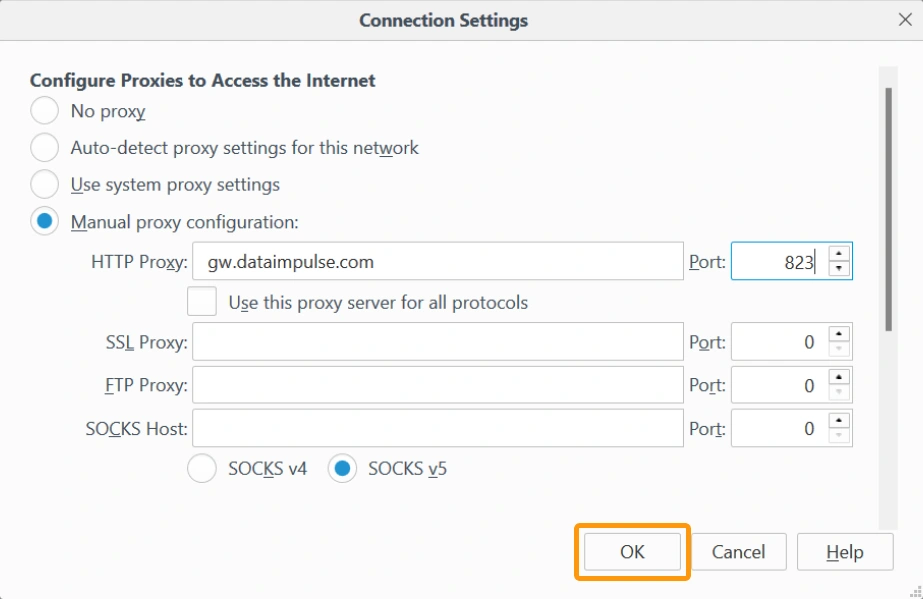
- Choose “Manual proxy configuration.” Enter “gw.dataimpulse.com” in the “HTTP Proxy” field and “823” in the “Port” field. Click “OK” to save the settings.
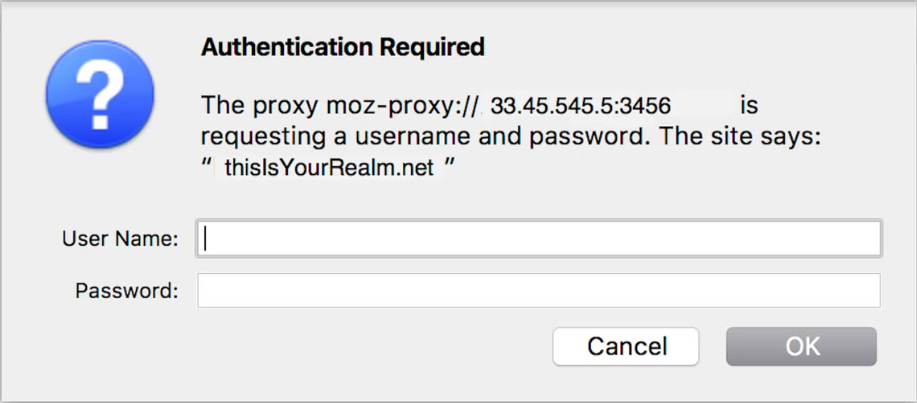
- Open a new tab and visit any website. You may see a message similar to the one shown in the image below (the photo is taken from Parsehub, the actual details may differ in your case).
How to integrate custom proxies with your Parsehub account?
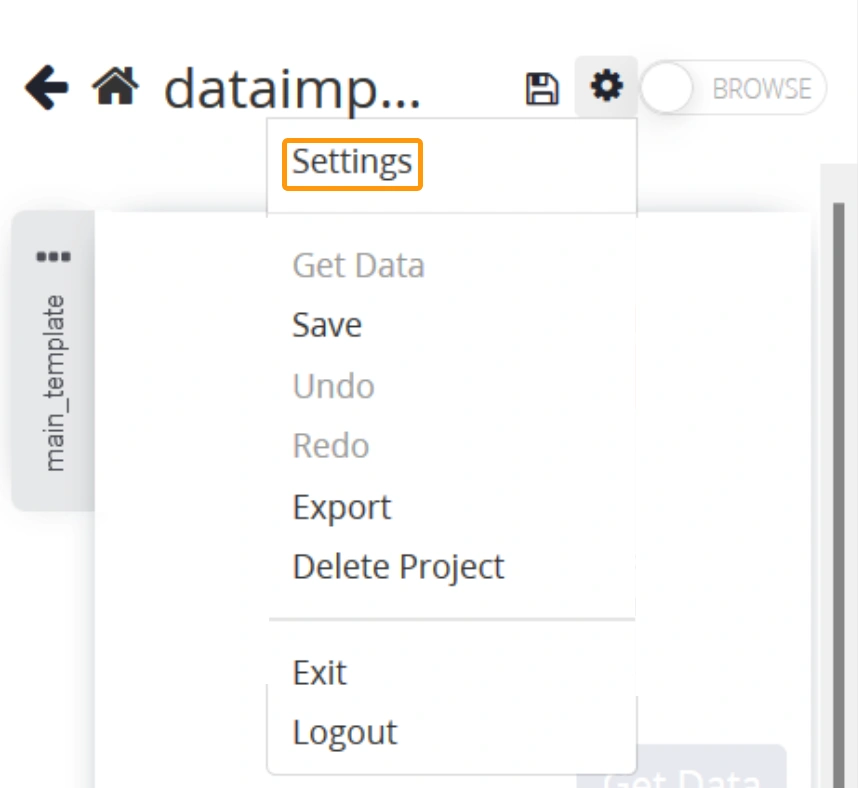
- After starting your project, click on the settings button at the top.
- Once the Settings menu appears, you will find a checkbox labeled “Rotate IP address.” Please note that this premium feature of Parsehub requires a paid plan.
Below that, you will see a textbox labeled “Custom Proxies.” Paste your obtained proxy with the corresponding realm into this textbox. (Please remember that the provided custom proxy here is an example from Parsehub, and yours will be different.)
If you have multiple custom proxies that you want to rotate, you can add all of them to the Custom Proxies field, each on a new line.
- After configuring these proxies on your account, you can save the project and run it.
That’s all! You have now successfully integrated DataImpulse Residential Proxies with ParseHub. To ensure it is functioning correctly, you can verify your IP address on an ip-api.com

