Integrating proxies with Linken Sphere 2 Browser
Linken Sphere 2 Browser is a web browser that allows you to browse the internet and access websites. It offers features such as tabbed browsing, bookmarks, and a user-friendly interface. With this browser, you can easily navigate websites, search for information, and enjoy a smooth browsing experience.

What is a Linken Sphere 2?
Linken Sphere 2 is a powerful anti-detect browser developed by a British company. It works best for professionals in web scraping, QA testing, and multi-account automation. The app combines security, stealth, and customization, supporting automation via tools like Selenium, Puppeteer, and Postman. With its advanced identity-masking capabilities and flexible environment controls, Linken Sphere 2 ensures high-performance, secure sessions on both Windows and macOS.
Price: A free trial with 5 sessions is available, and pricing starts from just $30/month.
Key features:
- Automation-friendly (Selenium, Puppeteer, Postman);
- Multi-threaded session management;
- Mobile device emulation for responsive testing;
- Smart screen & windowing features;
- Advanced fingerprint spoofing and ID bypass;
- Isolated desktops per session for security;
- Media device control and spoofing;
- Highly customizable settings for precise control;
- Free trial with 5 session credits.
One potential disadvantage of Linken Sphere 2 is its complexity. Due to the wide range of advanced features, it may have a steep learning curve for beginners or casual users unfamiliar with anti-detect technologies.
How to Use DataImpulse Proxies in a Linken Sphere 2 Browser?
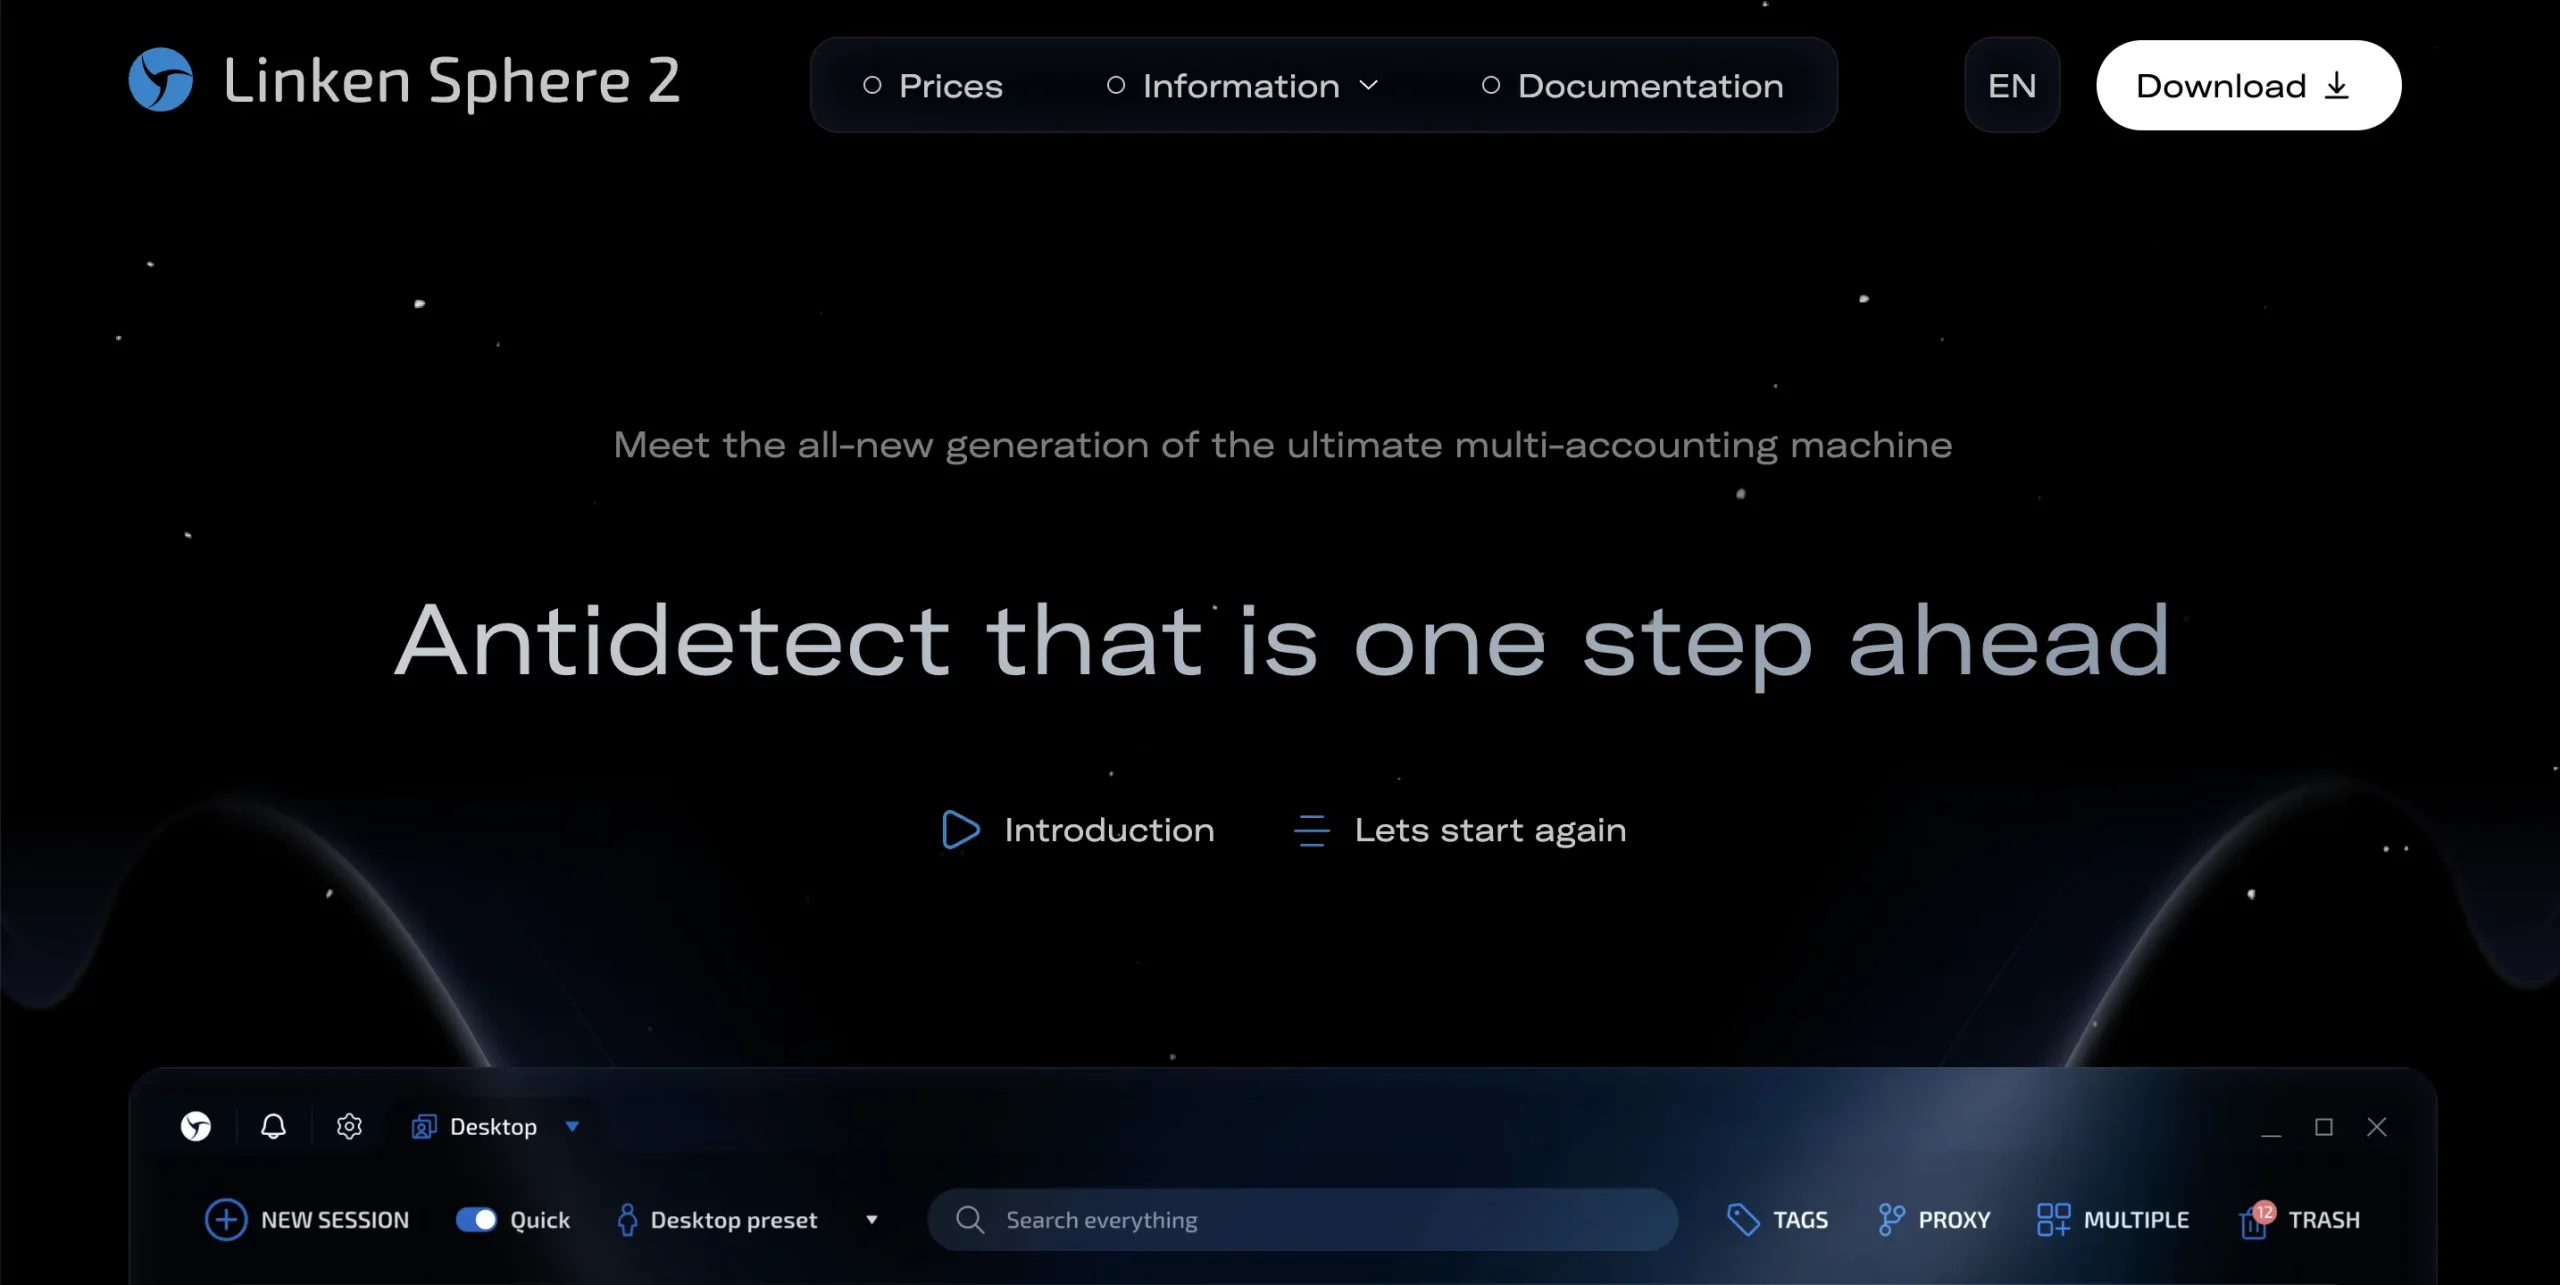
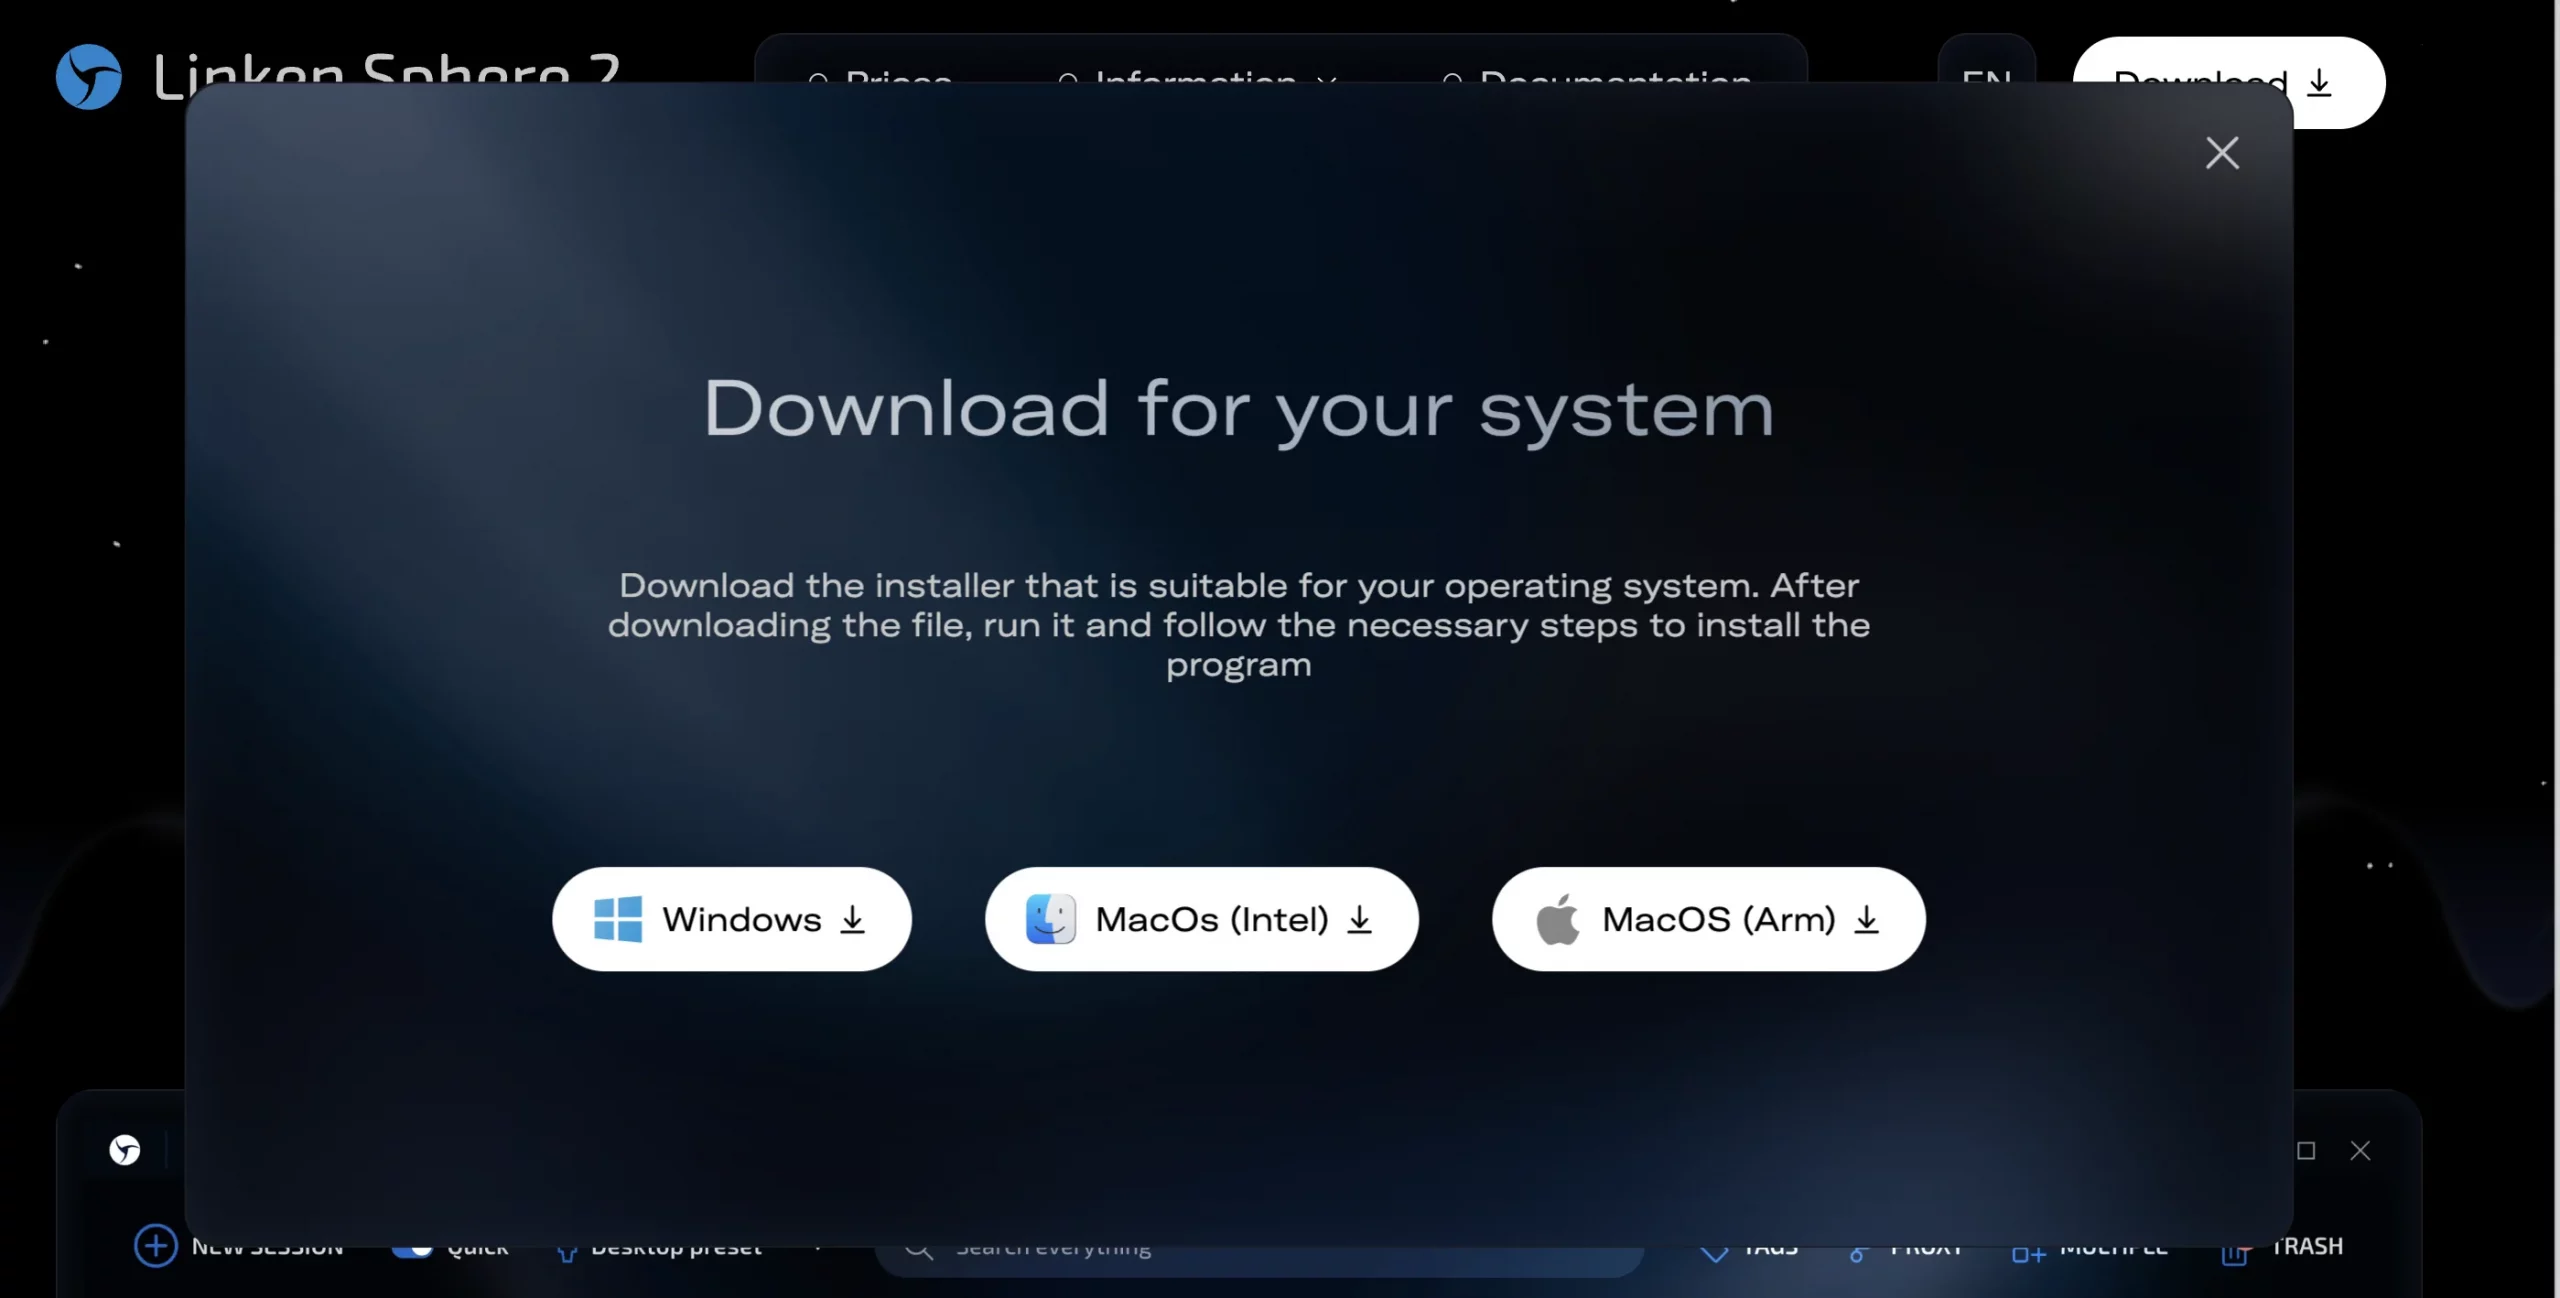
- Visit the official website and download the browser.
- Open it and sign in with your credentials.
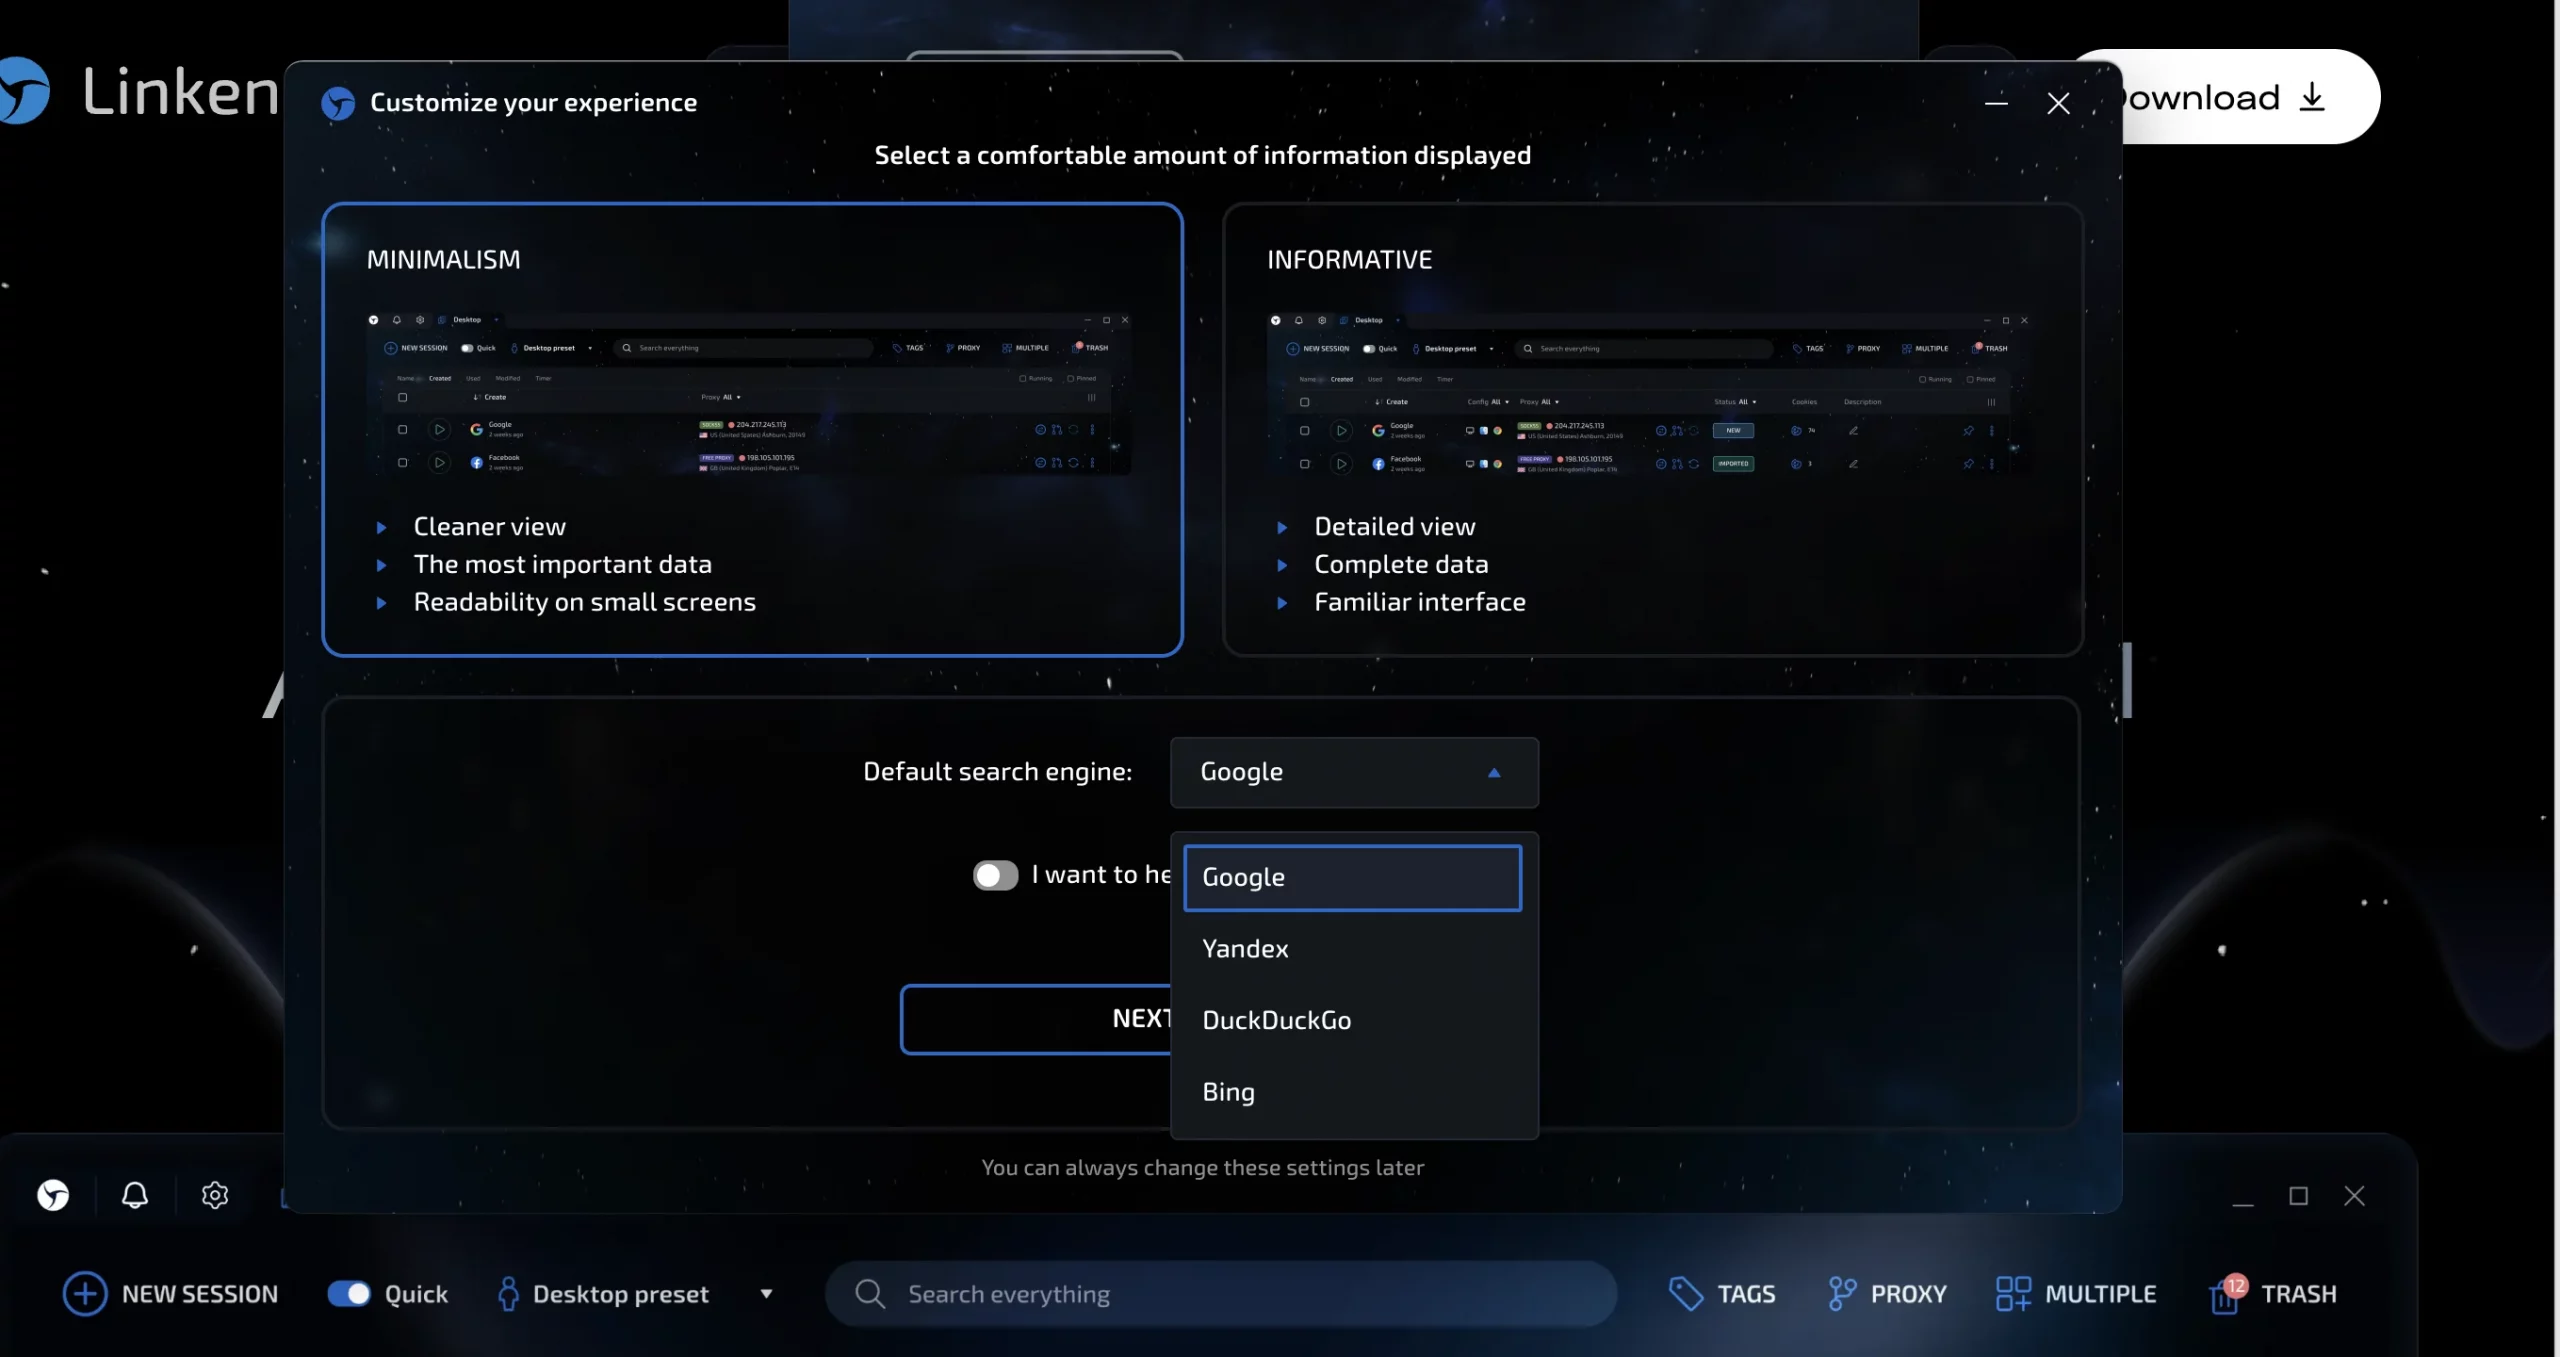
3. Choose a search engine you’d like to use.
4. Once you see the main menu, click Proxy on the right side and add the proxy you want. Click the adjacent button to test the proxy connection, then save your settings.
Another way is to click +New Session. Quick should be toggled off. With this option turned on, Linken Sphere will create a session using its default proxy provider.
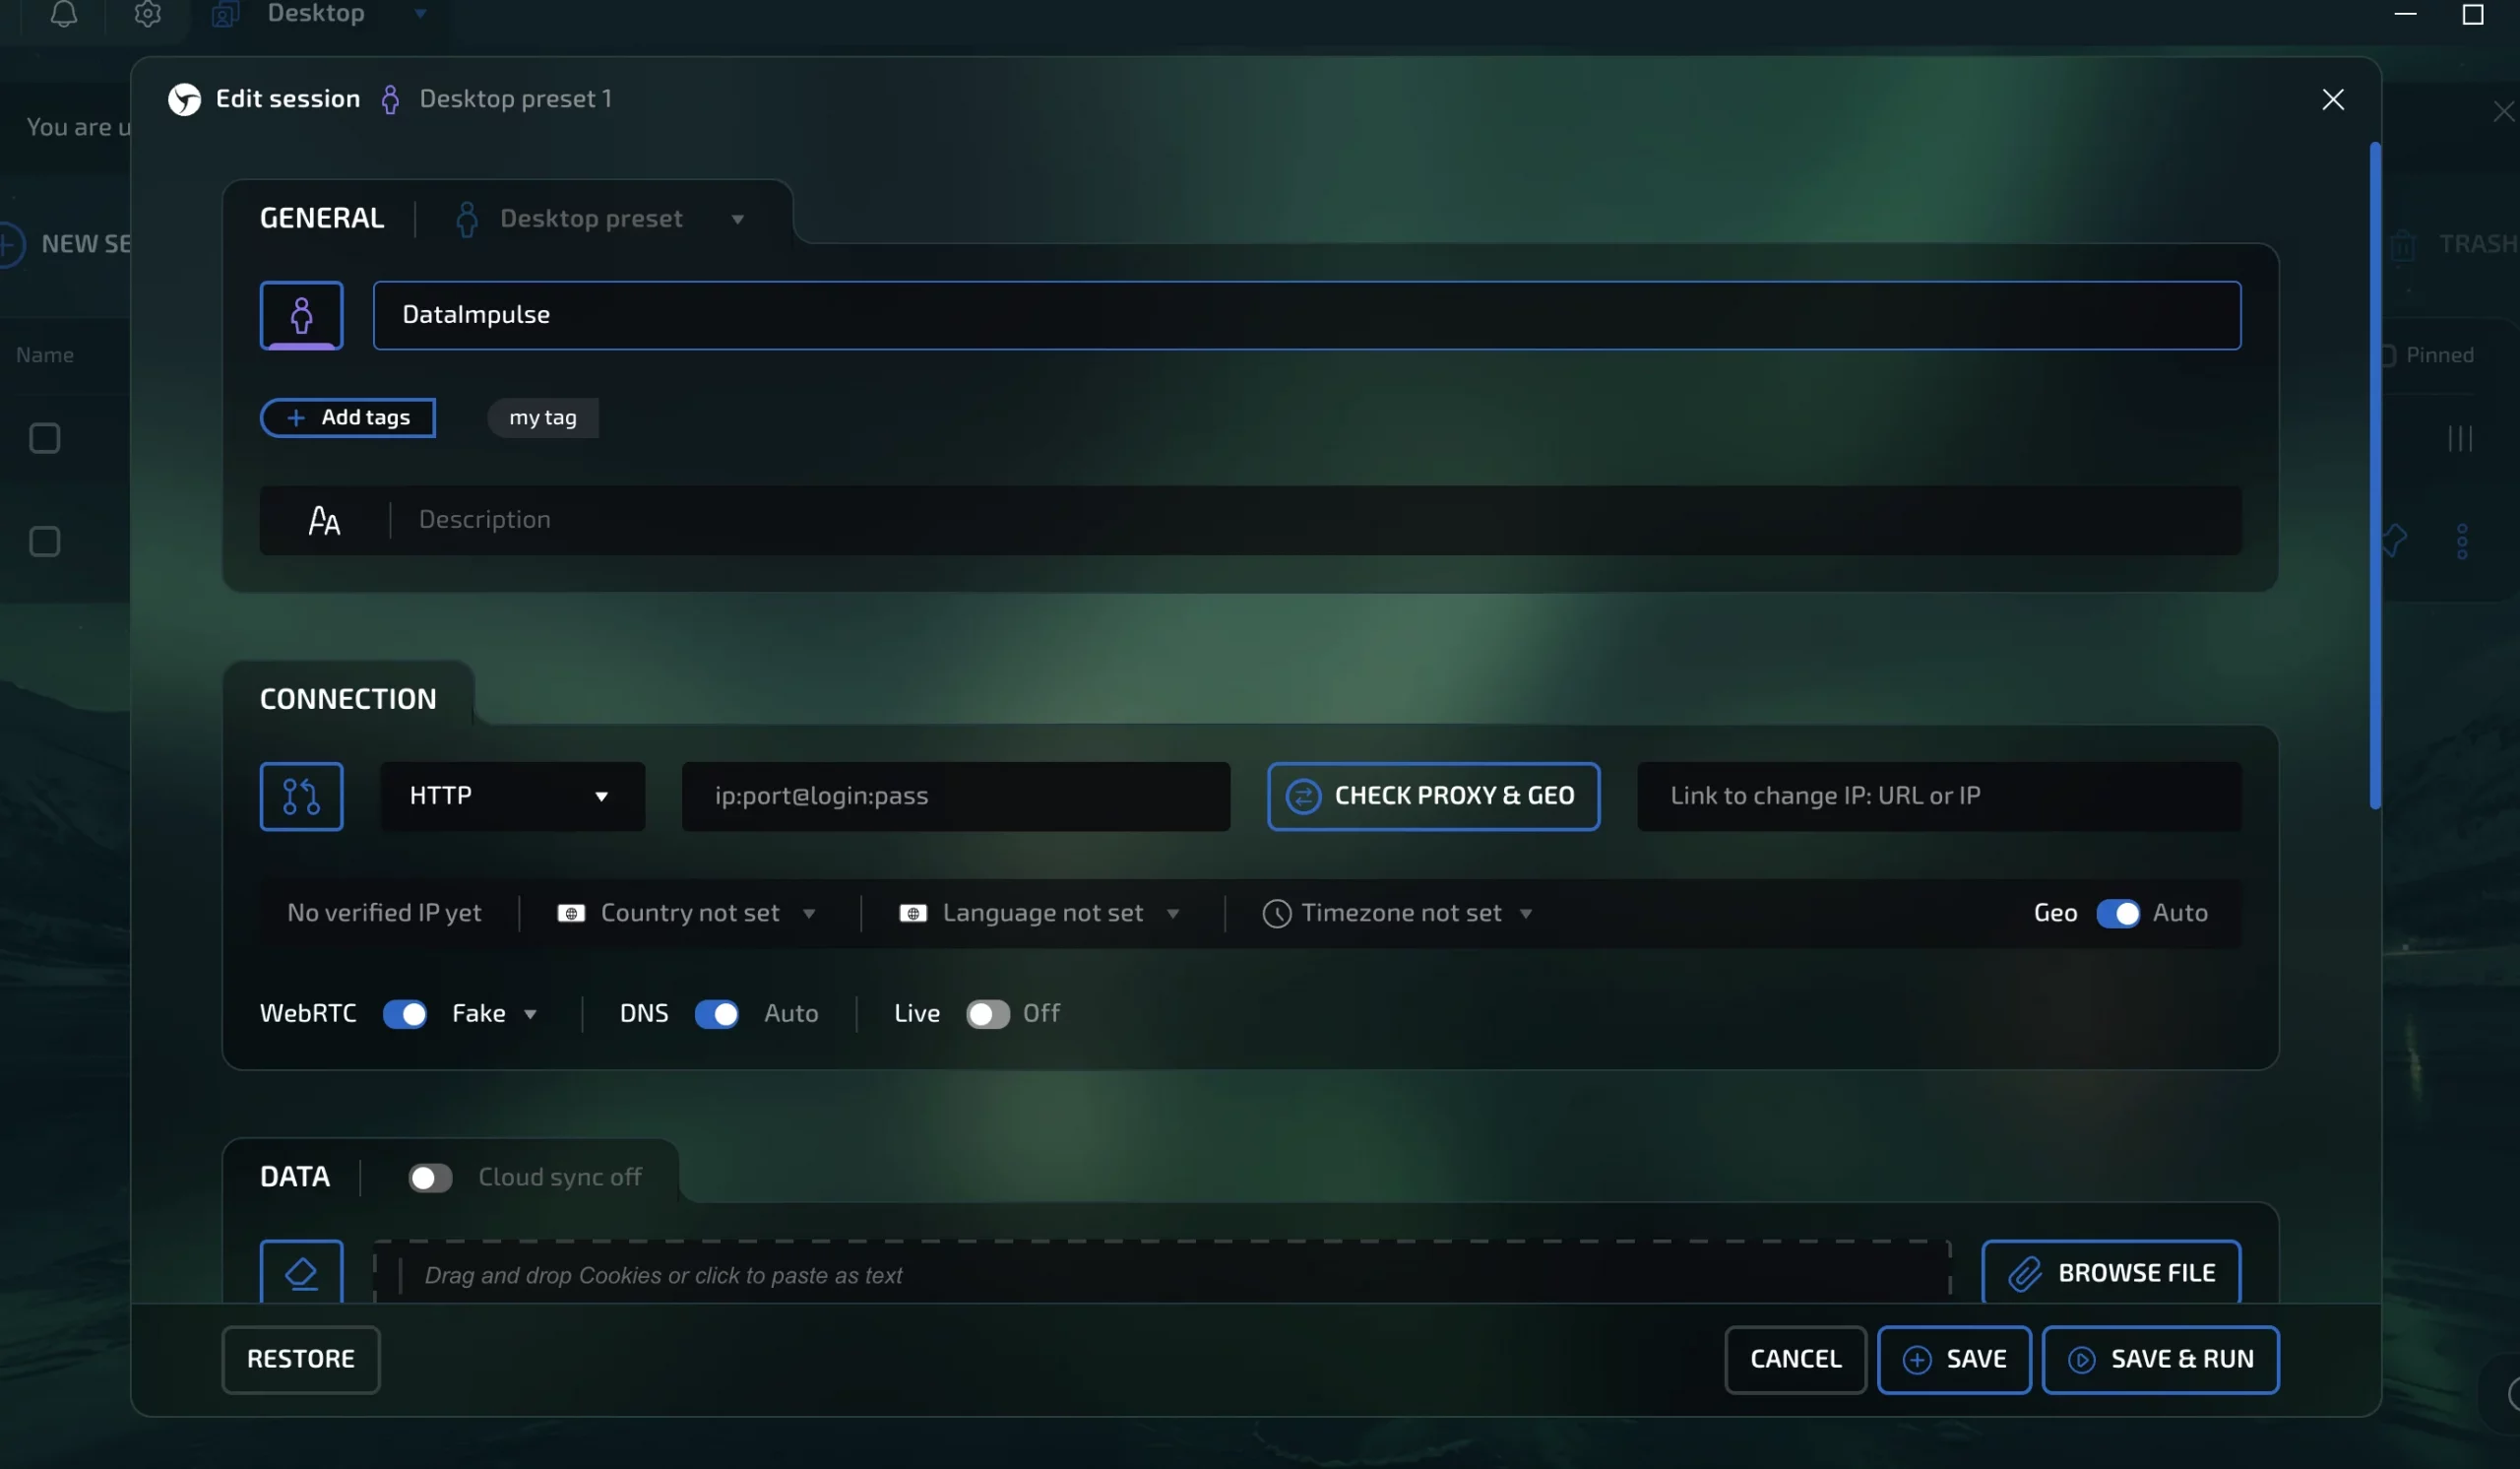
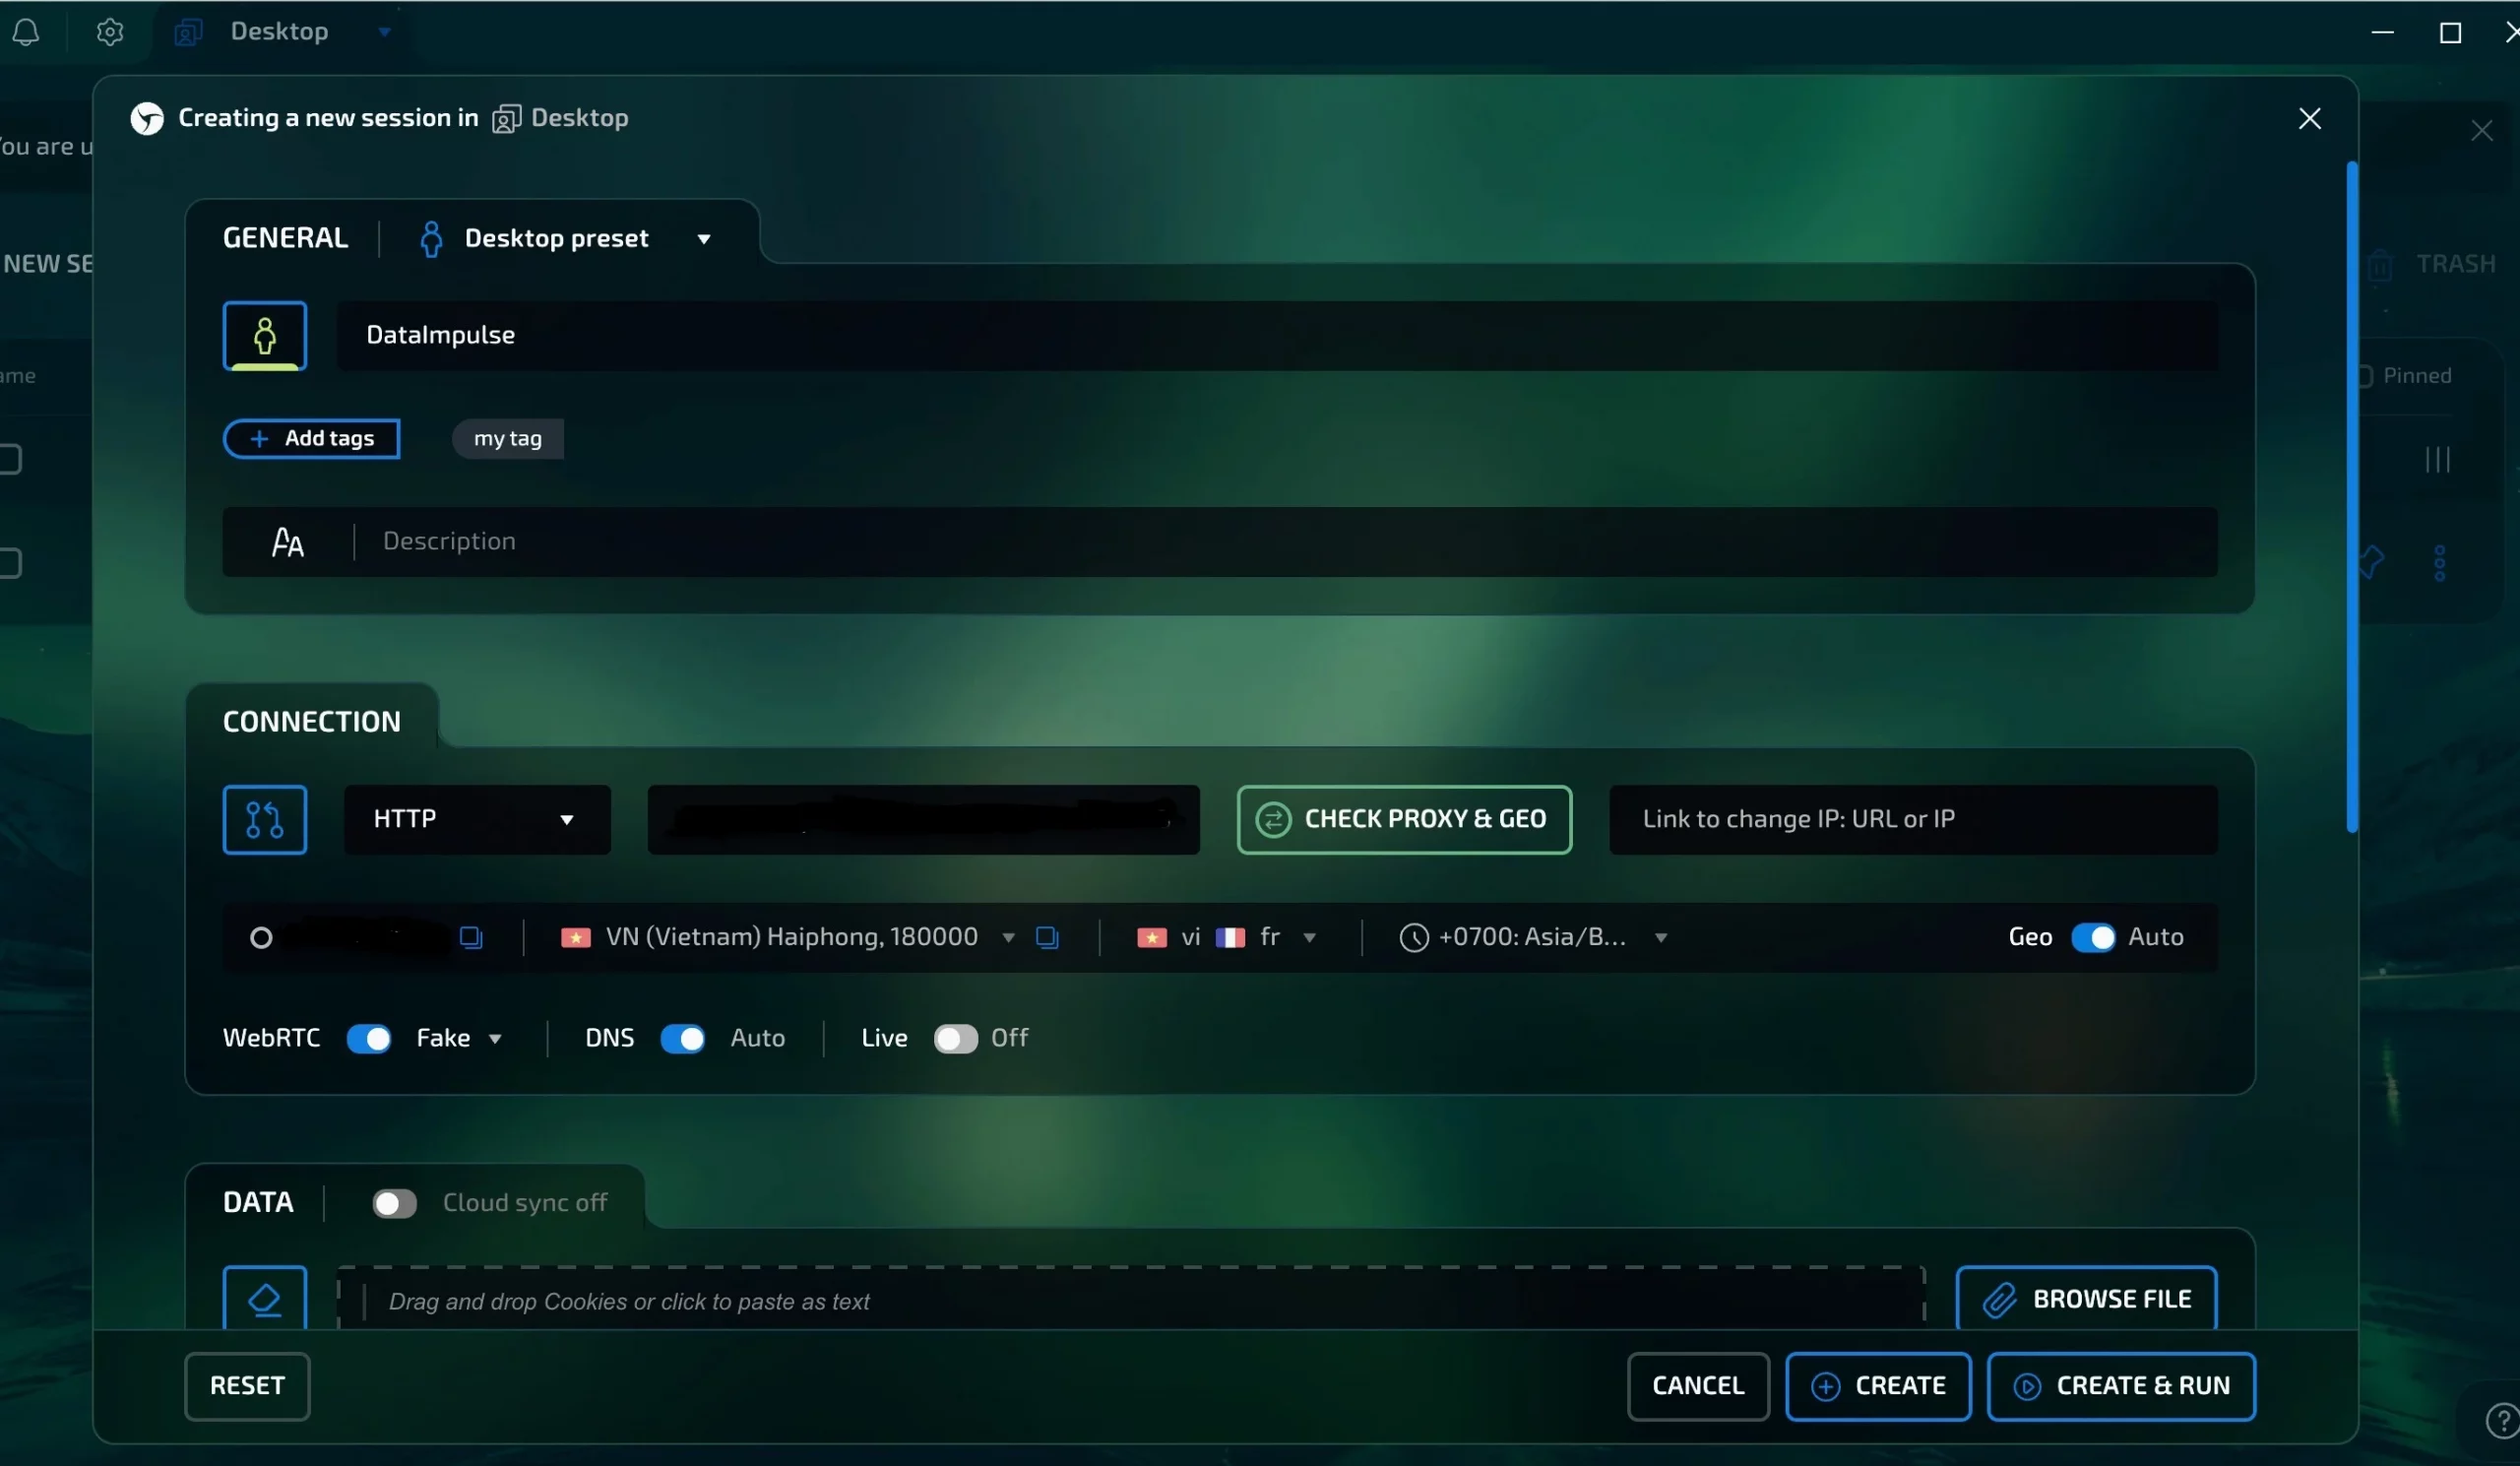
5. When you create a new session, a customization window pops up. Name it (maybe after your proxy) and add an optional description or tags. Linken Sphere offers two ways to set up a proxy; using “Setup Provider” under the “Default Provider” menu saves it for later. We’ll use HTTP. Select your proxy type, enter the details, and click Check Proxy & Geo. A green button and region info mean it’s working.
If you use DataImpulse, log in to your DataImpulse dashboard and find the proxy details under your Plan. *You’ll see such a format in Linken Sphere 2- ip:port@login:pass
ip – the IP address of the proxy server
port – the port used to connect
login – the username for proxy authentication
pass – the password for proxy authentication
!!!When using DataImpulse proxies, enter a proxy hostname instead of a traditional IP address.
You can find the connection hostnames in our documentation. Or simply copy them directly from your dashboard for quick setup.
Or simply copy them directly from your dashboard for quick setup.
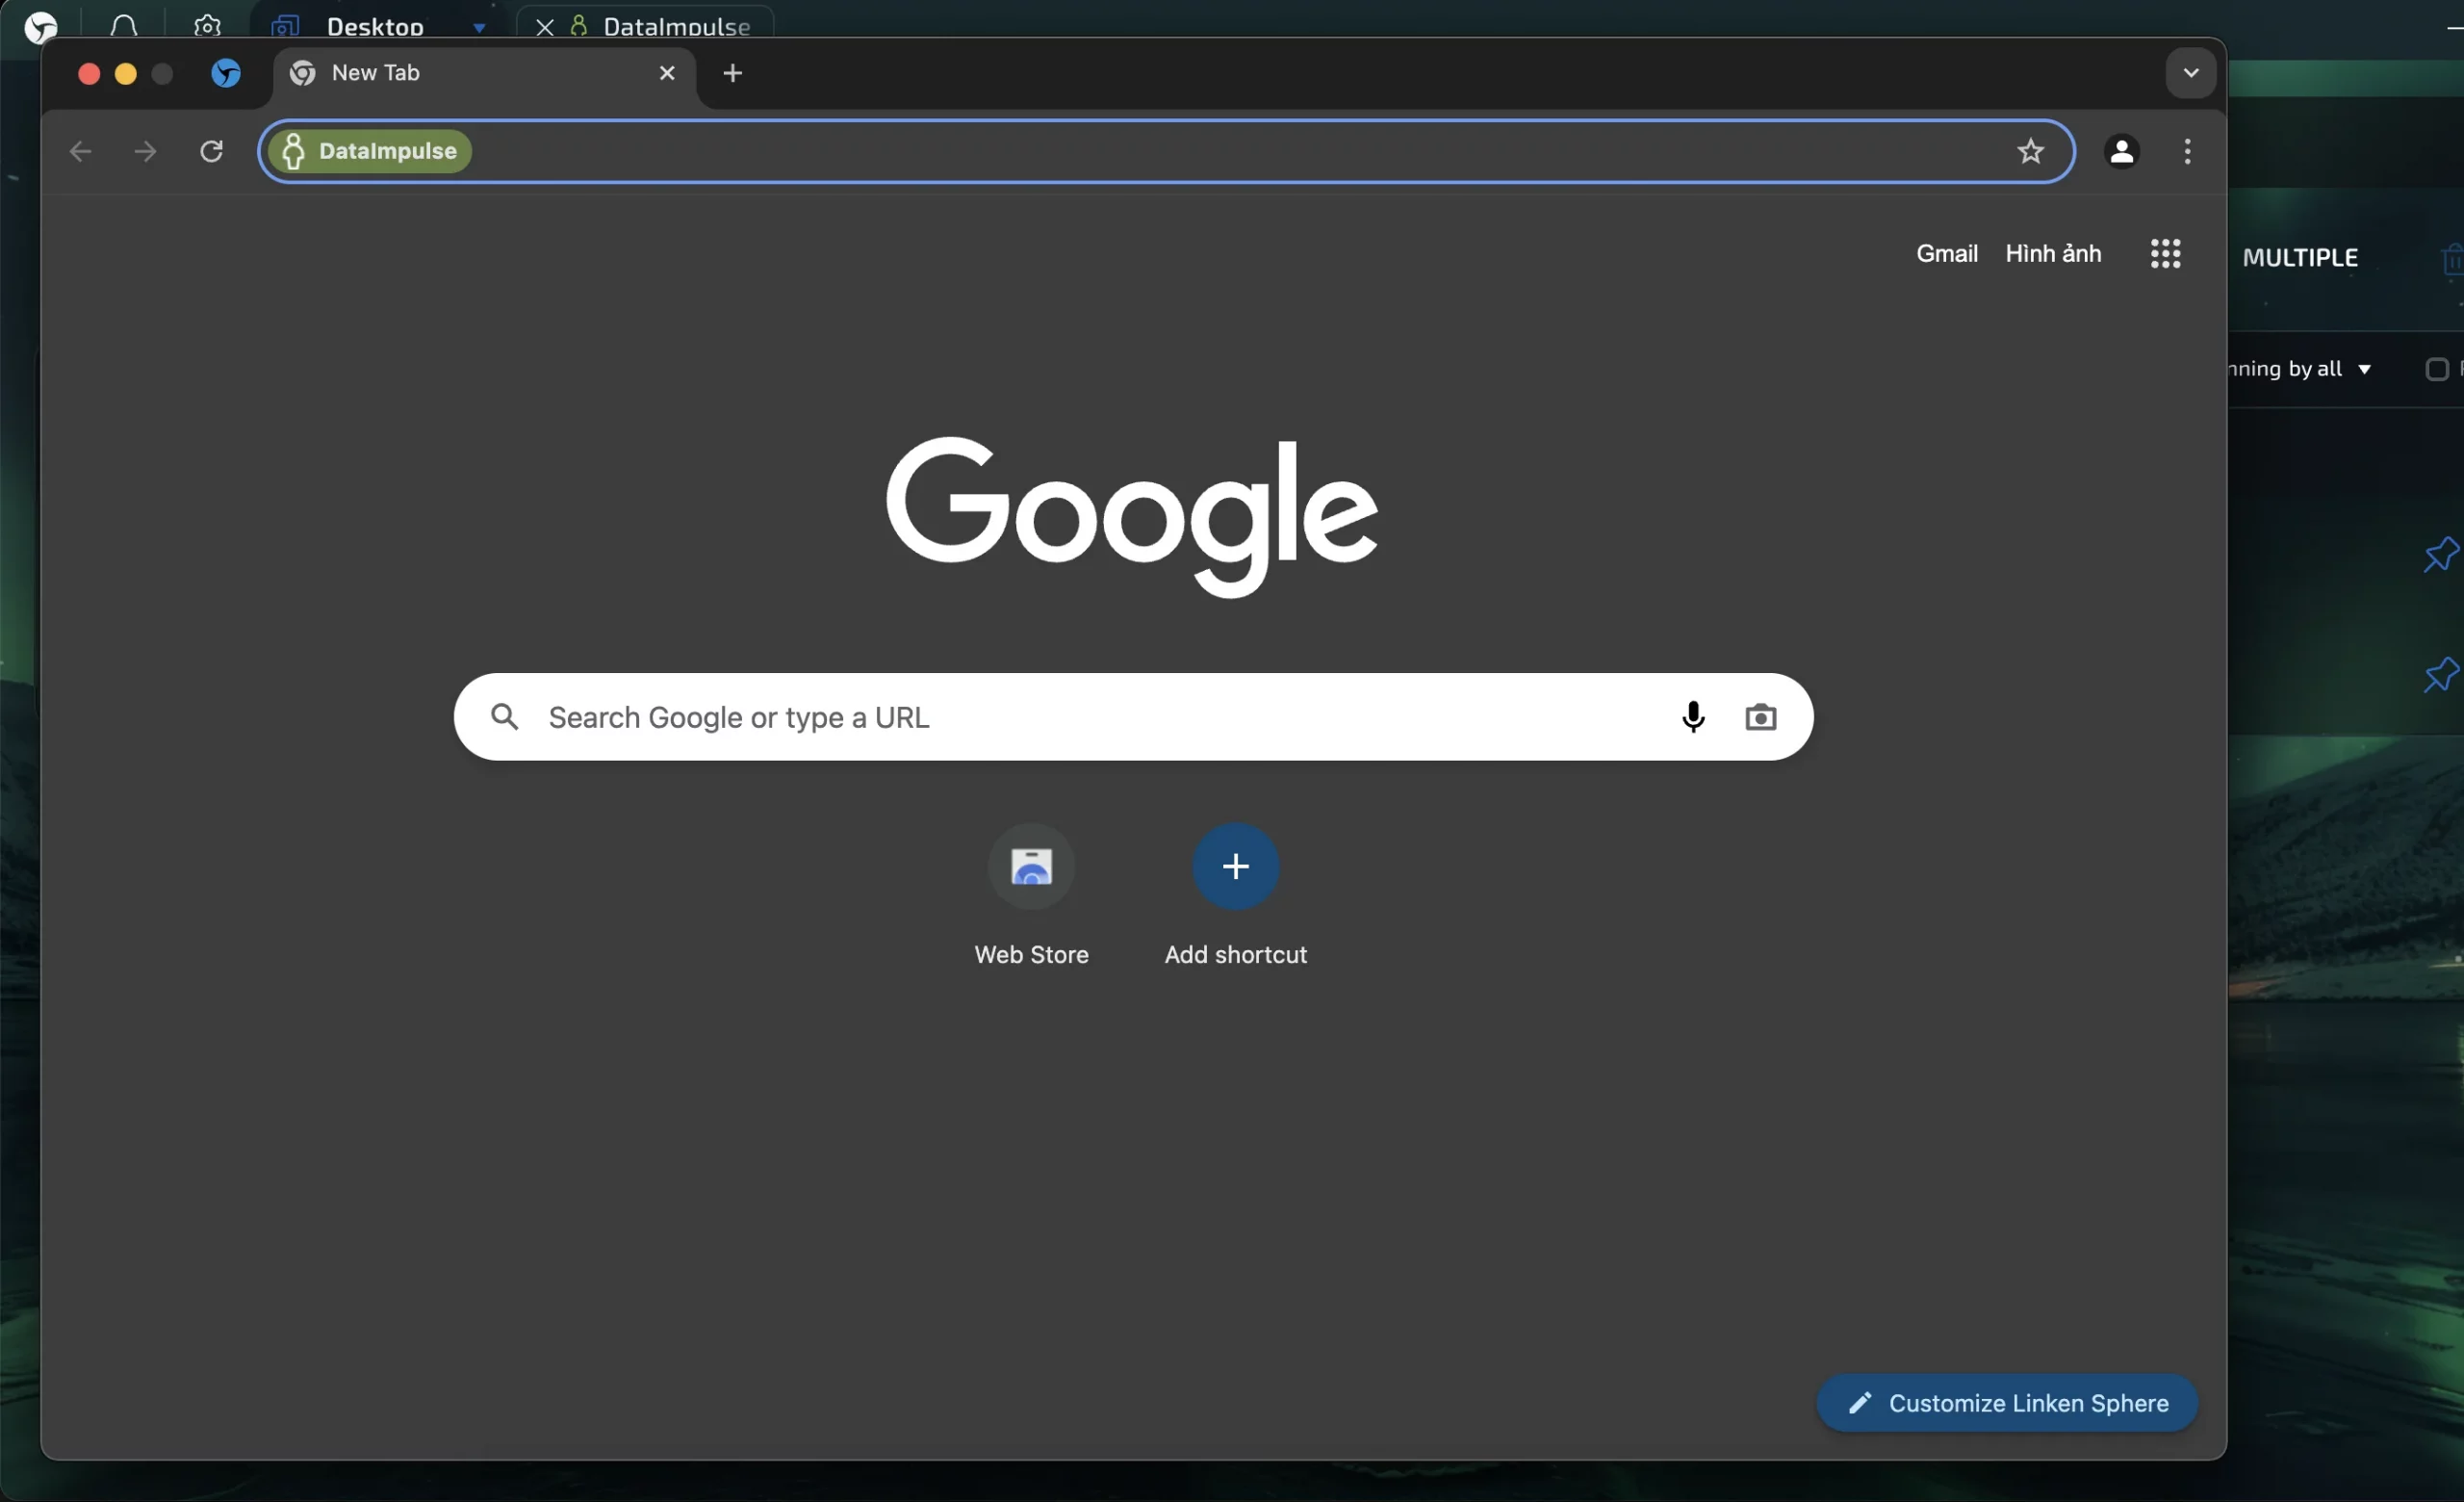
6. Click Create & Run to launch a secure, undetectable Chromium session.
Once you see your session listed, just pick it and click Start.
And that’s it. Now you can multitask without worrying about interruptions or being blocked.

