Integrating proxies with WebScraping.AI
While scraping provides the necessary data to make informed decisions about your business, it often requires quite complex equipment and comes hand in hand with bans. WebScraping.AI is an easy-to-use yet powerful tool that helps you extract necessary data. It’s suitable for businesses of different sizes, and you can use it even if you aren’t an experienced coder. Powering it with DataImpulse proxies will help you get under the radar of anti-bot systems and obtain the information you’re hunting for.
How to configure DataImpulse proxies in WebScraping.AI
WebScraping.AI is a versatile tool that you can use with numerous languages, including JS, Python, and Ruby. You can find a more detailed explanation in the WebScraping.AI API documentation. In this tutorial, we will use the “curl” command to integrate proxies. However, even if you work with another language, the principle is still the same. Pay attention that if you use Windows and your version is earlier than Windows 10, version 1803, you may need to install curl manually.
First, let’s check your current IP. Lately, it will help us ensure that the proxy works. Just visit https://api.ipify.org, and you’ll see your address.
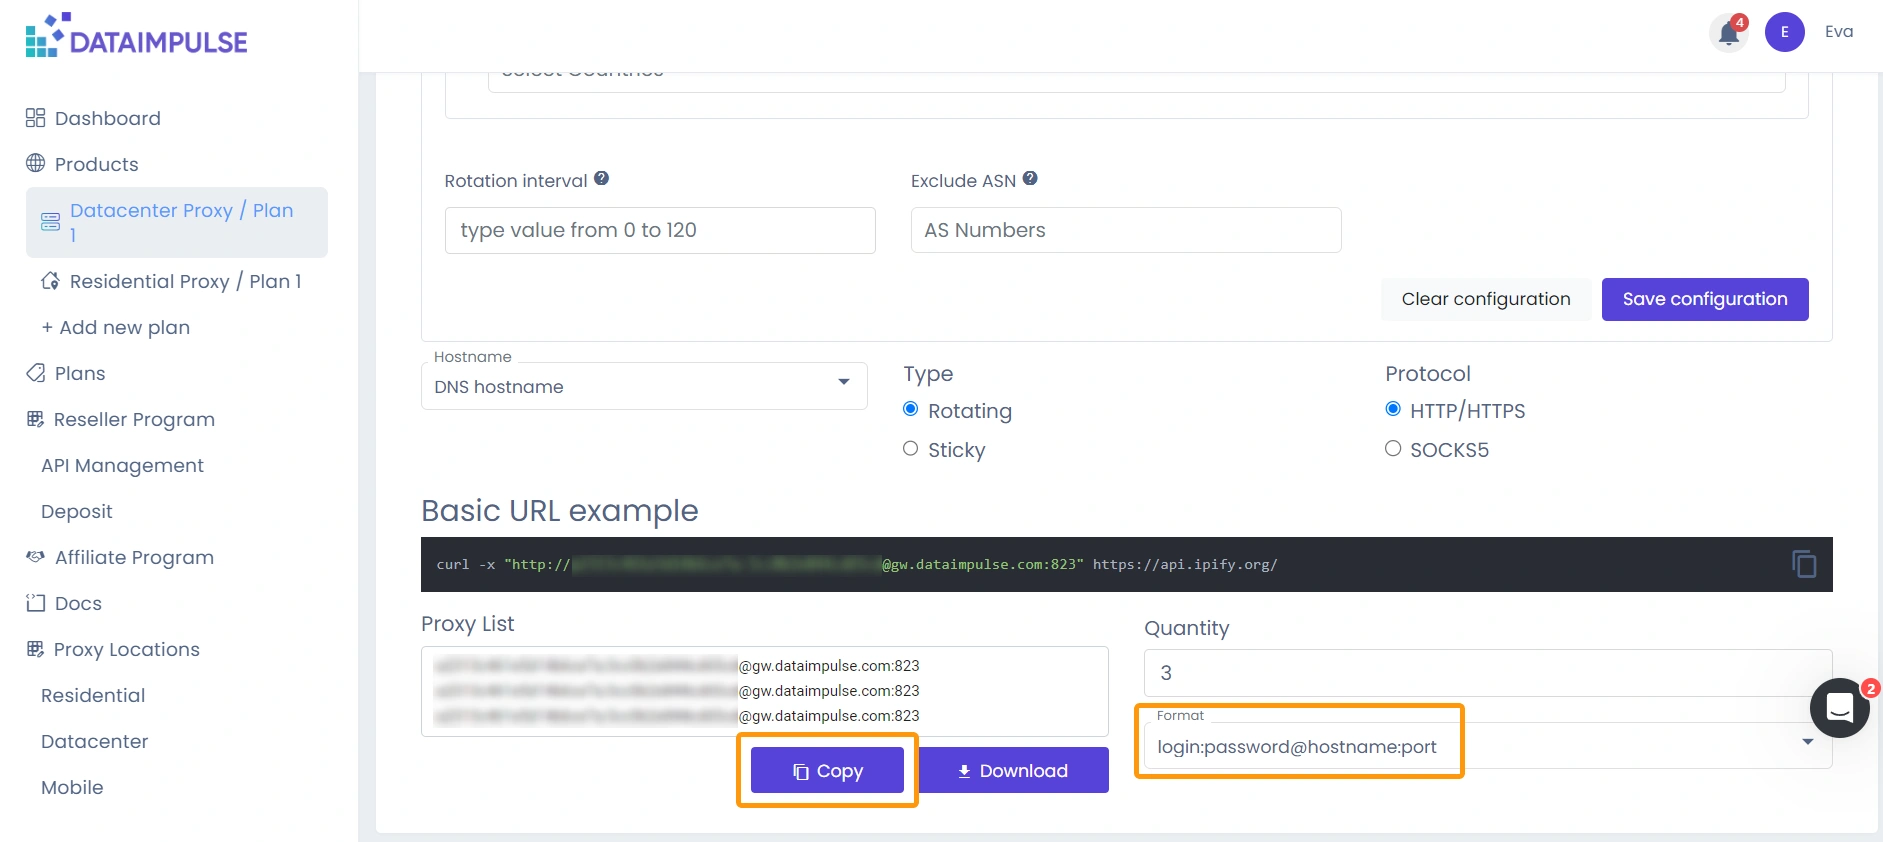
- Go to your DataImpulse account, visit the necessary plan tab, configure settings, and save them. Here is a detailed guide on how to manage your dashboard. As WebScraping.AI requires a specific proxy format, don’t forget to scroll down the page and change the proxy format to “login:password@hostname:port.”
- Switch to your WebScraping.AI dashboard and copy your API key.
- Go to the API documentation and learn what information you can extract. In this tutorial, we’ll get the HTML code of a page. You’ll also find query examples there. Remember that every query must include your API key. To use DataImpulse proxies, we’ll include the “custom_proxy” parameter. So, our query will look like:
curl
“https://api.webscraping.ai/html?api_key=[your_API_key]&custom_proxy=http://[login]:[password]@gw.dataimpulse.com:823&url=https://api.ipify.org/”
If you change an order of parameters, it’s also fine:
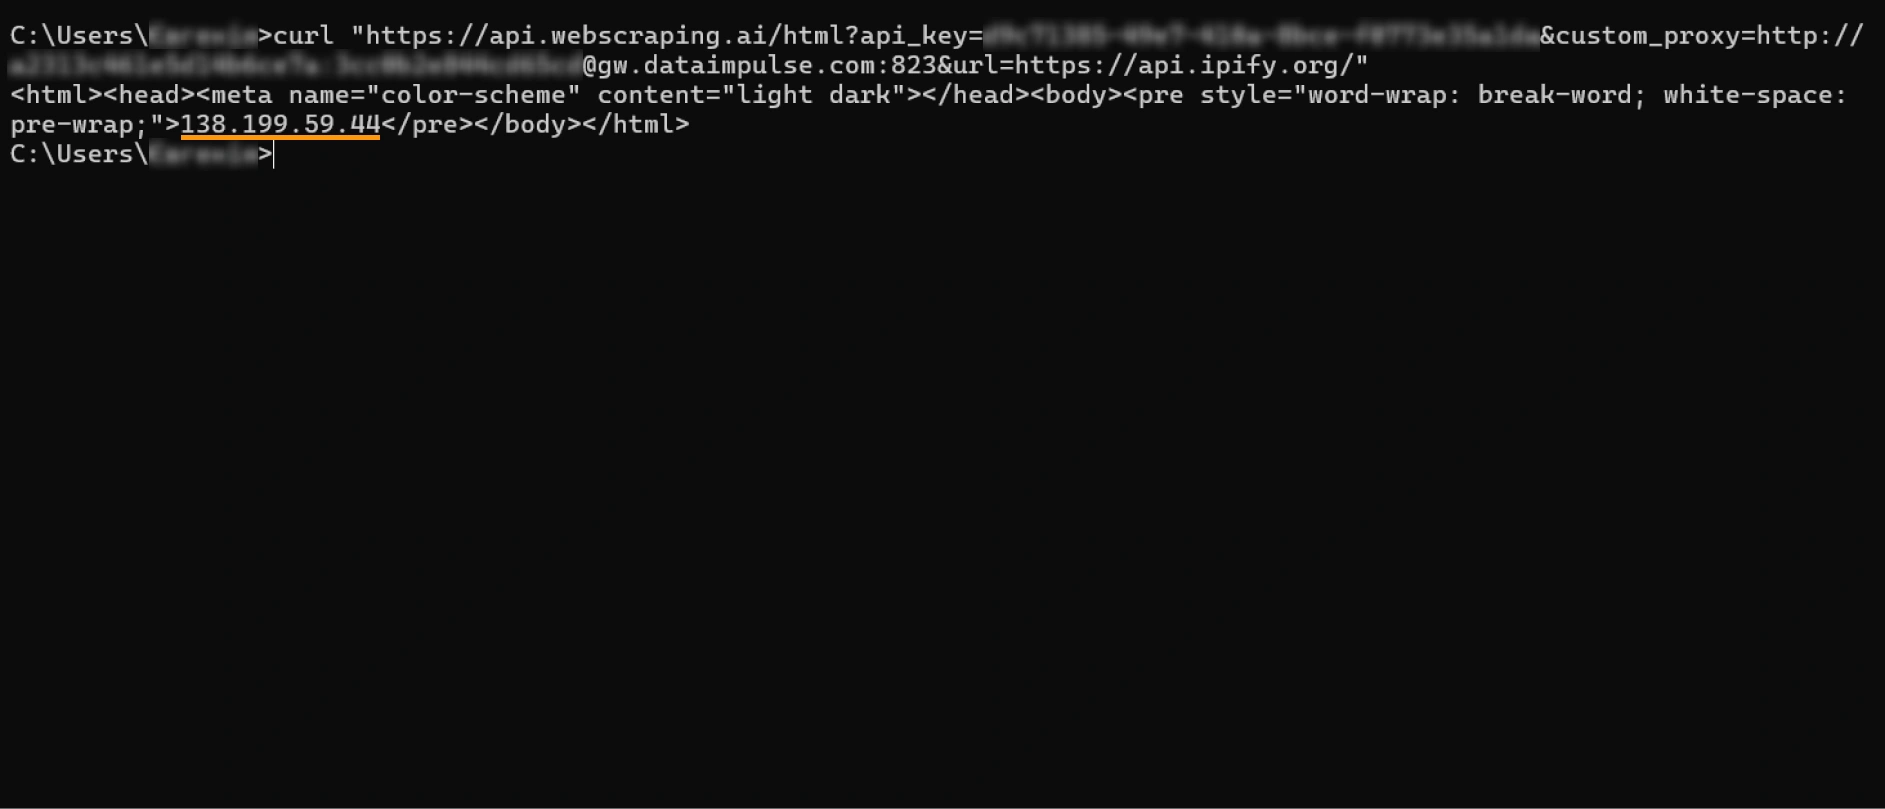
Enter the command into the Command line or Terminal and press “Enter.” You’ll see some data, including your current IP. It’s not the same as in the beginning, meaning that you have configured everything successfully.
That’s it! Now, you can get the most out of AI-powered web scraping without getting caught by websites’ anti-bot systems.


