How to get started with ClonBrowser and integrate DataImpulse Proxies

What is a ClonBrowser?
ClonBrowser is an excellent anti-fingerprint web explorer. When a website wants to track your fingerprint, Clonbrowser gives it a fake mask fingerprint. This surfer supports HTTP, HTTPS, Socks5, and other proxy protocols.
Key advantages of using ClonBrowser:
- Multi-platform matrix management;
- RPA automation and crowd control tools;
- Supports team collaboration features;
- Quick setup and switch between different environments;
- Adaptable to various use cases;
- Secure multiple account management;
- Possibility to create a custom package;
- Integration with proxies and much more!
Using DataImpulse Proxies with ClonBrowser
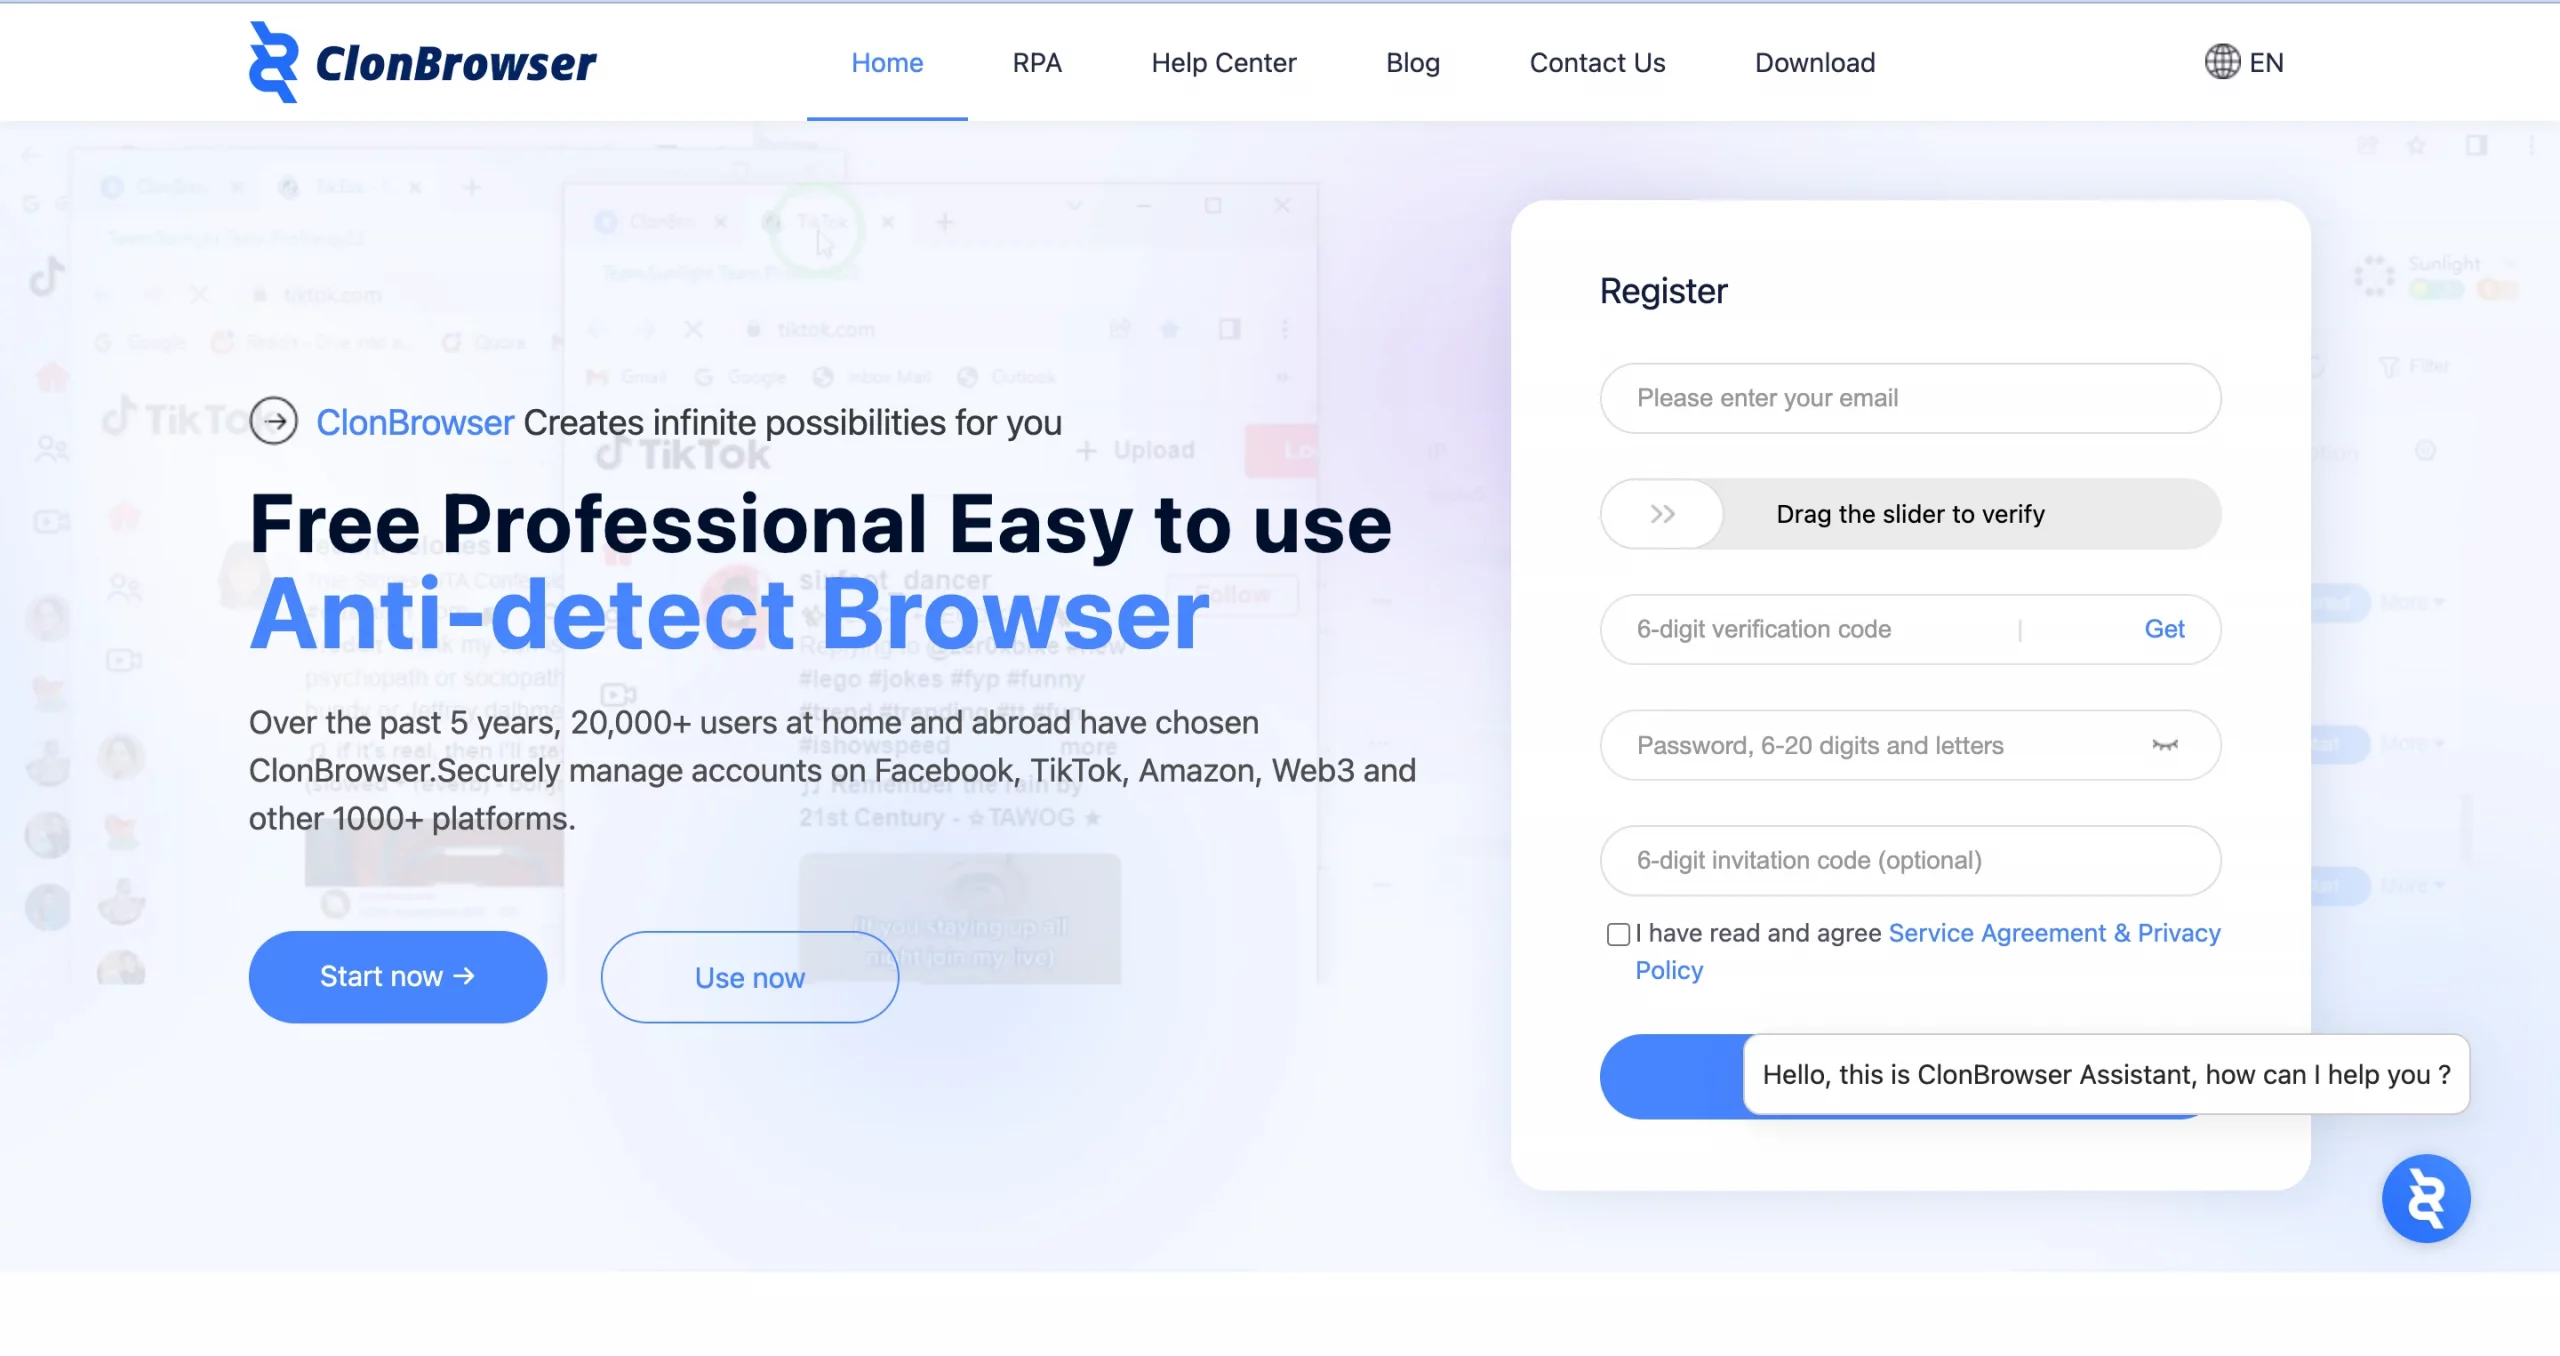
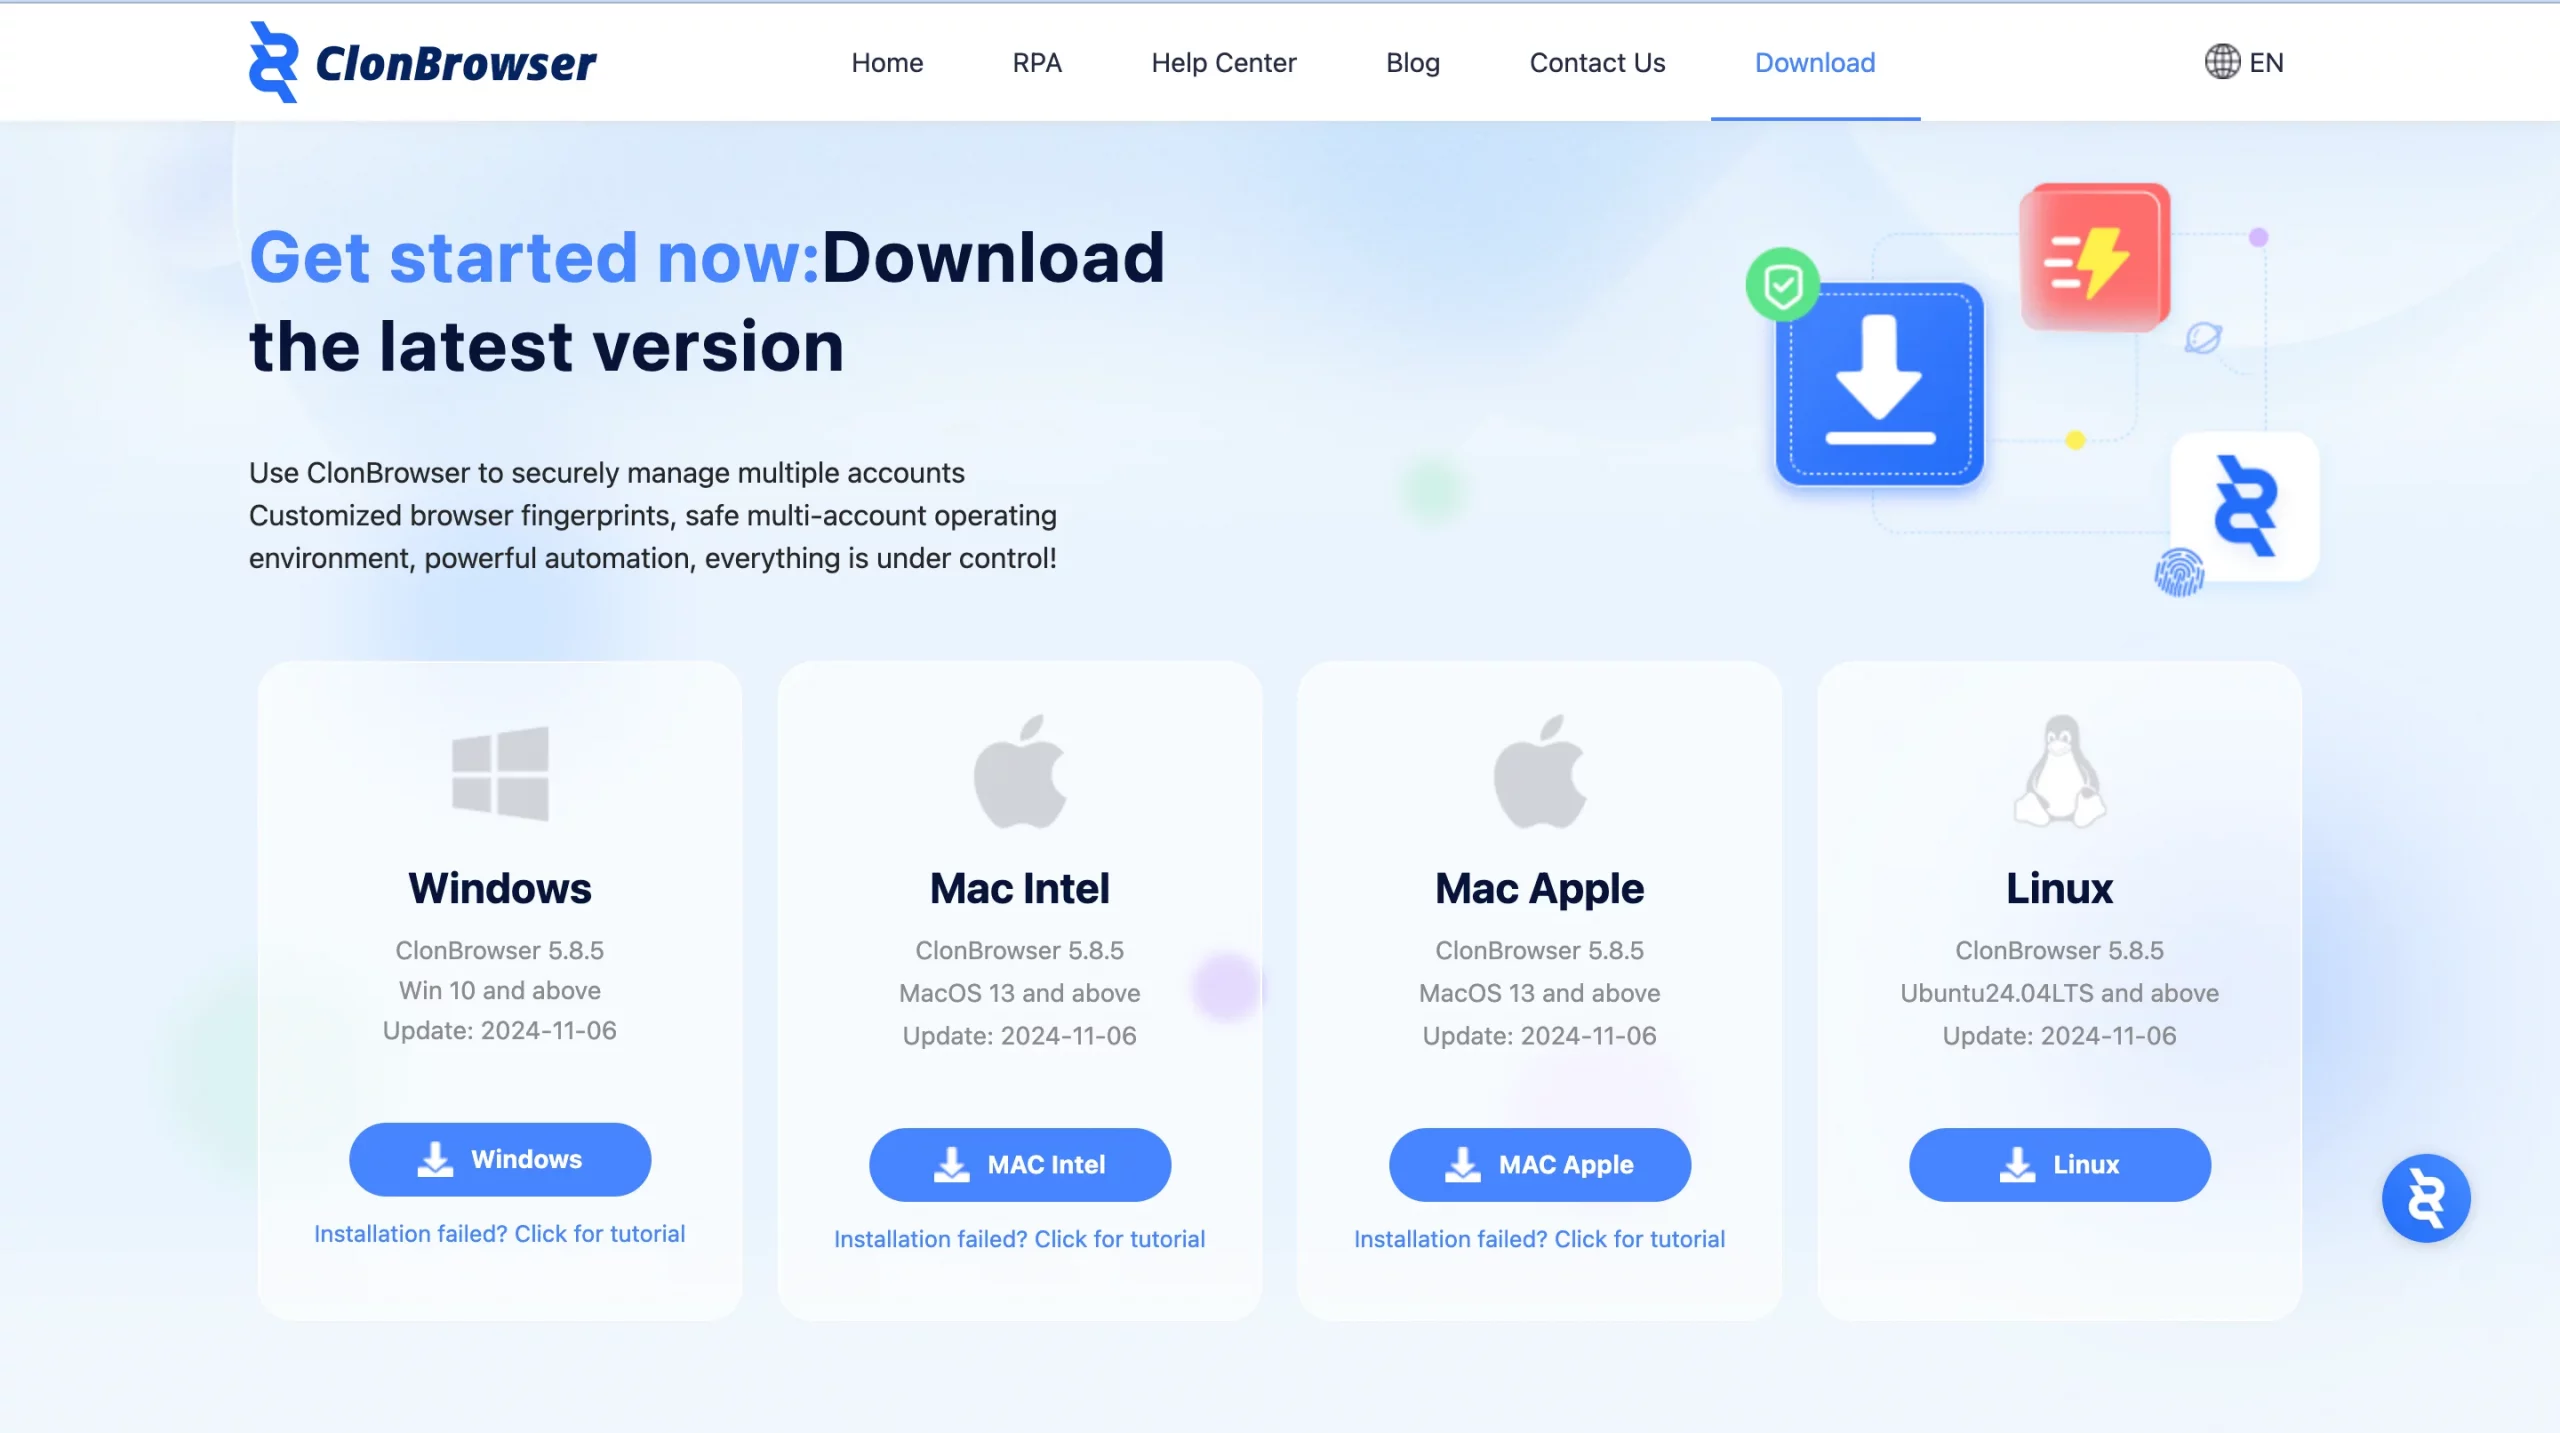
1. Visit the official ClonBrowser website and download the software. Choose your OS and click the relevant button. In case of any issues, detailed tutorials are available on their site. We’re using the MacOS M-series version.
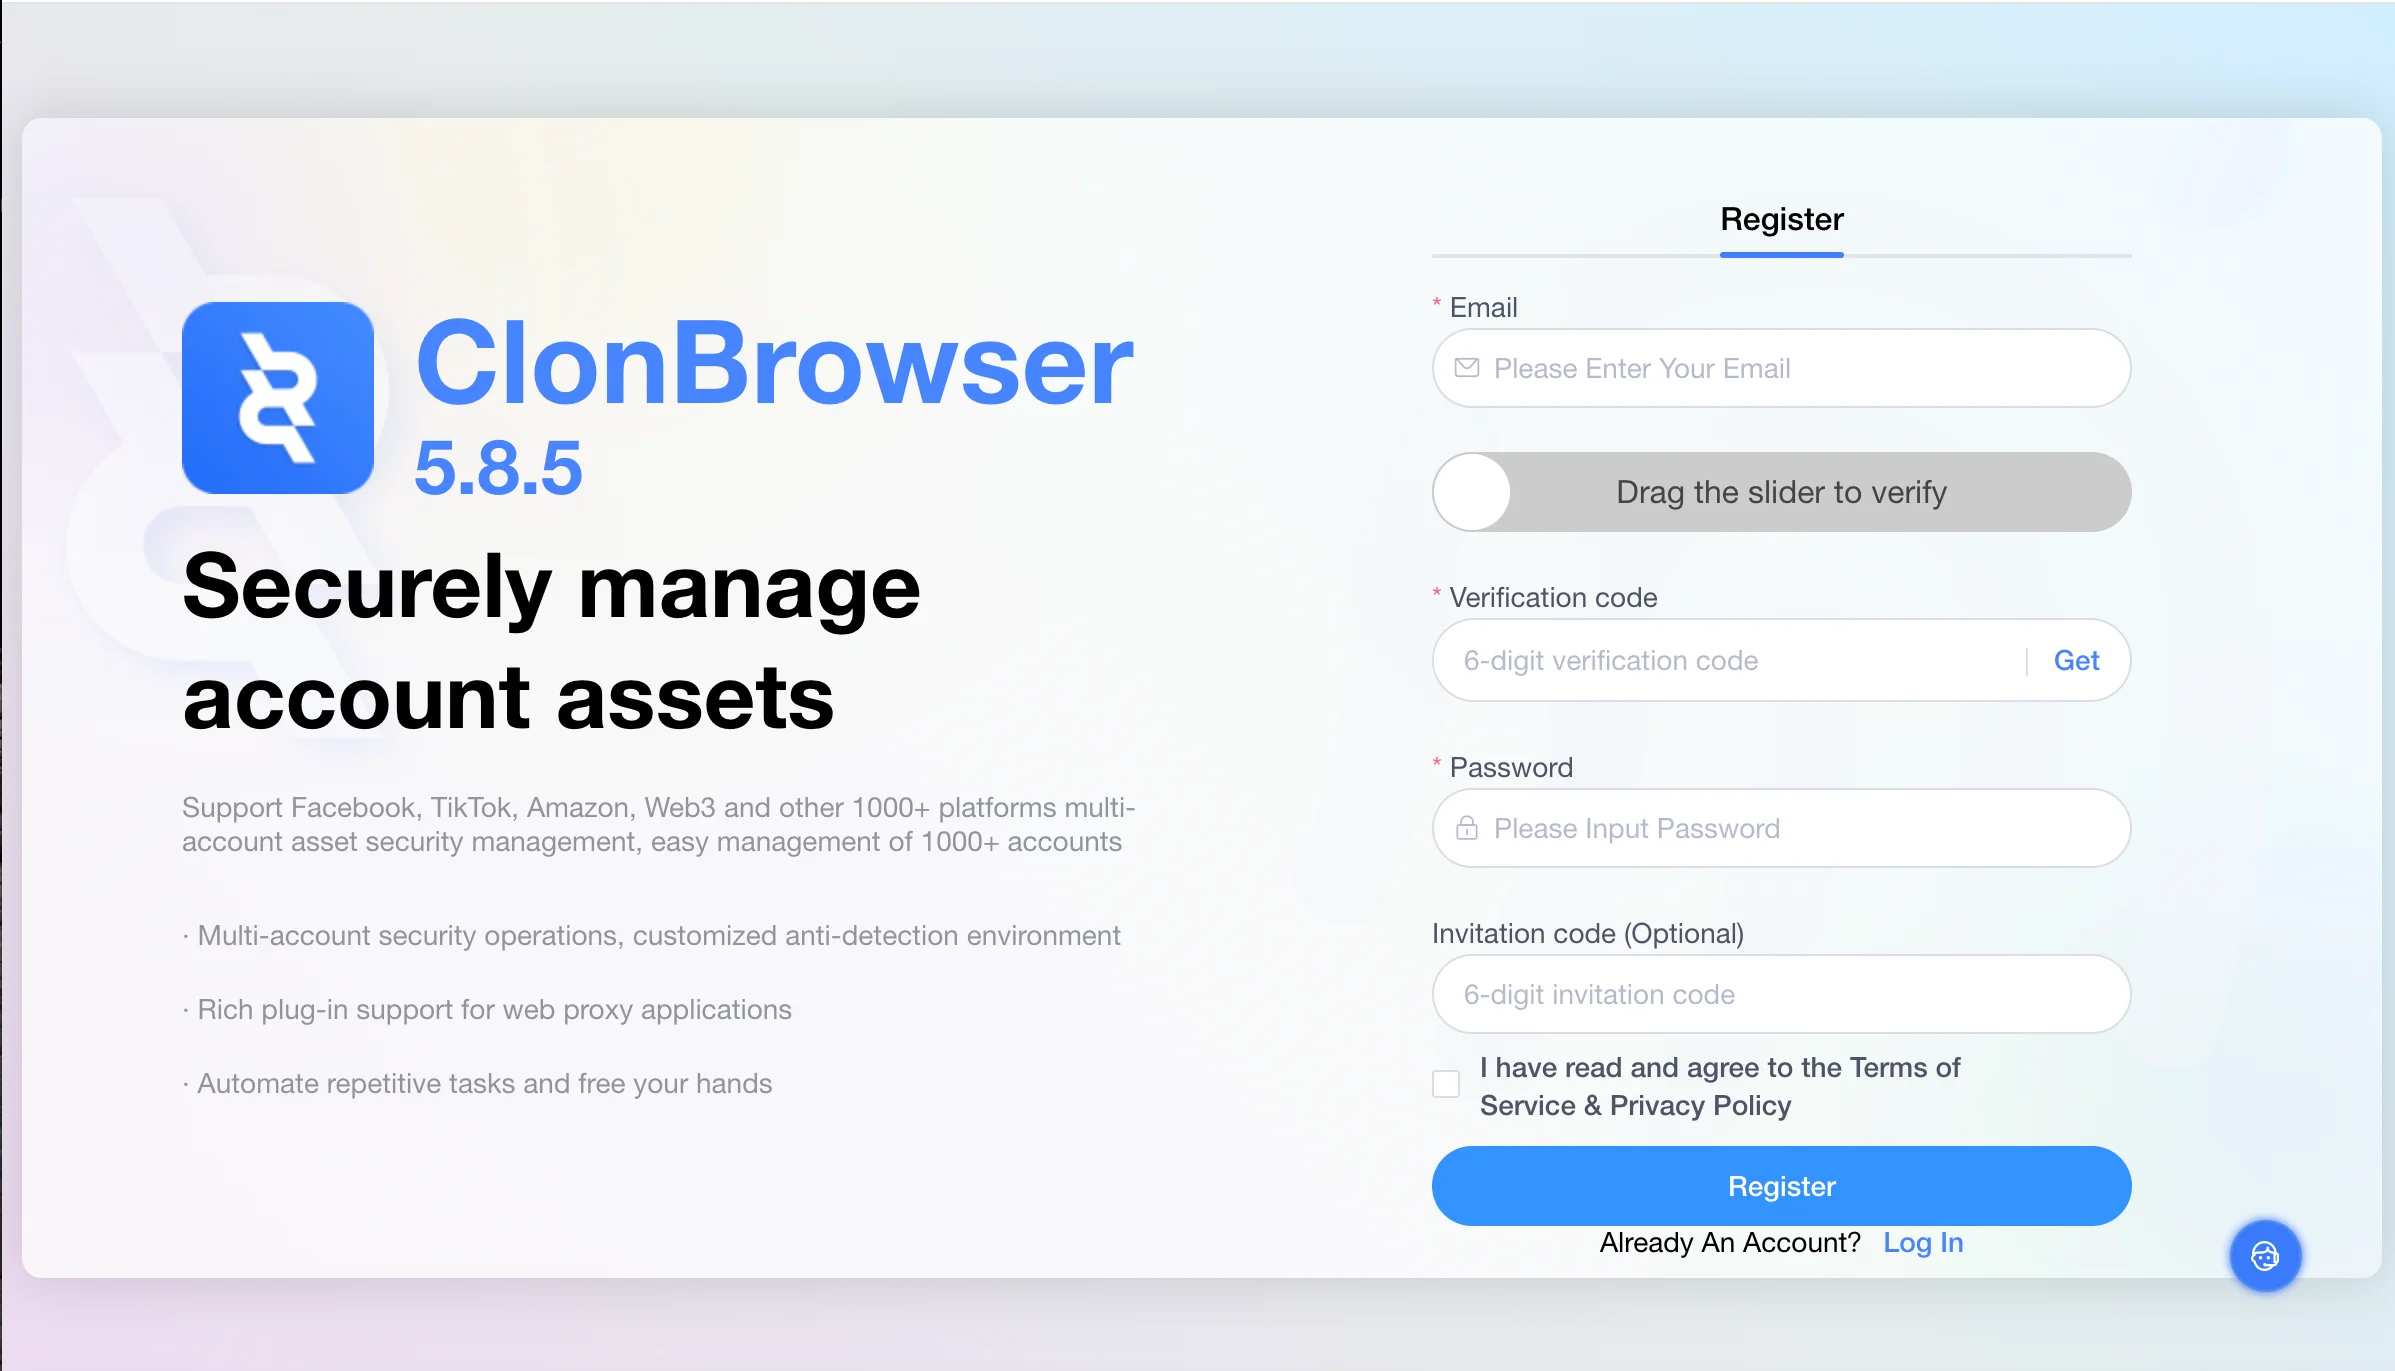
2. Open ClonBrowser after installation. Log in to your account or Register if you’re a new user. During registration, enter your email address and confirm it by dragging the slider. Then, request a 6-digit verification code. Create a strong password for better security.
Once you’ve created an account, you’ll be asked to answer a few questions, such as the purpose of using the browser, the number of accounts you plan to manage, and how you found out about ClonBrowser.
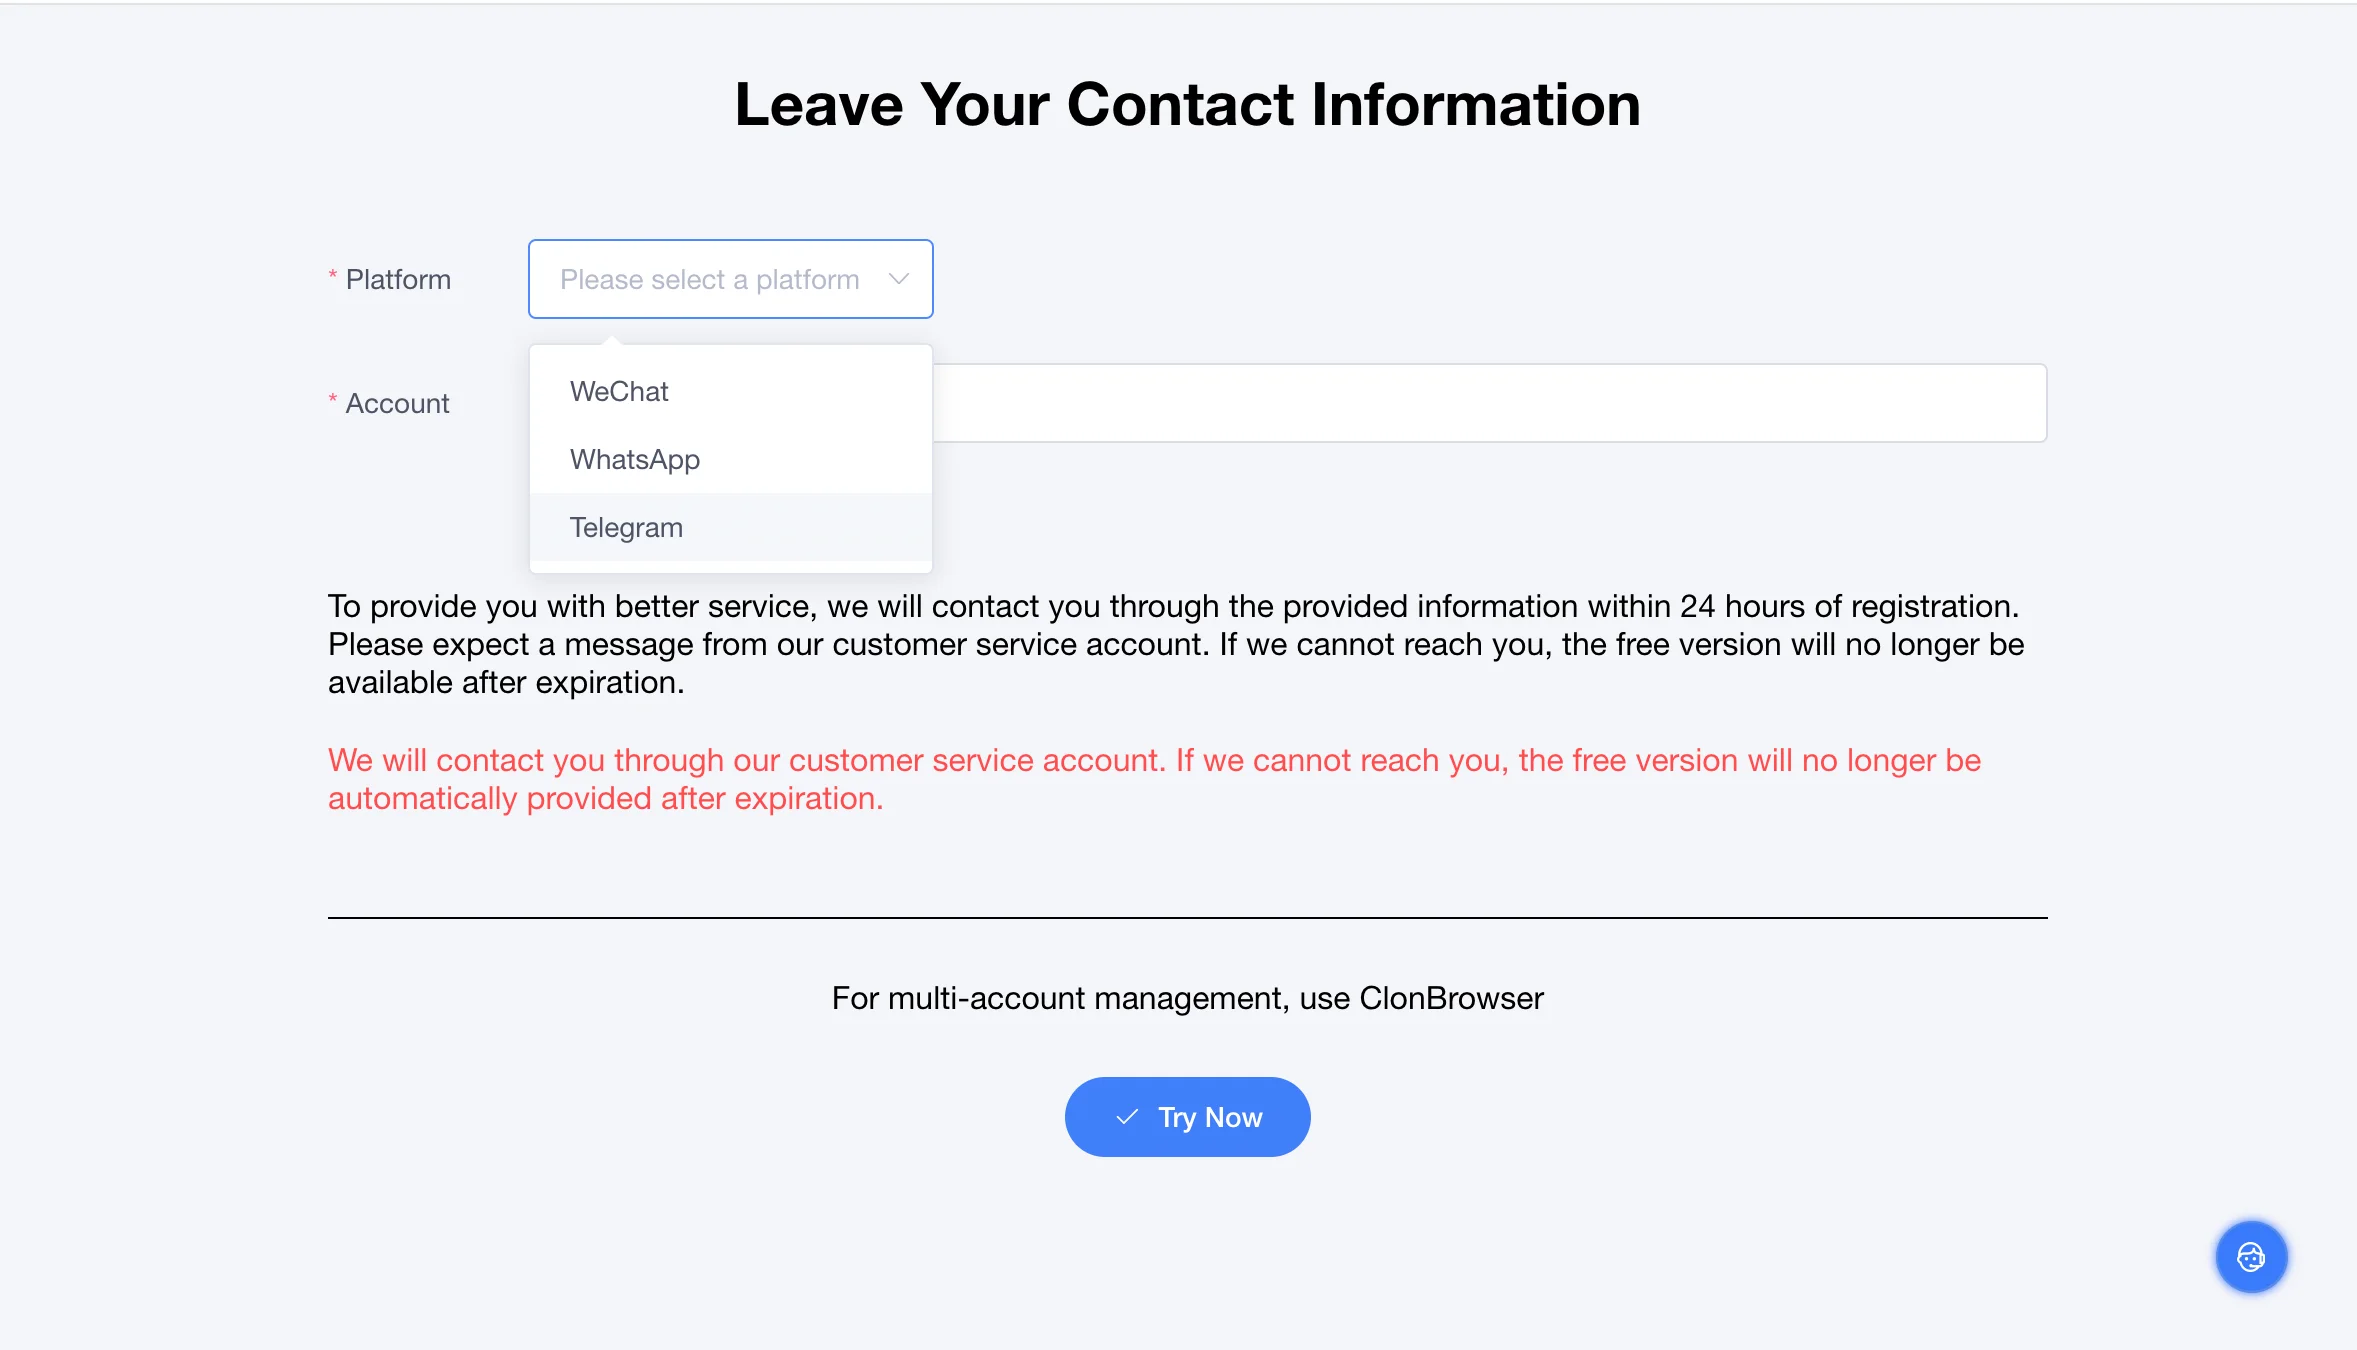
3. Leave your contact information. Select a preferable platform among Telegram, WhatsApp, or WeChat. Click Try Now.
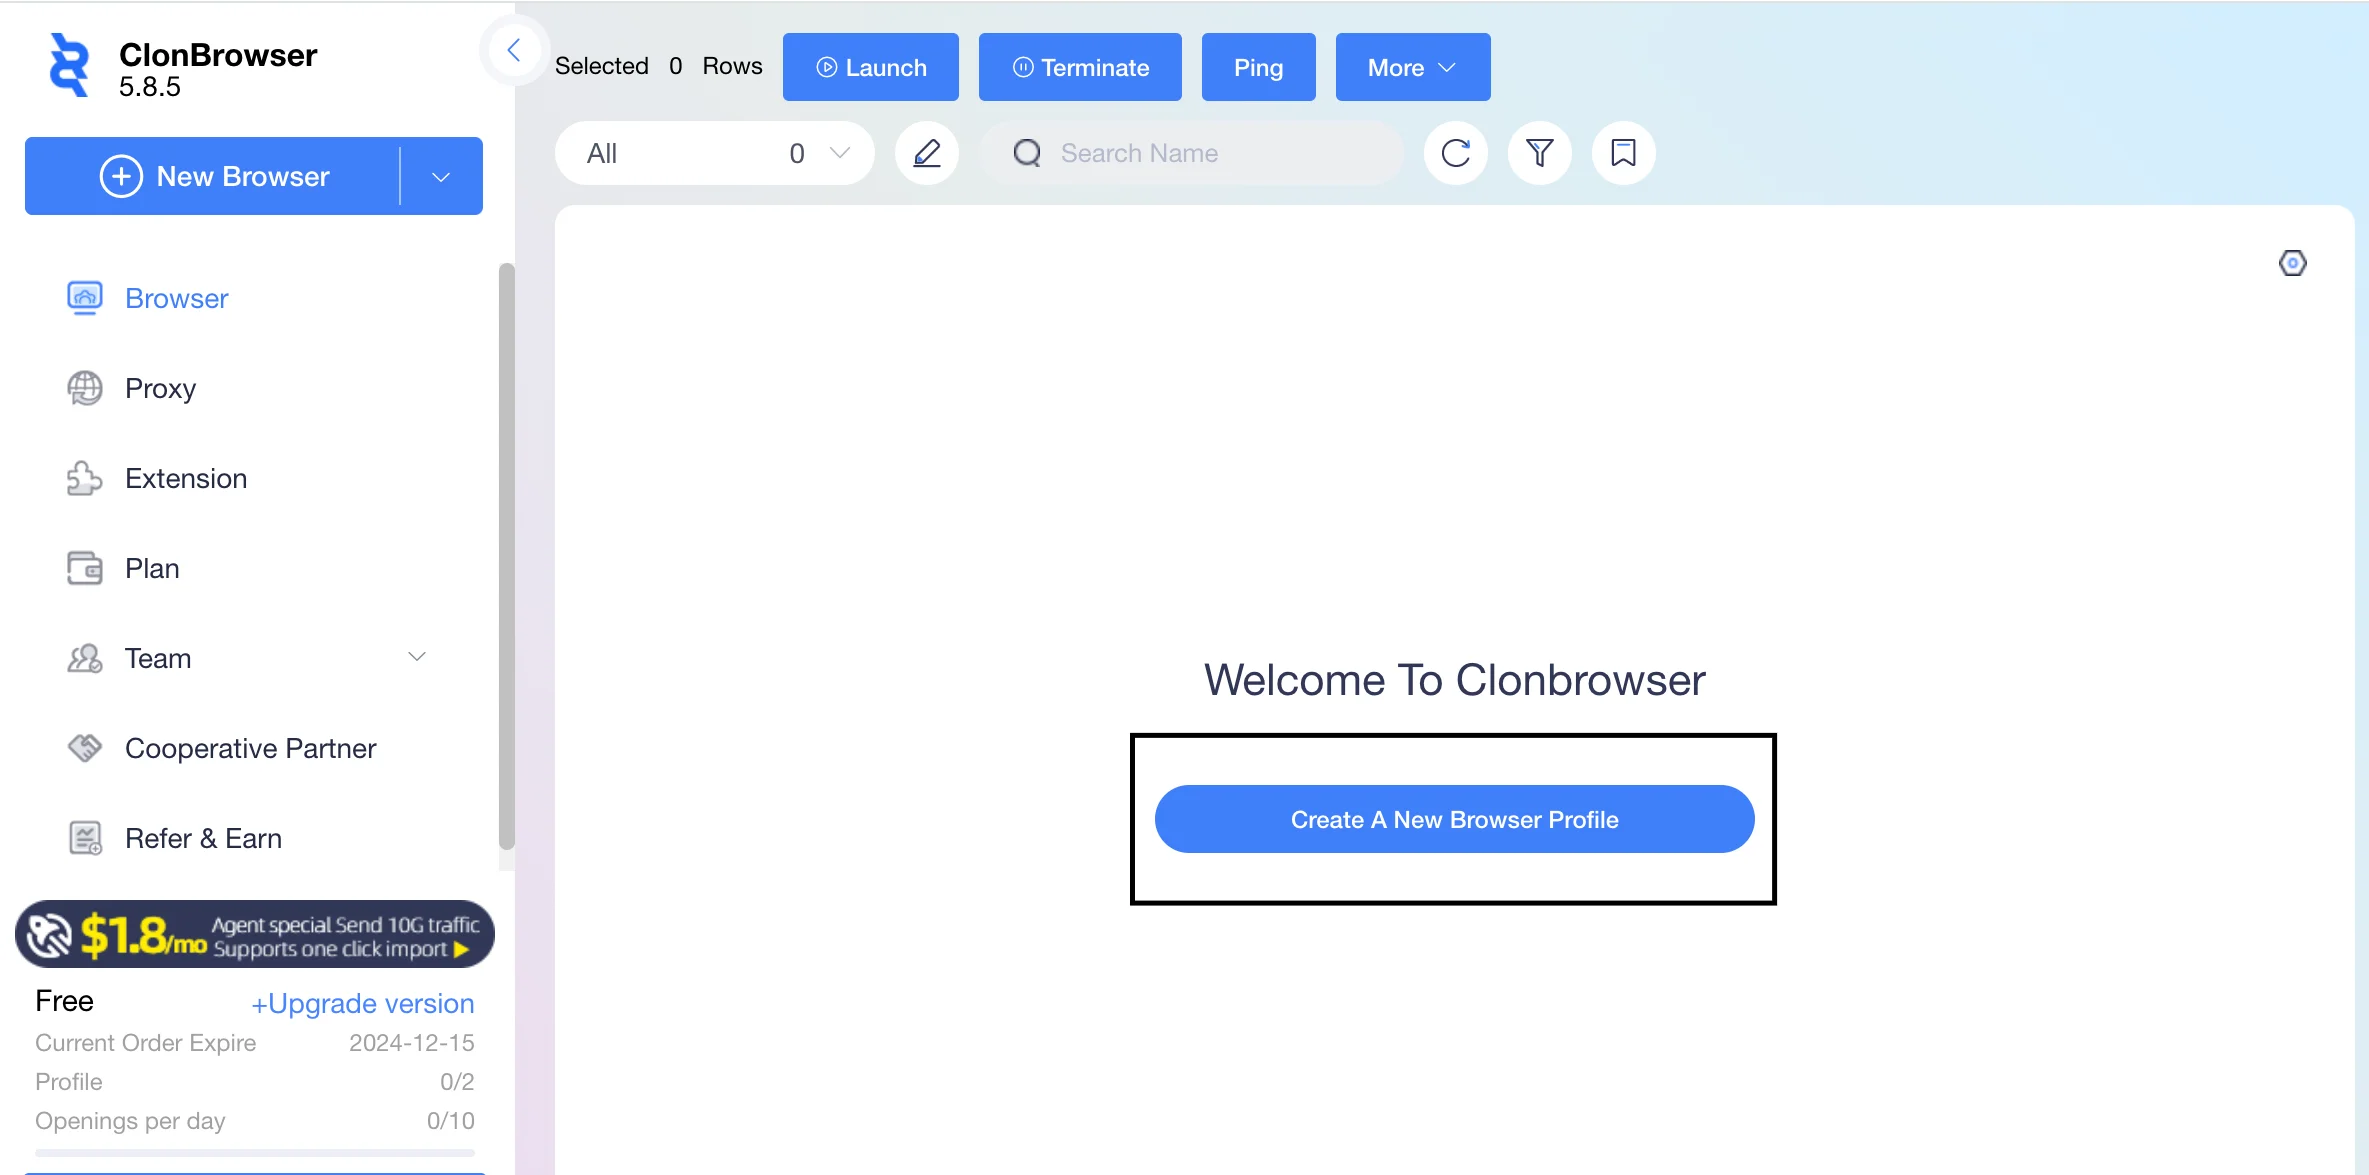
4. In the dashboard, click Create a new browser profile.
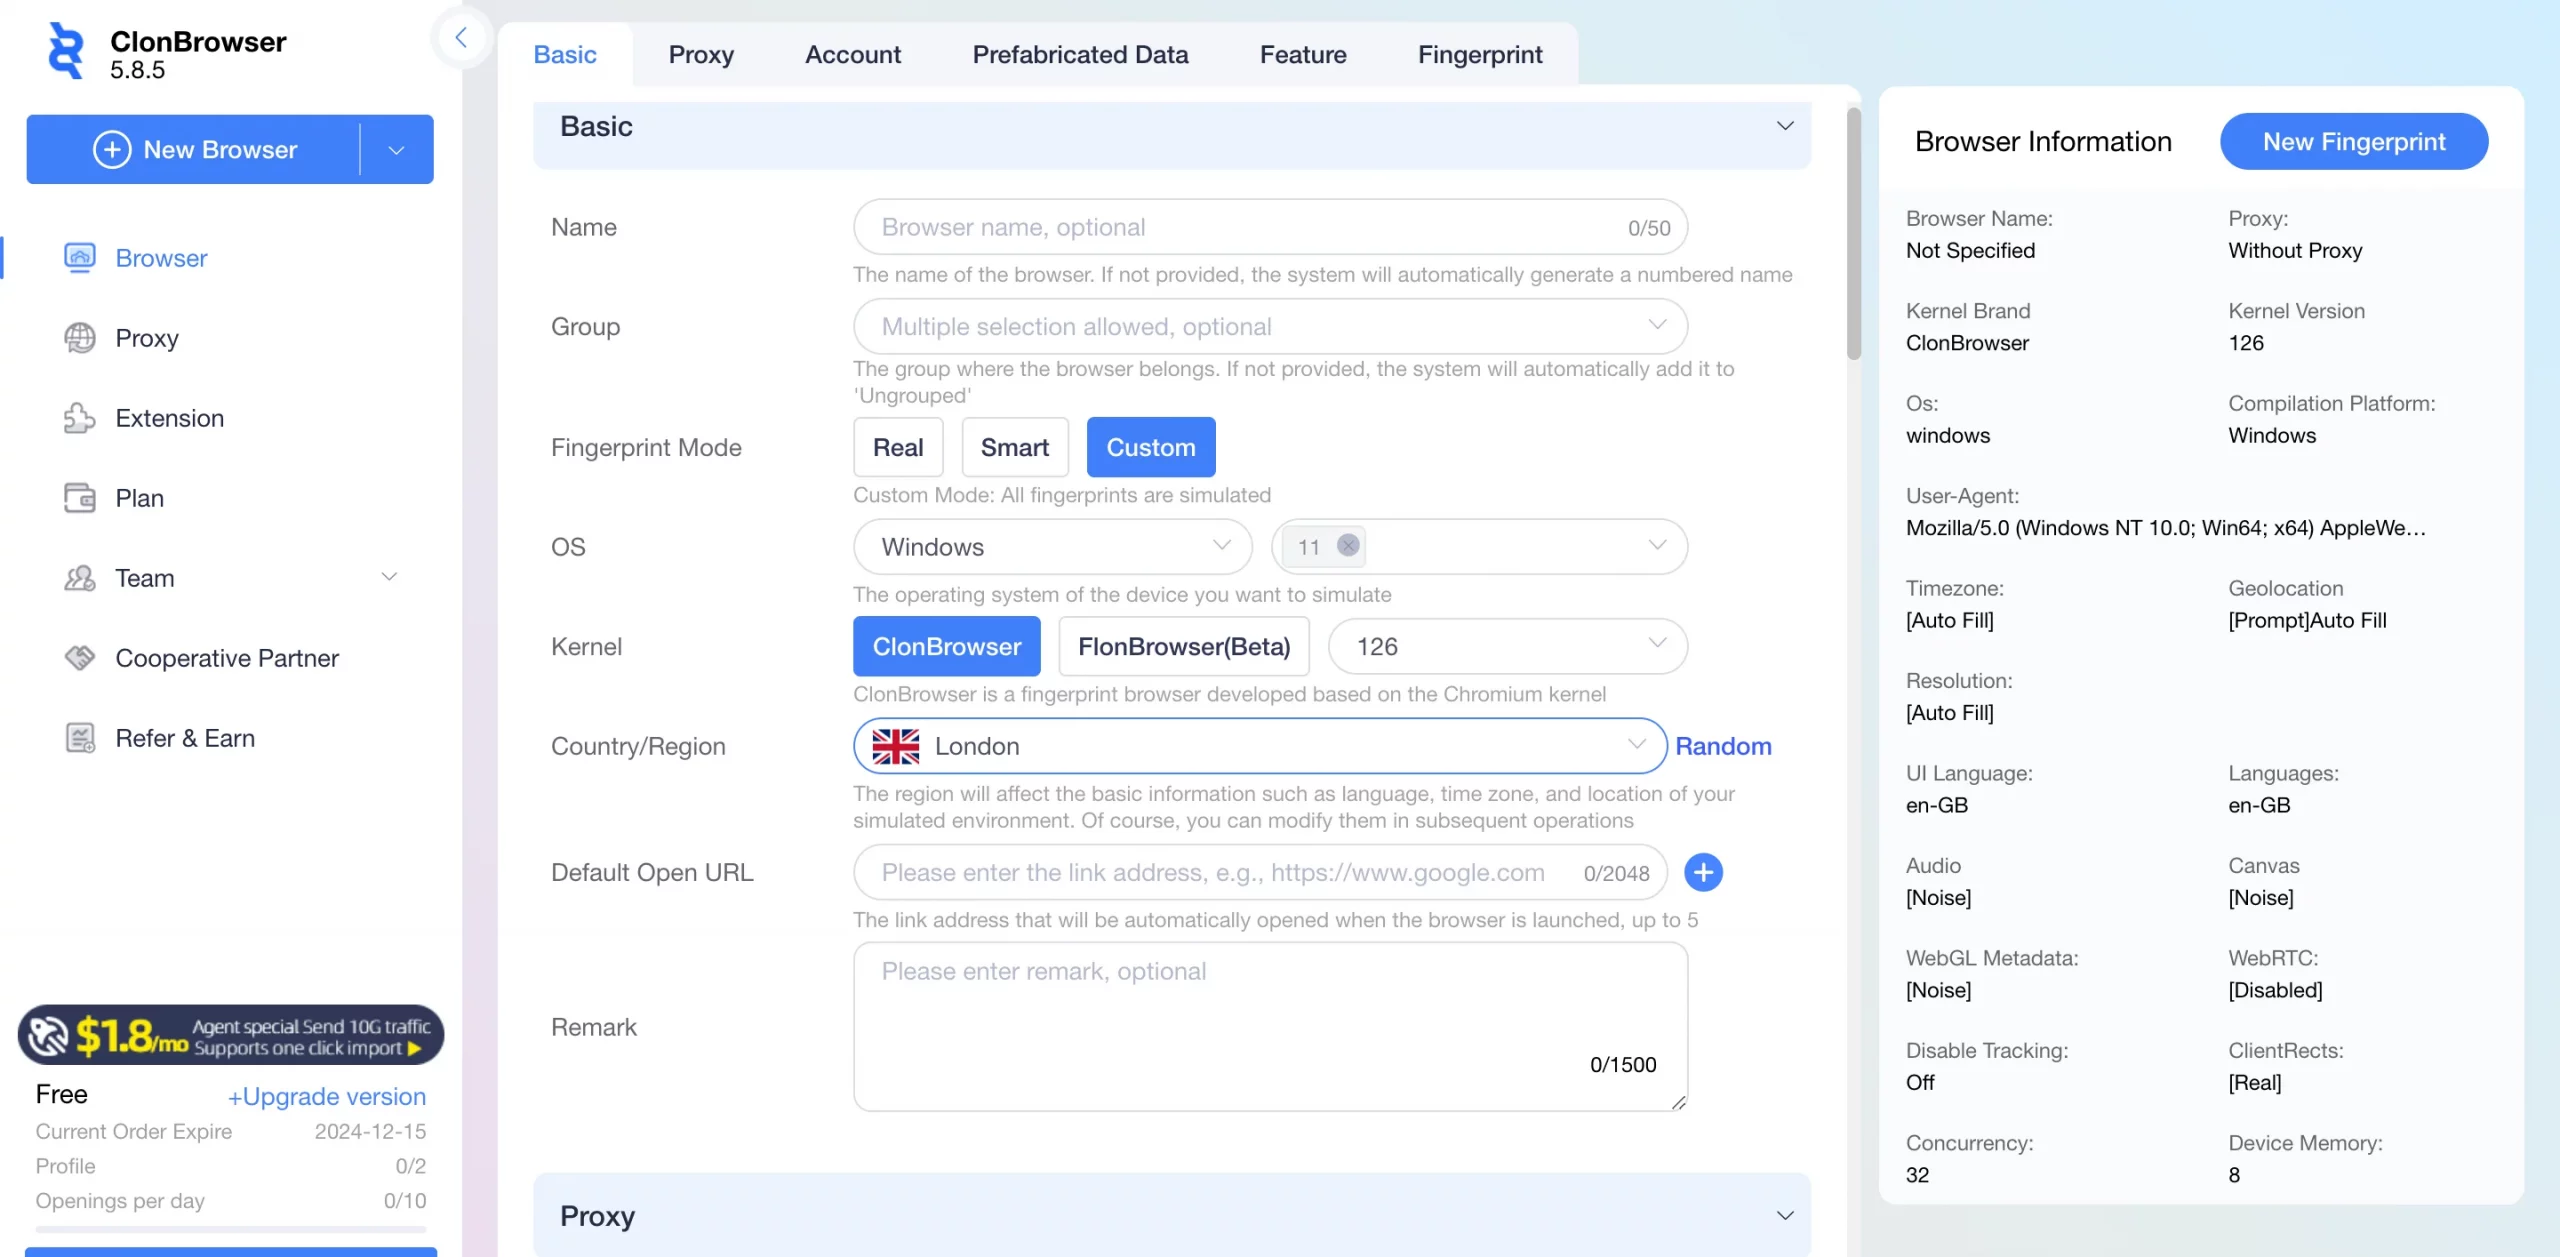
5. Fill in the required details, such as the browser name, fingerprint mode, geolocation settings, and OS preferences.
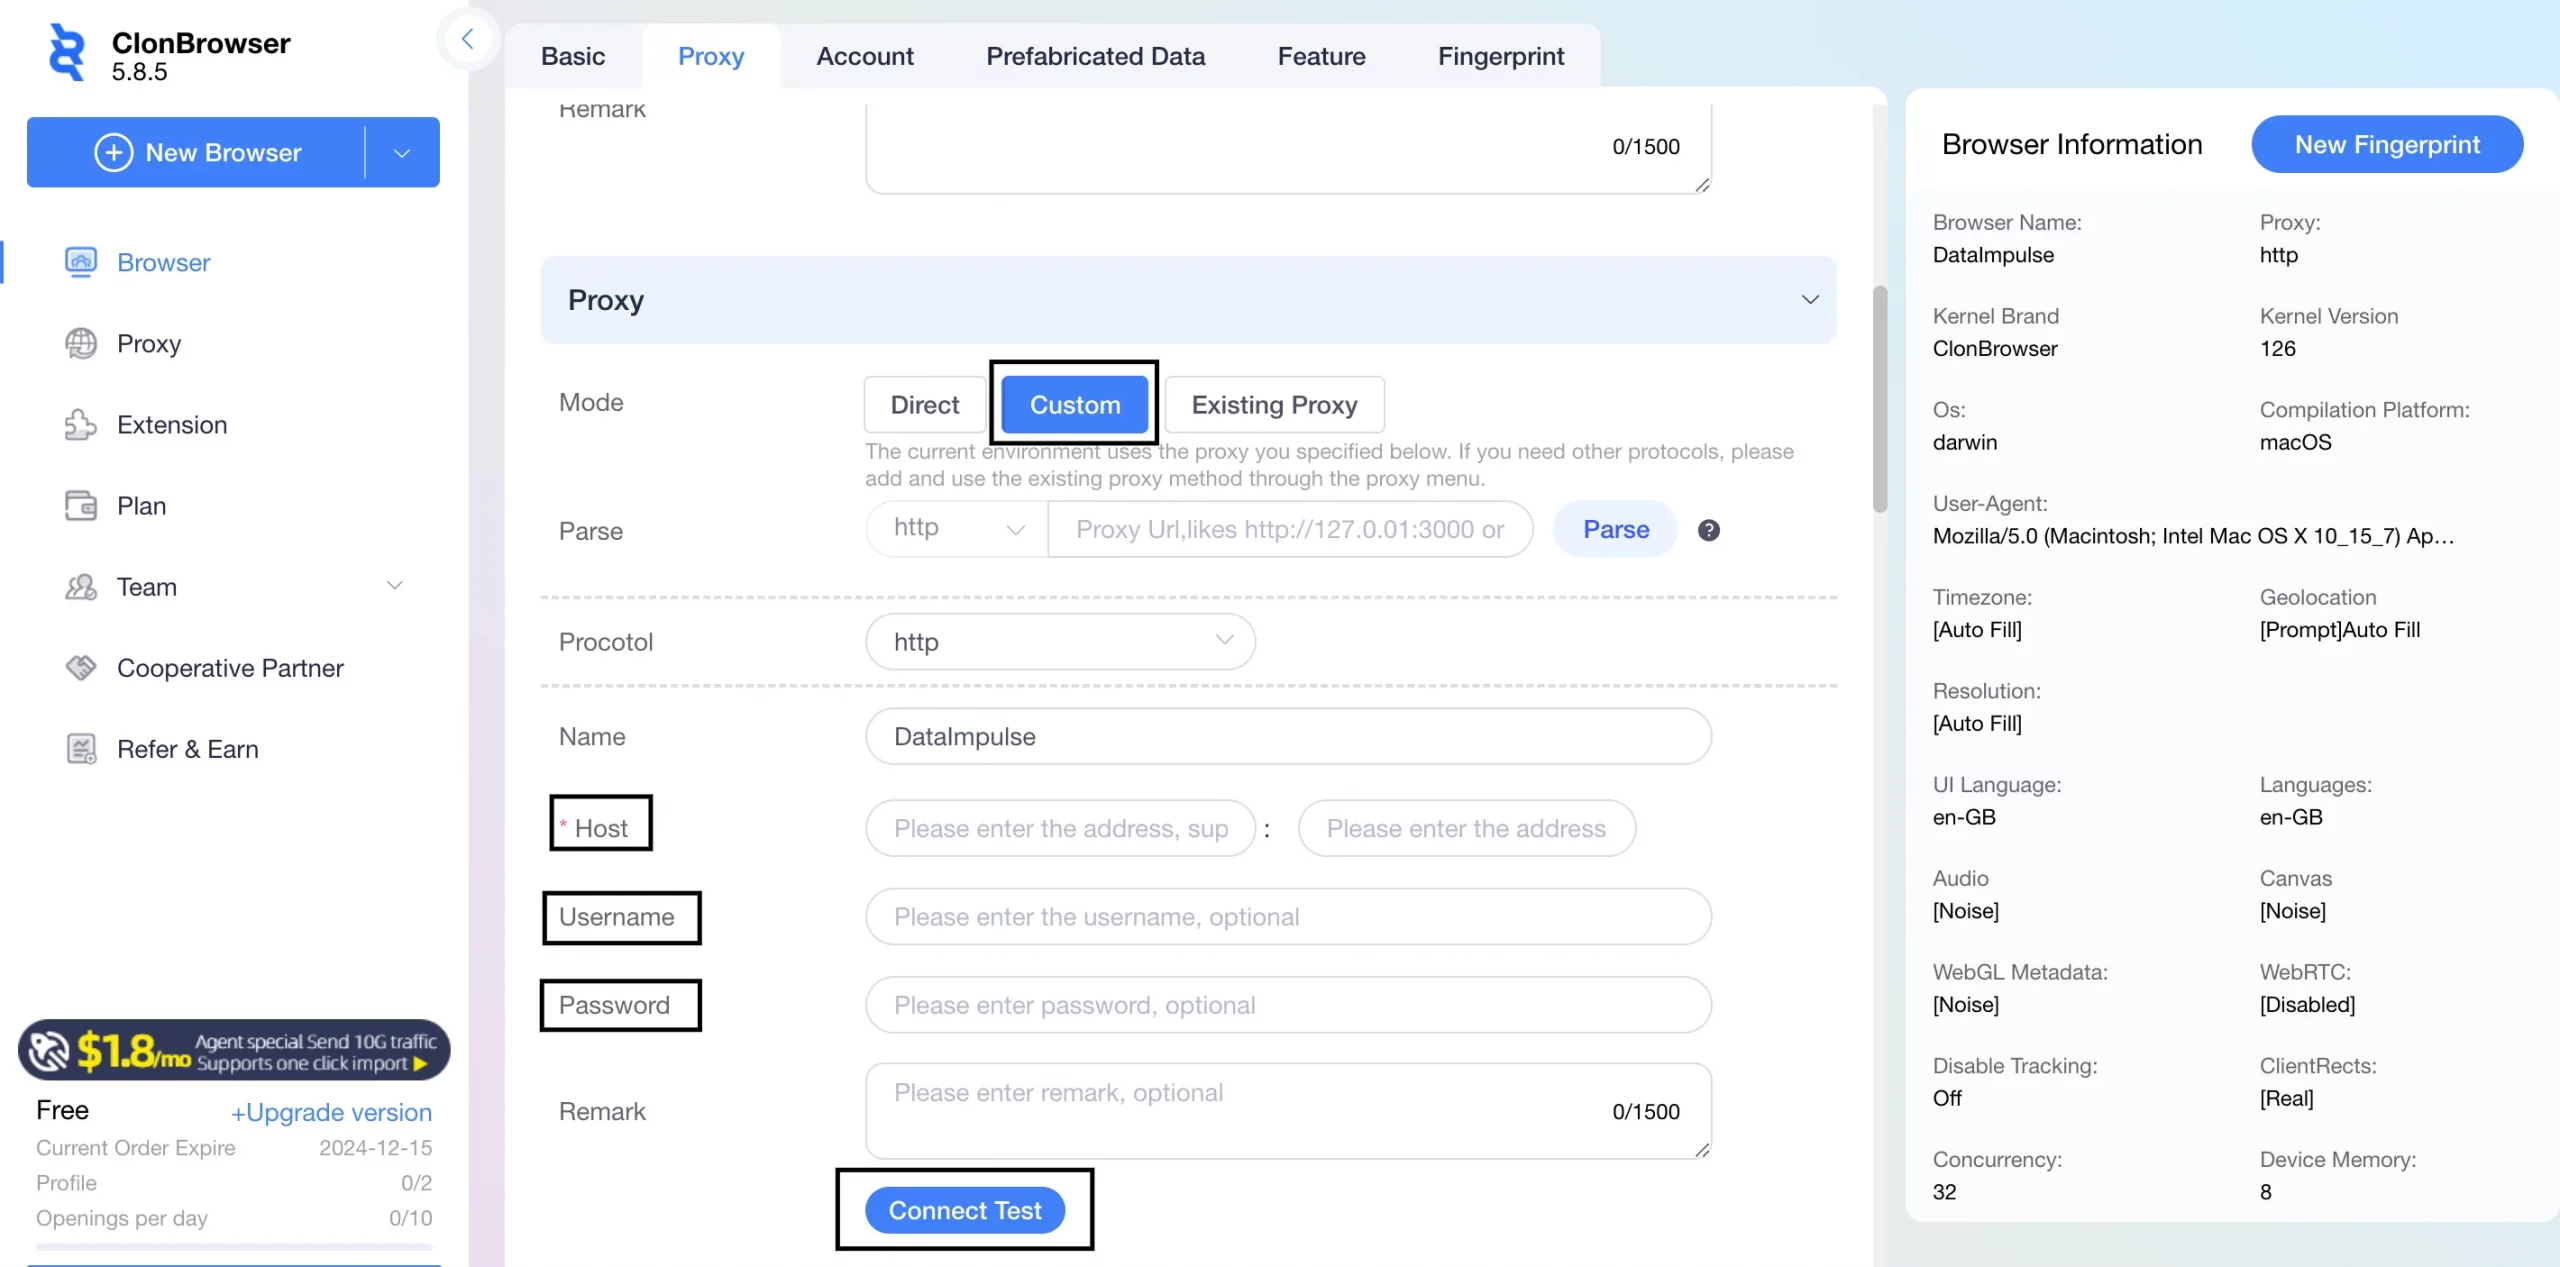
6. Scroll down to the Proxy section. Select the Custom mode and a protocol (HTTP, HTTPS, or SOCKS5). Next, specify the following data from the proxy:
“IP or host” — IP address of the proxy.
“Port”—port from the proxy.
“Username” — login from the proxy.
“Password” — proxy password.
After that, click Connect test.
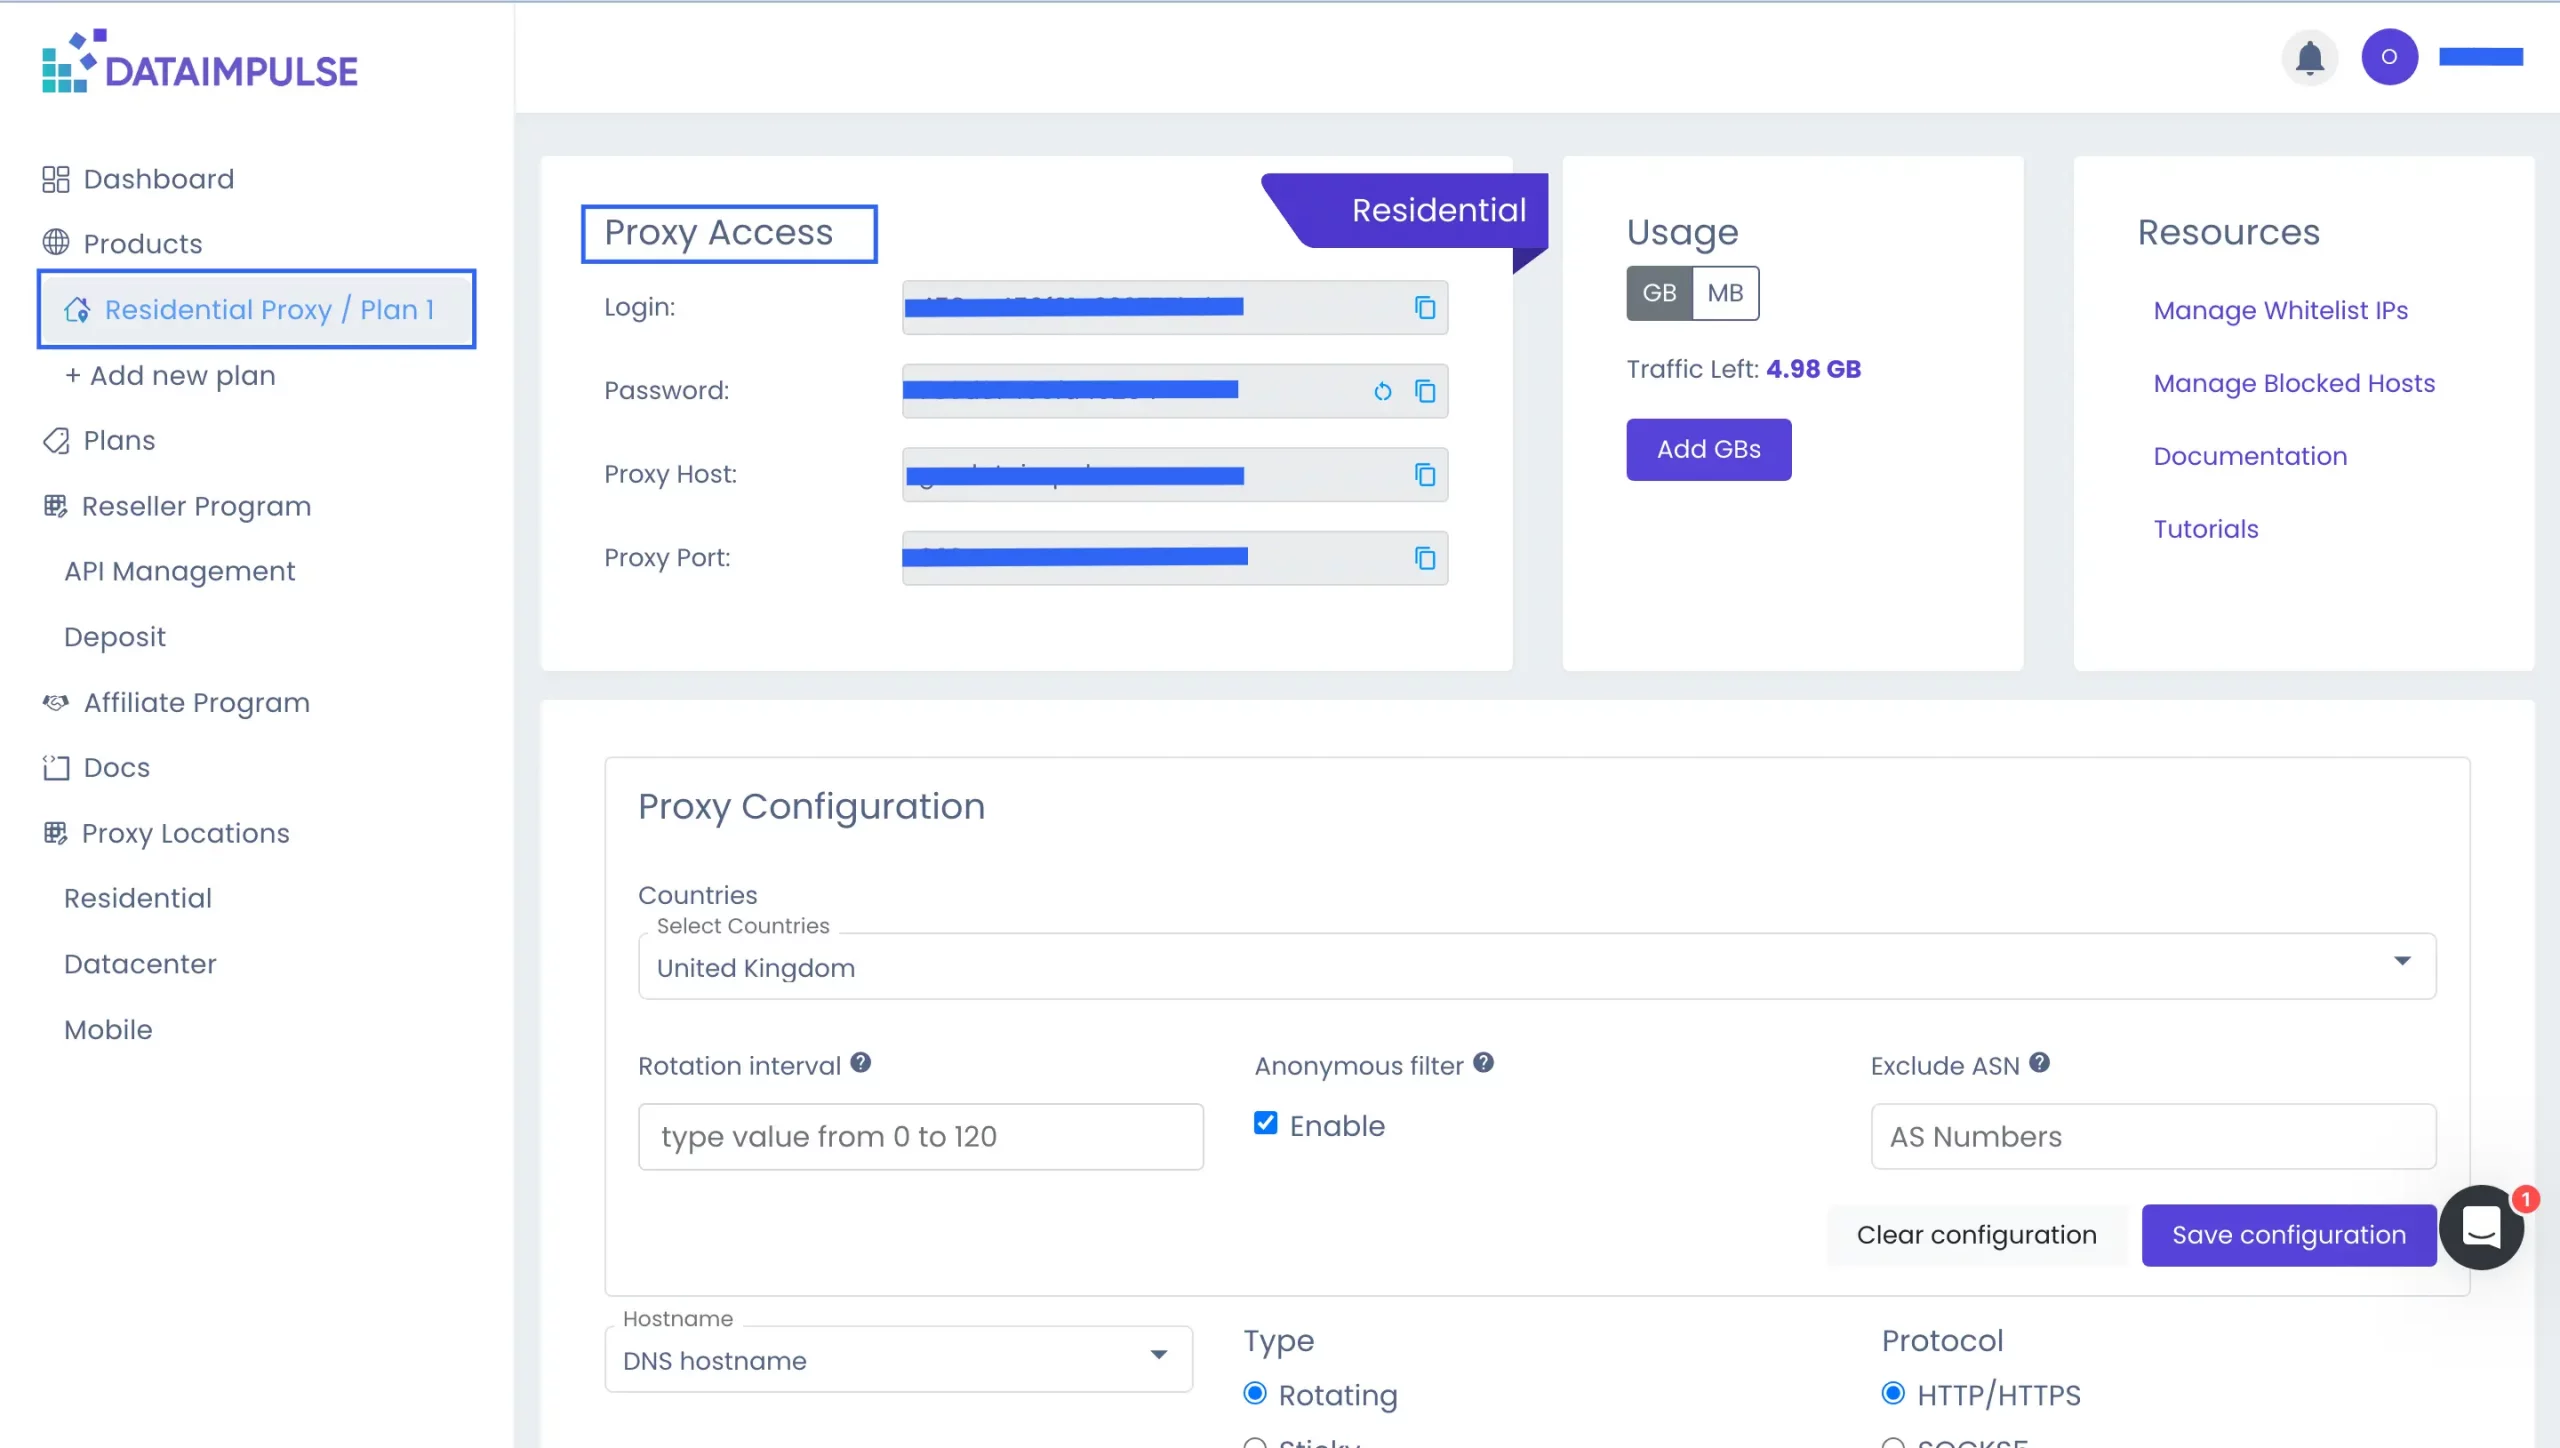
Your DataImpulse credentials are within your Plan on your dashboard. Copy them. You can also check our step-by-step guide on how to get started with DataImpulse.
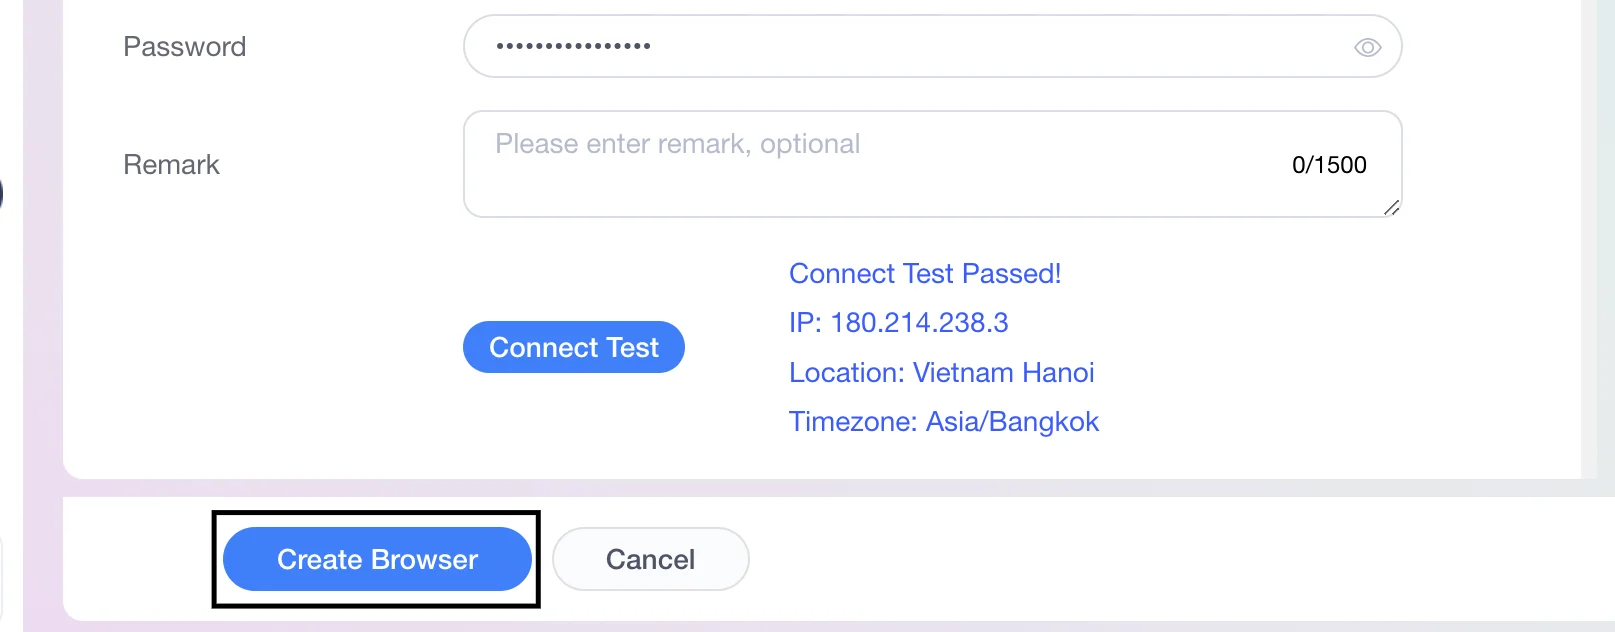
7. If the test is passed, you get an appropriate response with your IP, location, and timezone. The next step is to click Create browser.
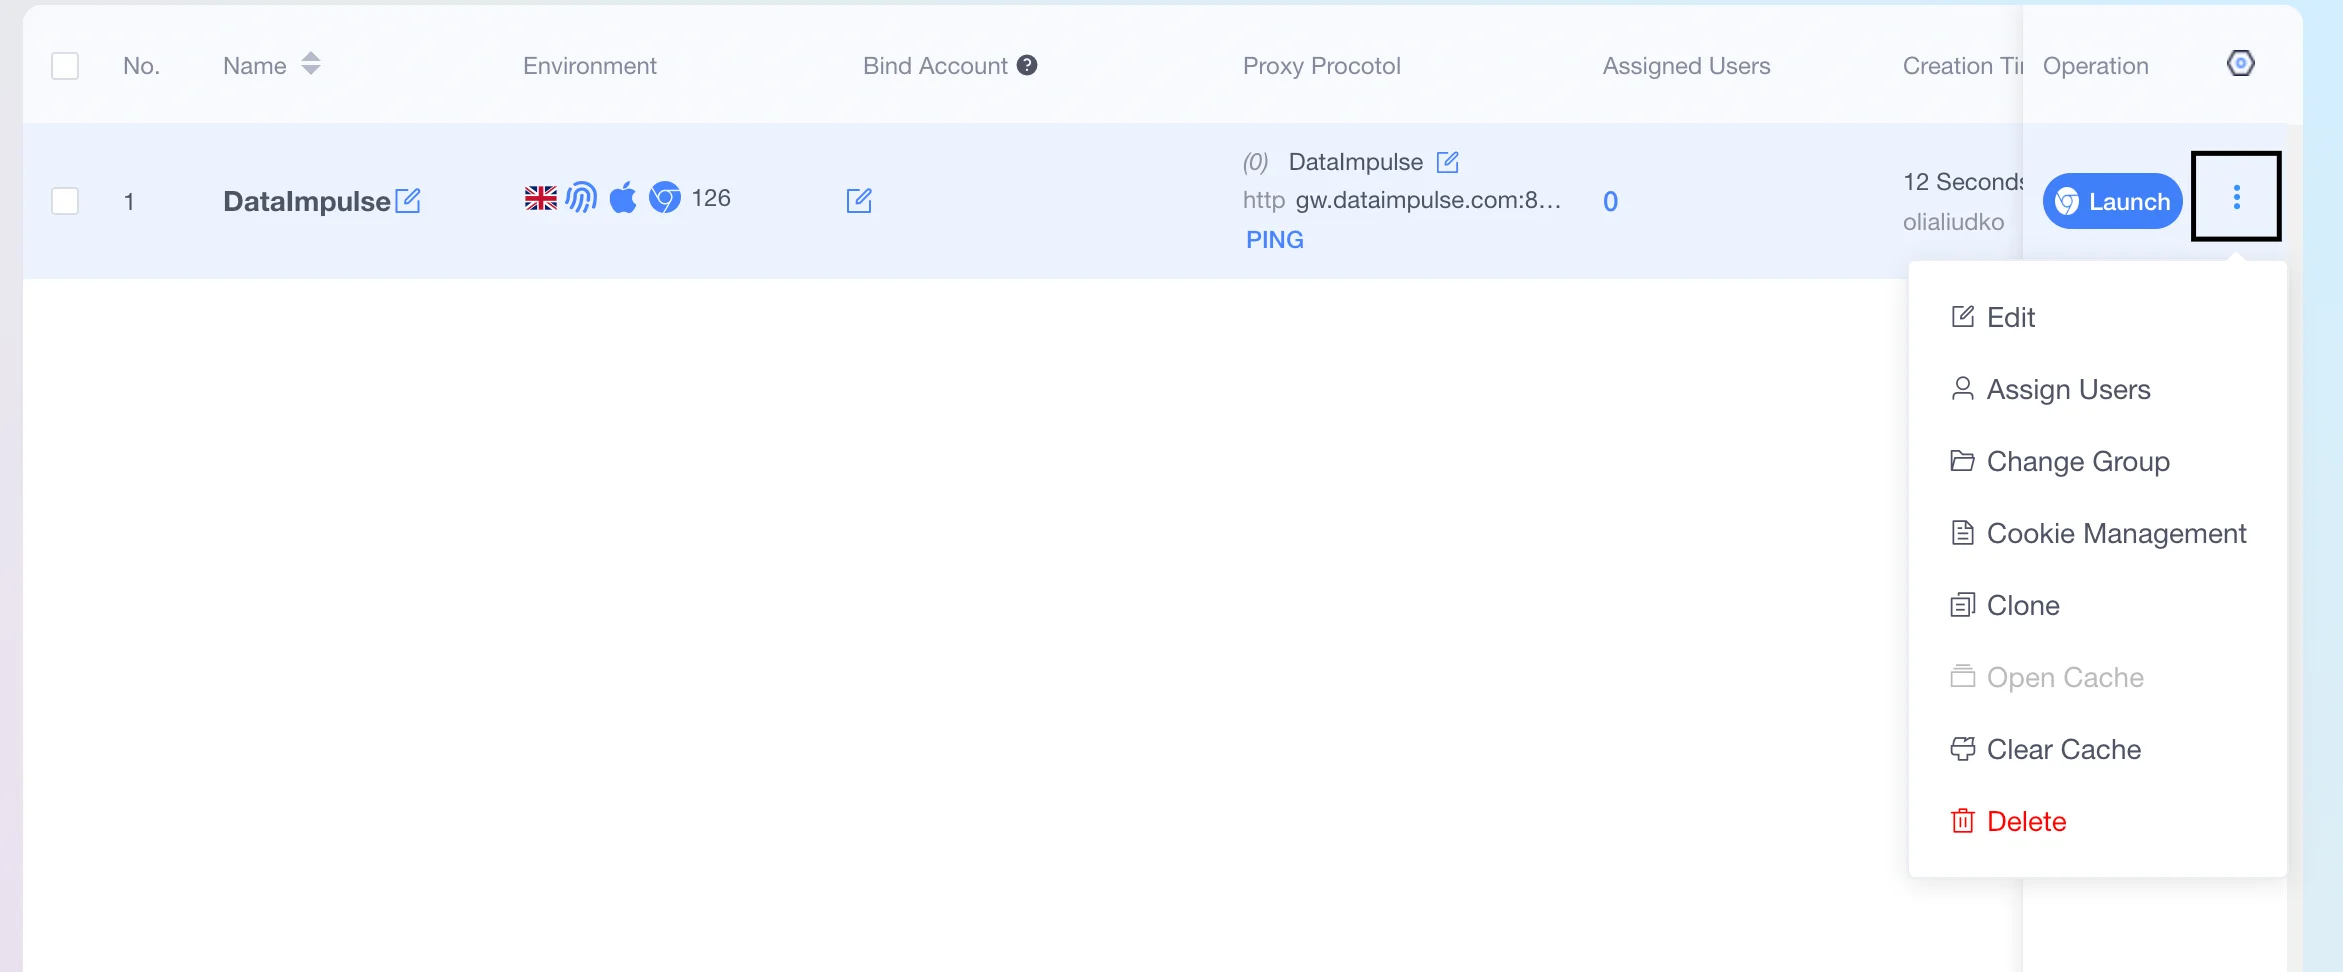
8. Once created, your profile will appear in the main menu. To make changes, assign users, or modify the group, click on the three horizontal dots next to the profile.
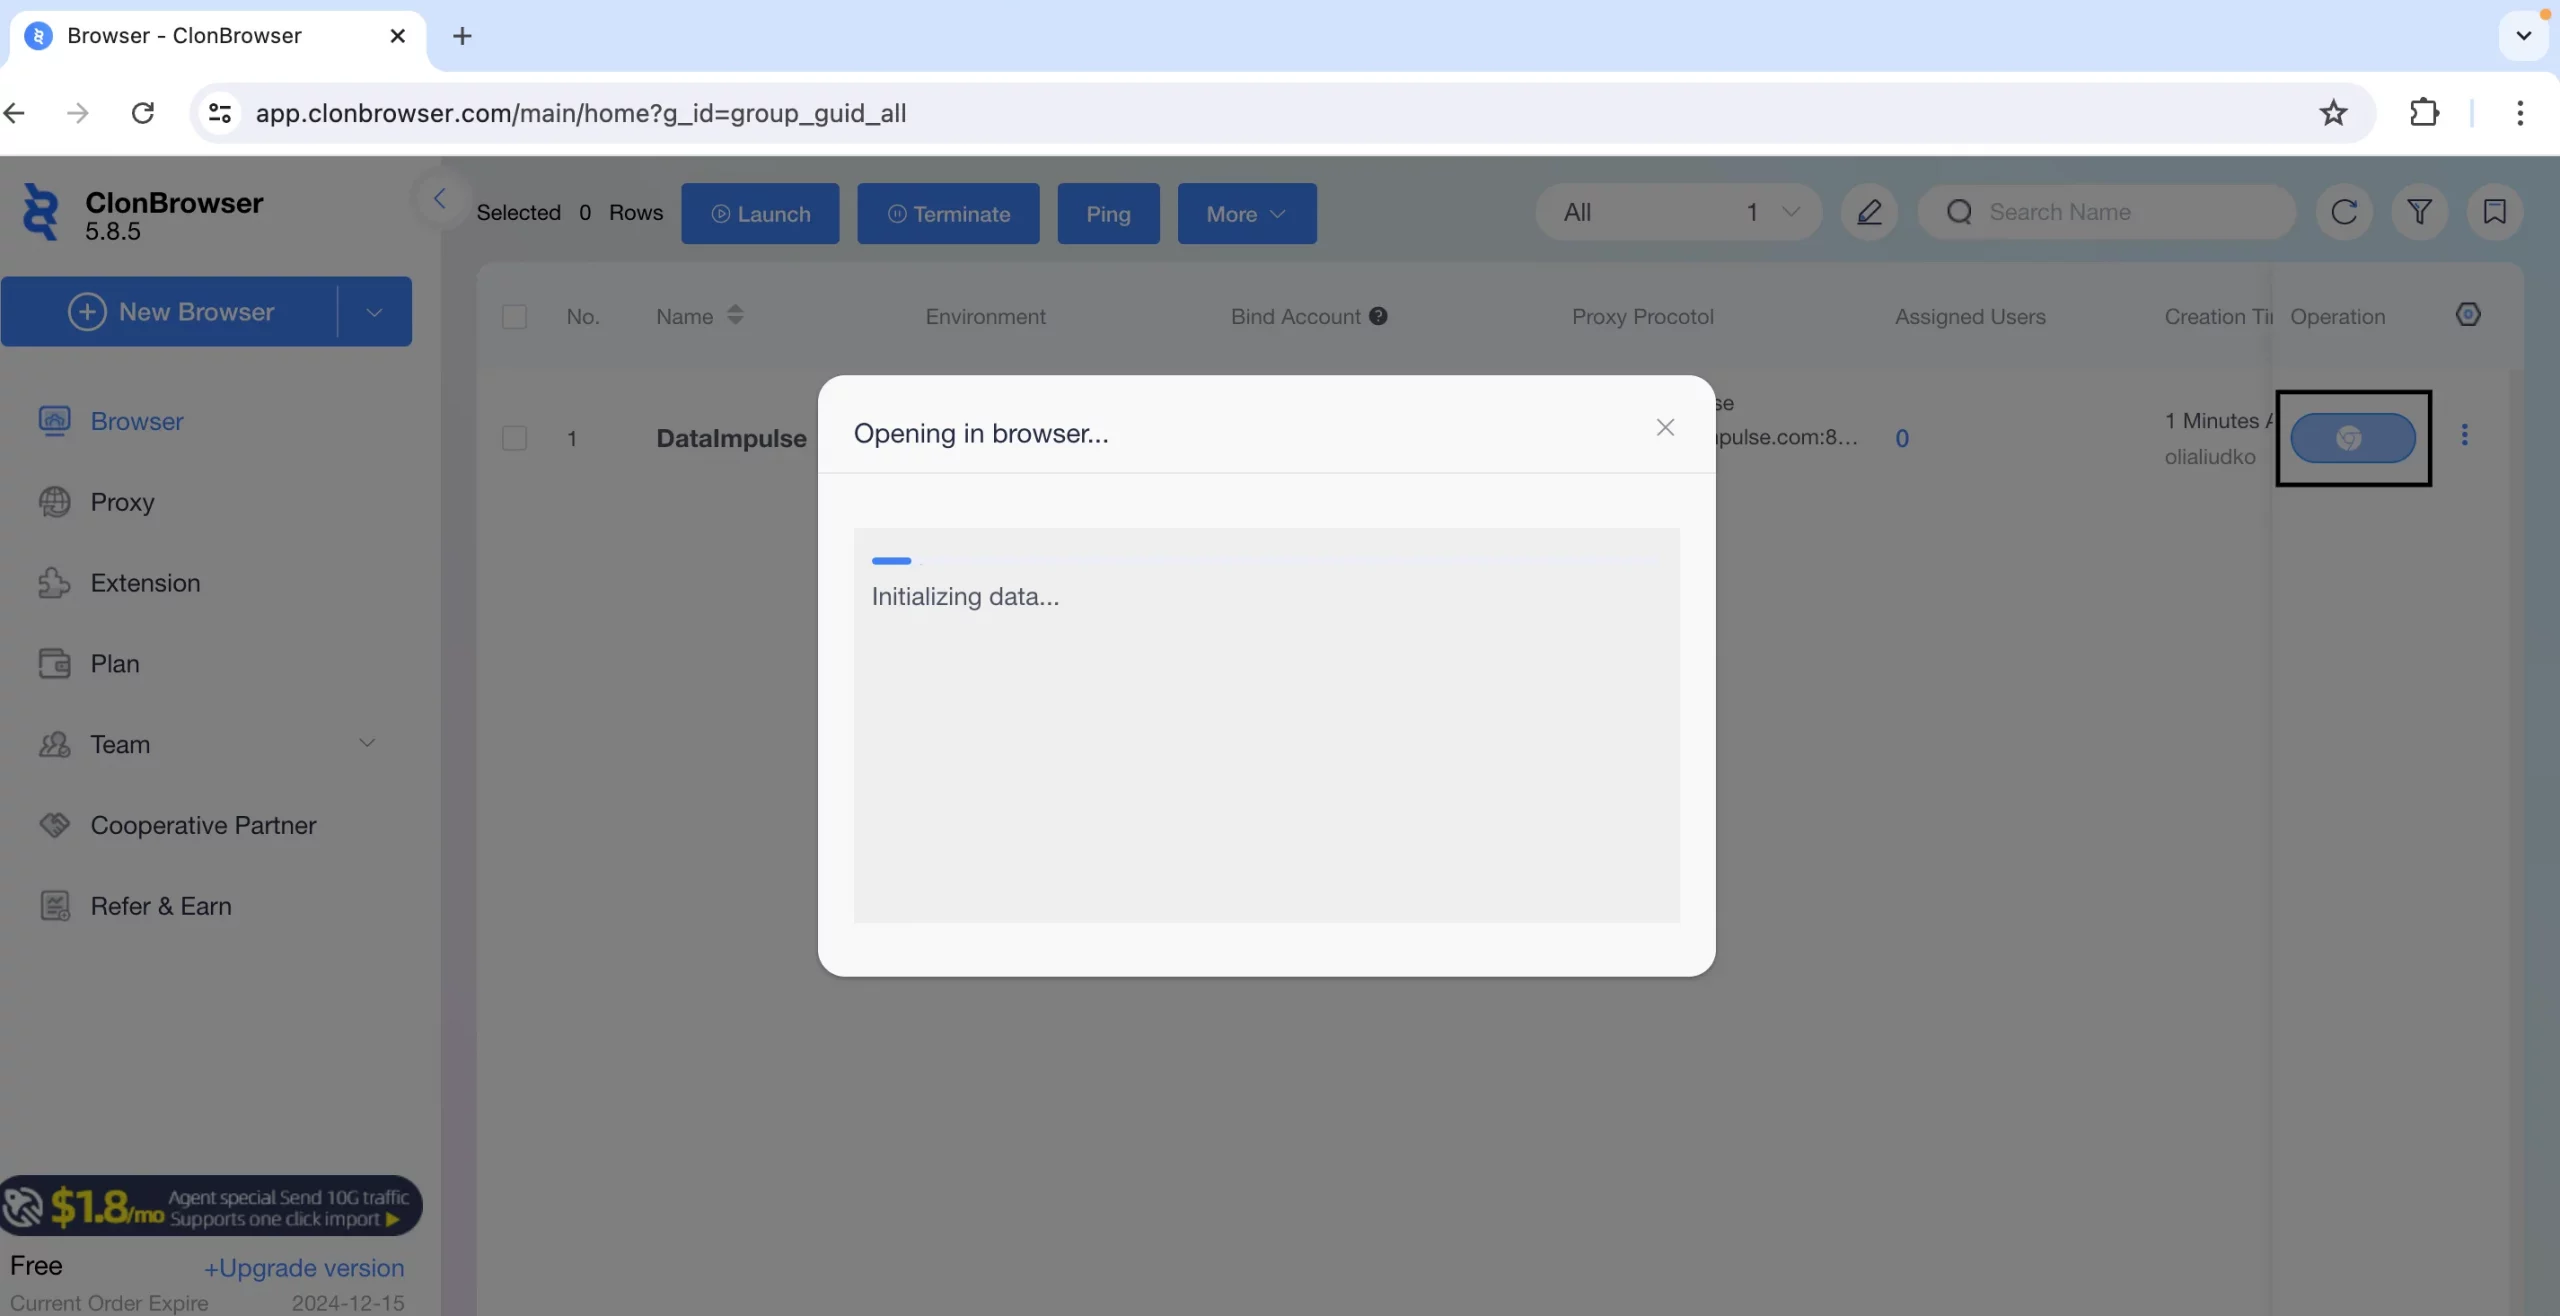
9. The final step is to click Launch. ClonBrowser may ask you to restart the browser to apply the new proxy configuration. Then you can verify that the proxy is working correctly:
- Check IP Address: Visit a website like WhatIsMyIP.com to confirm that your IP address shows the DataImpulse proxy.
- Test Browsing: Visit a few websites to make sure that there are no connection issues.
Once the browser window opens, you’ll see your location, timezone, account, and environment details. Start now with ClonBrowser and enjoy the benefits of secure browsing!
Let us know if you have questions or if you’re interested in starting with DataImpulse premium proxies.

