Getting started in ixBrowser with DataImpulse proxies
ixBrowser is a forever-free anti-detect browser with unlimited numbers of profiles and team-member accounts. It supports profile transfers, right sharing, and various extensions. The browser also functions as an ad blocker and hides over twenty fingerprints. When paired with high-quality proxies, the tool is a good choice for running ad campaigns, managing multiple accounts, supporting stable access, and testing your apps.

Starting with ixBrowser and adding DataImpulse proxies, take a few steps:
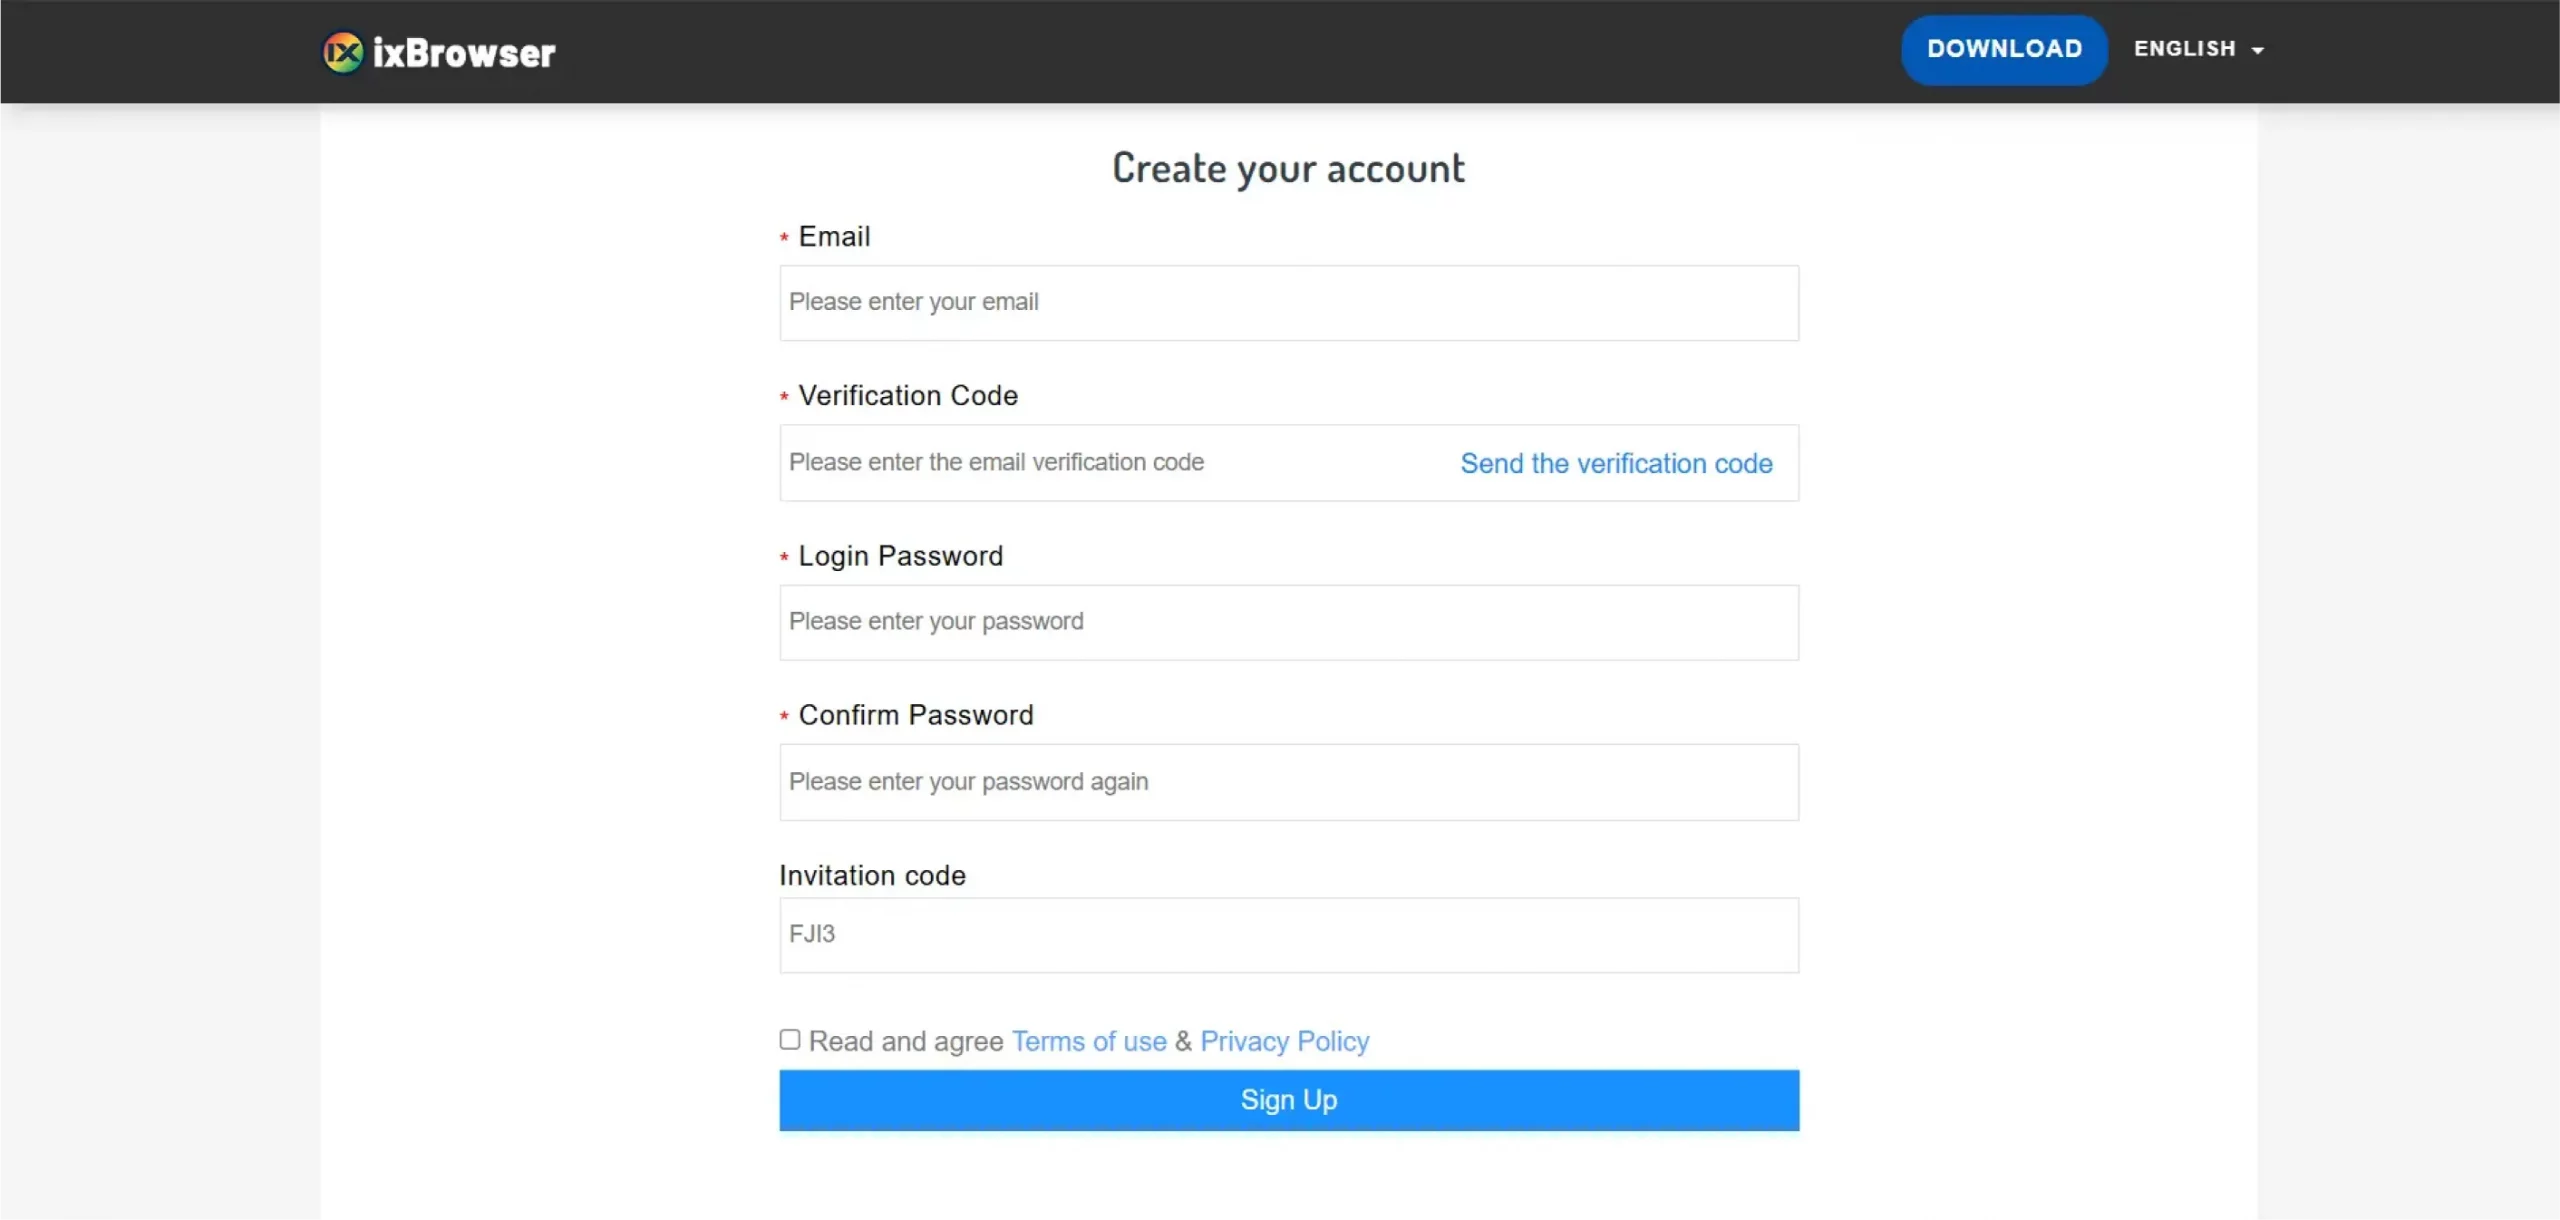
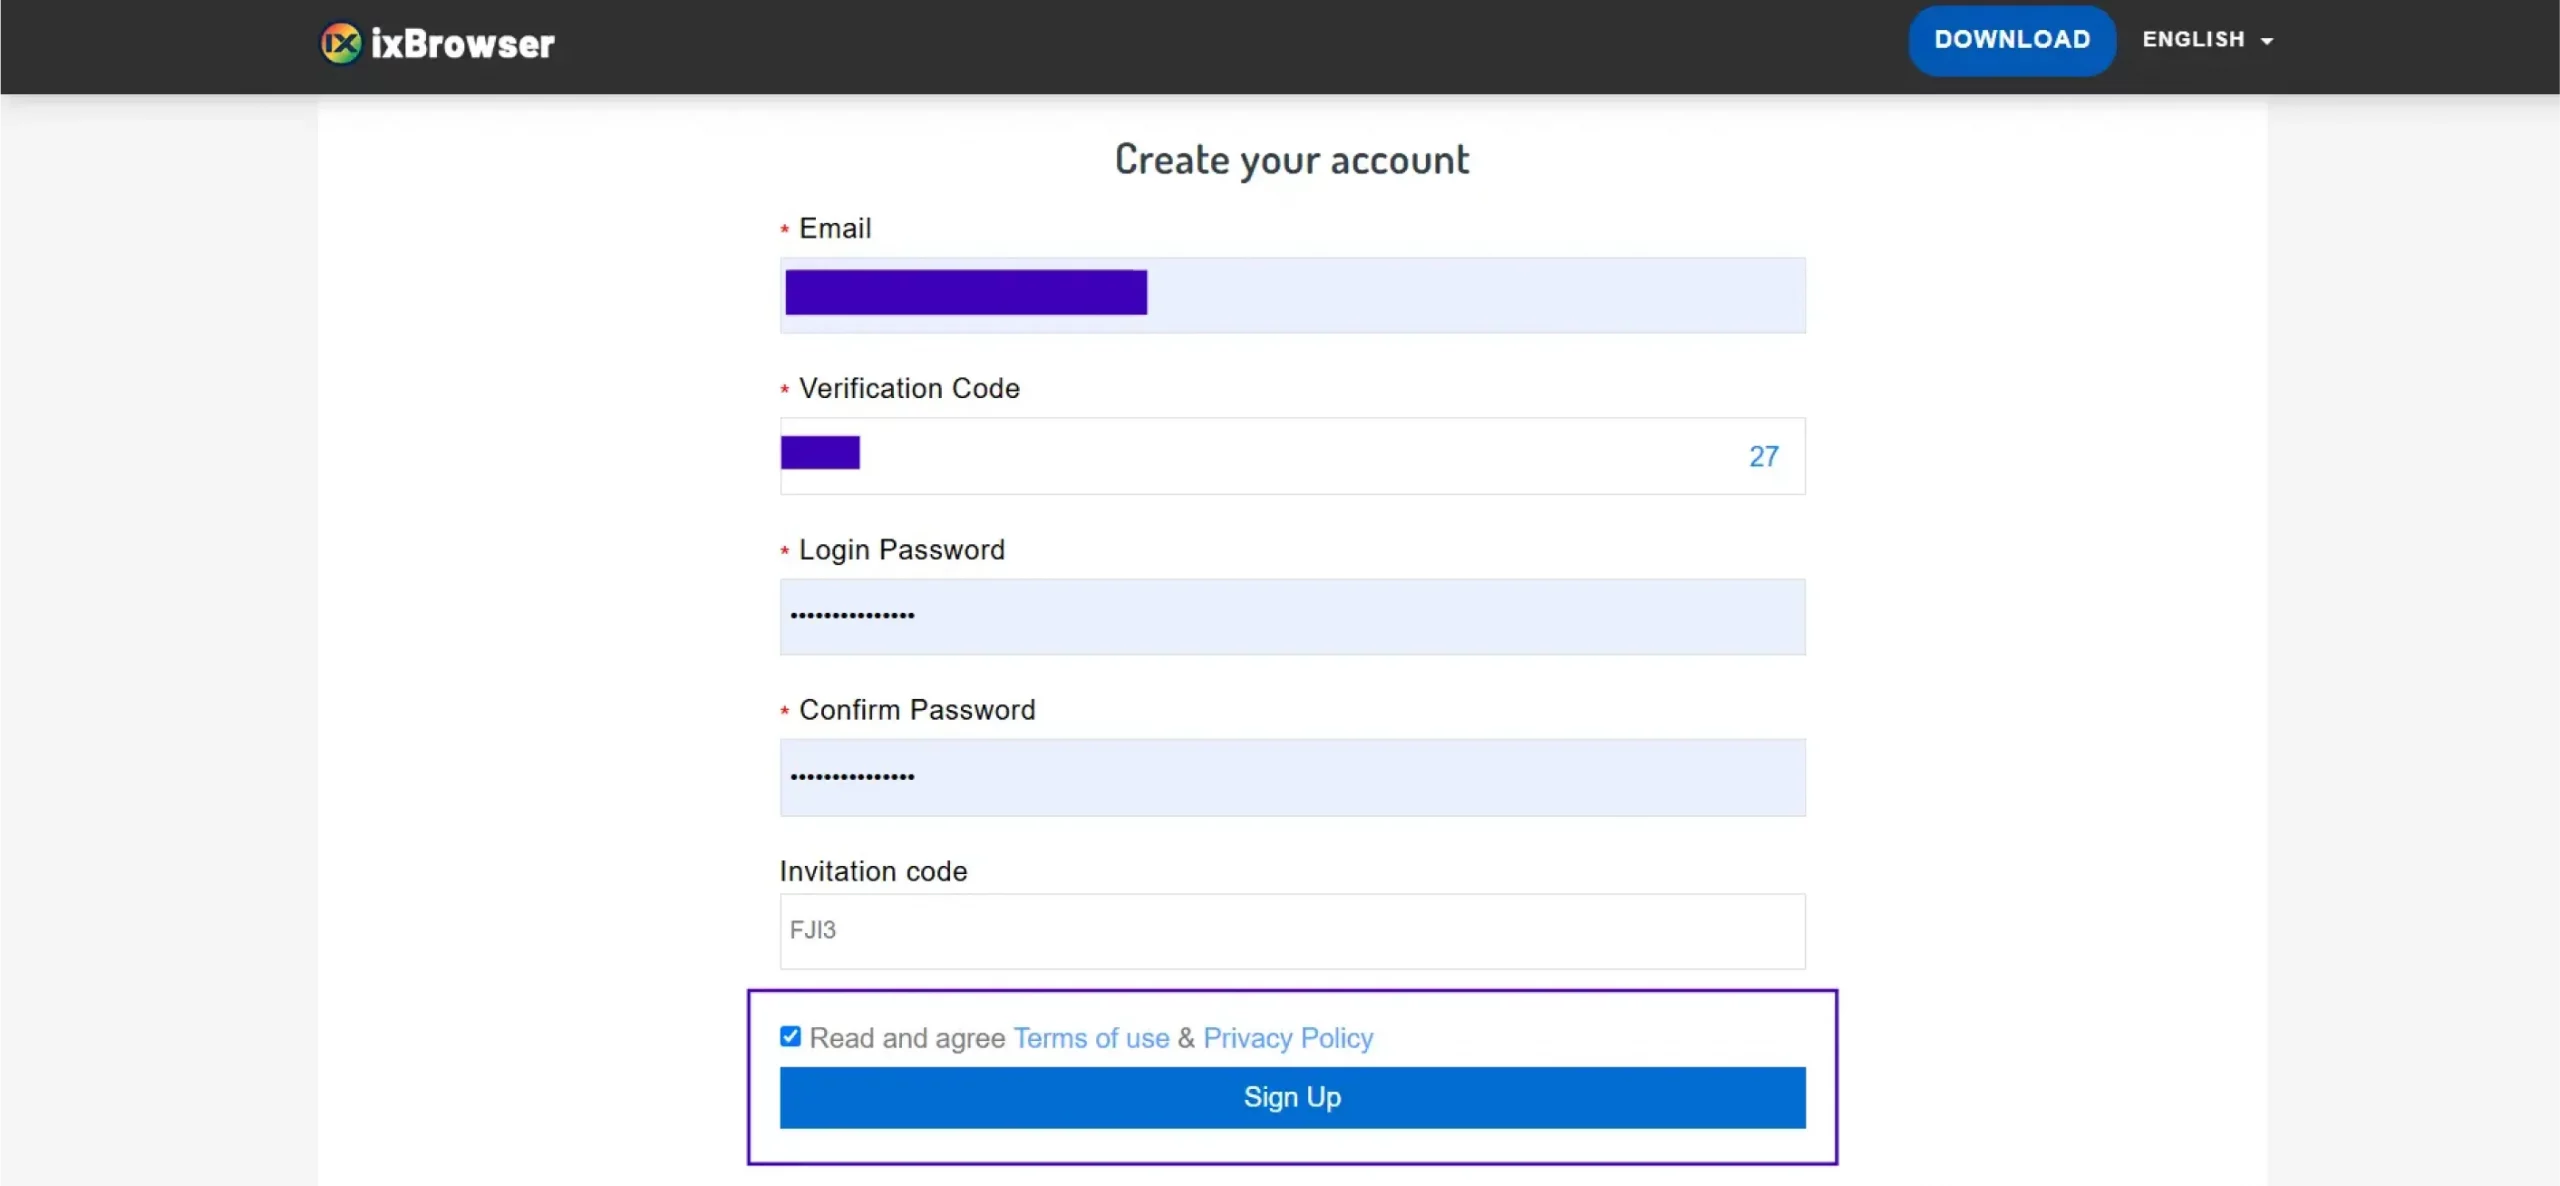
- Visit this link to create your account. Receive a verification code by entering your email address and clicking on “Send the verification code.” Check your inbox and paste the code into the necessary line. Please pay attention: the code is valid for only 60 seconds after you receive it. Fill in the rest of the required fields – there is a red sign next to each. Don’t forget to check the box to confirm that you’ve read the Terms of Service, then click the “Sign Up” button.
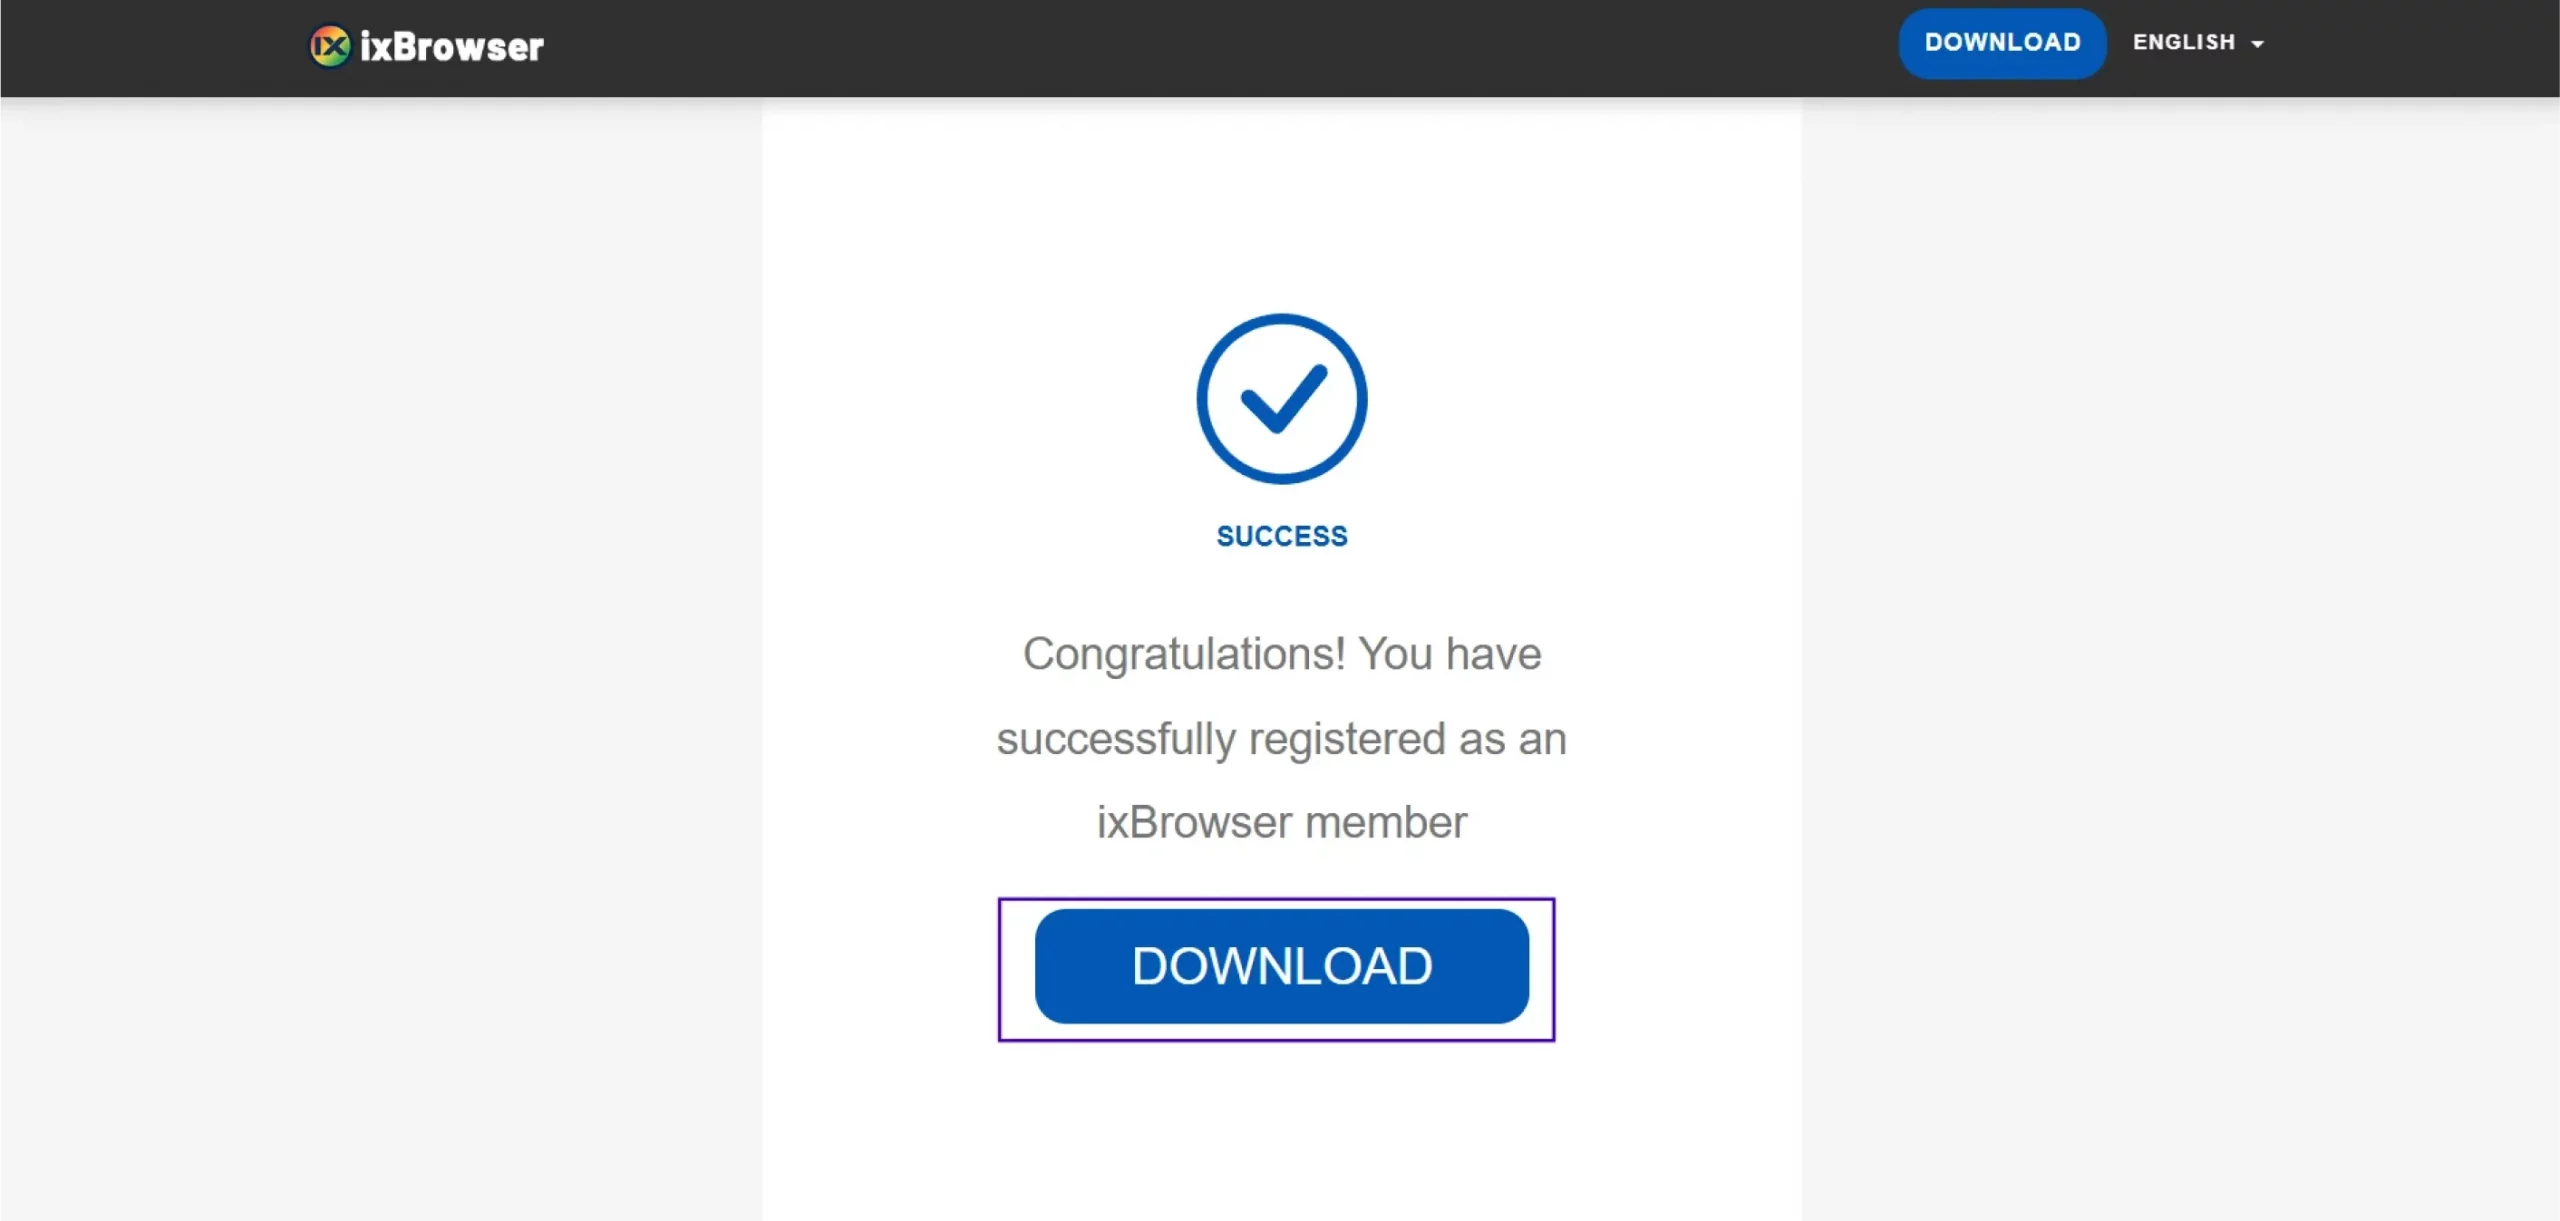
- A note of success will appear on your screen. Click the “Download” button and follow the installation manager’s instructions.
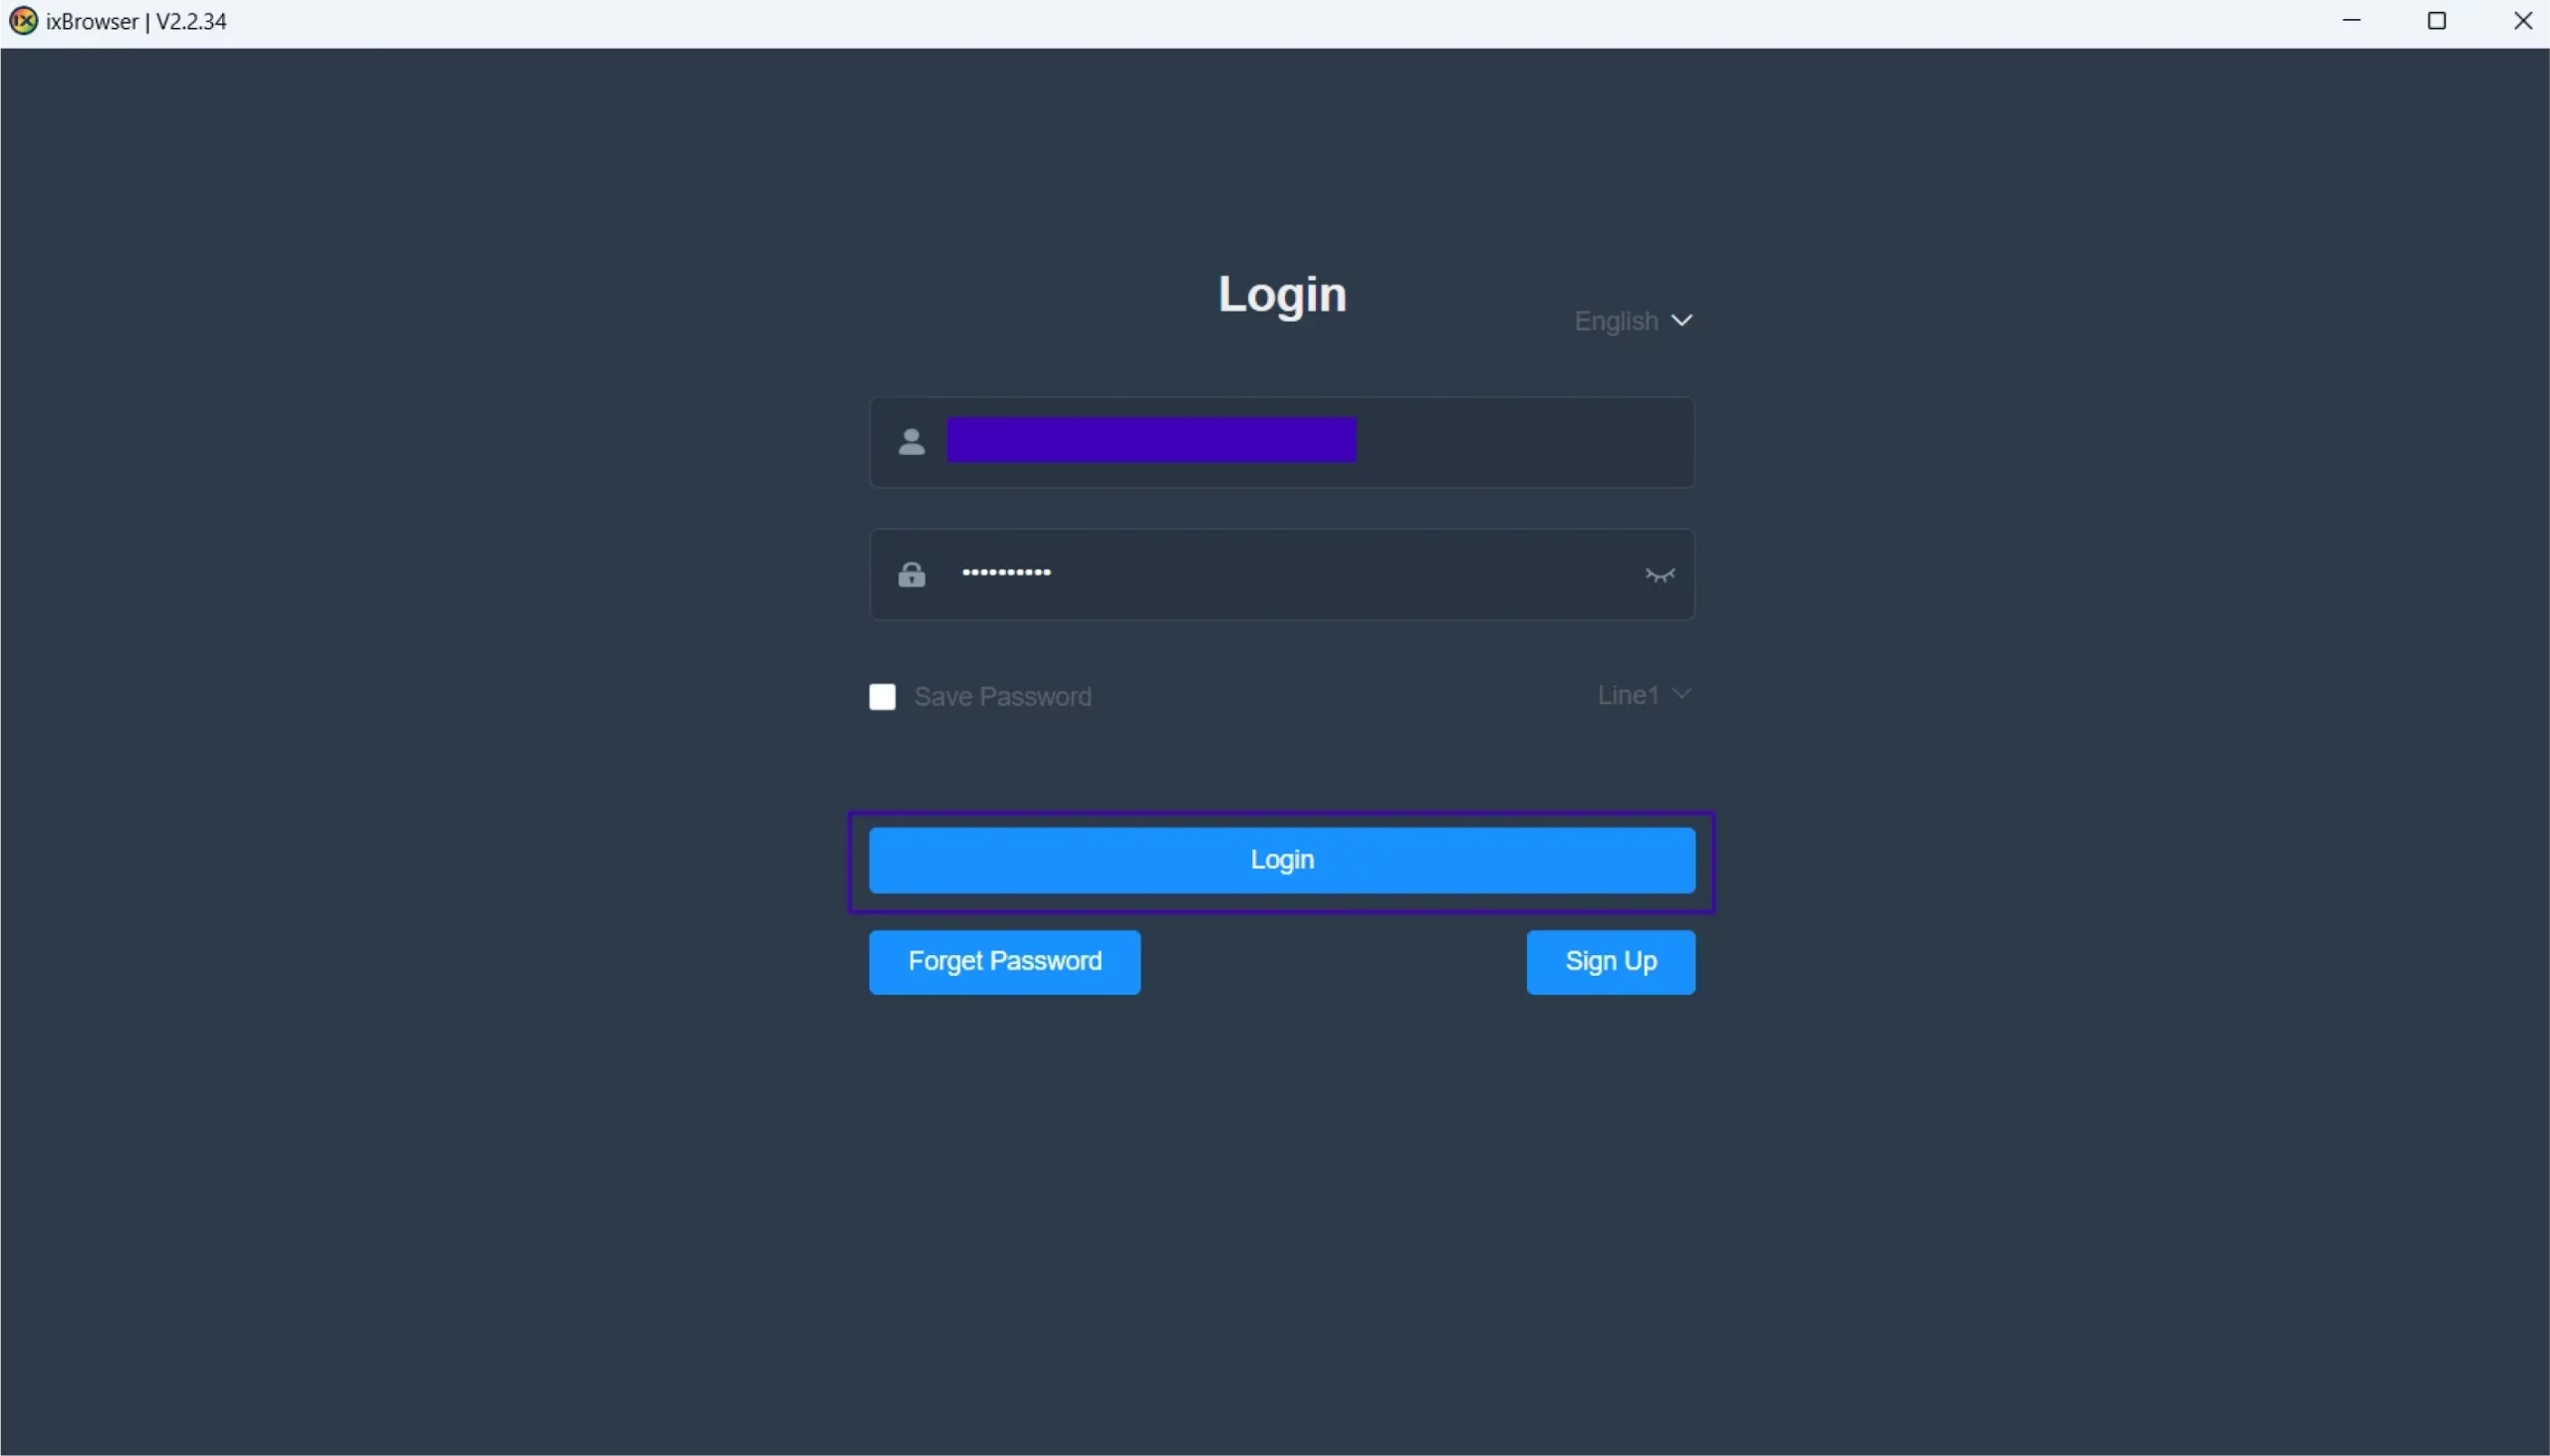
- After the browser opens, log in using the same email and password you used while registering. If you don’t remember the password, reset it. Press the “Login” button to finish. Once you’re in, ixBrowser offers you a quick video guide, which we recommend not skipping.
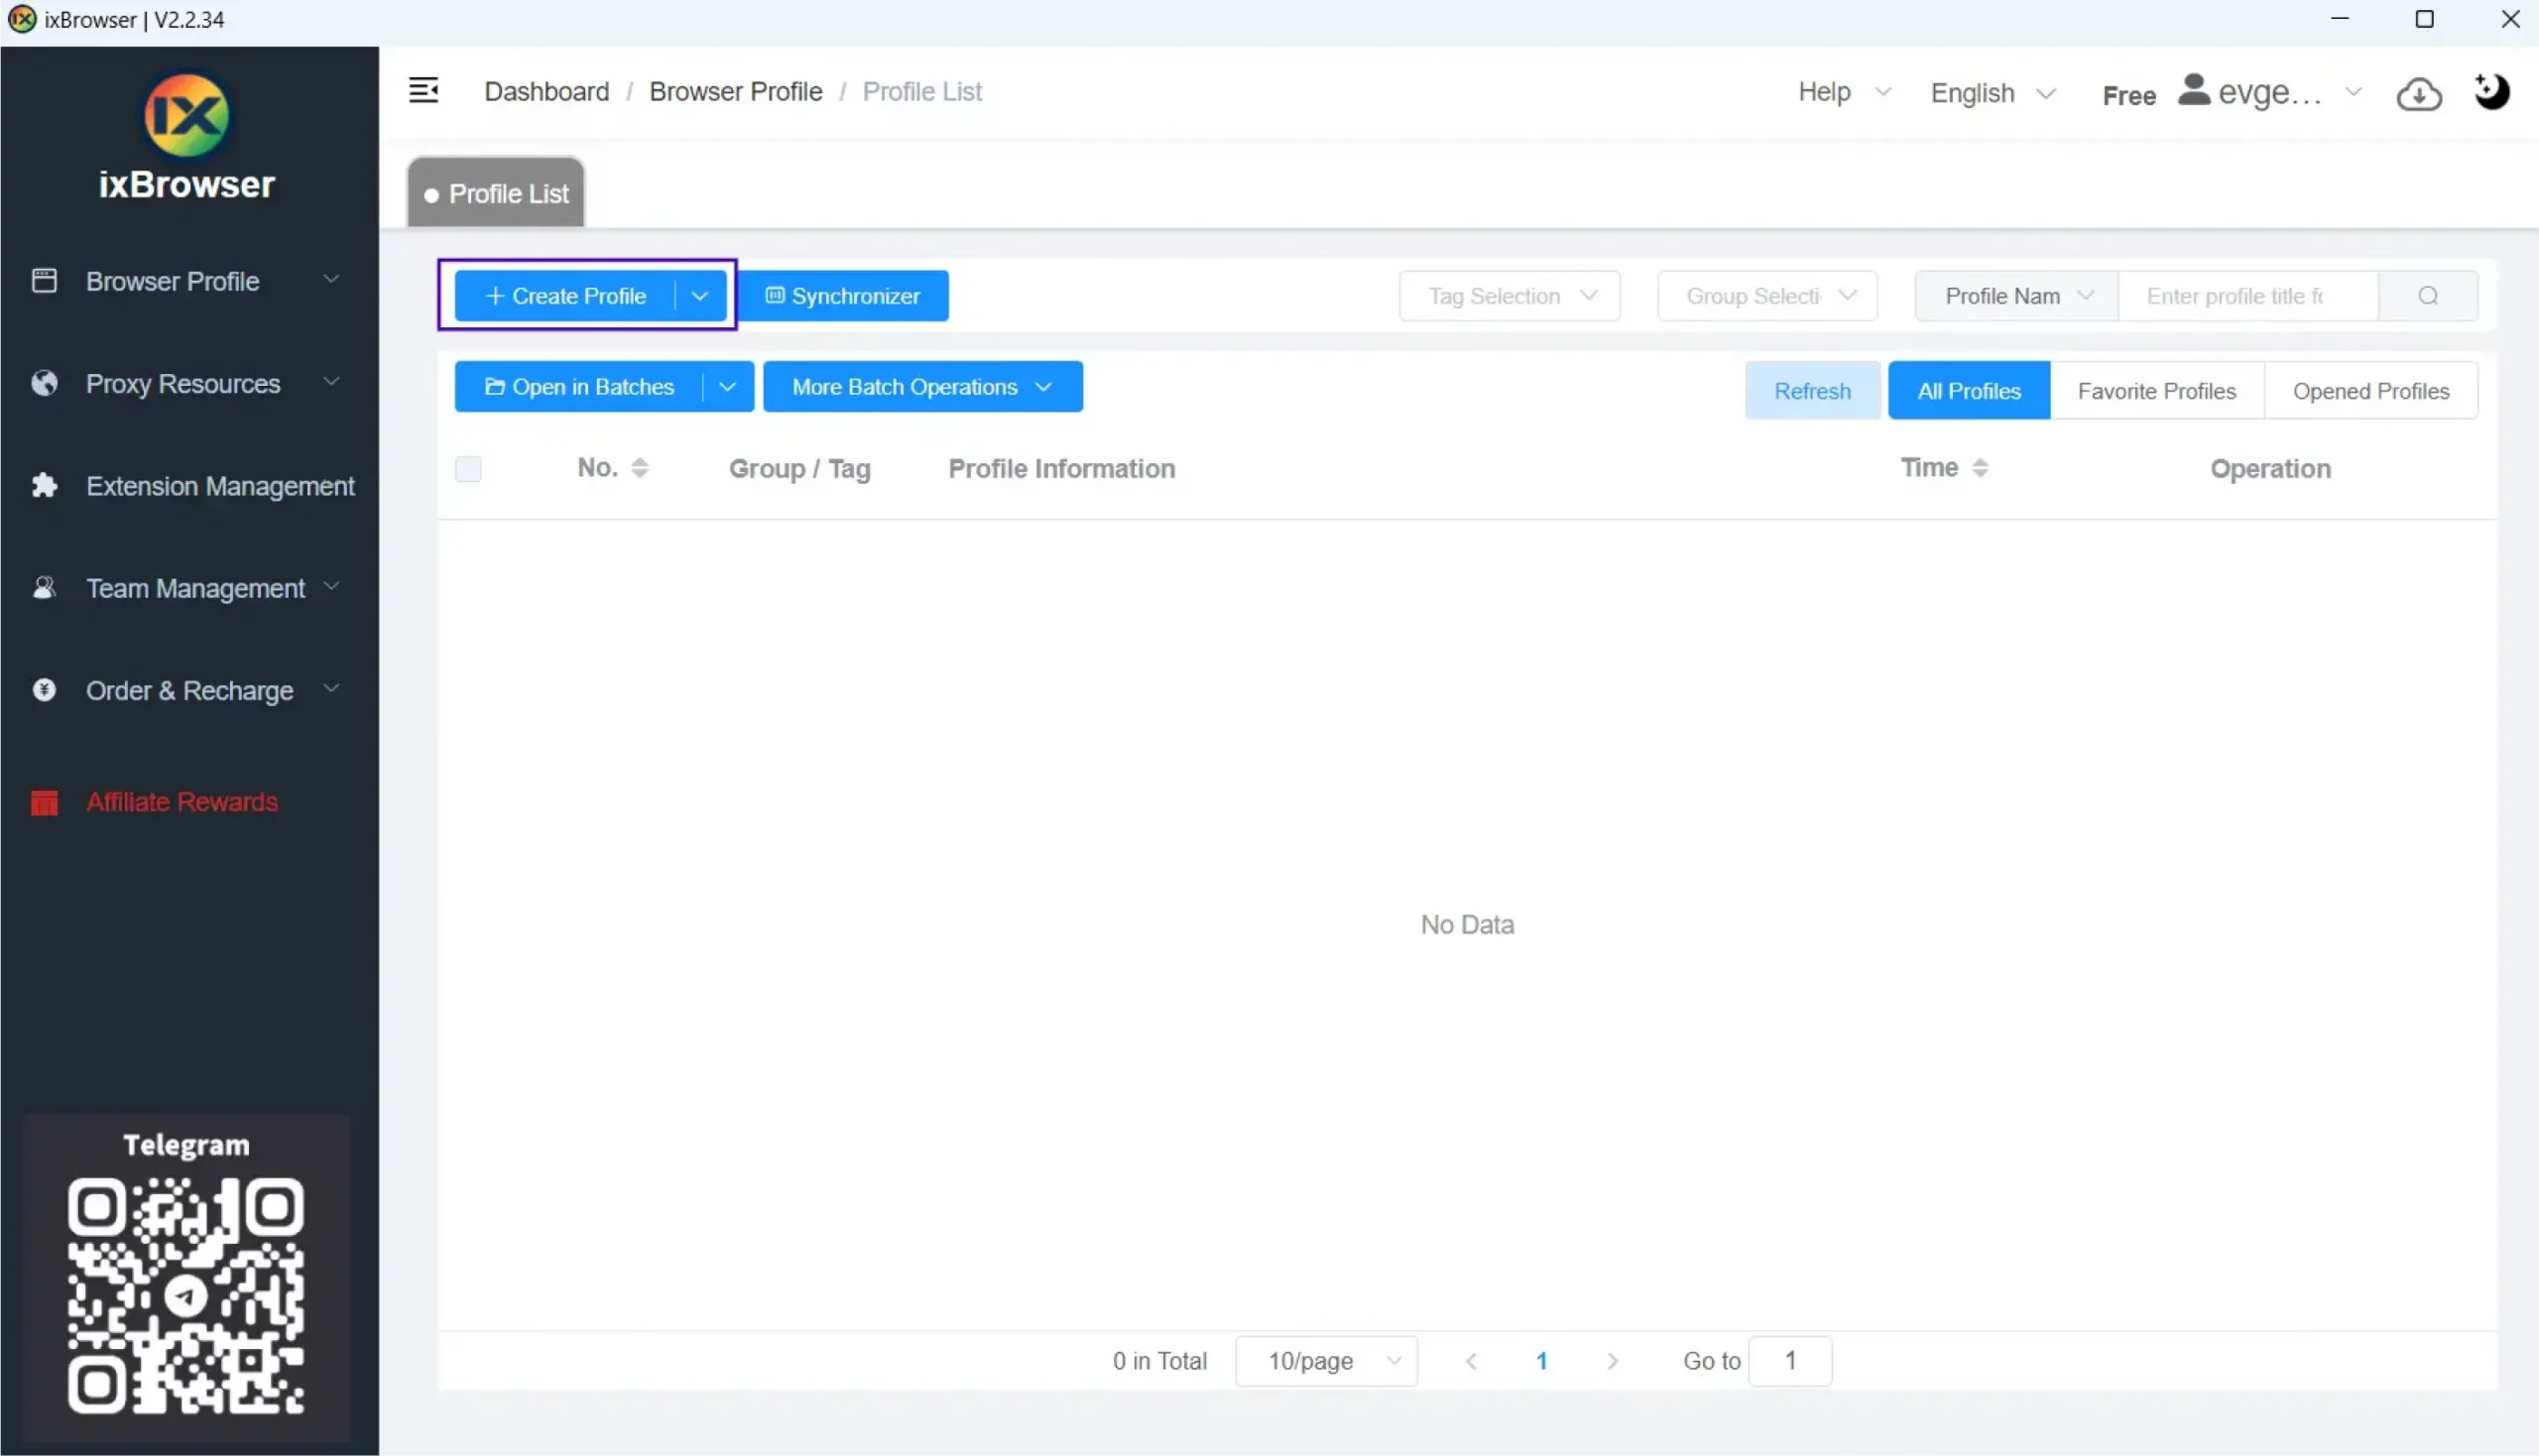
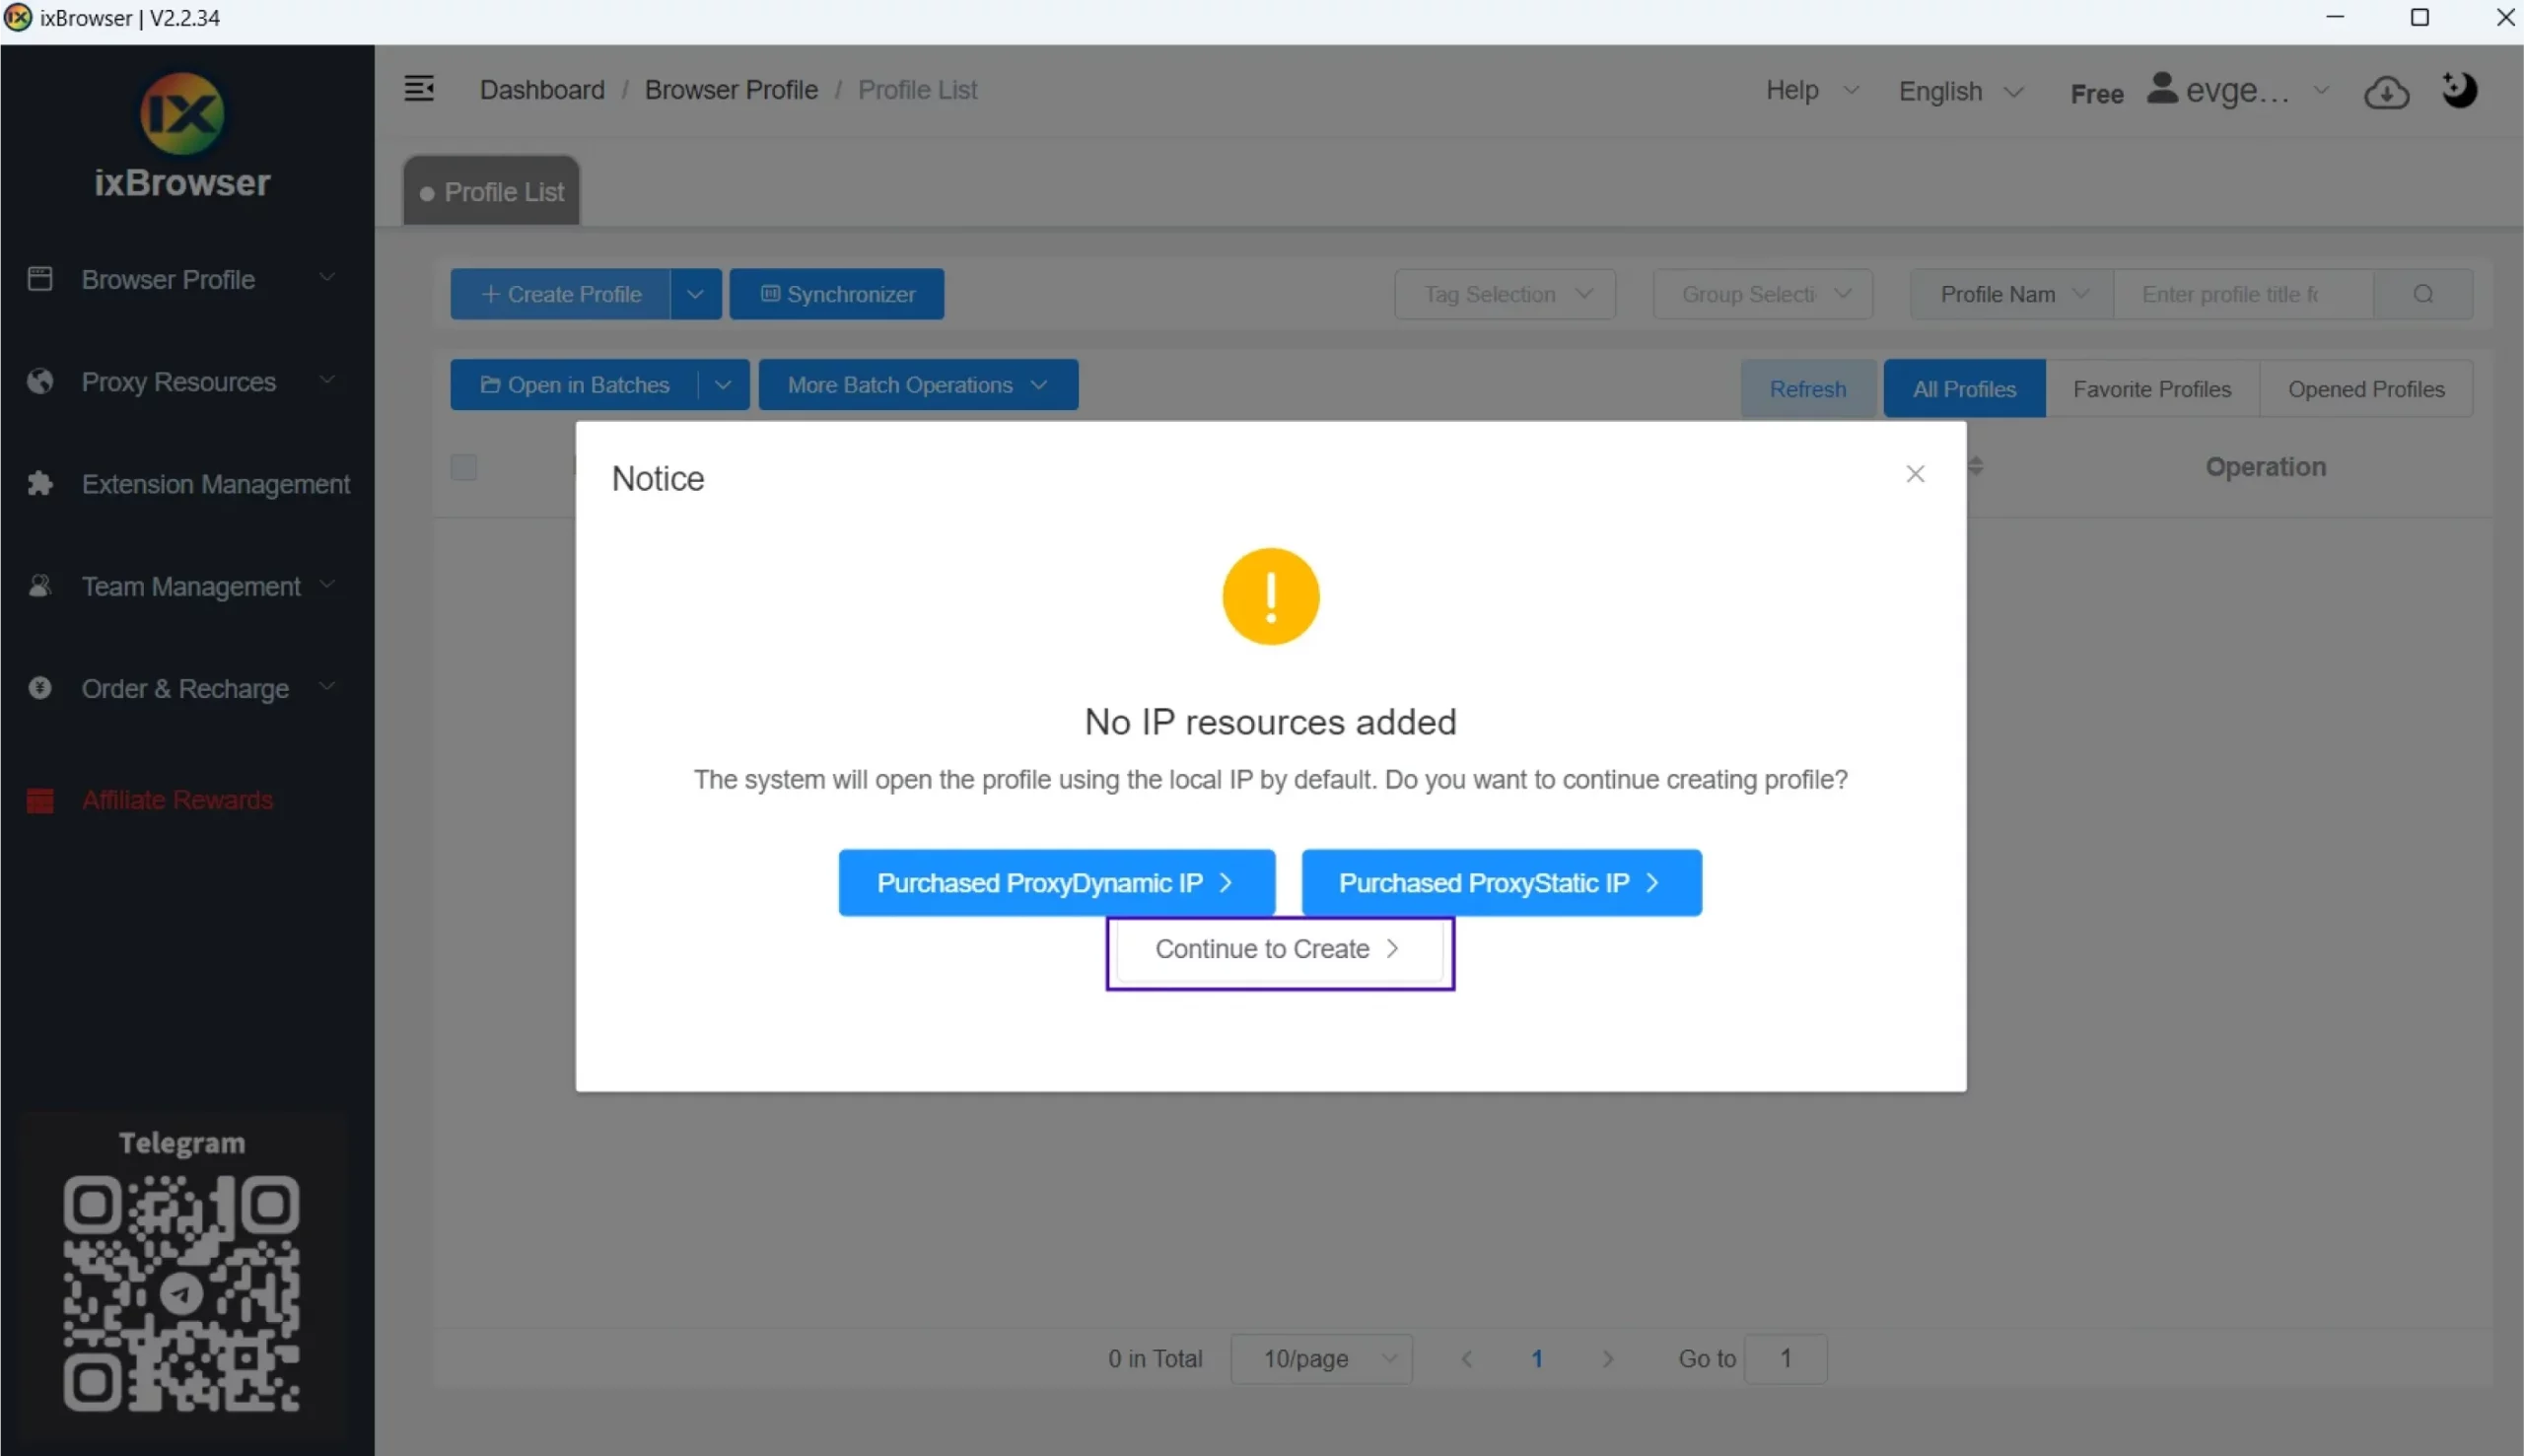
- To add DataImpulse proxies, first press the “Create profile” button. If a “No IP resources added” notice appears, choose “Continue to create.”
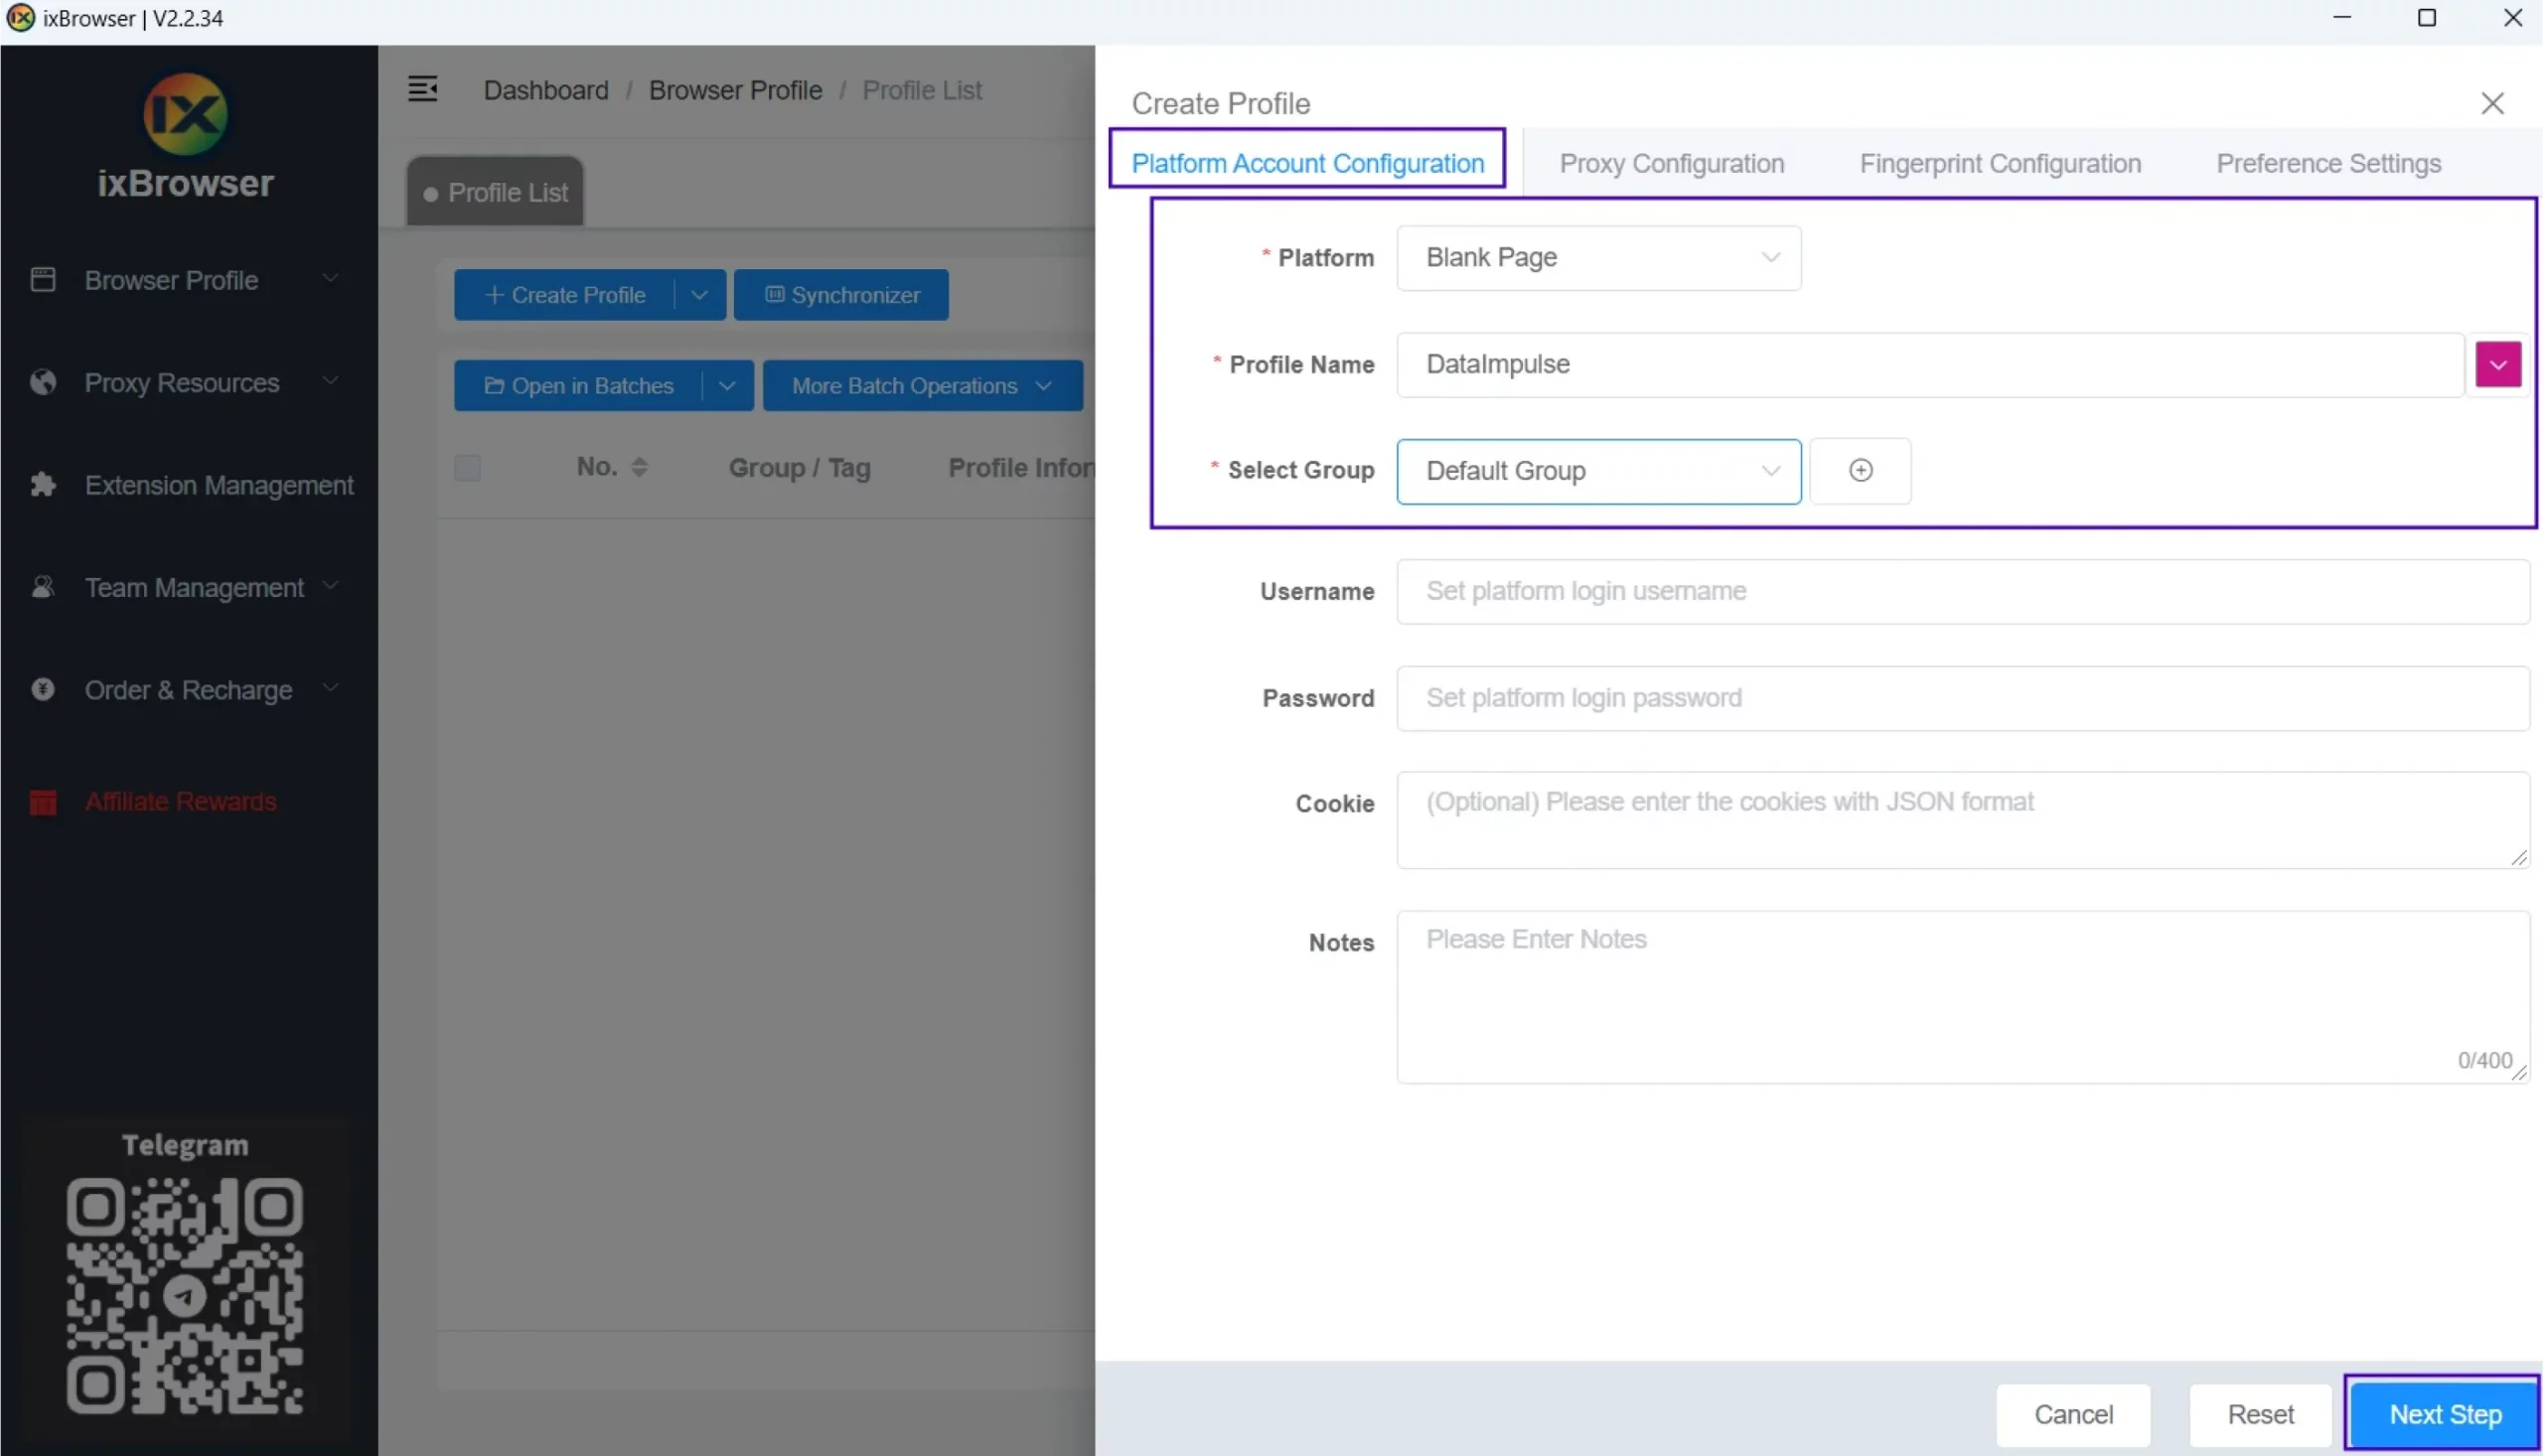
- Choose a platform from a drop-down list and give your profile a name. Fill in the details if necessary, then click the “Next Step” button.
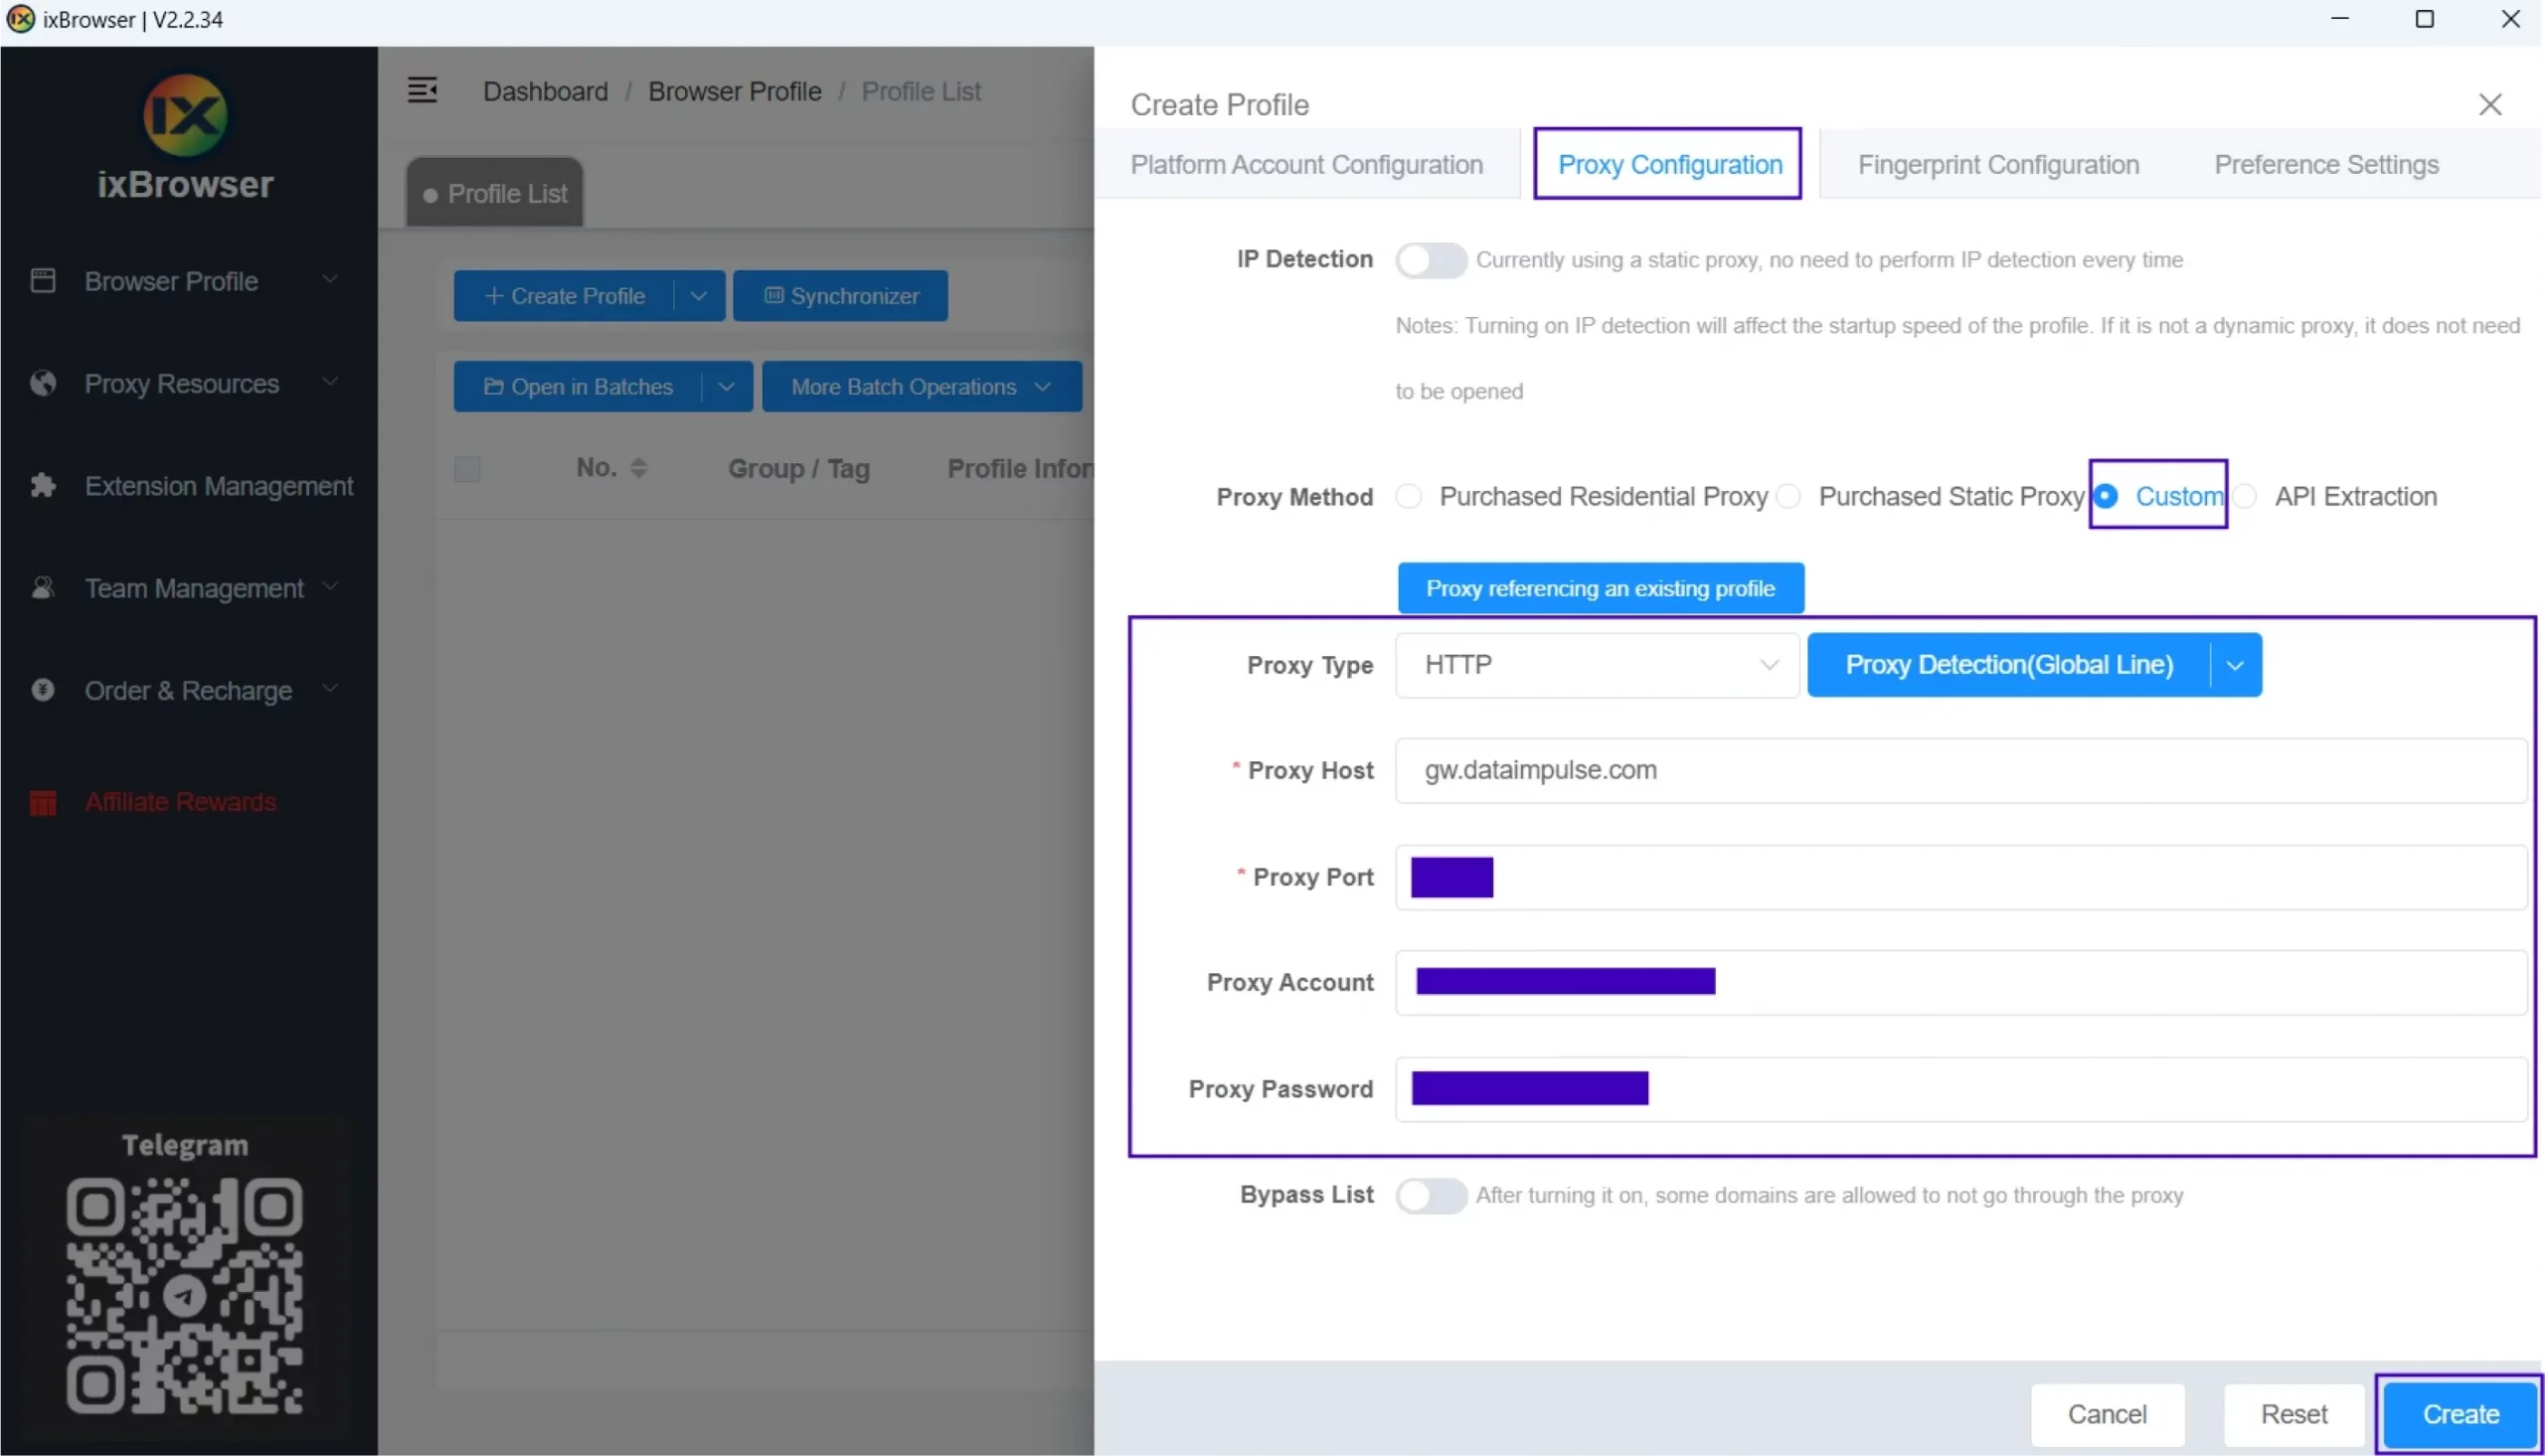
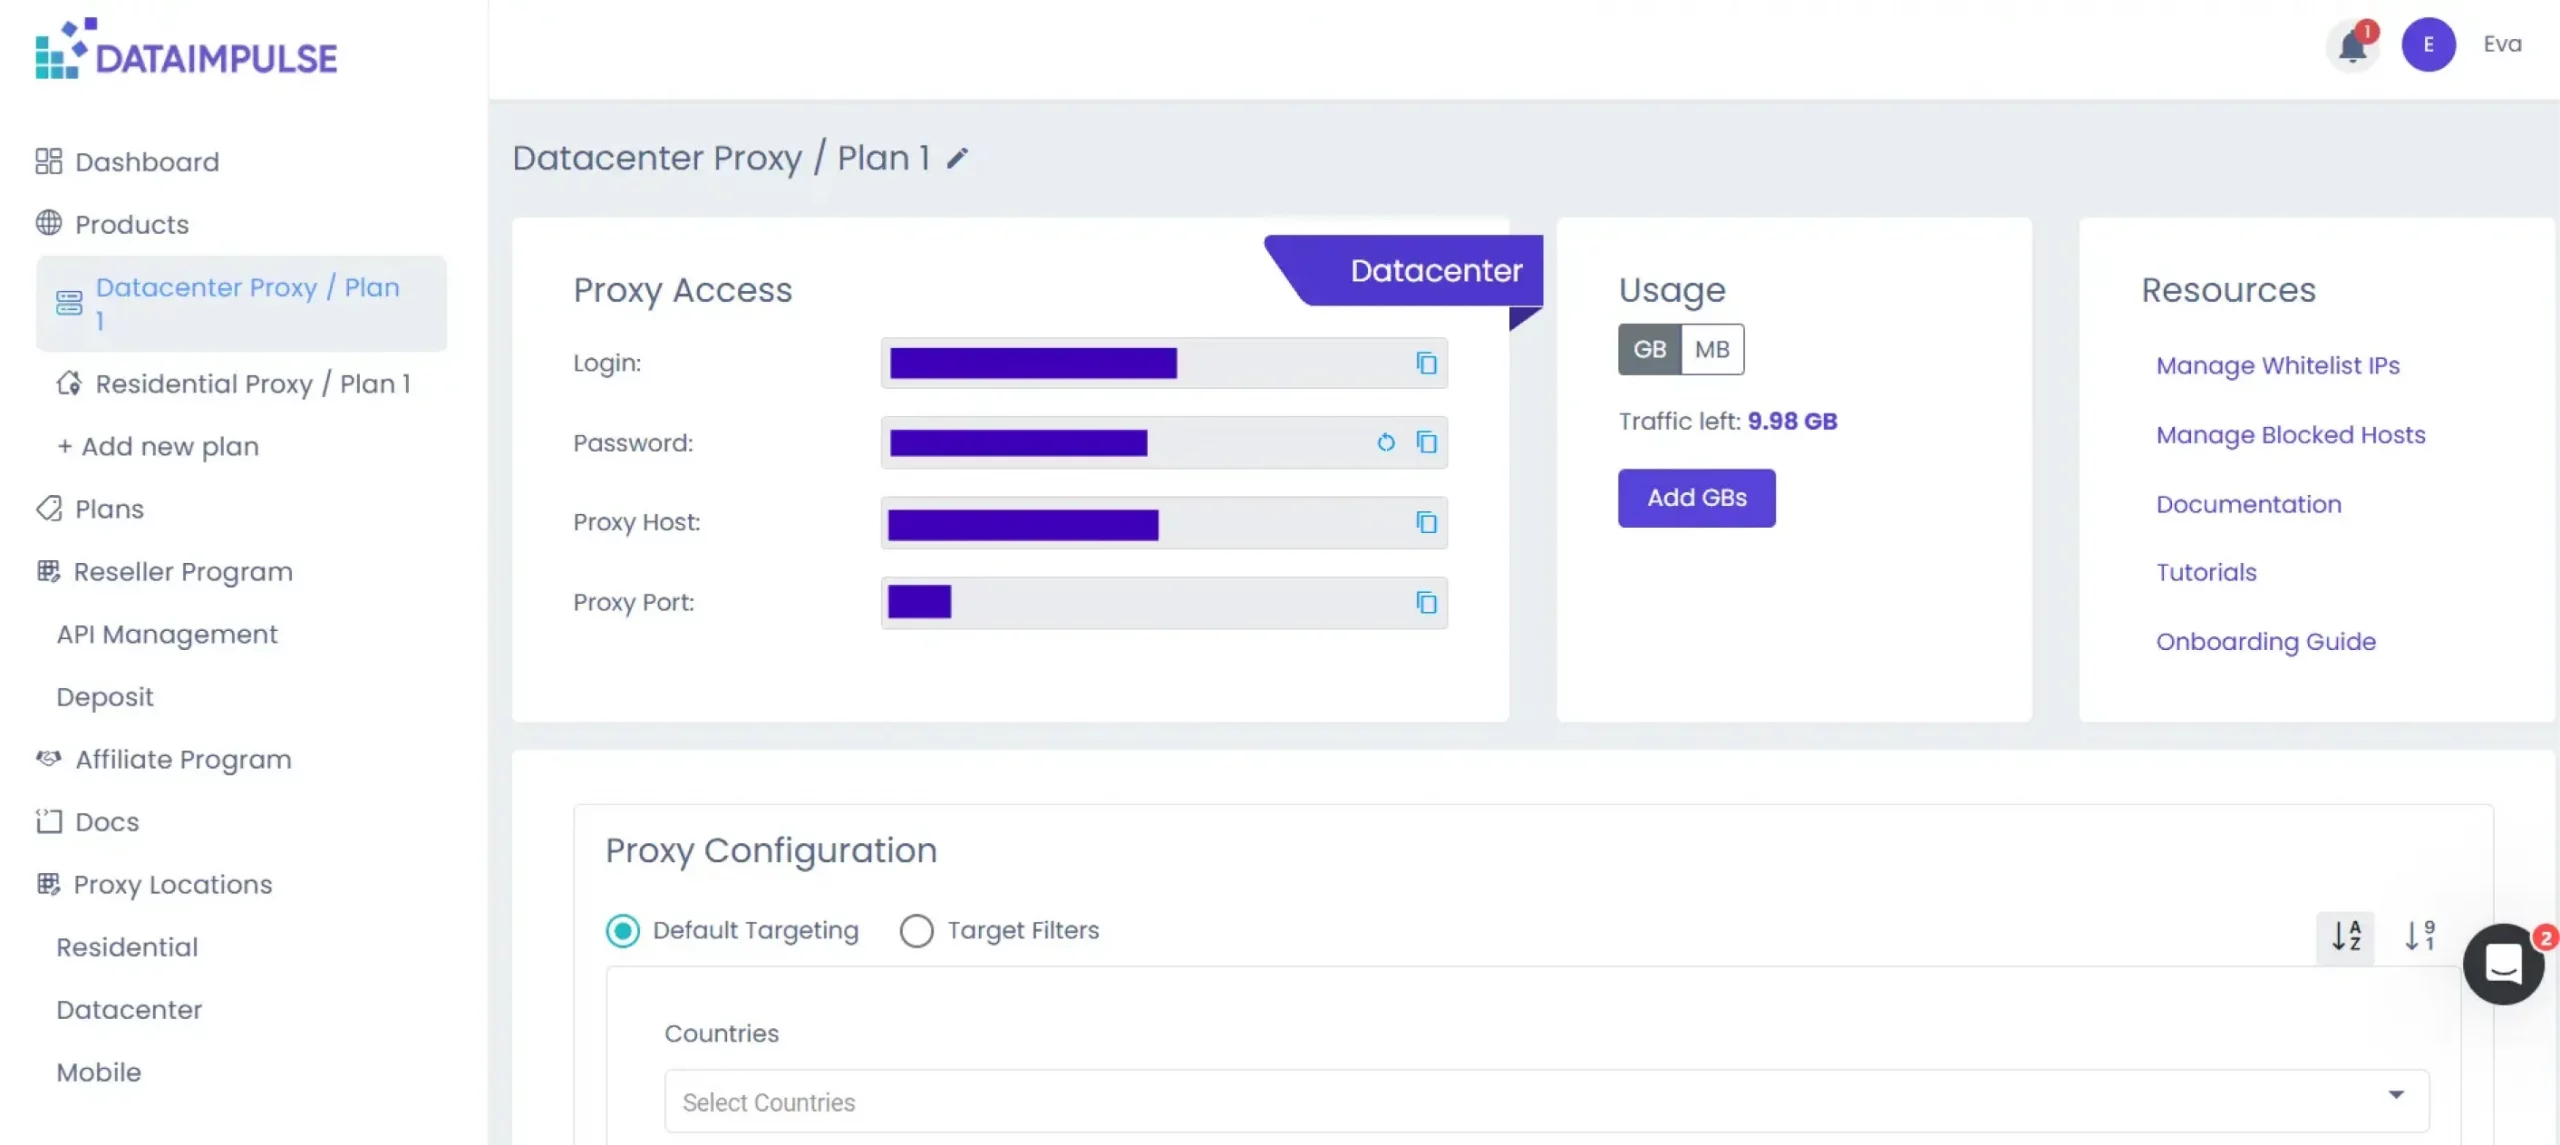
- IxBrowser will redirect you to the “Proxy Configuration” tab. If that doesn’t happen, switch tabs manually. In the “Proxy Method” field, opt for “Custom” and choose a proxy type, HTTP(S) or SOCKS. Then, provide host, port, login, and password information. You can copy credentials from your DataImpulse dashboard. Also, check that the proxy type selected on the dashboard matches the one you chose on ixBrowser. If you need help managing your DI account, please use this detailed manual. Press the “Create” button to finalize the process.
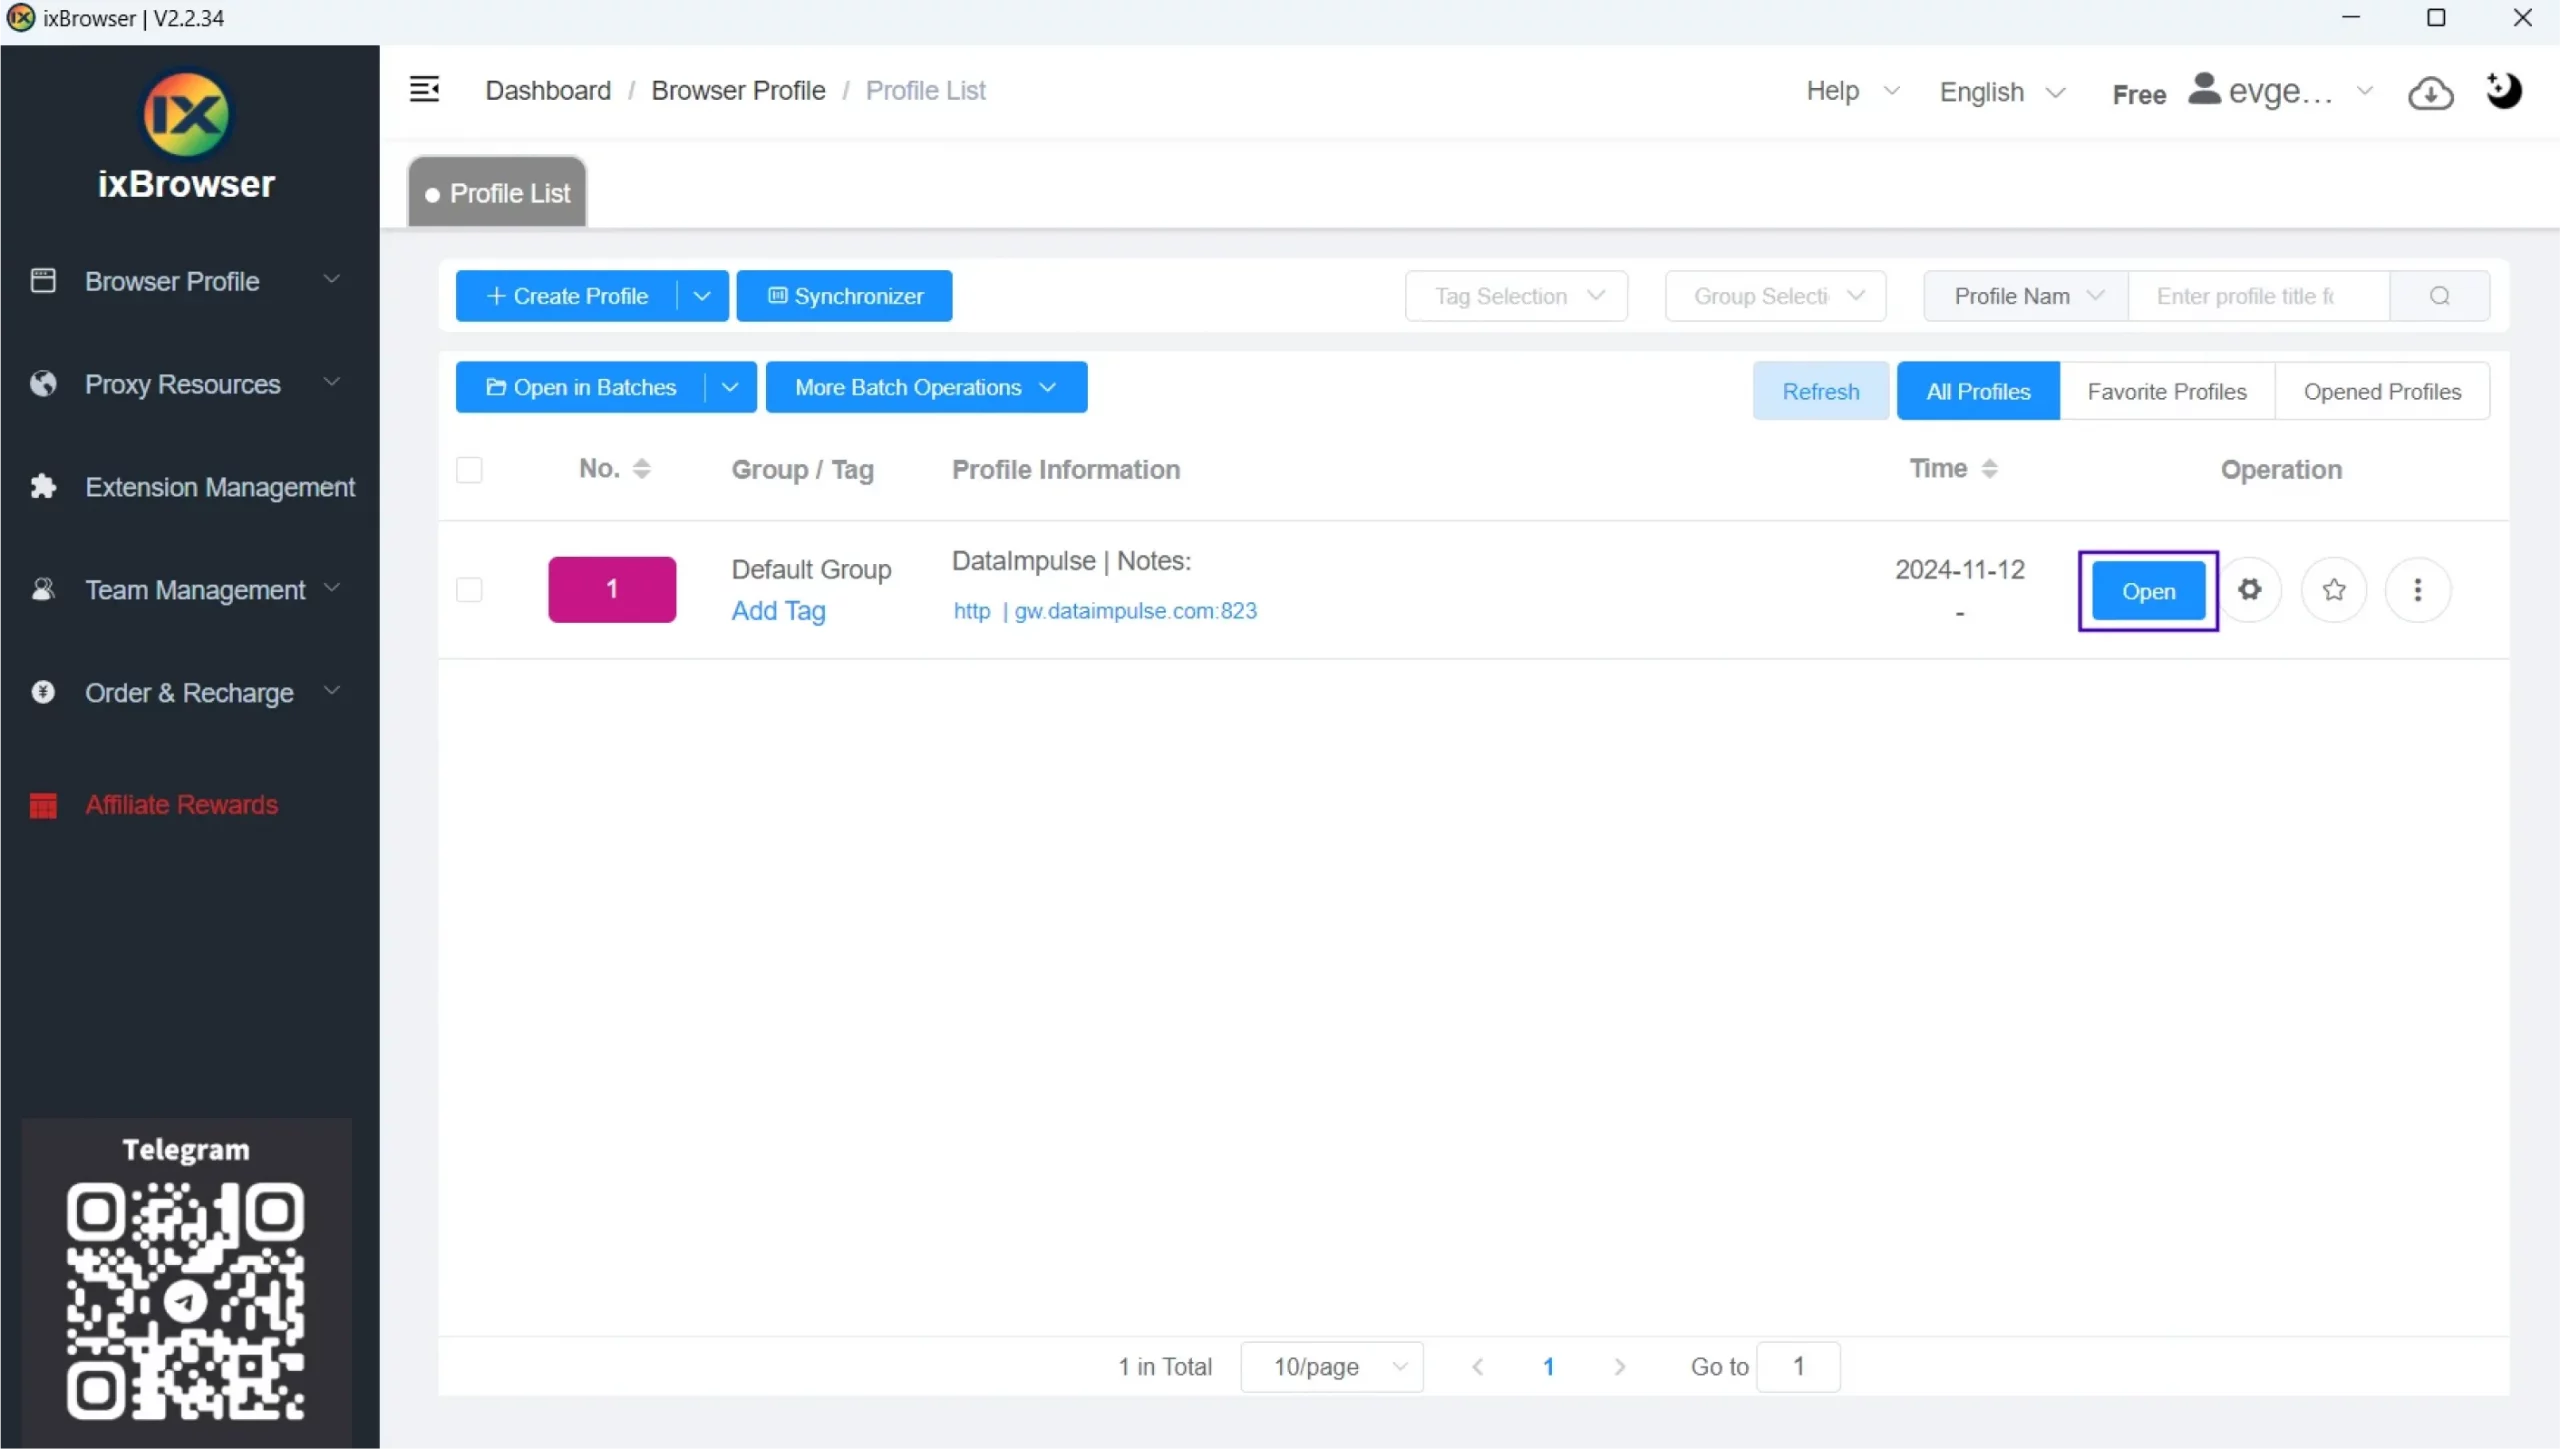
- You’re all set! Press the “Open” button to start using your new anonymous account. If you need more profiles, follow the same instructions to create as many as you need.

