LibreWolf Proxy Setup Guide for DataImpulse Users

What is a LibreWolf?
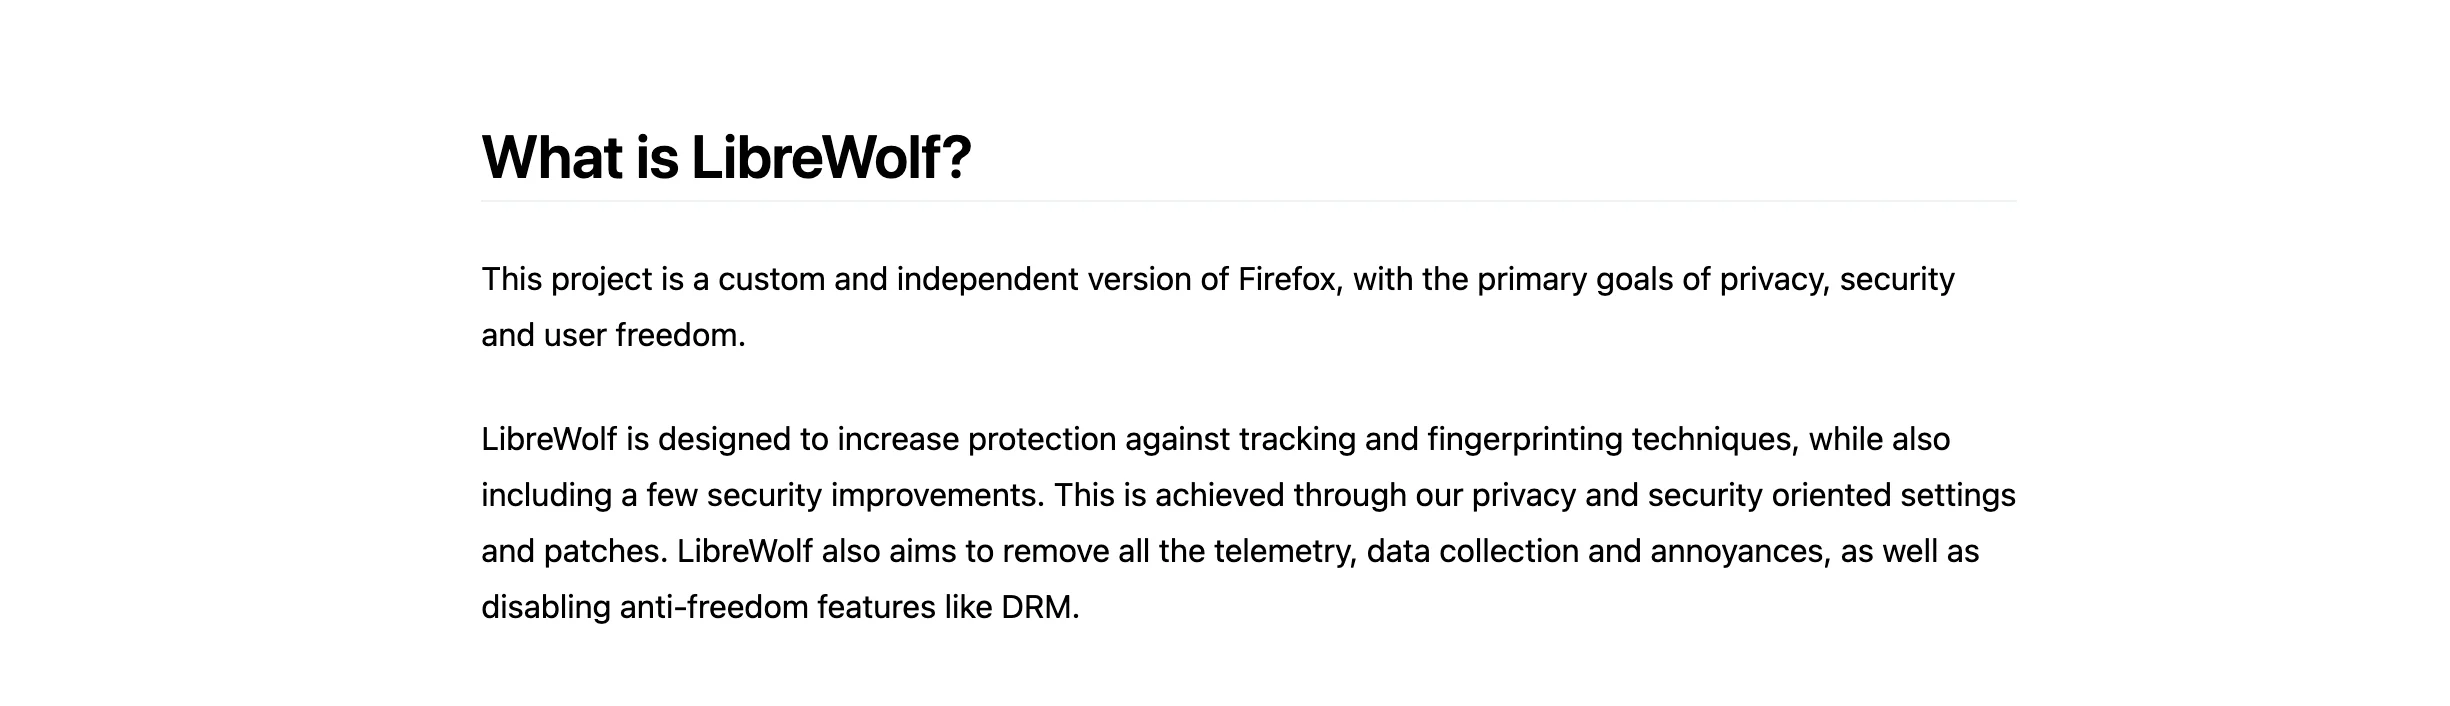
LibreWolf is a privacy-focused fork of Firefox with stronger protection and greater control over security settings. Available for Windows, macOS, Linux, and several distributions like openSUSE, it removes telemetry, DRM, crash reports, password storage, Pocket, ads, and other unnecessary features by default.
Its configuration disables tracking, fingerprinting, and common annoyances, such as autoplaying media, window resizing scripts, and search suggestions. So, users get a faster browser. Privacy is enhanced with built-in uBlock Origin, HTTPS-only mode, stripped tracking elements from URLs, and the removal of search/form history, autofill, and disk cache.
LibreWolf also applies stricter TLS/SSL rules, disables scripting in the PDF reader, and offers an optional firewall for extensions. It may take some setup and adjustment, but it clearly explains options, trade-offs, and lets users customize security so they know exactly how their system is set.
Main features of LibreWolf:
- Privacy-centered by default;
- No built-in ads or sponsored content;
- Strict defaults for cookies, tracking protection, and HTTPS usage;
- uBlock Origin preinstalled (one of the most popular ad/tracker blockers) ;
- Maintained by volunteers;
- Cross-platform availability;
- Removes features that could compromise privacy;
- Custom search engine options (e.g., DuckDuckGo, Startpage, Searx).
Because LibreWolf removes features like built-in password management, DRM support, and Pocket, users who rely on those will need to find alternatives. It can be inconvenient for streaming or interactive content. Lastly, some conveniences, such as autofill and search suggestions, are disabled by default, meaning everyday browsing might feel less streamlined until you adjust your workflow.
How to Set Up DataImpulse Proxies for LibreWolf
1. Visit the LibreWolf website. Click the relevant Installation button, and the upload will begin automatically.

2. Once you’ve downloaded the app, install it on your device. If your device blocks it with a message saying it’s not from an identified developer, go to System Preferences (on macOS), open Security & Privacy, and click Open Anyway to complete the installation. If you see a similar message on Windows, click Open Anyway, or go to Settings > Apps > Advanced App Settings, then under Choose where to get apps, select Anywhere.

3. Open LibreWolf. Click the menu button (three horizontal lines) at the top right corner of the browser and select Settings.

4. Go to the Network Settings section and click the Settings… button next to Configure how Firefox connects to the Internet.

5. In the Connection Settings window, select Manual proxy configuration. Enter your DataImpulse proxy information. You can find your DataImpulse credentials in your plan details on the dashboard. Just copy them from there.

- HTTP Proxy: Enter the proxy IP host.
- Port: Enter the proxy port number.
To save your proxy settings, click OK.

6. If your DataImpulse proxy requires authentication, you’ll see a message Authentication Required. Simply input your username and password provided by DataImpulse. Click Sign in to save your proxy settings. Close the Settings tab and restart LibreWolf.
All set! DataImpulse proxies are active in LibreWolf. Ready to take performance up a notch? See what our premium proxies can do.
*If you have difficulties with your DataImpulse dashboard, read our step-by-step guide or contact our support team.

 State/City/Zip/ASN Targeting


