How to use Super Proxy on Android?
Use this guide to integrate DataImpulse proxies into Super Proxy and unlock features like adaptive proxy routing and seamless load balancing for your data collection needs.
What is Super Proxy?
Super Proxy is a free Android app that helps you browse the internet more privately by changing your IP address. It connects you to a wide network of real IPs from over 190 countries, giving you more control over how and where you appear online, all without slowing you down. Super Proxy is perfect for navigating websites with demanding access policies or managing multiple accounts, for example, in Telegram.
Key advantages of using the Super Proxy app:
- Custom proxy support;
- Supports both HTTP and SOCKS protocols;
- No root required;
- Speed testing tools;
- User-friendly interface;
- App-level control;
- Multiple profile support;
- Lightweight & Fast;
- Free & Ad-Free version options.
Super Proxy is a useful tool, but it requires you to bring your own proxies, which might be tricky for beginners. It lacks built-in encryption and system-wide tunneling unless paired with additional tools or a rooted device. Compatibility can vary depending on your Android version and the apps you use.
Steps to Add DataImpulse Proxies in Super Proxy
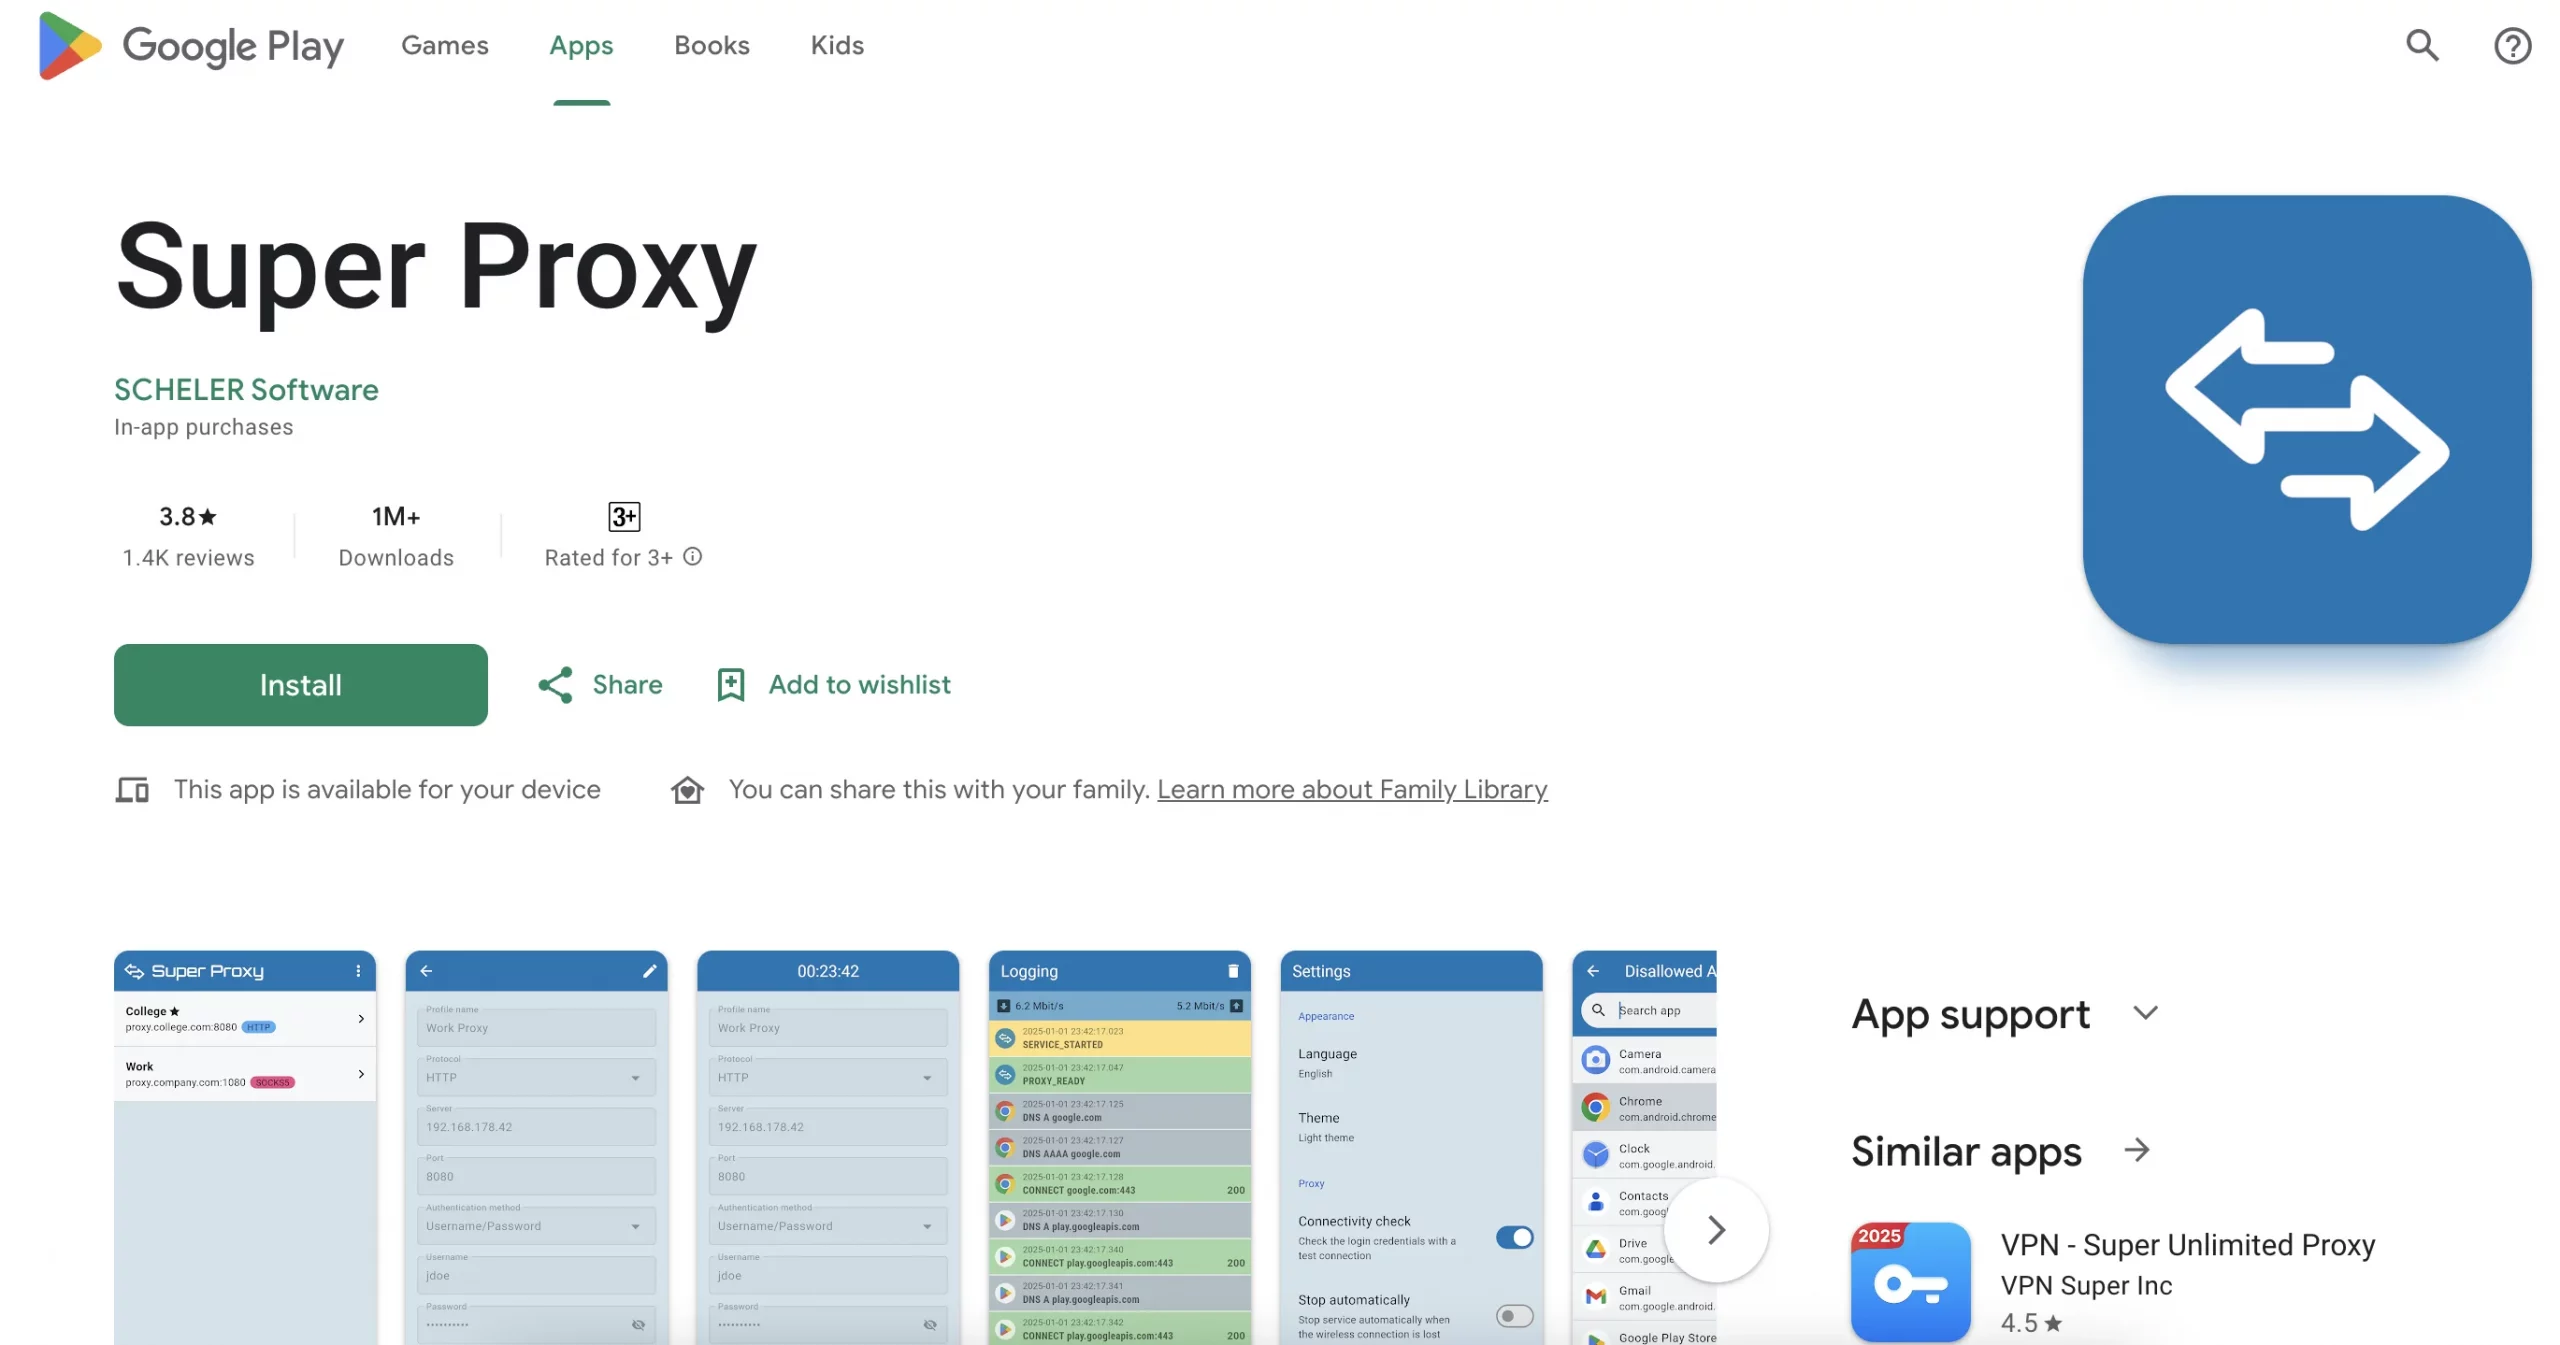
1. Download and install the Super Proxy app from the Play Store. After the installation, open the app.
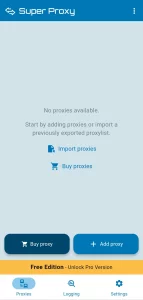
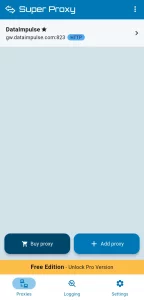
2. Once you open the app, the main screen will look like this. To use the DataImpulse proxy, just click ‘Add proxy’.
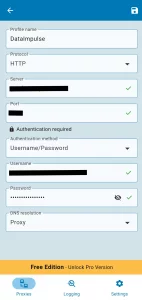
3. Super Proxy supports multiple proxy types. For DataImpulse proxies, select the correct type depending on the plan you’ve purchased.
4. Some DataImpulse proxies may require authentication. If your plan includes a username and password, be sure to enter them in the appropriate fields.
server – the hostname
port – the port used to connect
username – the login for proxy authentication
password – the password for proxy authentication
You can find the connection hostnames in our documentation, or simply copy them directly from your dashboard for quick setup.
Not sure where to find your credentials? Check your DataImpulse dashboard or reach out to customer support for help.
5. To save the proxy, tap the floppy disk icon in the top-right corner.
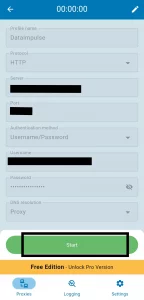
6. The final step is activating the proxy. Simply tap ‘Start’. Your phone may prompt you for permission; just allow it, and the connection will begin automatically.
7. To add another proxy, just tap the ‘Add Proxy’ button again. That’s all.
Check the dashboard after activation to monitor your proxy’s speed and data use in real time.
Try DataImpulse in Super Proxy and see how your connection stays fast, secure, and truly private.

