Zapier + DataImpulse: Methods to use Proxies
This guide explains how to integrate DataImpulse proxies into your Zaps, especially when you need to handle location-based or high-traffic web scraping tasks.
What is Zapier?
Zapier is an online service that facilitates communication between different productivity tools. It integrates with a wide range of apps, including Google Calendar, Trello, and Evernote, along with business platforms such as GitHub, QuickBooks, and Slack. Zapier is about automation with no limits. Users can create custom triggers and actions, saving time and reducing repetitive tasks. It also offers features for delaying actions, running code, filtering data, and text translation.
Zapier supports multi-app workflows. For example, you can automate a process where a task completion in Asana triggers a Slack message, followed by updating a Google Sheets document. The free version includes a 14-day trial of premium features and offers basic functionality, so it’s a good starting point for exploring the platform.
Key advantages of using Zapier:
- accessible to non-developers;
- supports thousands of apps;
- creating workflows that involve more than two apps;
- advanced features, like conditional filters, delays, and custom code;
- cost-effective for small teams;
- instant customer notifications, and much more.
Some disadvantages of Zapier may include limited customization, API rate limits, and performance issues with large workflows. Websites with advanced anti-bot protections can block requests from Zapier, particularly when using proxies. We’ll show you two different methods of using DataImpulse proxies in Zapier.
Make Your First Zap
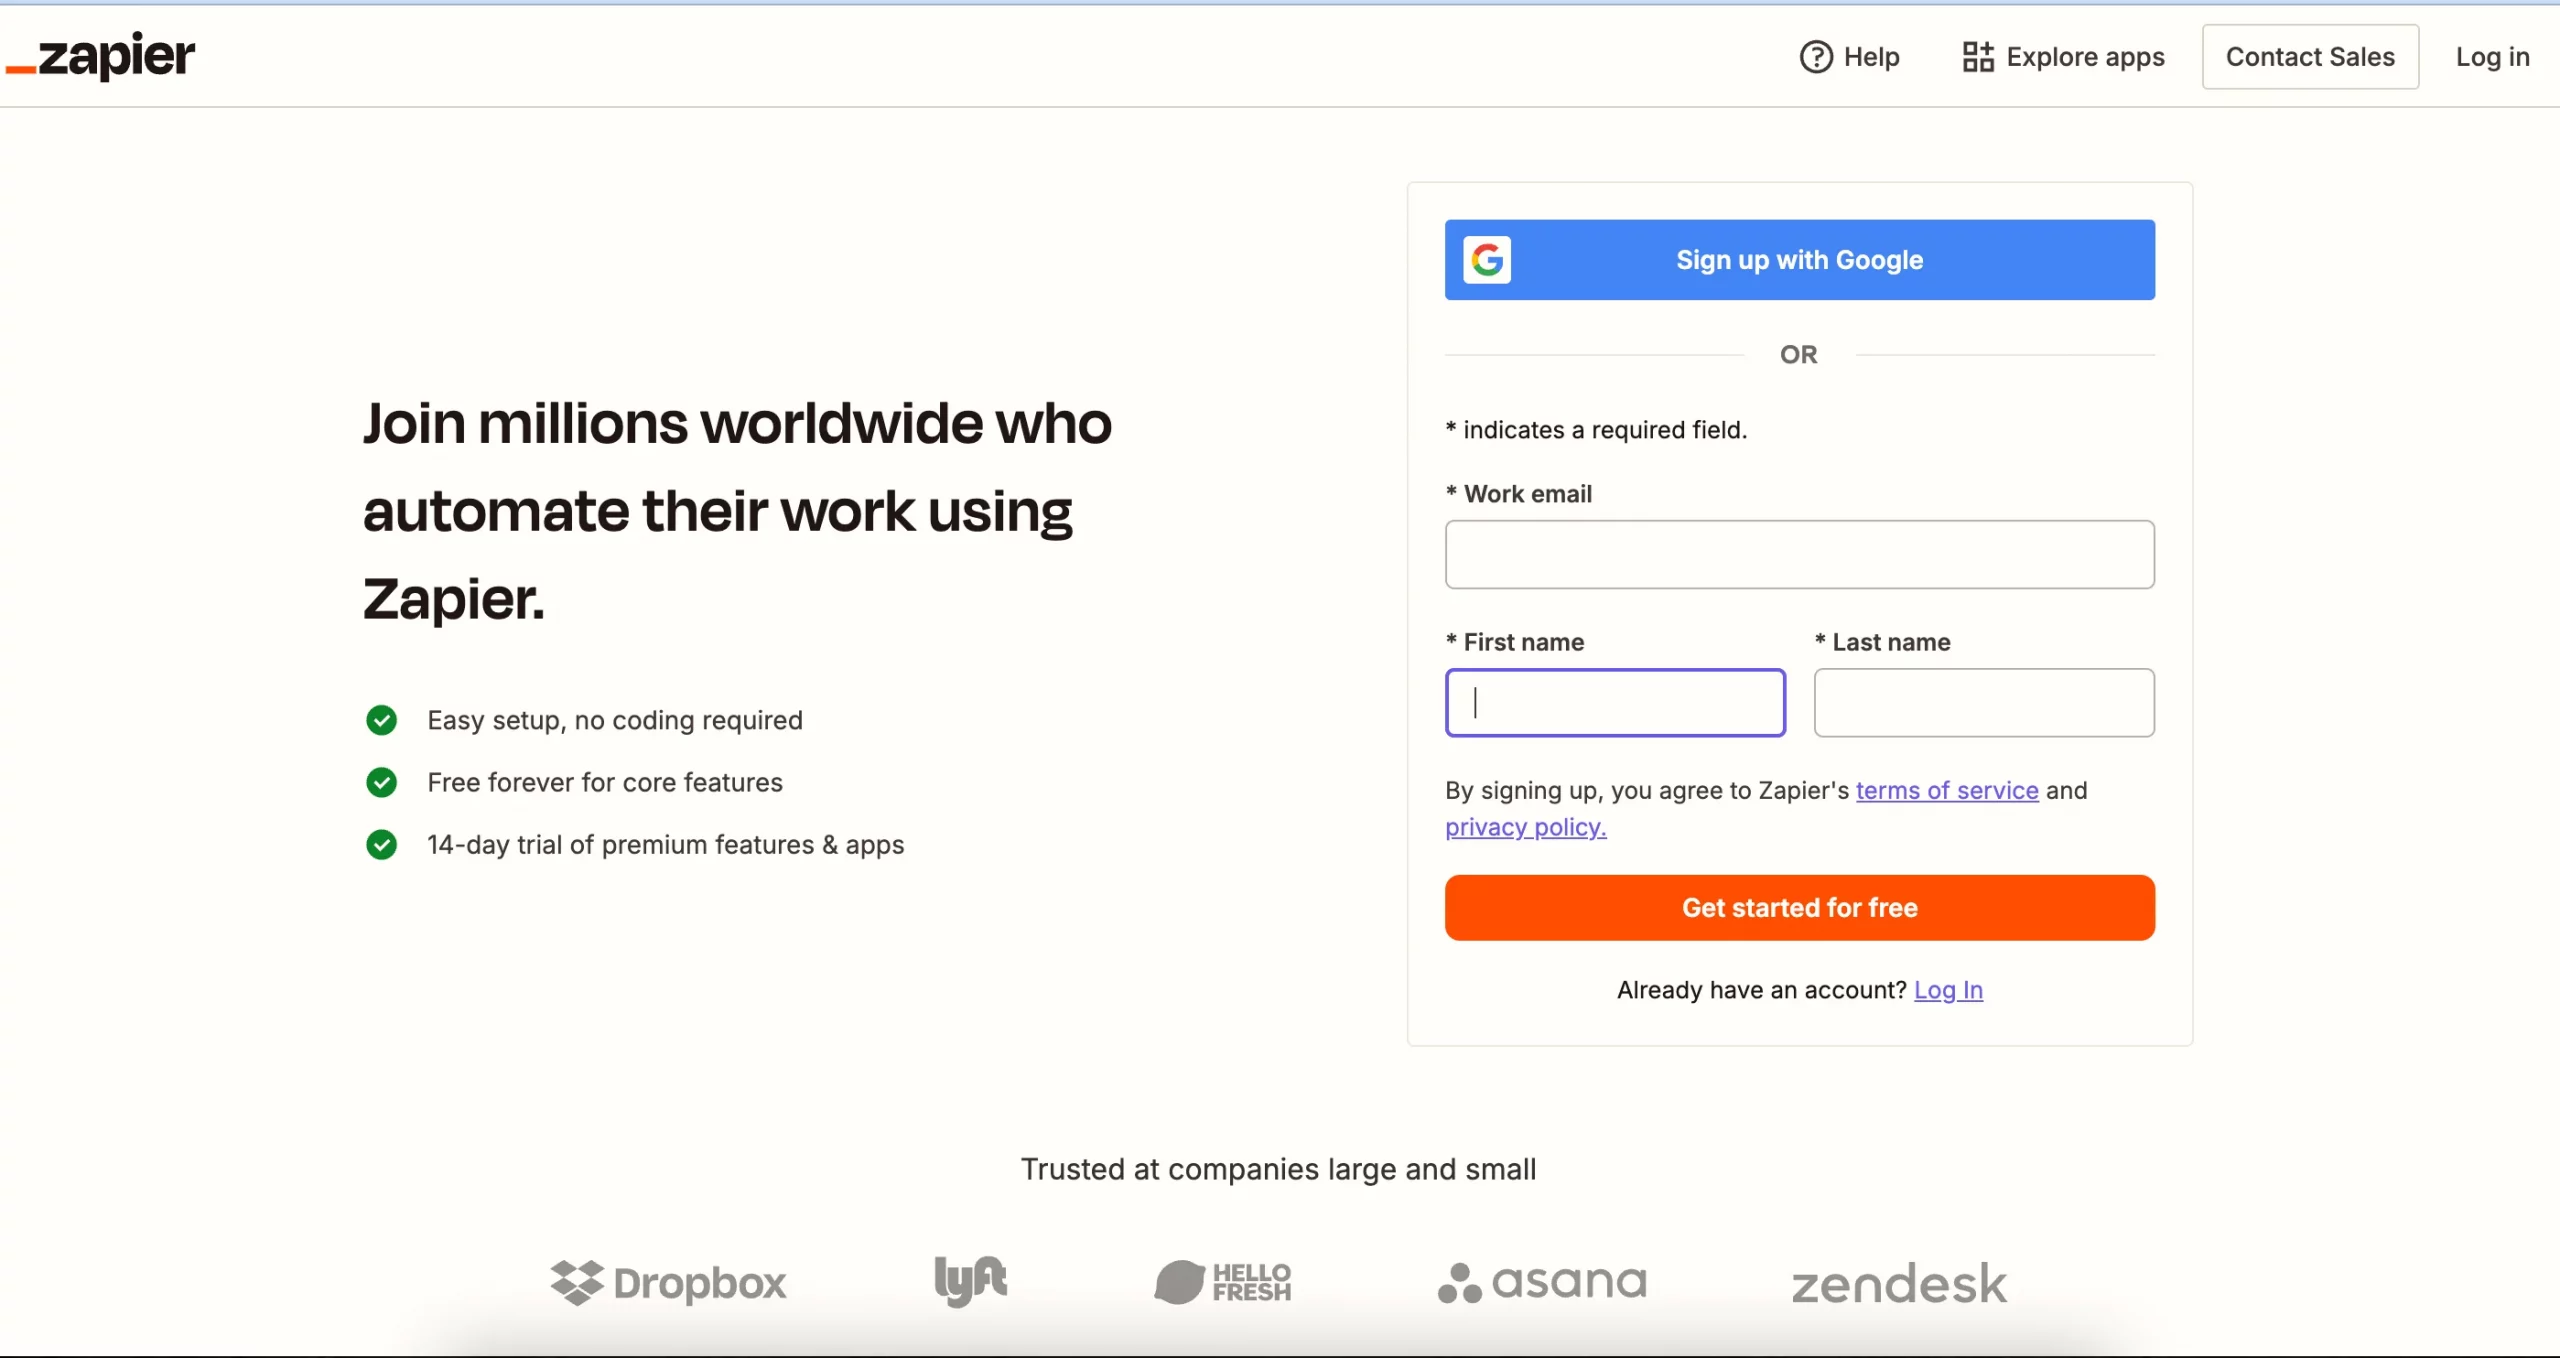
1. Signing up for Zapier is simple—you just need an email, name, and password, or you can sign in with a Google account. It also has two-factor authentication, which is great for security.
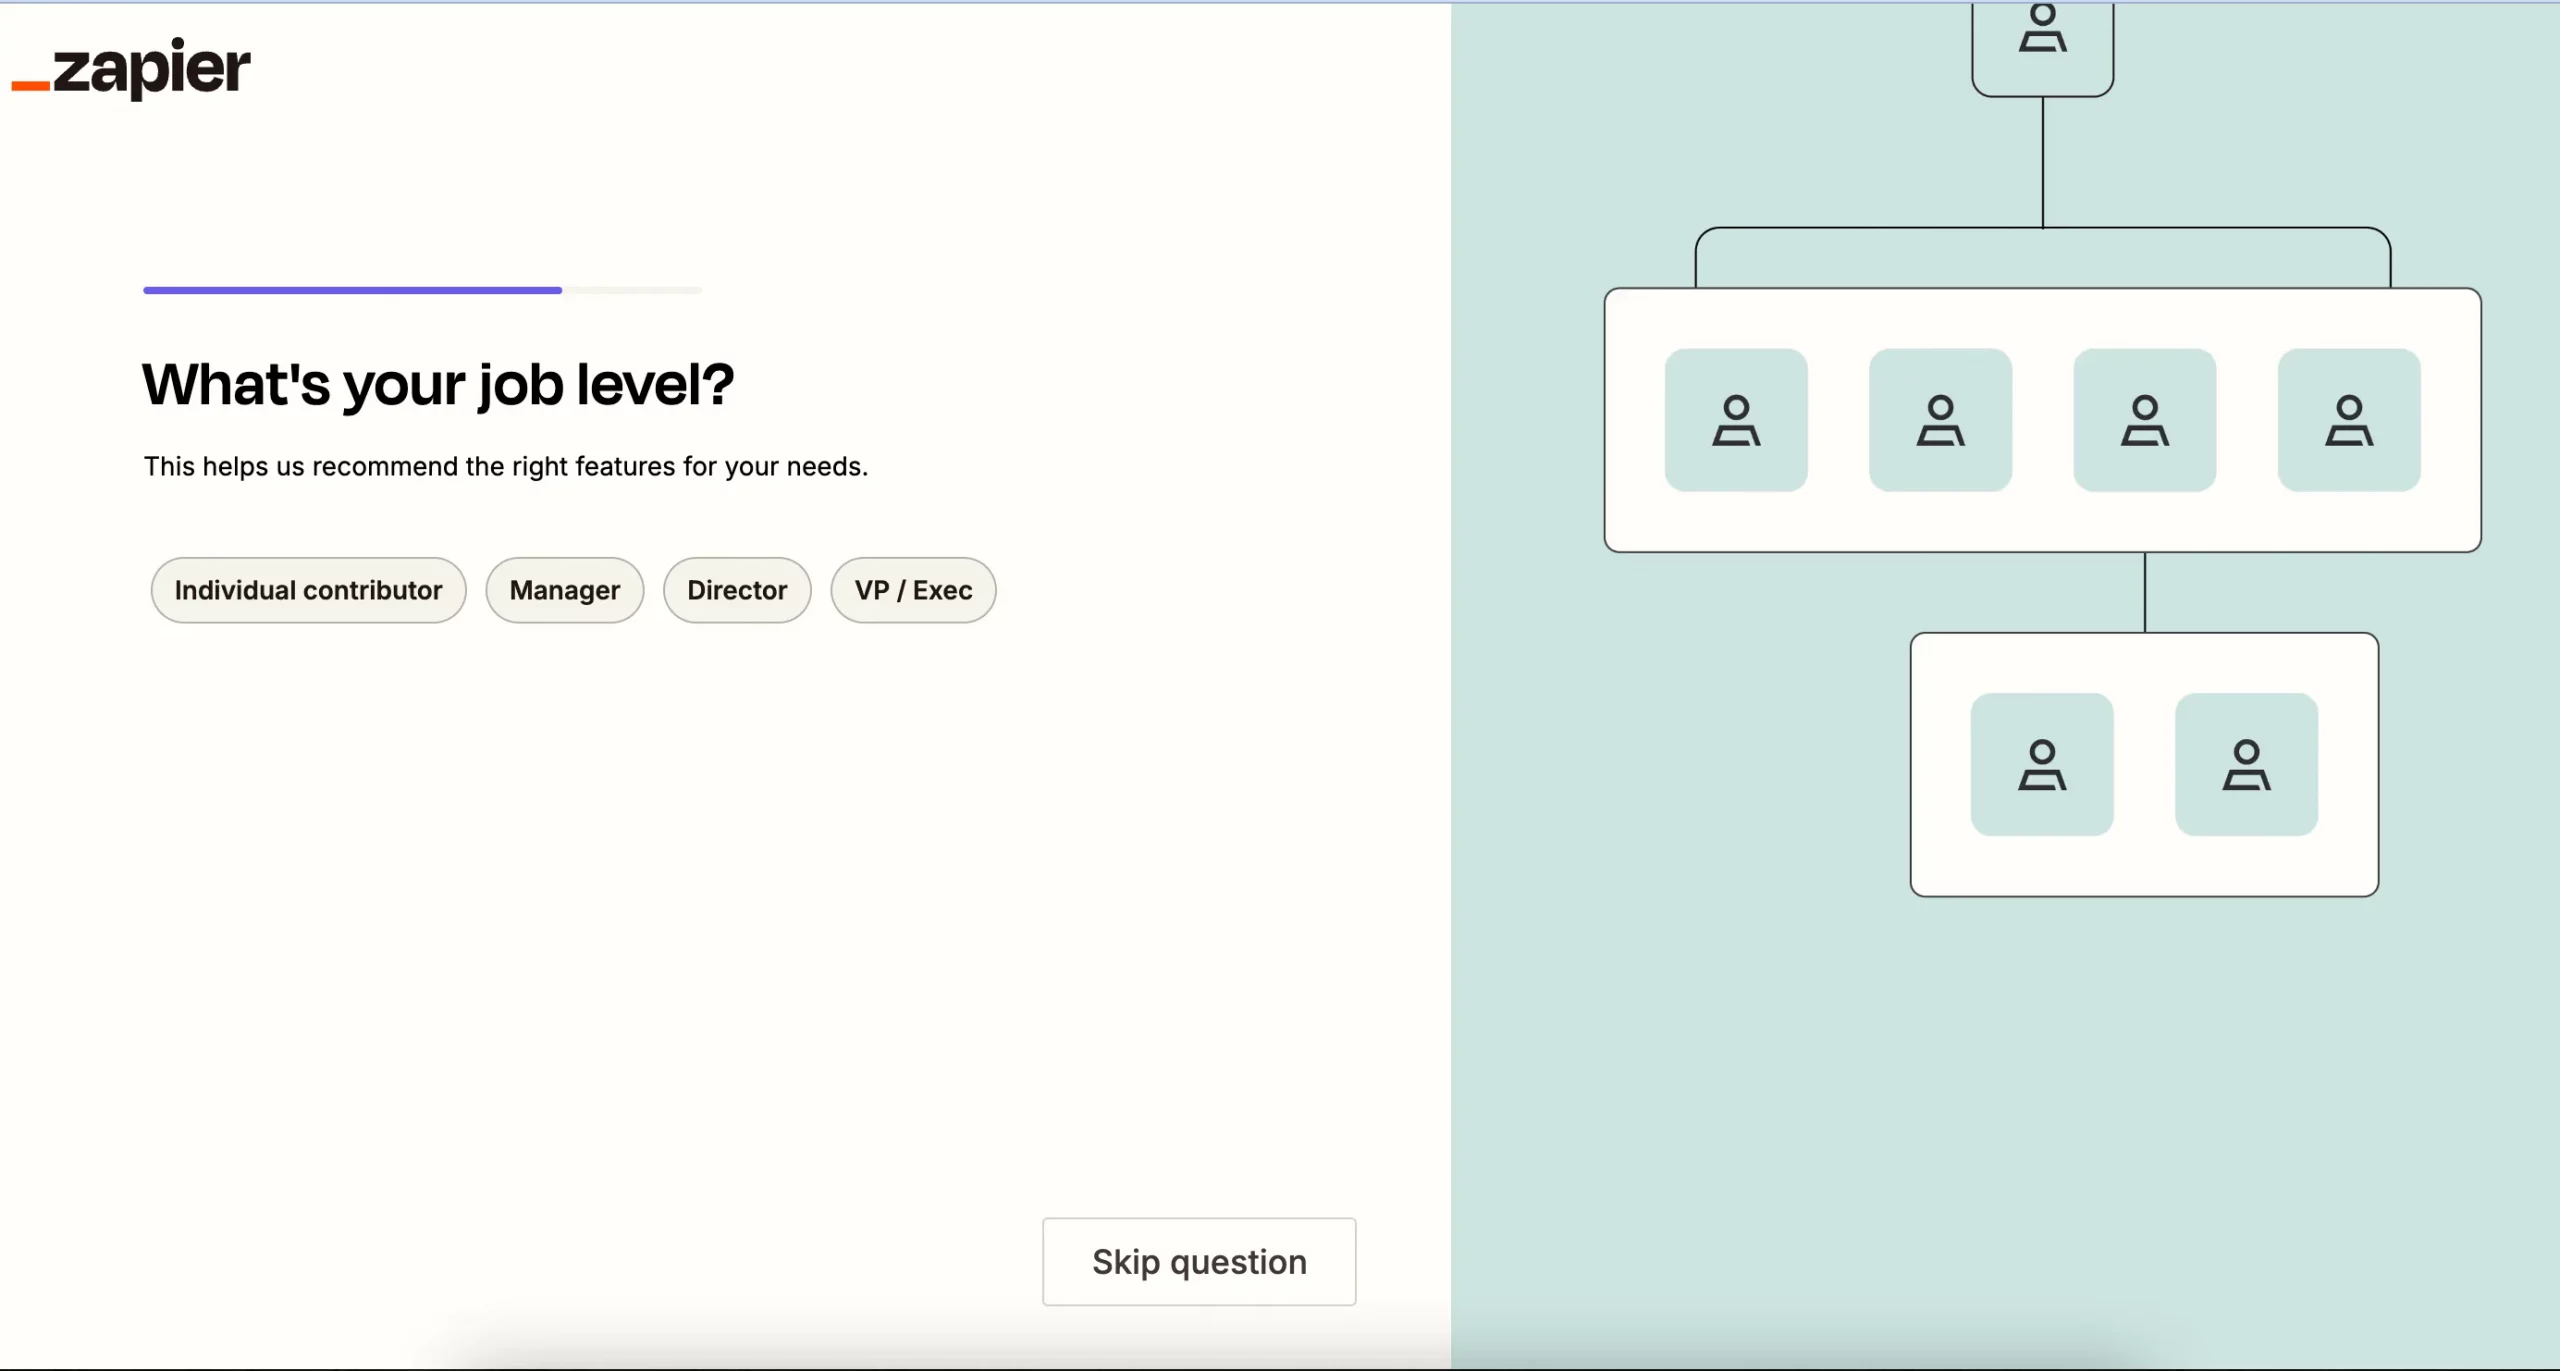
Remember to create a strong password. After signing up, you’ll be asked a few questions about your role, company size, job level, and the apps you use in your workflows to personalize your experience. You can skip them.
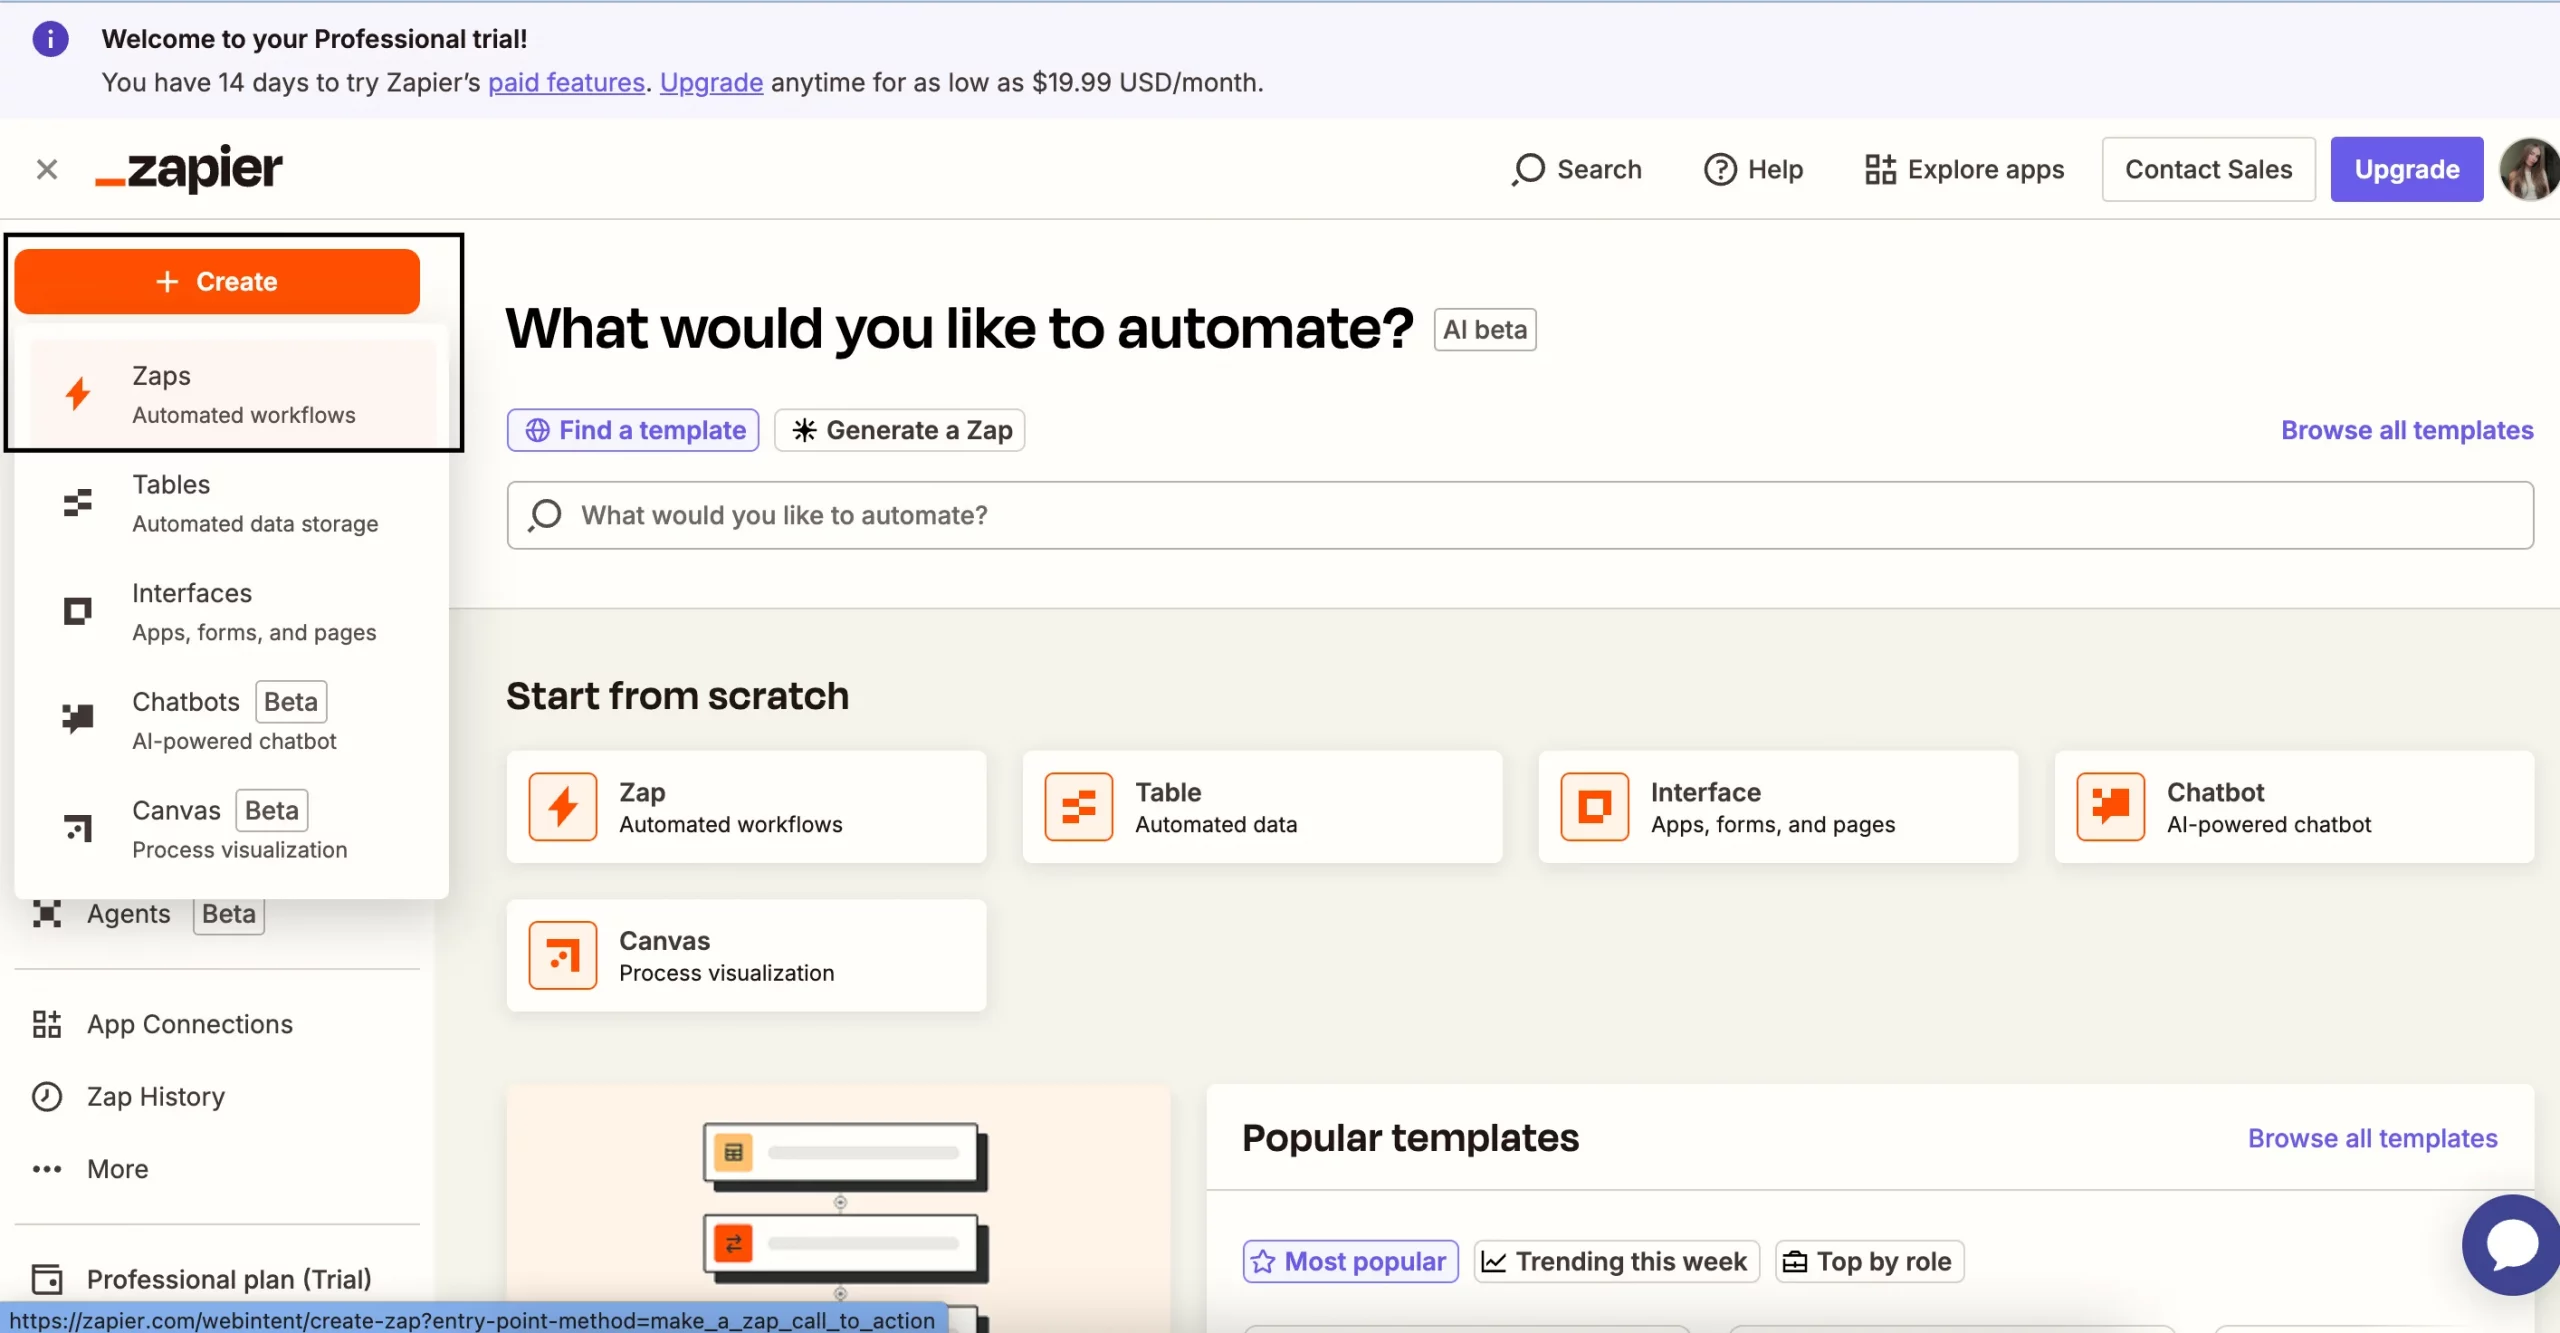
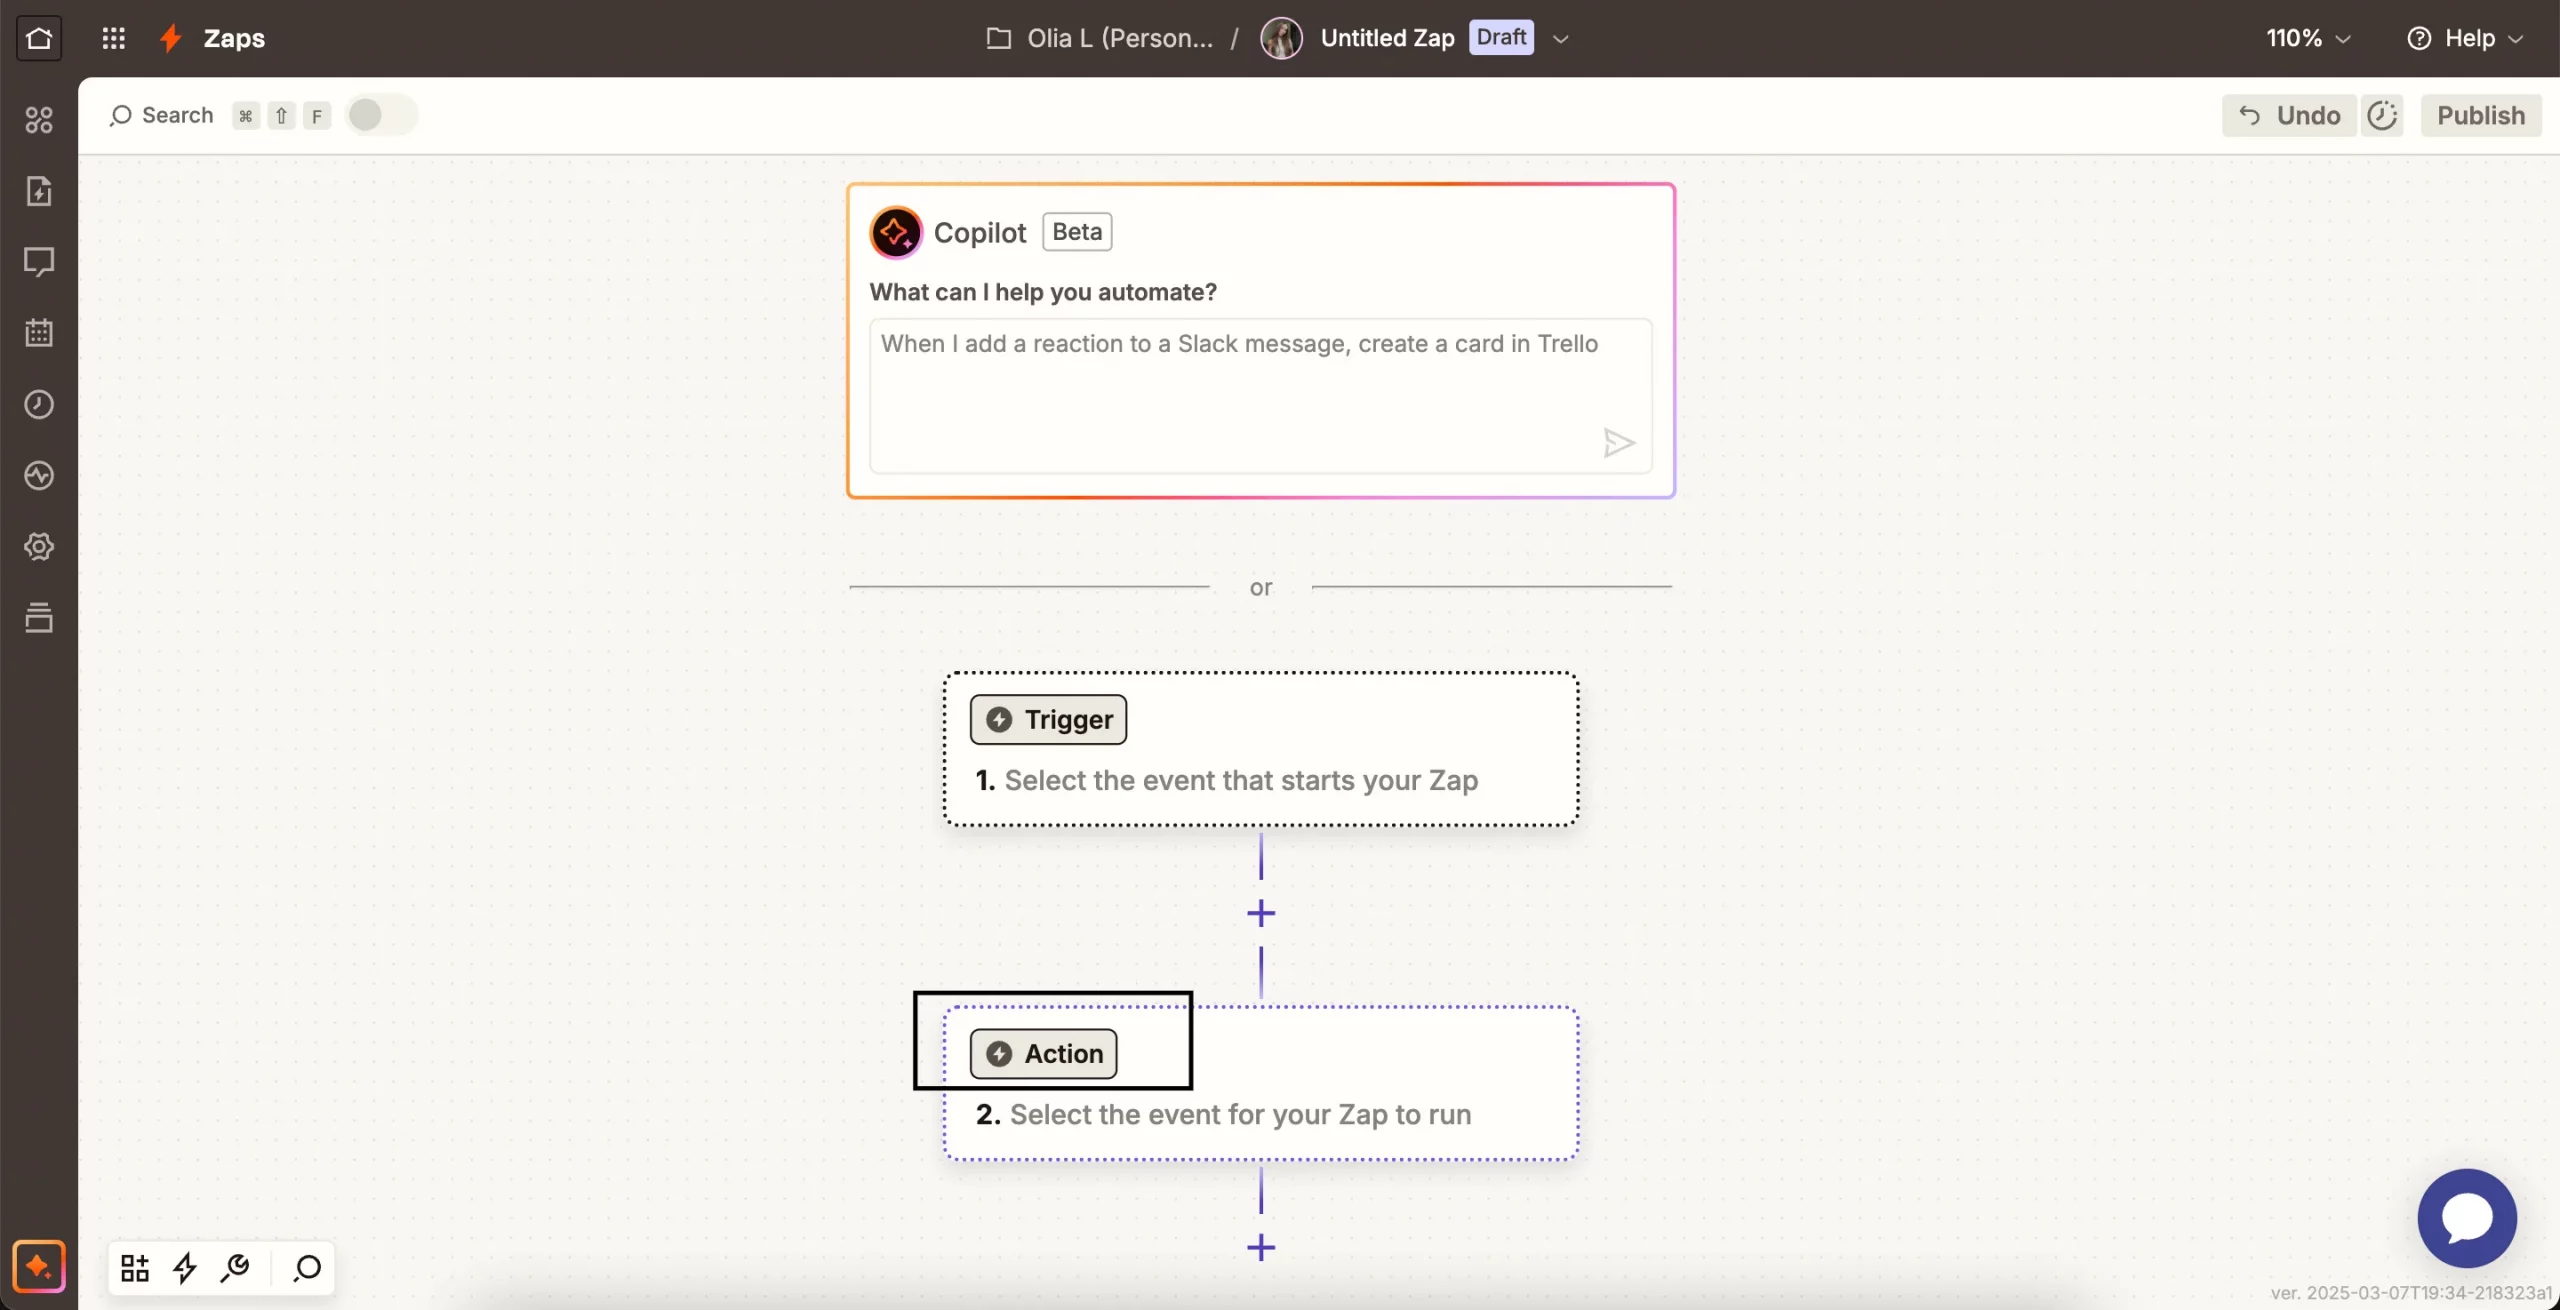
2. Next, you’ll see the interface. It is clean and user-friendly, featuring a left-hand menu with sections like Discover, Zaps, Tables, Interfaces, Chatbots, Canvas, Apps, and Zap History. You have to click ‘+Create’ and choose Zaps from the list of options.
Each Zap consists of a trigger (the event that starts the automation) and an action (the task that follows). For instance, if you want to receive daily weather updates via SMS, you would select “Weather by Zapier” as the trigger app, set “today’s forecast” as the trigger event, and provide any necessary details like location coordinates. You can also test the setup before proceeding. Zapier itself does not support a system-wide proxy setting, so you can’t use it to route all your Zaps through a proxy automatically. You must configure proxies inside each individual API request using Webhooks or Code steps.
Connecting Proxies Using Webhooks
1. First of all, sign up for DataImpulse and start using features on your dashboard. Go to the Proxy Service section and choose the plan that you need. We recommend using residential proxies for this task. Make a note of the proxy details (IP addresses, ports, and authentication information) provided by DataImpulse. We’ll need this info for further steps.
*You need to whitelist your IP address before executing the code if the API or service you’re accessing requires it. You can do this in your DataImpulse account by navigating to the appropriate proxy plan, selecting “Manage Whitelist IPs” from the top-right menu.
- Create Zap.
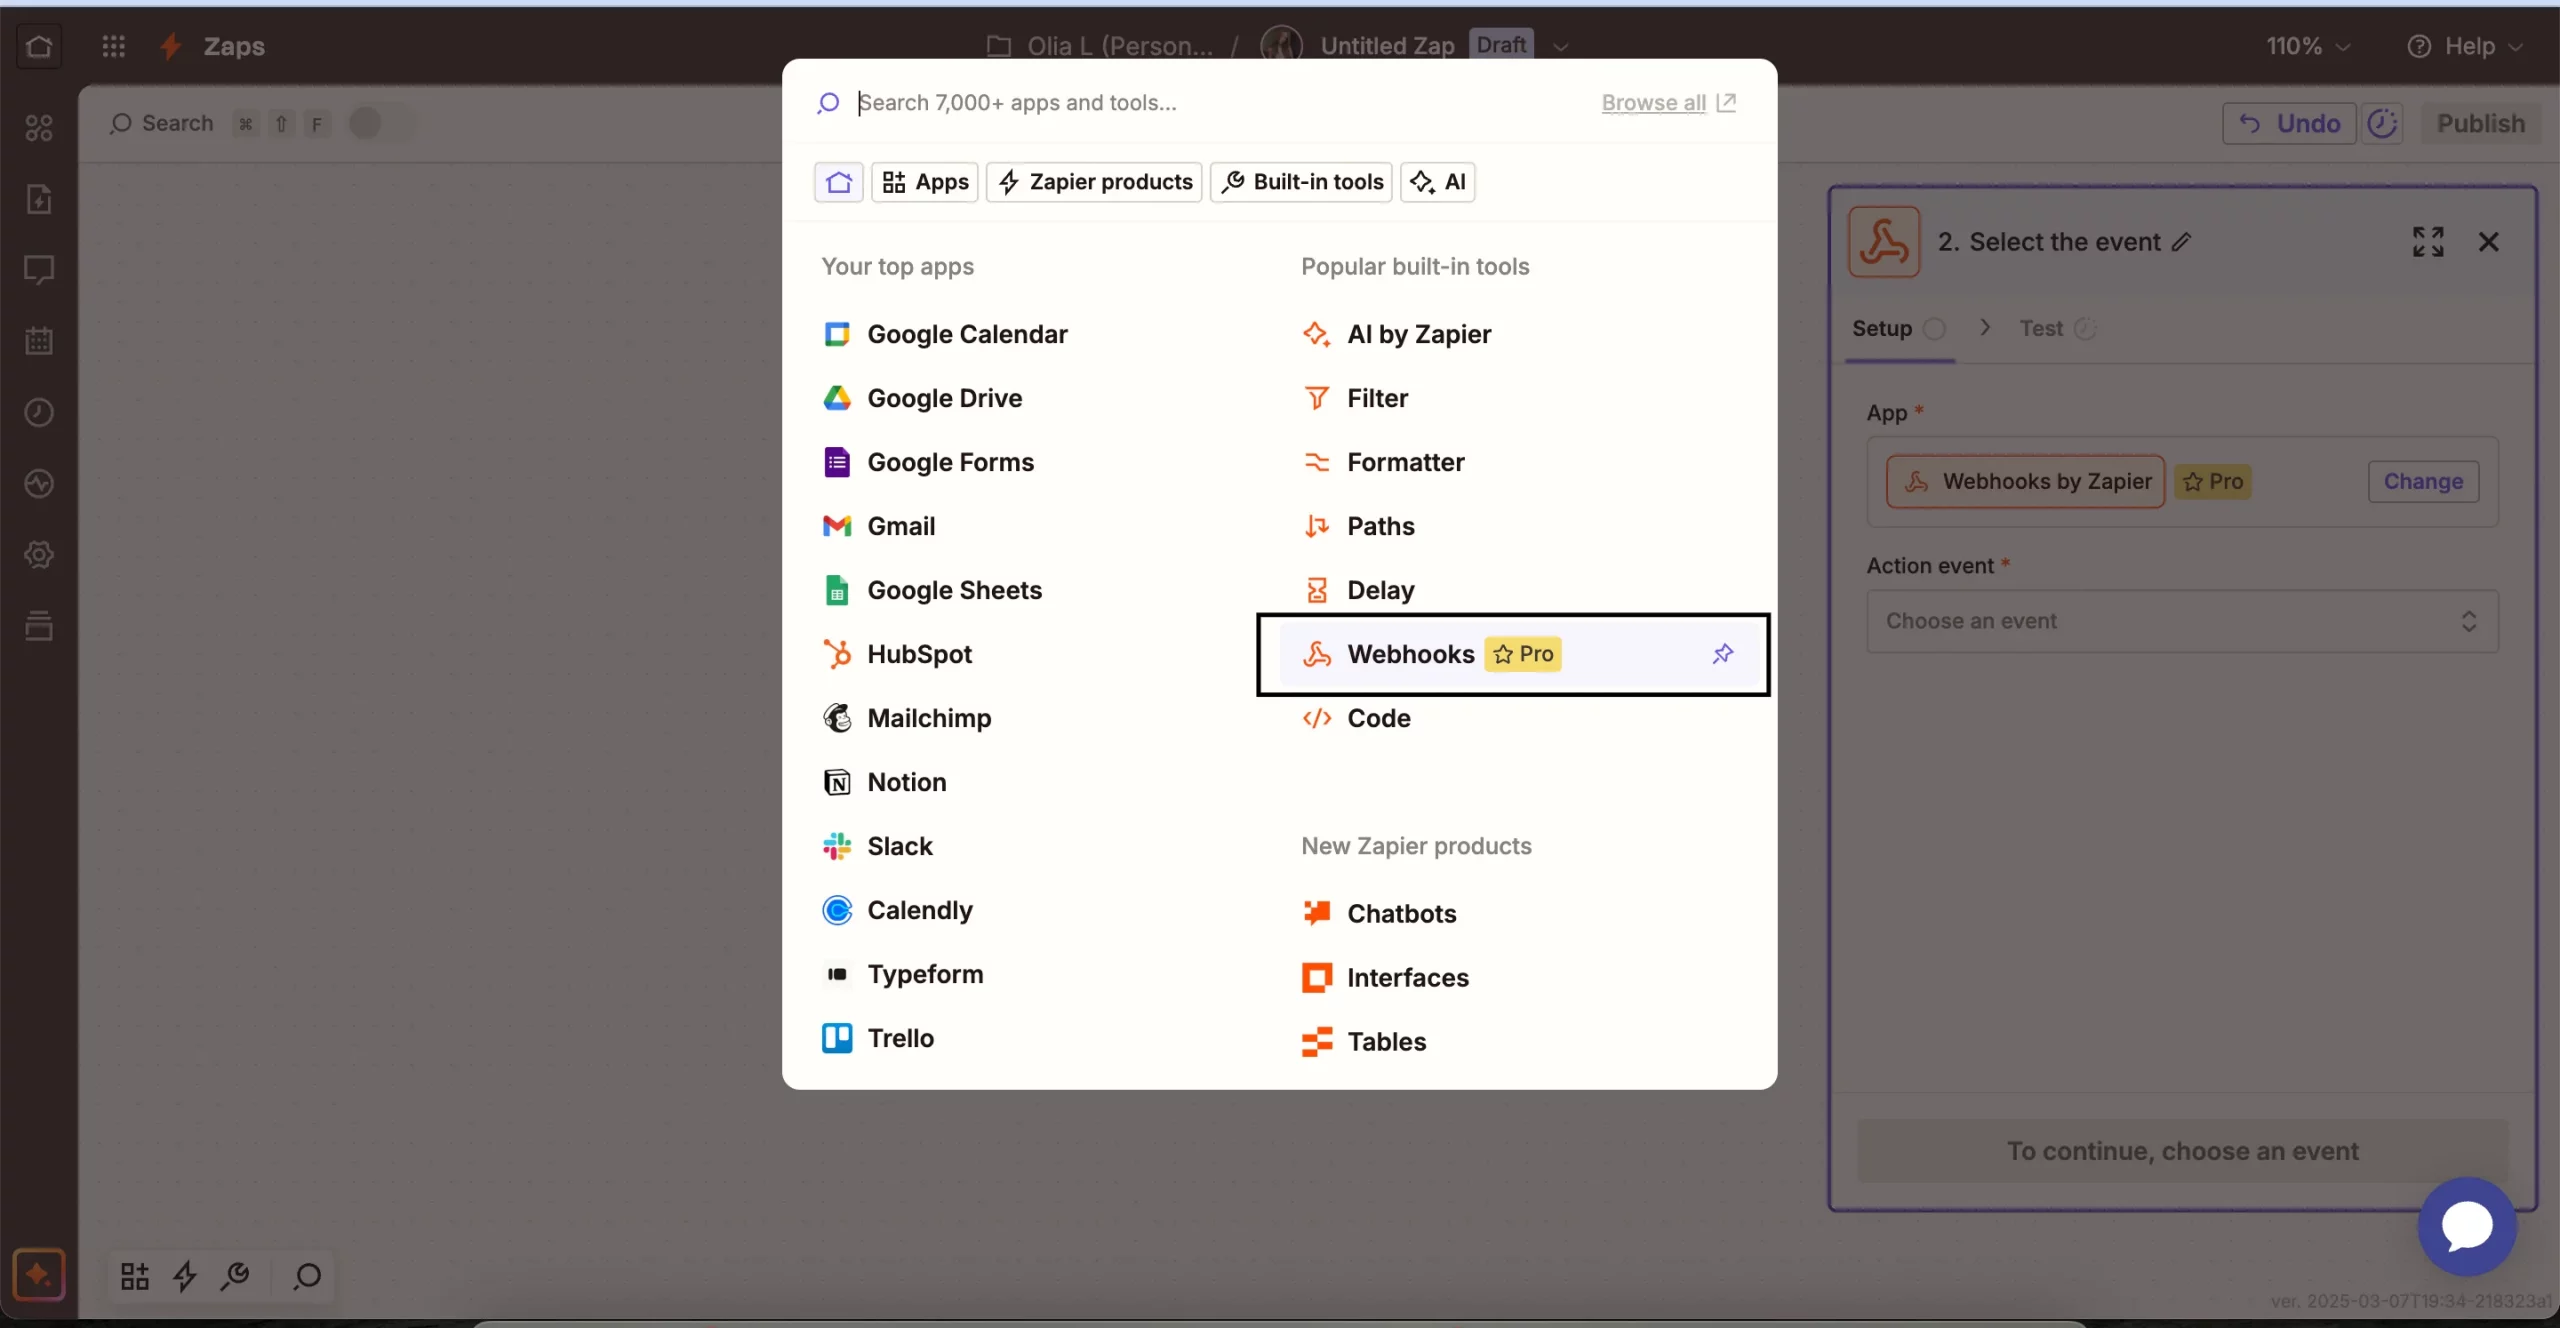
- Choose Webhooks by Zapier as the Action.
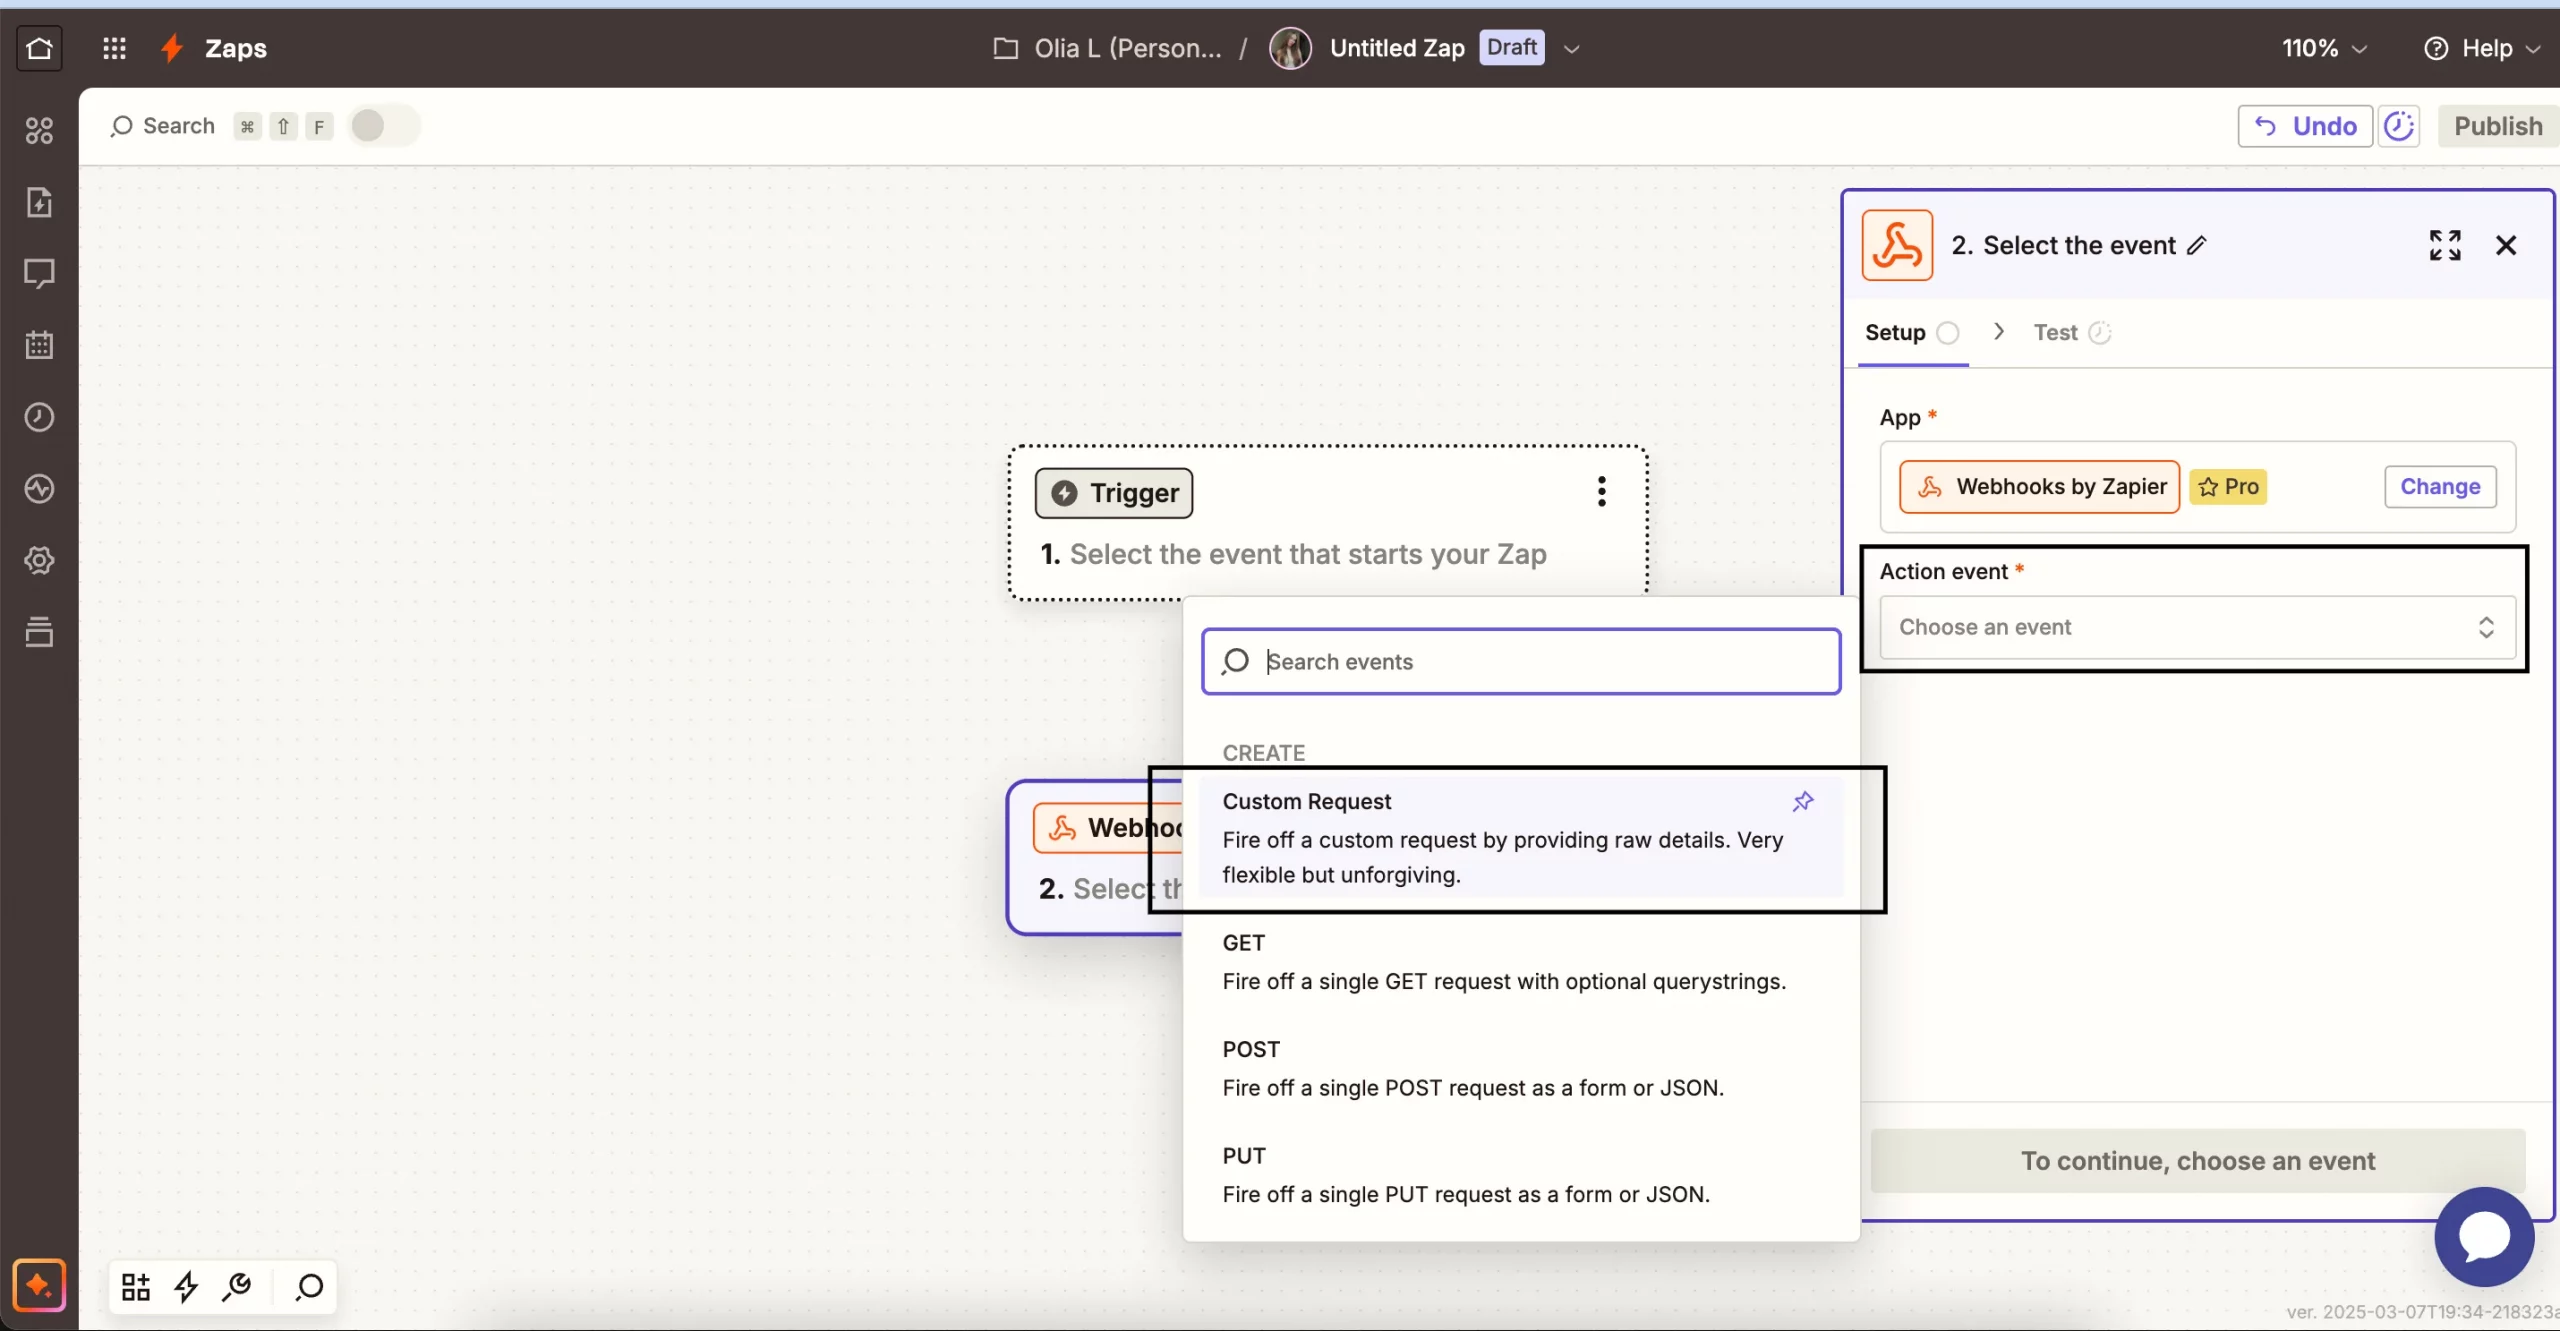
4. Select Custom Request.
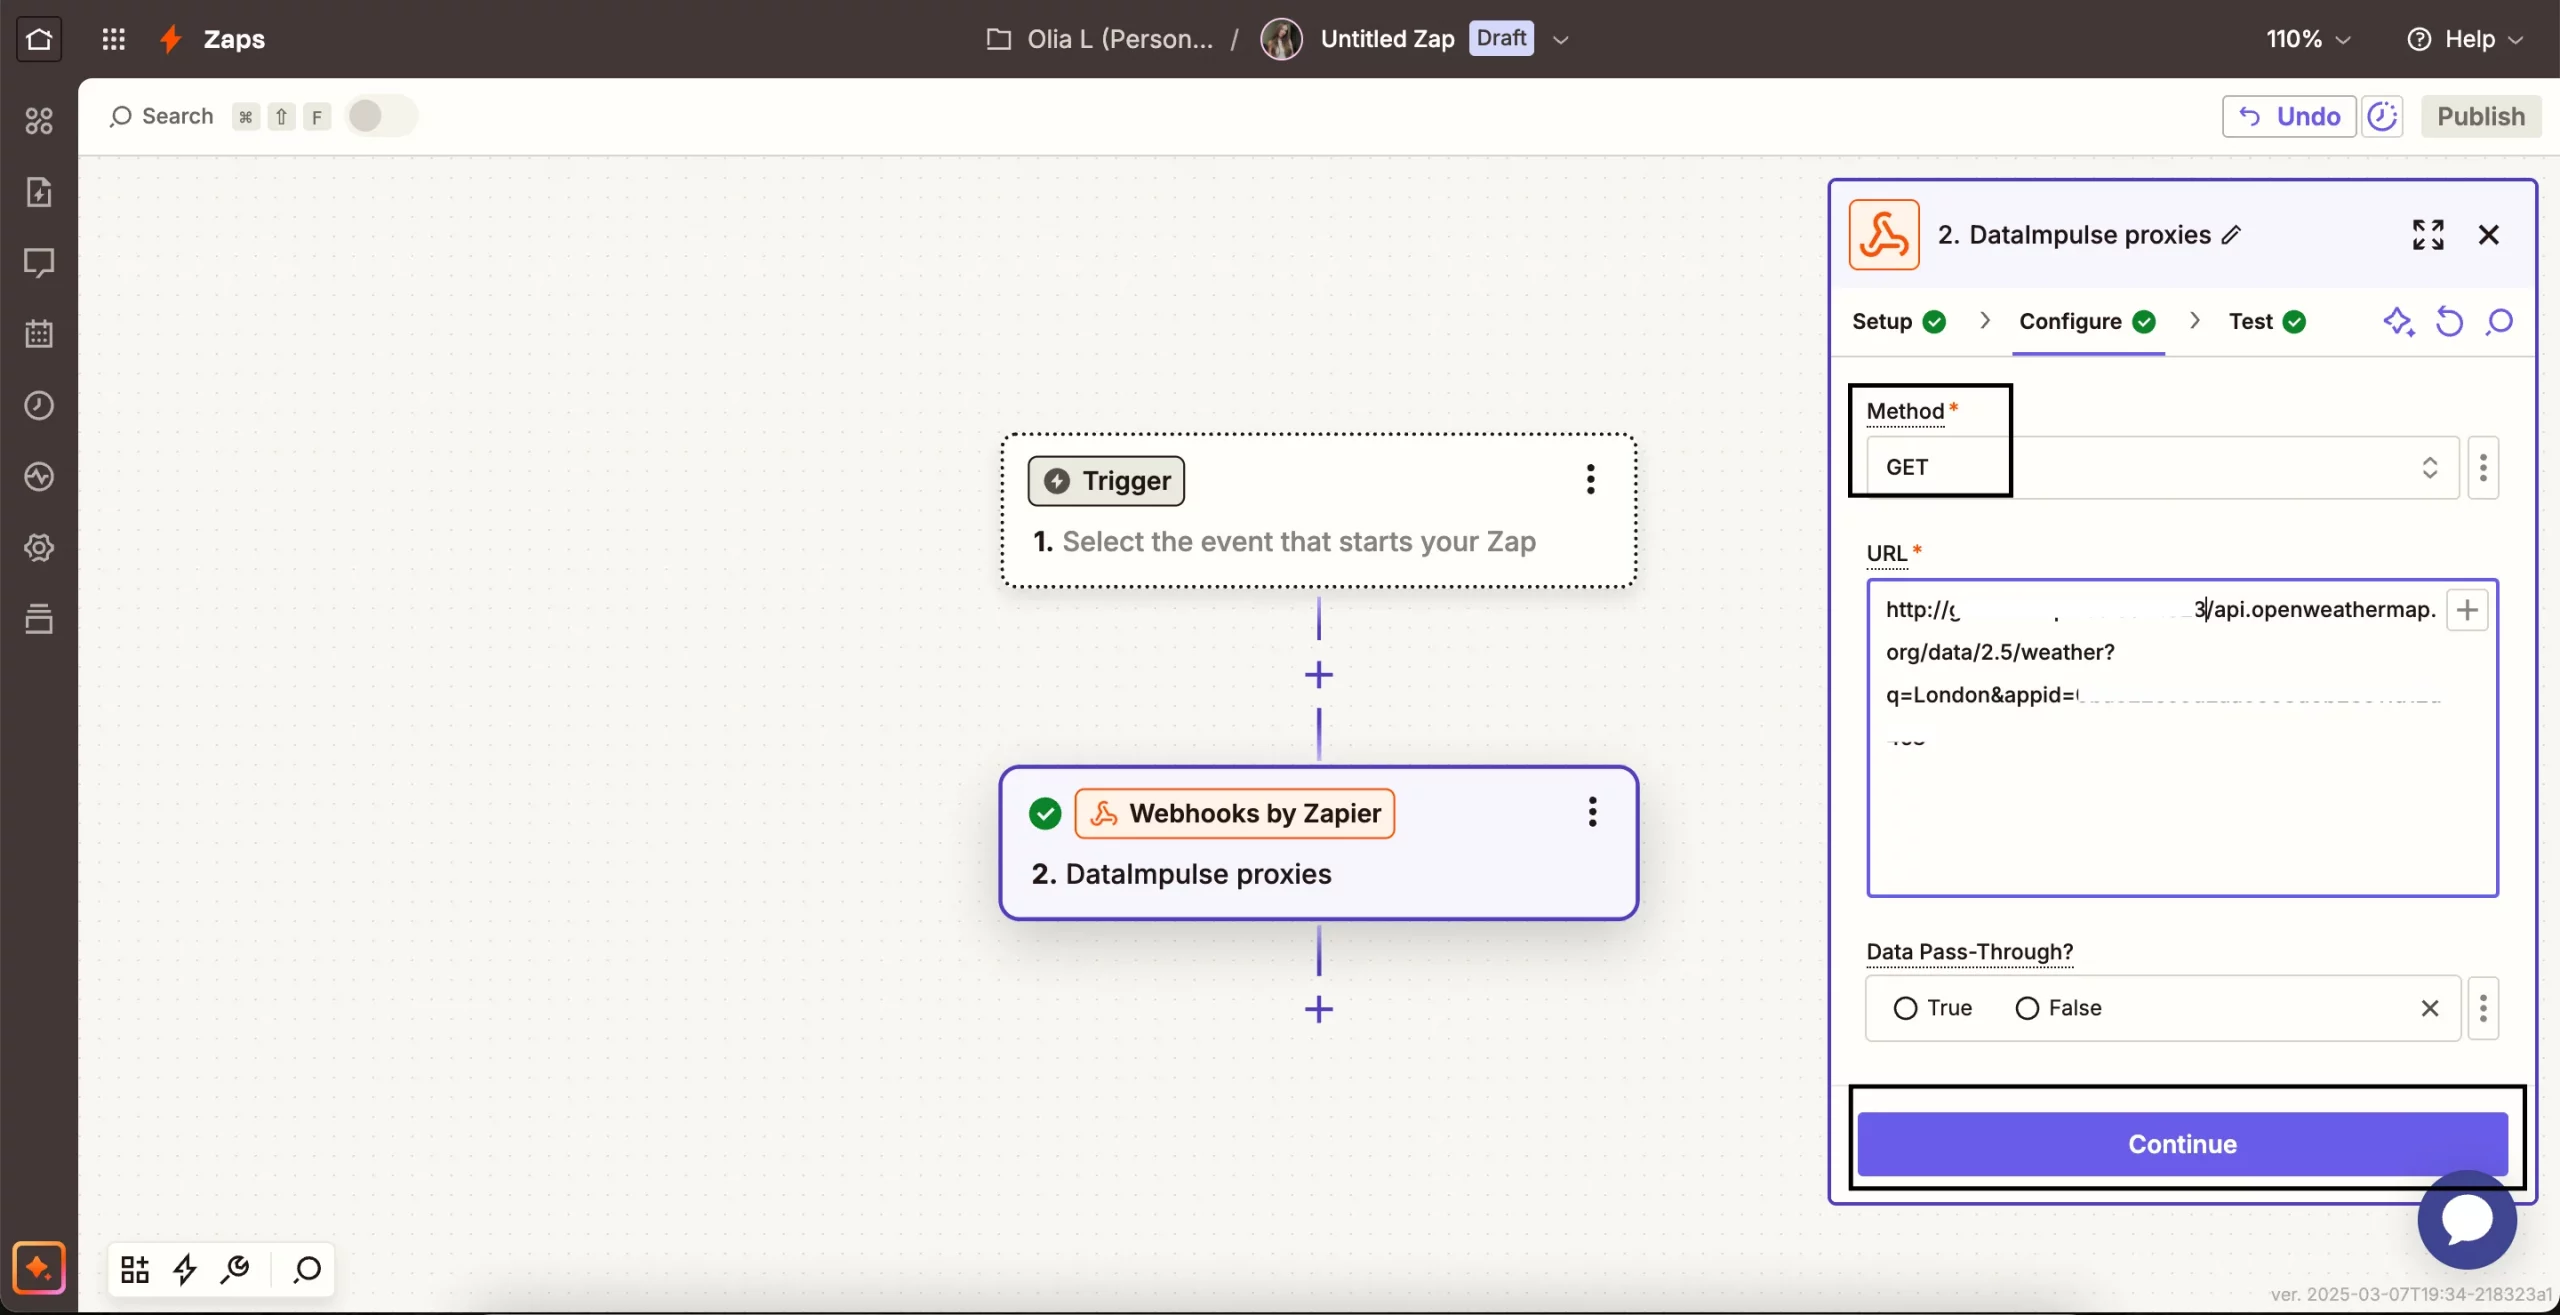
5. Fill in these details:
Method: GET or POST (depends on the API you’re calling). In our case, it is GET because we want to retrieve data from a server.
URL: The target API URL you want to request. We’ll scrape weather data in London. If the API allows requests through a proxy directly, replace the API URL with your DataImpulse proxy URL and pass the actual API URL as a parameter. It’ll look like this:
http://username:[email protected]:port/https://api.openweathermap.org/data/2.5/weather?q=London&appid=YOUR_API_KEY
username:password → Your DataImpulse proxy credentials
proxy.dataimpulse.com → The proxy host
port → The correct port number
YOUR_API_KEY → your actual OpenWeatherMap API key. (Sign up at OpenWeatherMap. → Go to “API keys” in your account settings. → Generate a new key and copy it for use.)
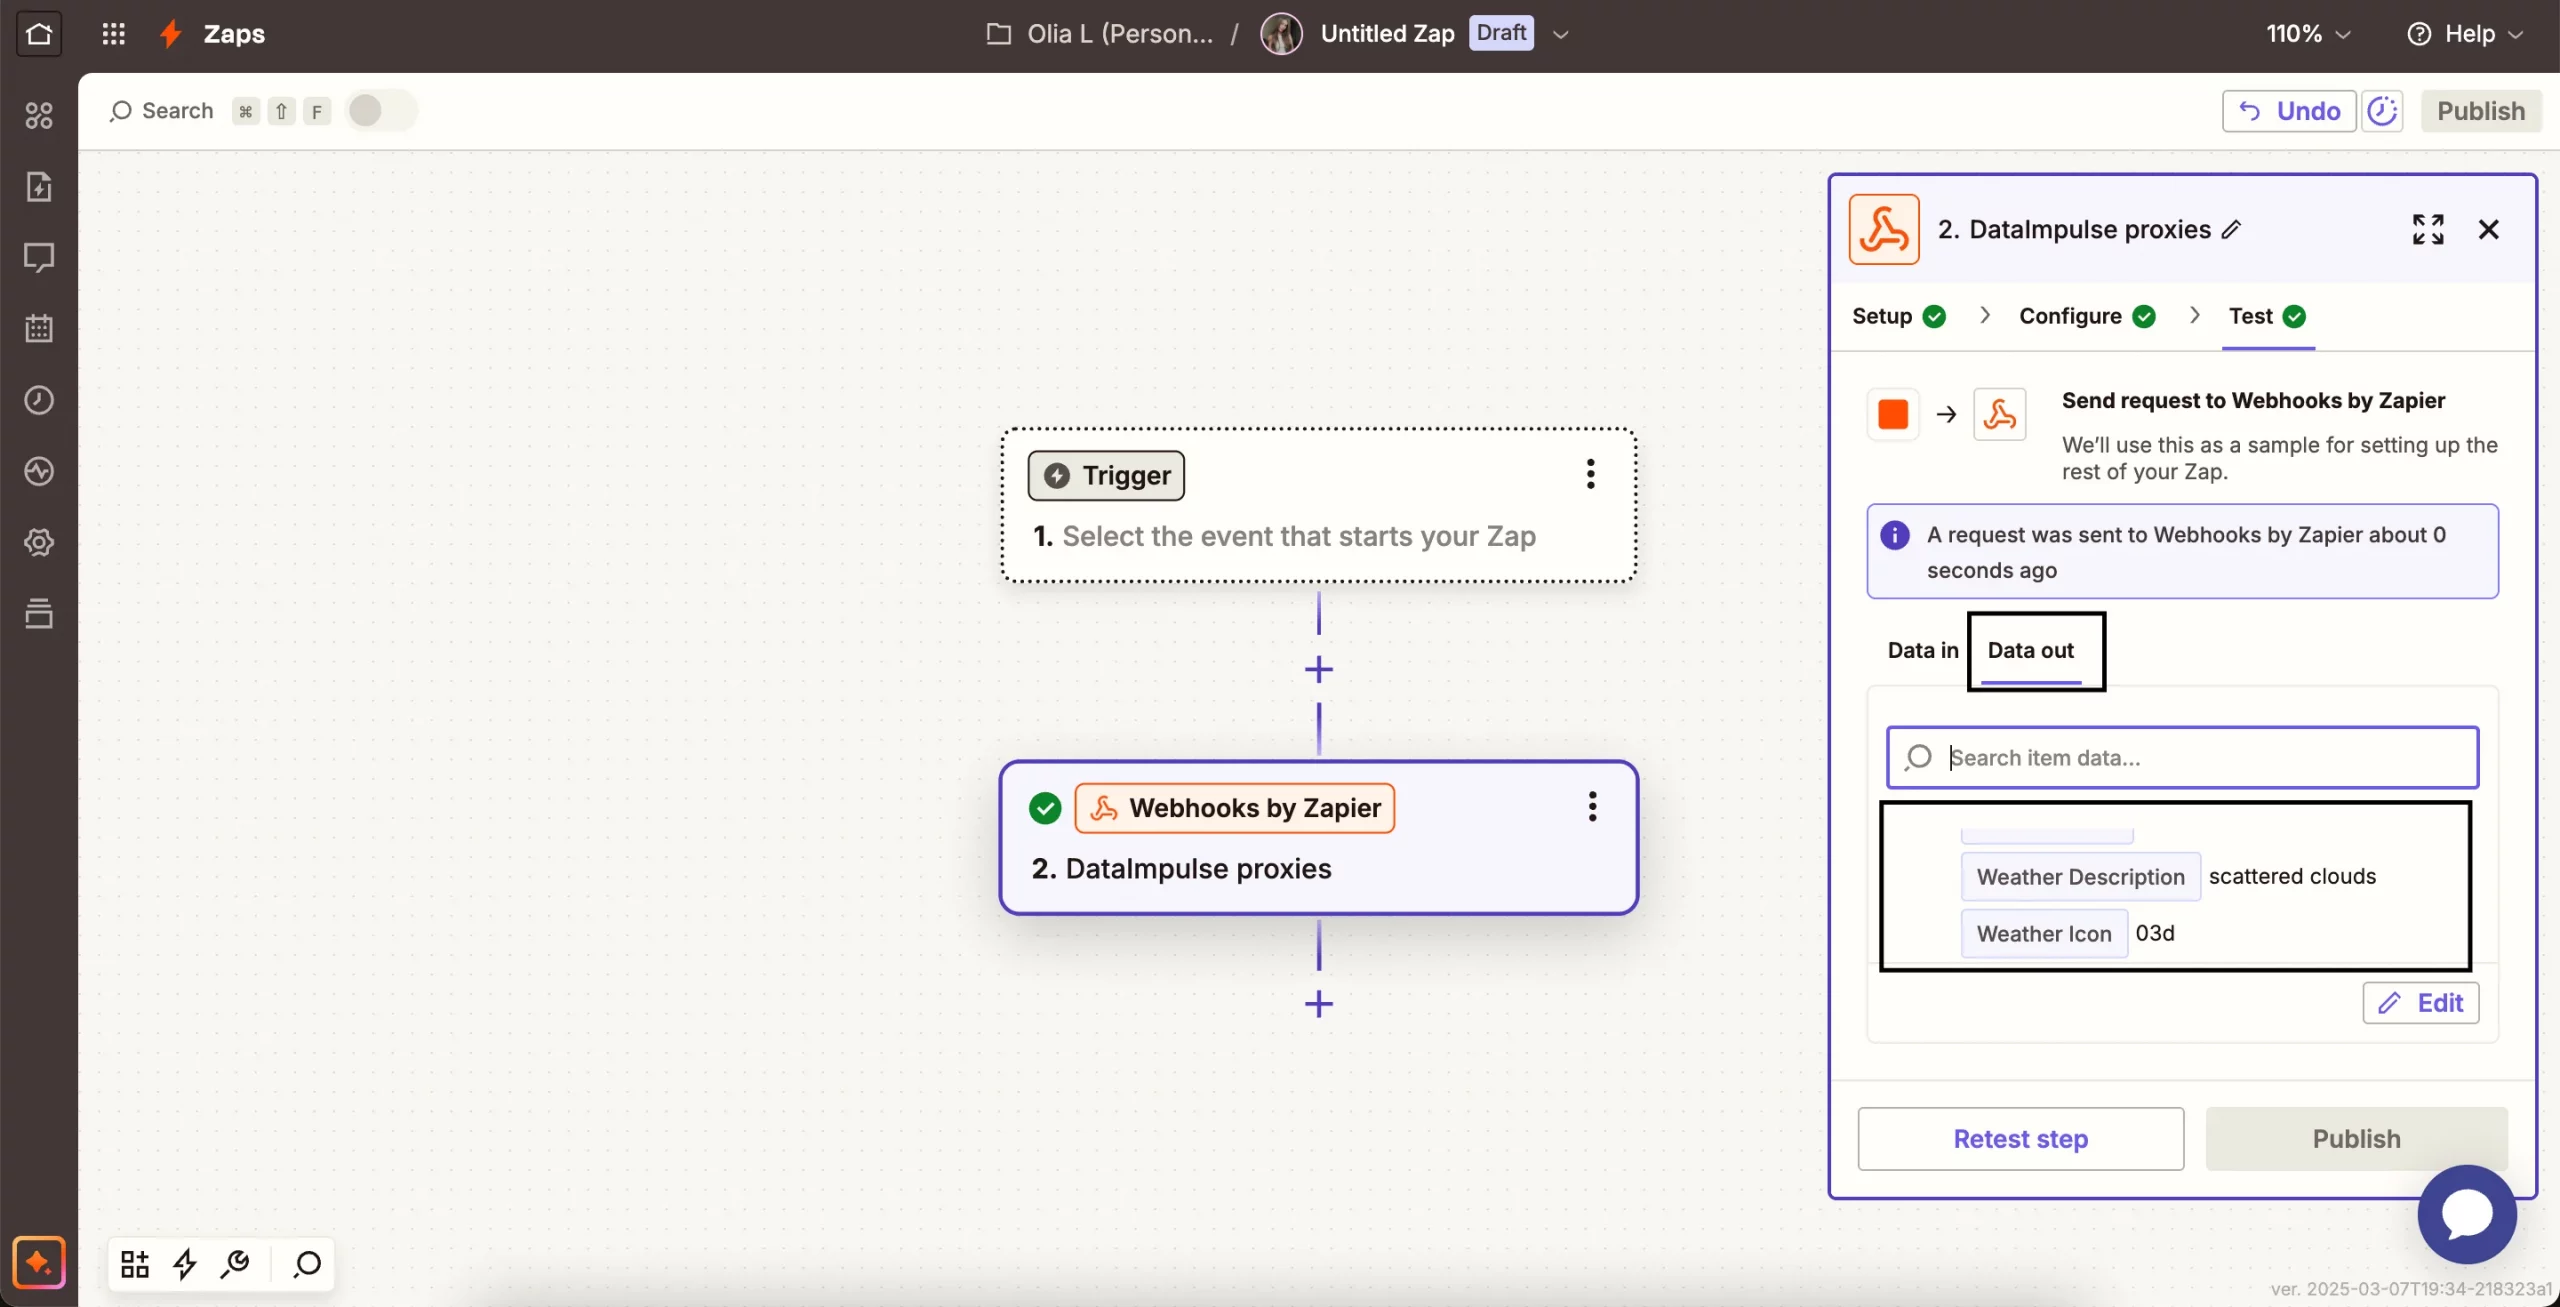
6. Test the request. In Zapier Task History, you’ll see two important sections:
Data In – This shows what Zapier sent in the request.
Data Out – This shows the response from the API. It should contain the requested data (e.g., weather details) or an error message if something went wrong. If Data Out is empty or contains an error, it means the request failed. Checking this helps you debug whether the issue is with Zapier, the API, or the proxy setup.
If you see the weather data, that means your request was successful! 🎉 Now, you can use this data in Zapier to trigger other actions – like saving it to Google Sheets, sending an email alert, or posting it in Slack.
Some proxies have security features designed to block bots, crawlers, or any service that seems automated (like Zapier), as these requests can often trigger rate limiting or anti-bot protections. When the proxy detects that the request comes from a tool like Zapier, it might reject the request to prevent abuse. If the Webhooks method doesn’t work, you can try this alternative solution.
Alternative: Using Python Code
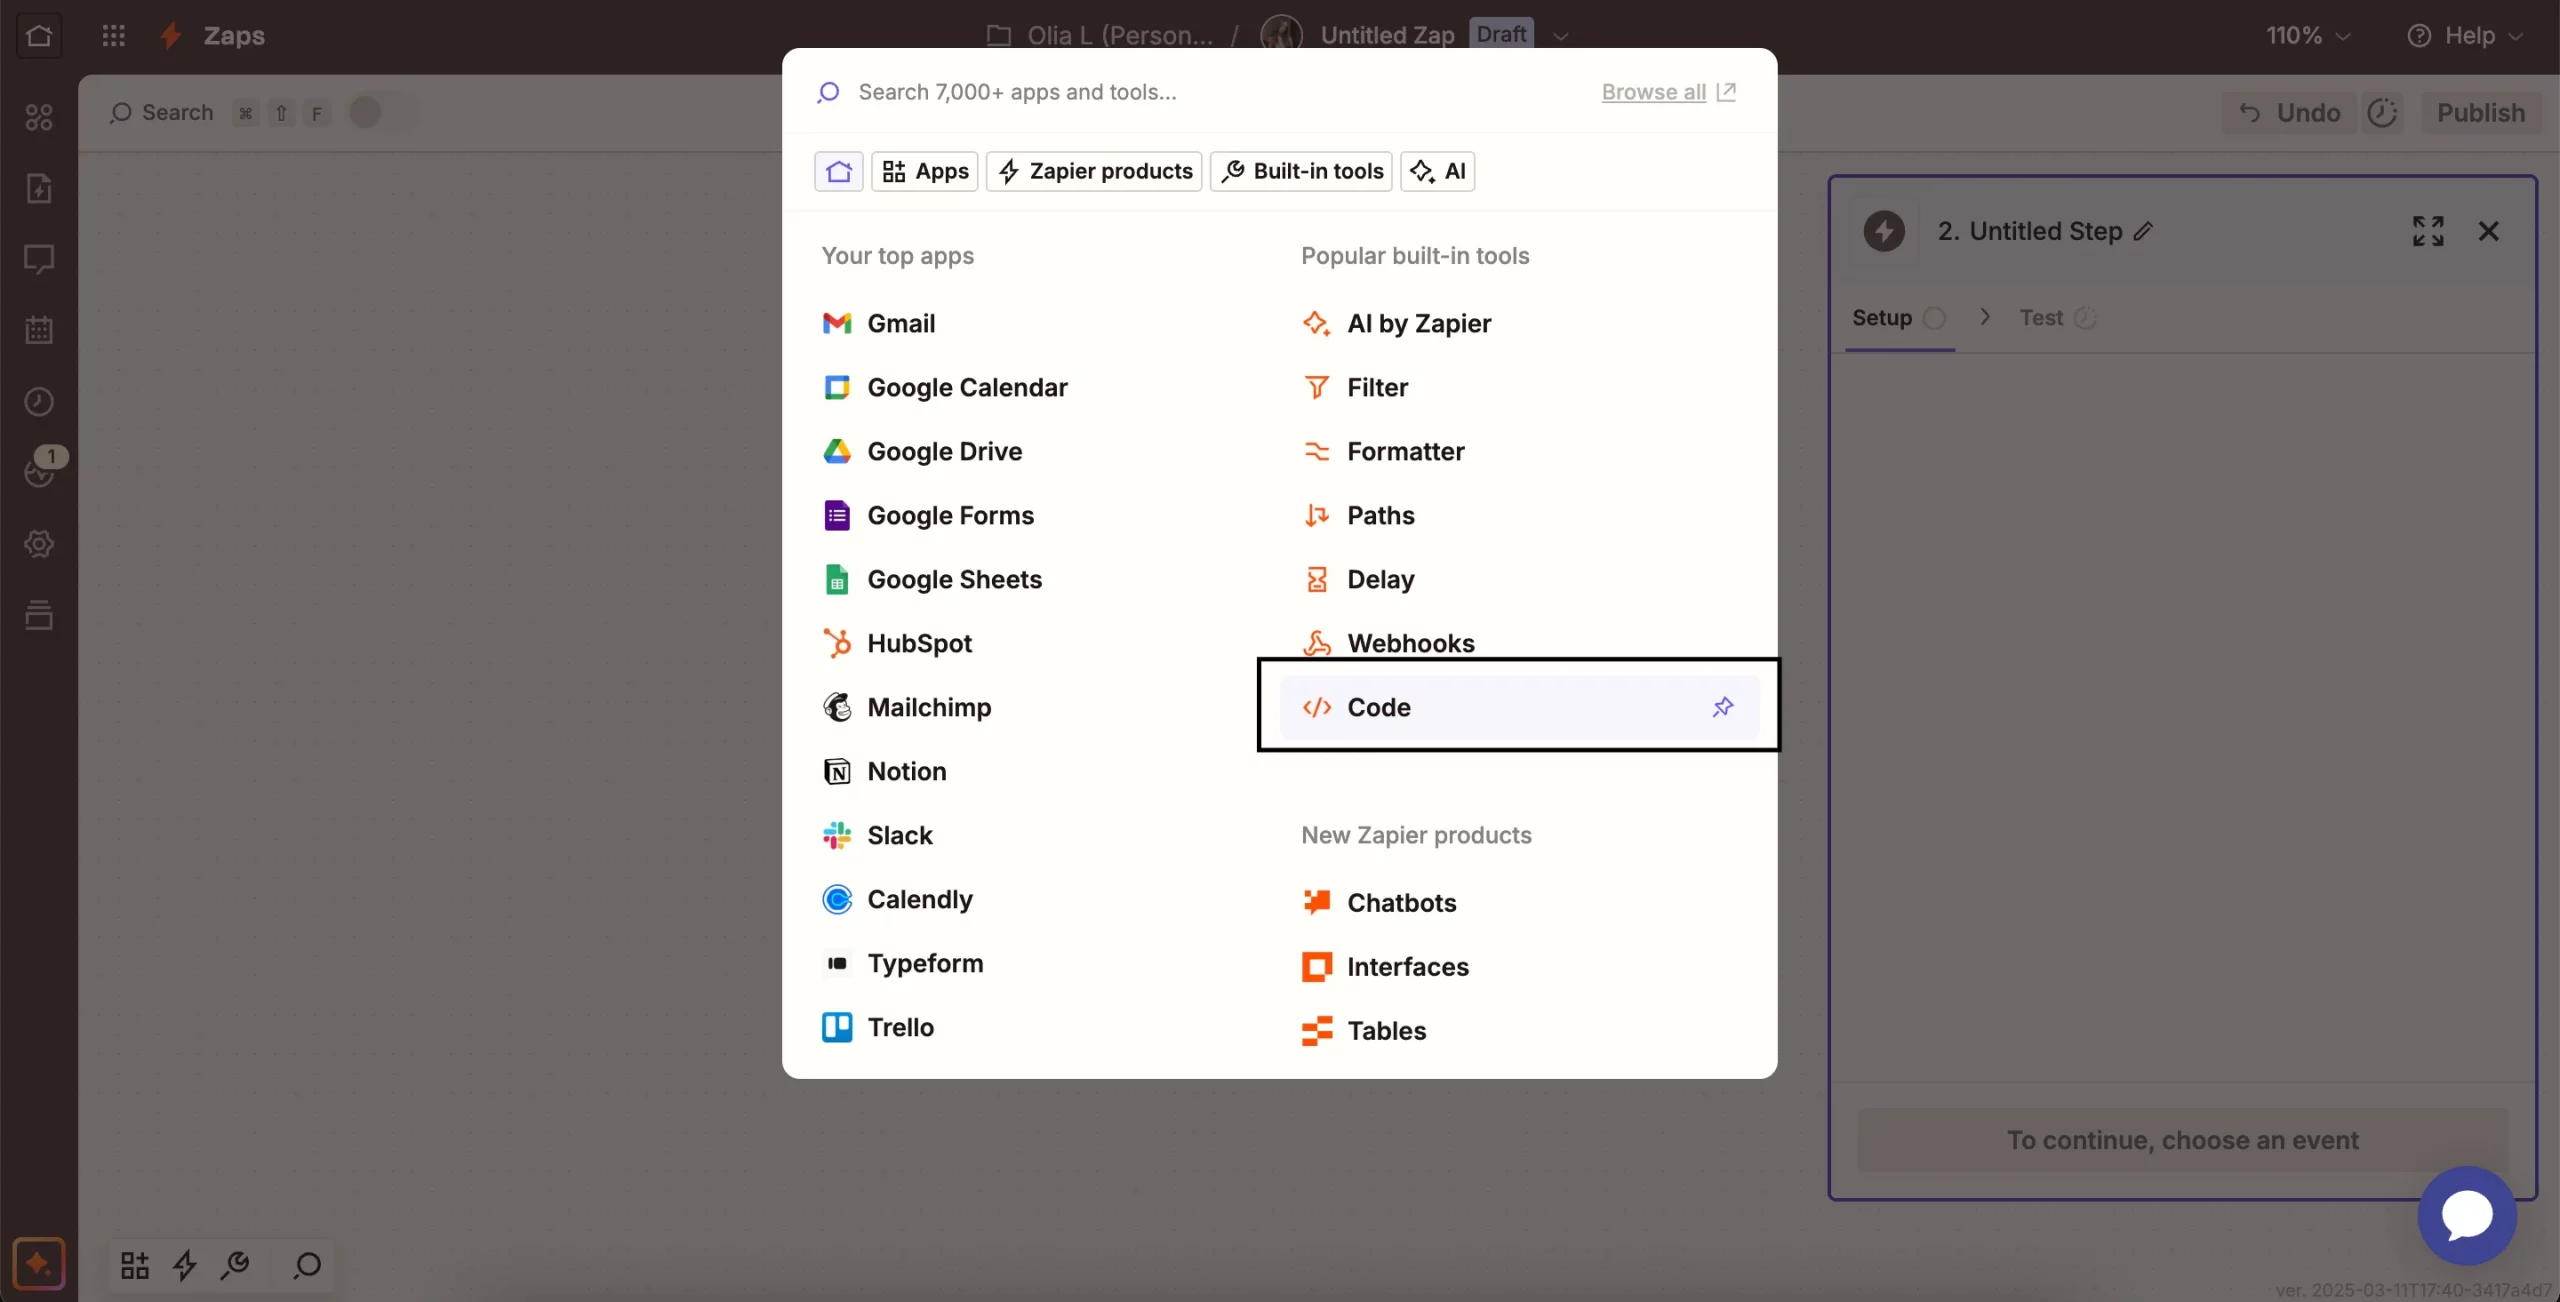
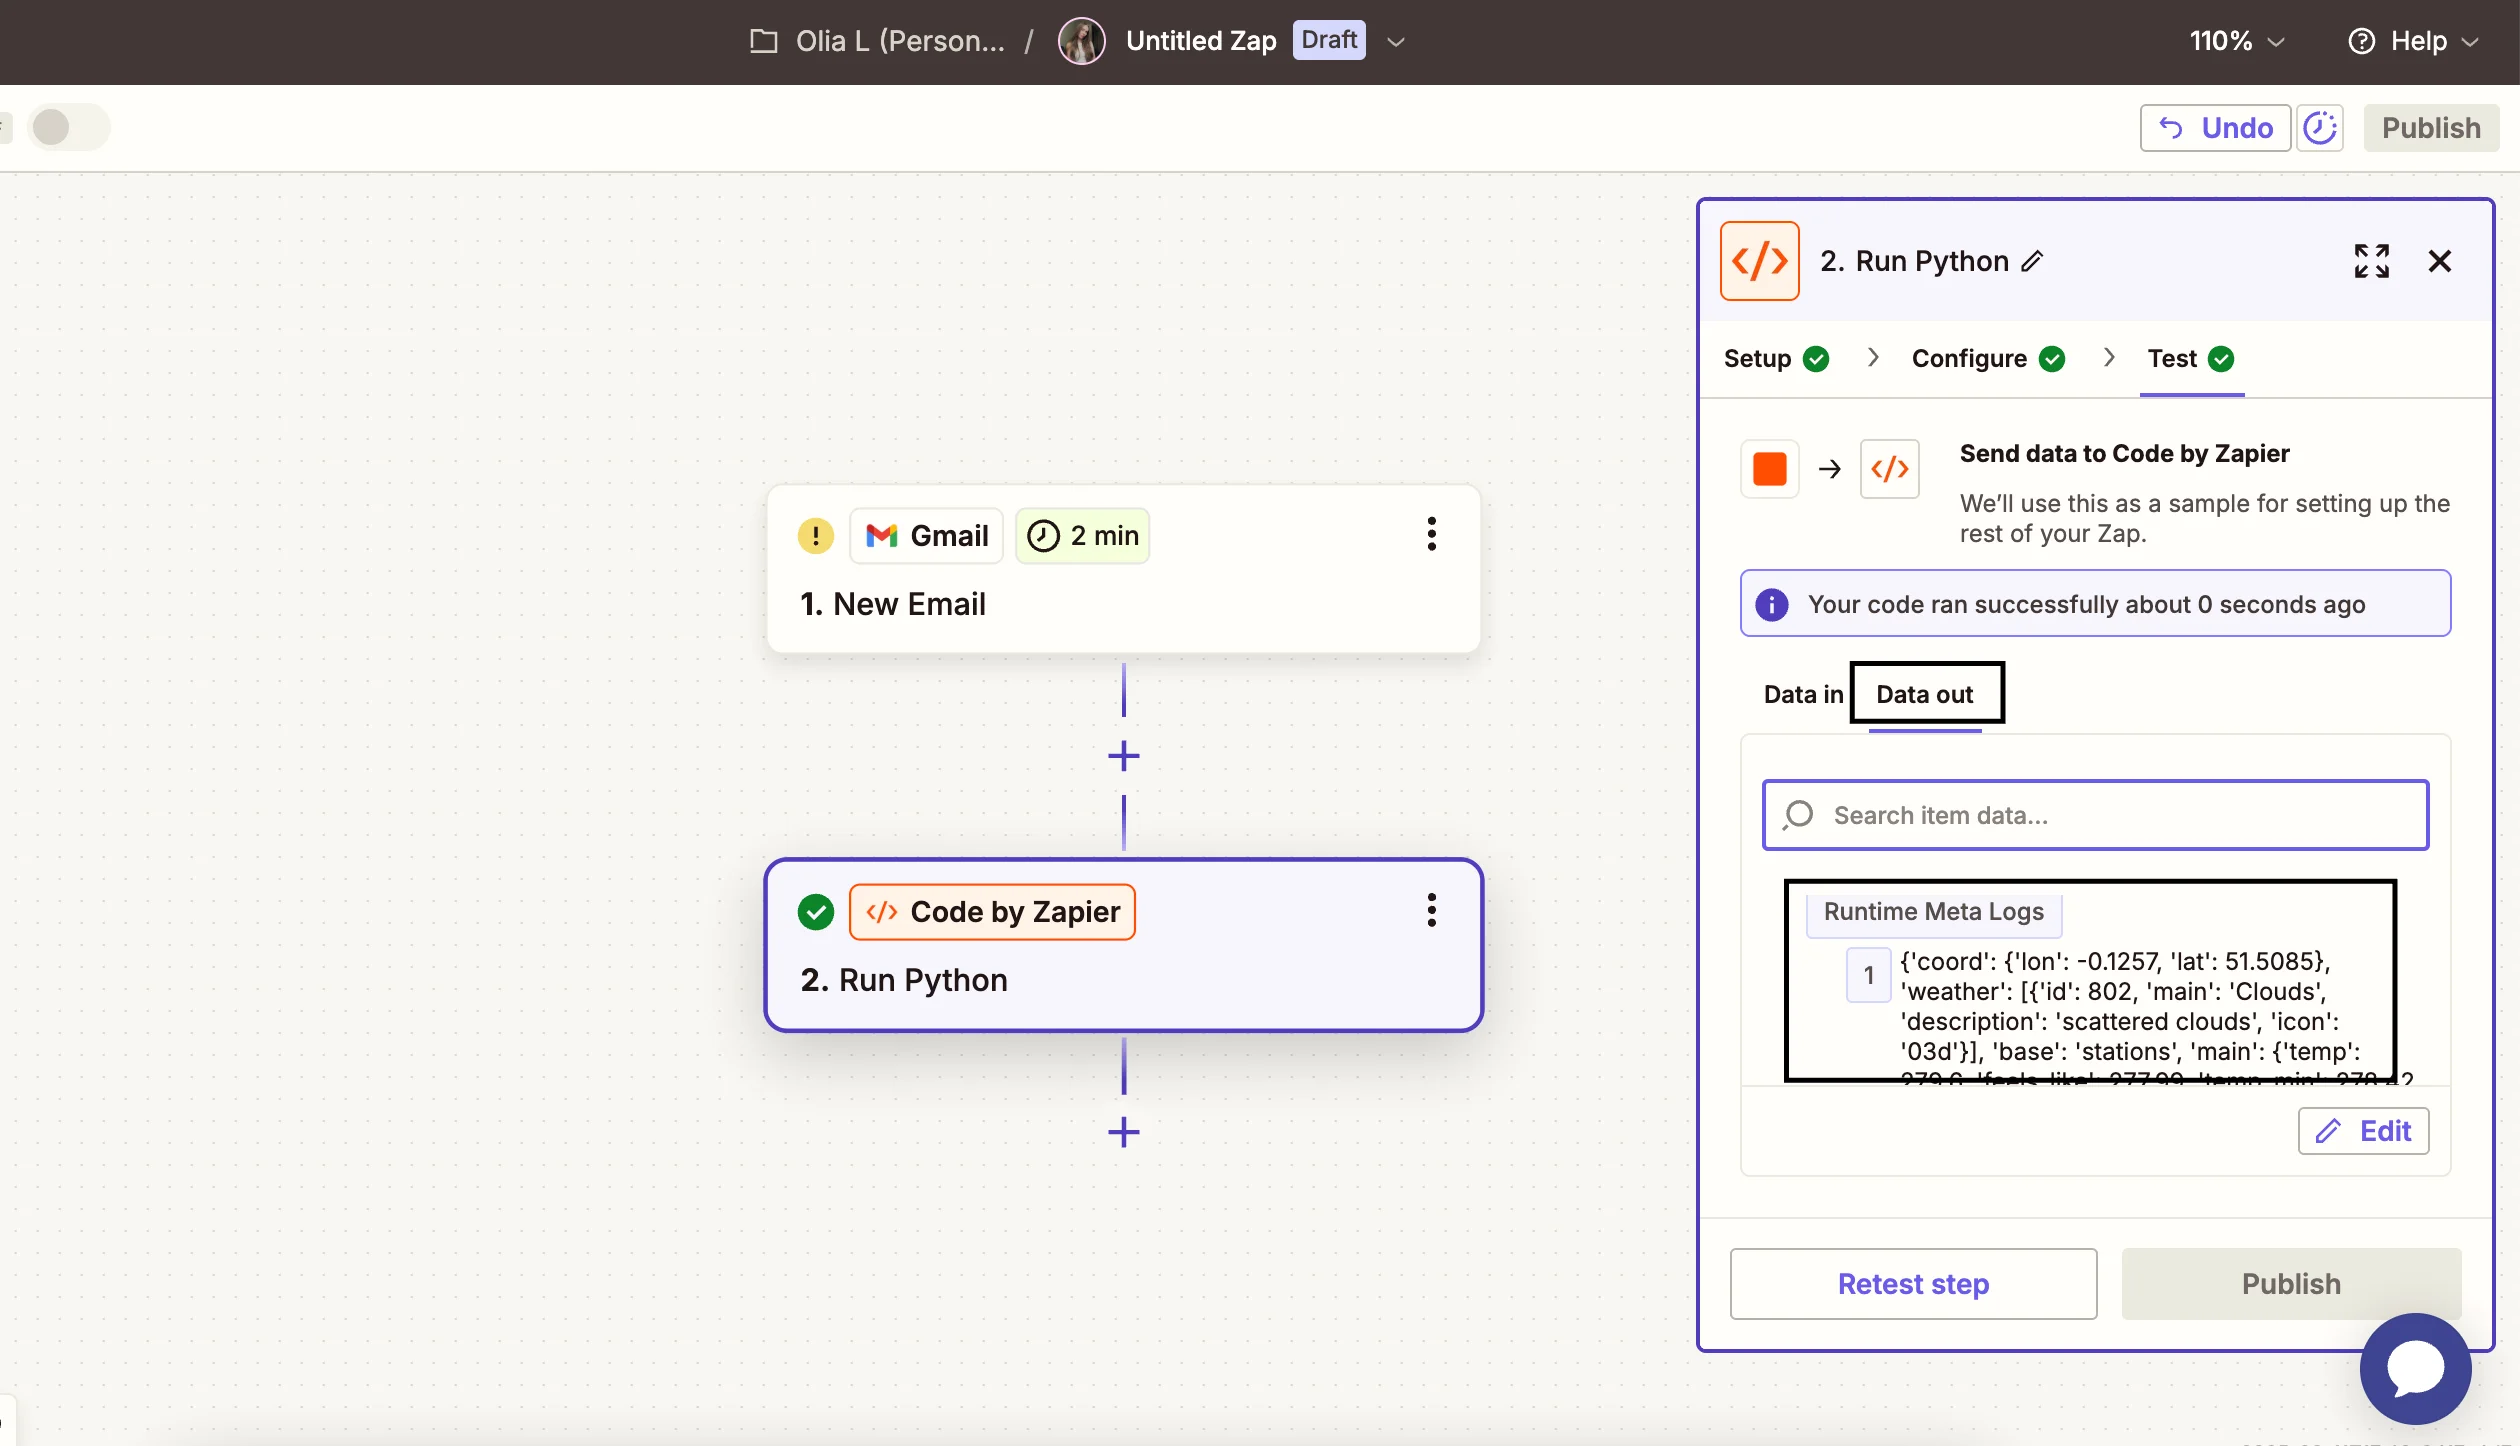
1. Add a Code by Zapier as an action.
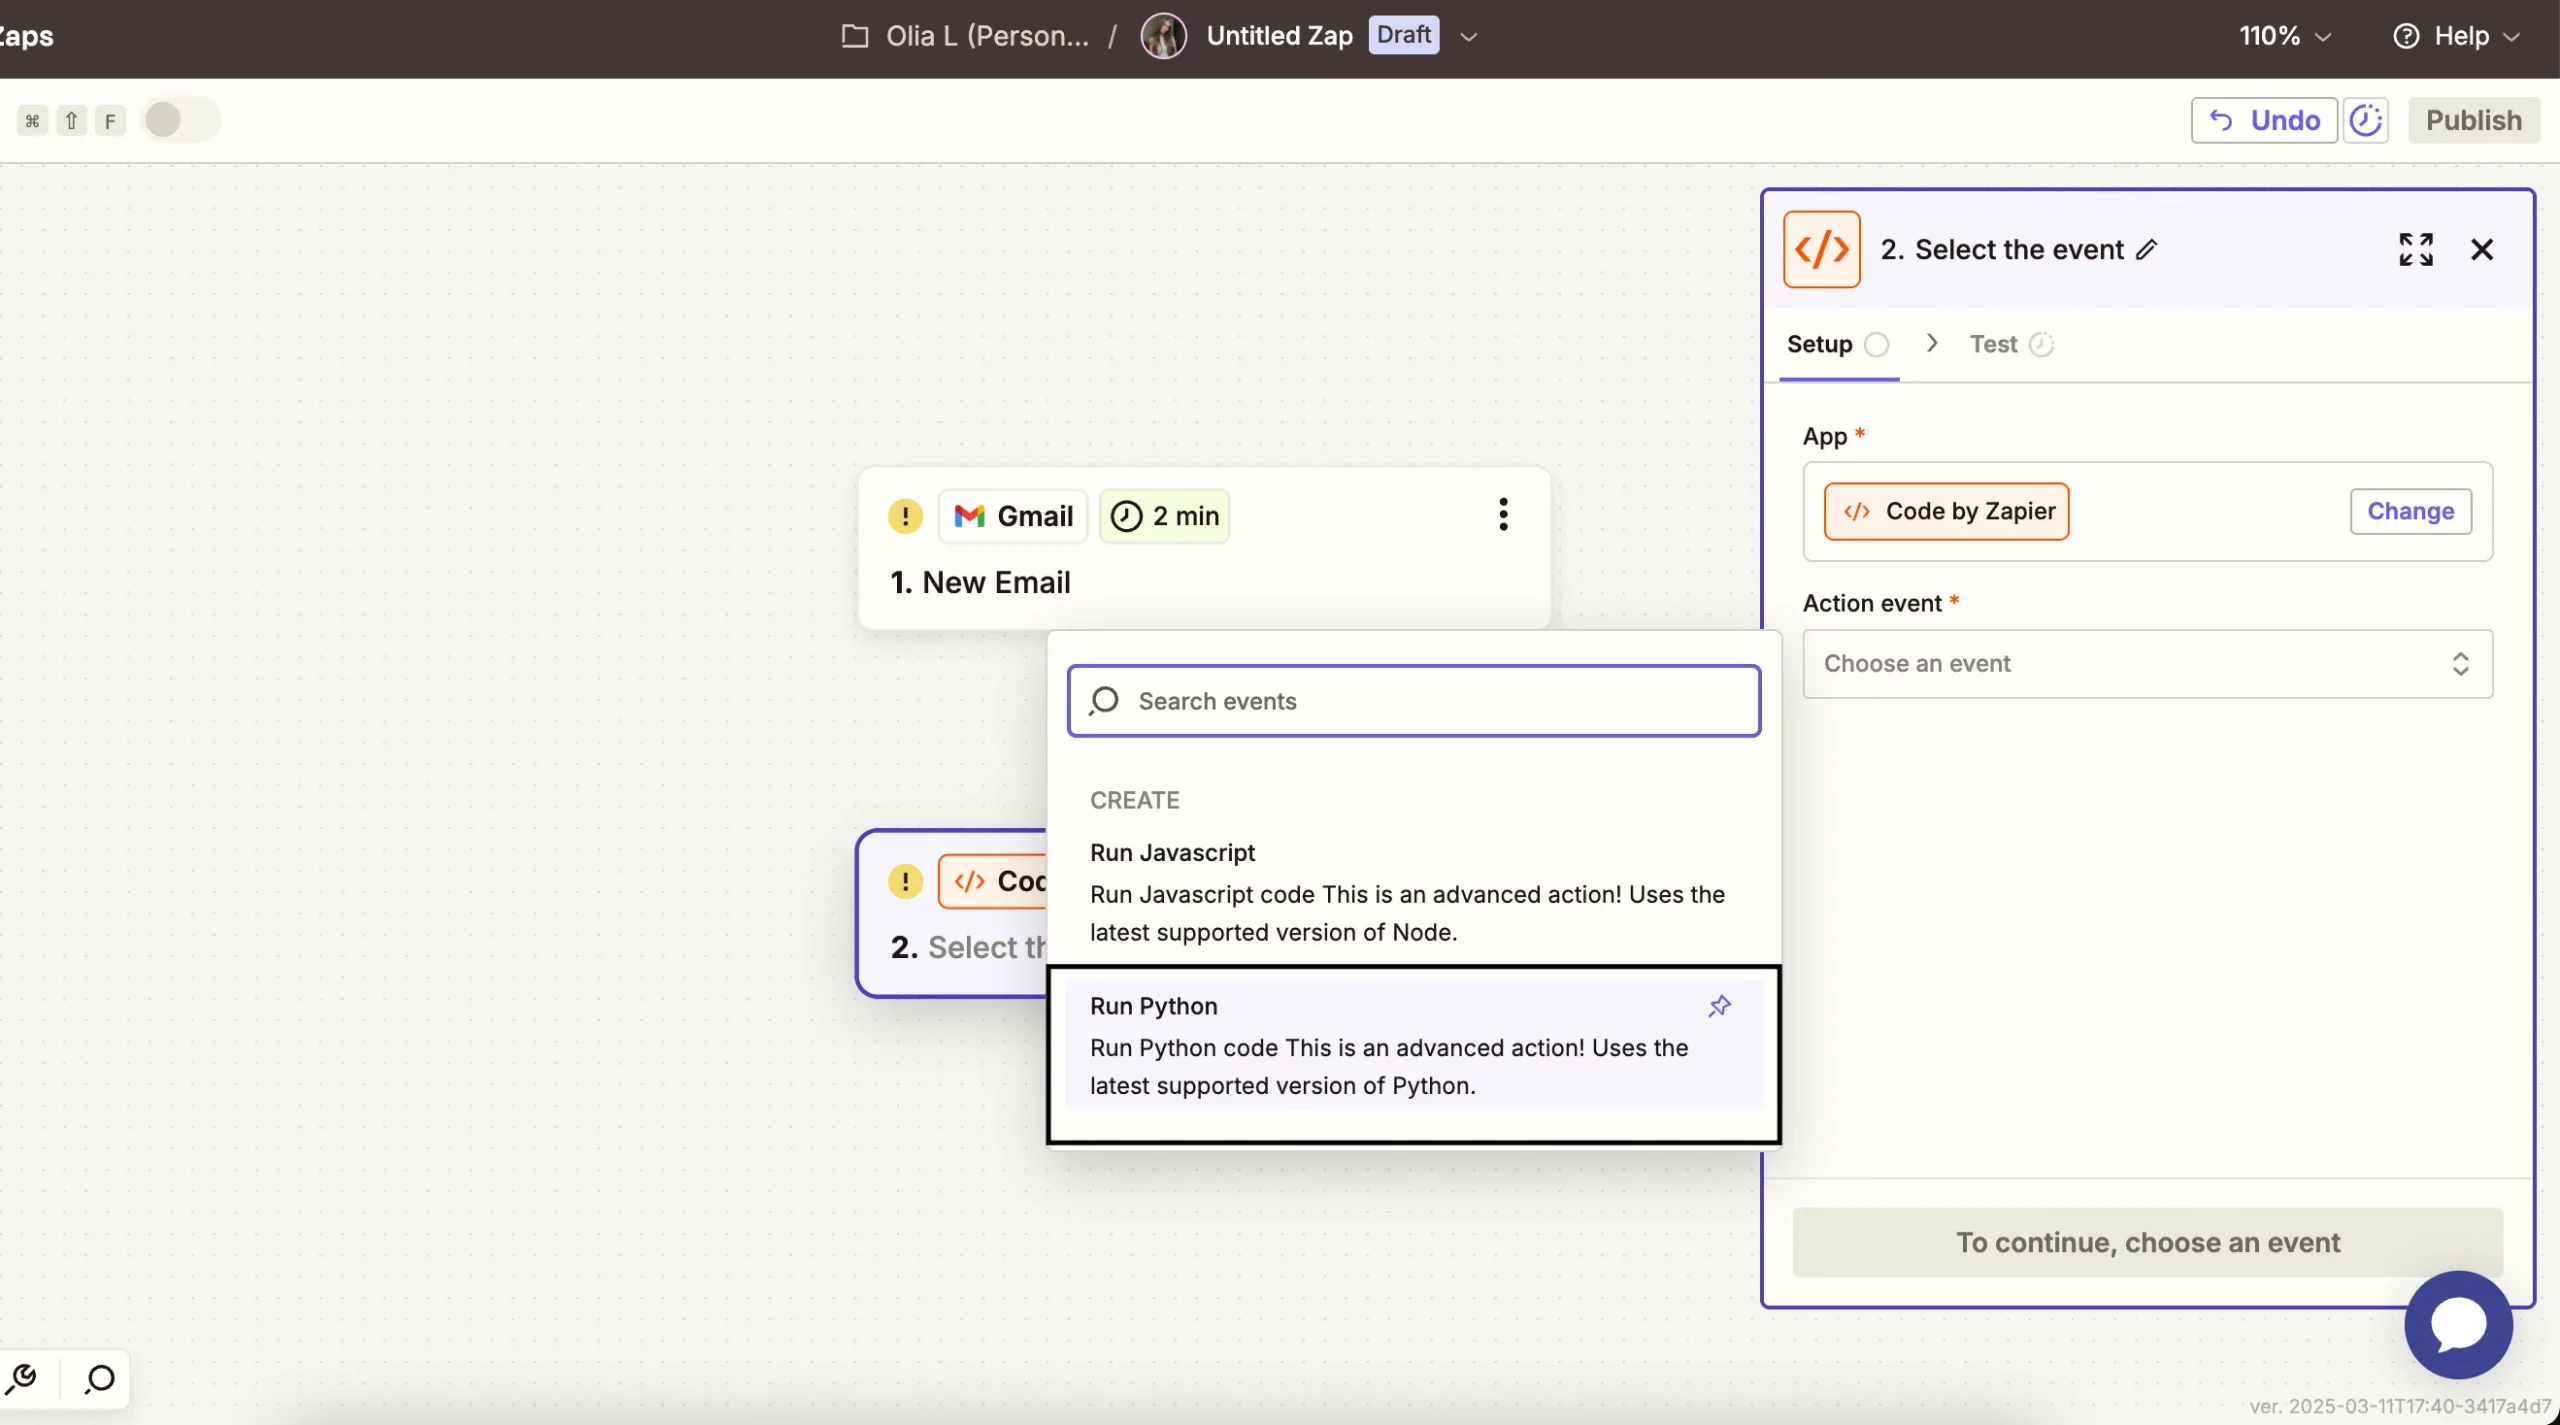
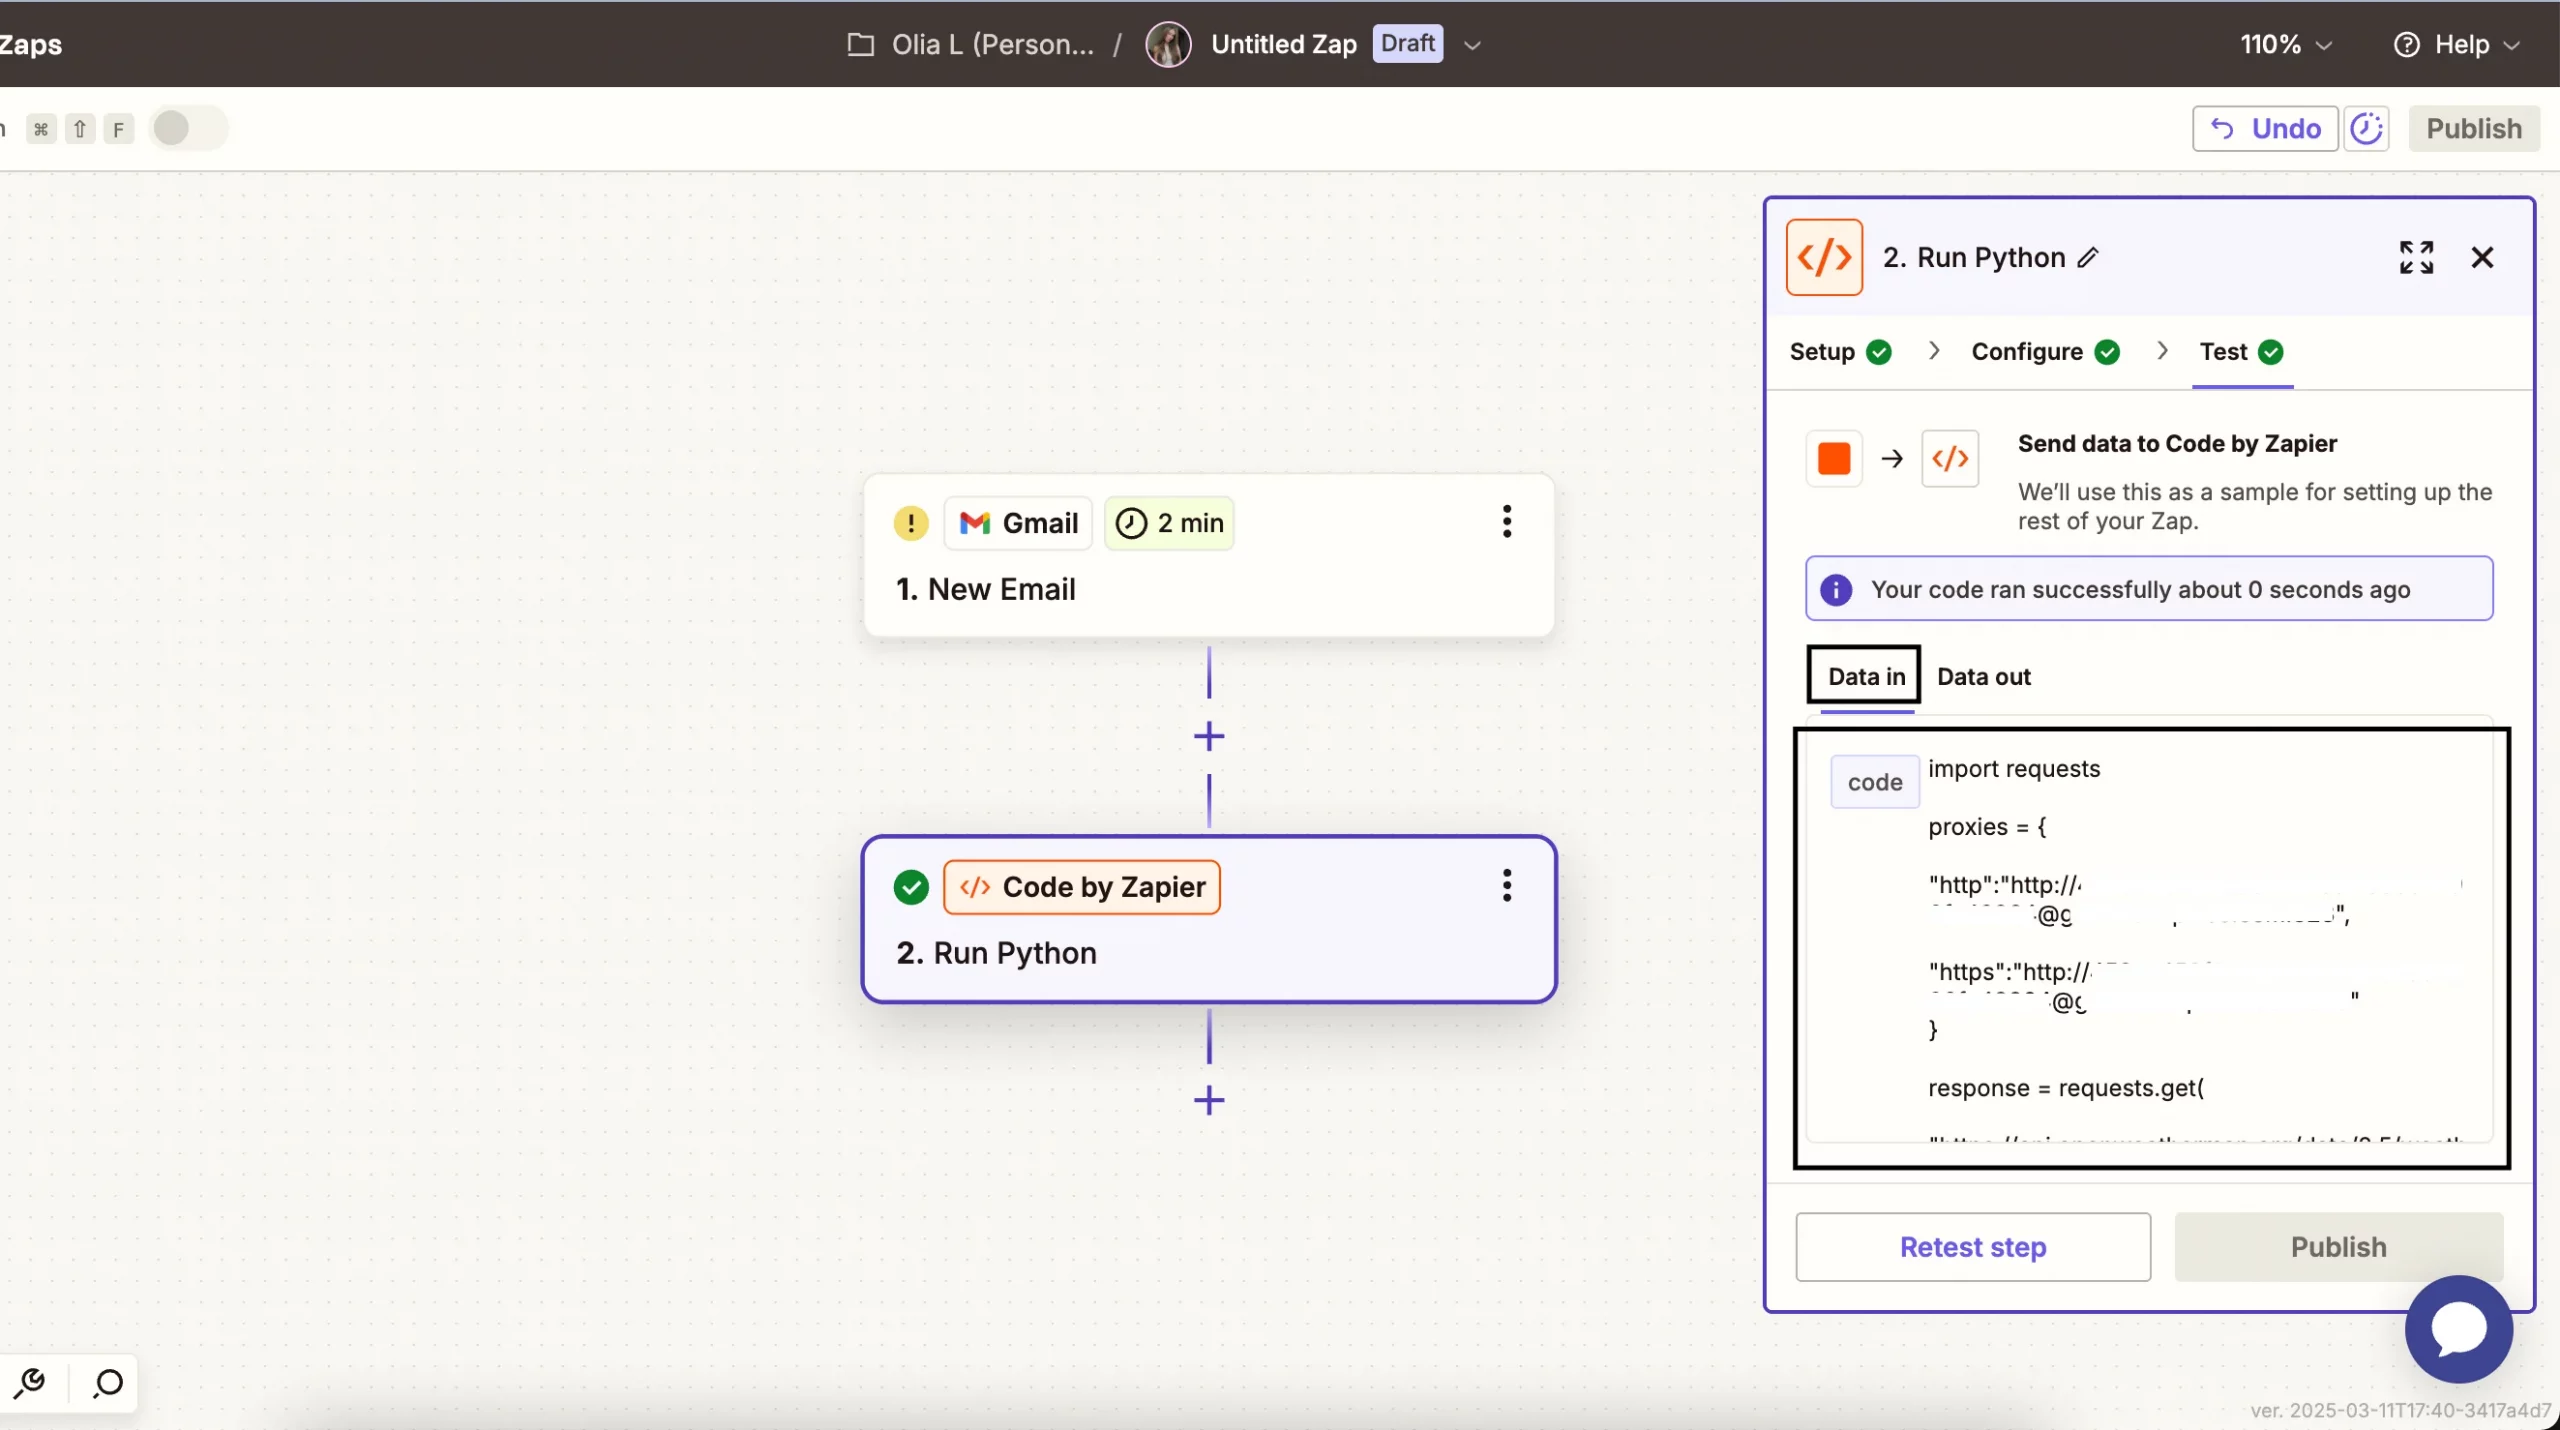
2. Choose Python and paste this code. Replace the credentials with your actual DataImpulse proxy details and your API key:
import requests
proxies = {
"http": "http://username:password@proxy_address:port",
"https": "http://username:password@proxy_address:port"
}
response = requests.get(
"https://api.openweathermap.org/data/2.5/weather?q=London&appid=YOUR_API_KEY",
proxies=proxies
)
print(response.json())
3. Click Test to verify.
Want Automated Emails?
With Zapier, you can send automated emails based on the data you’ve collected. To do this:
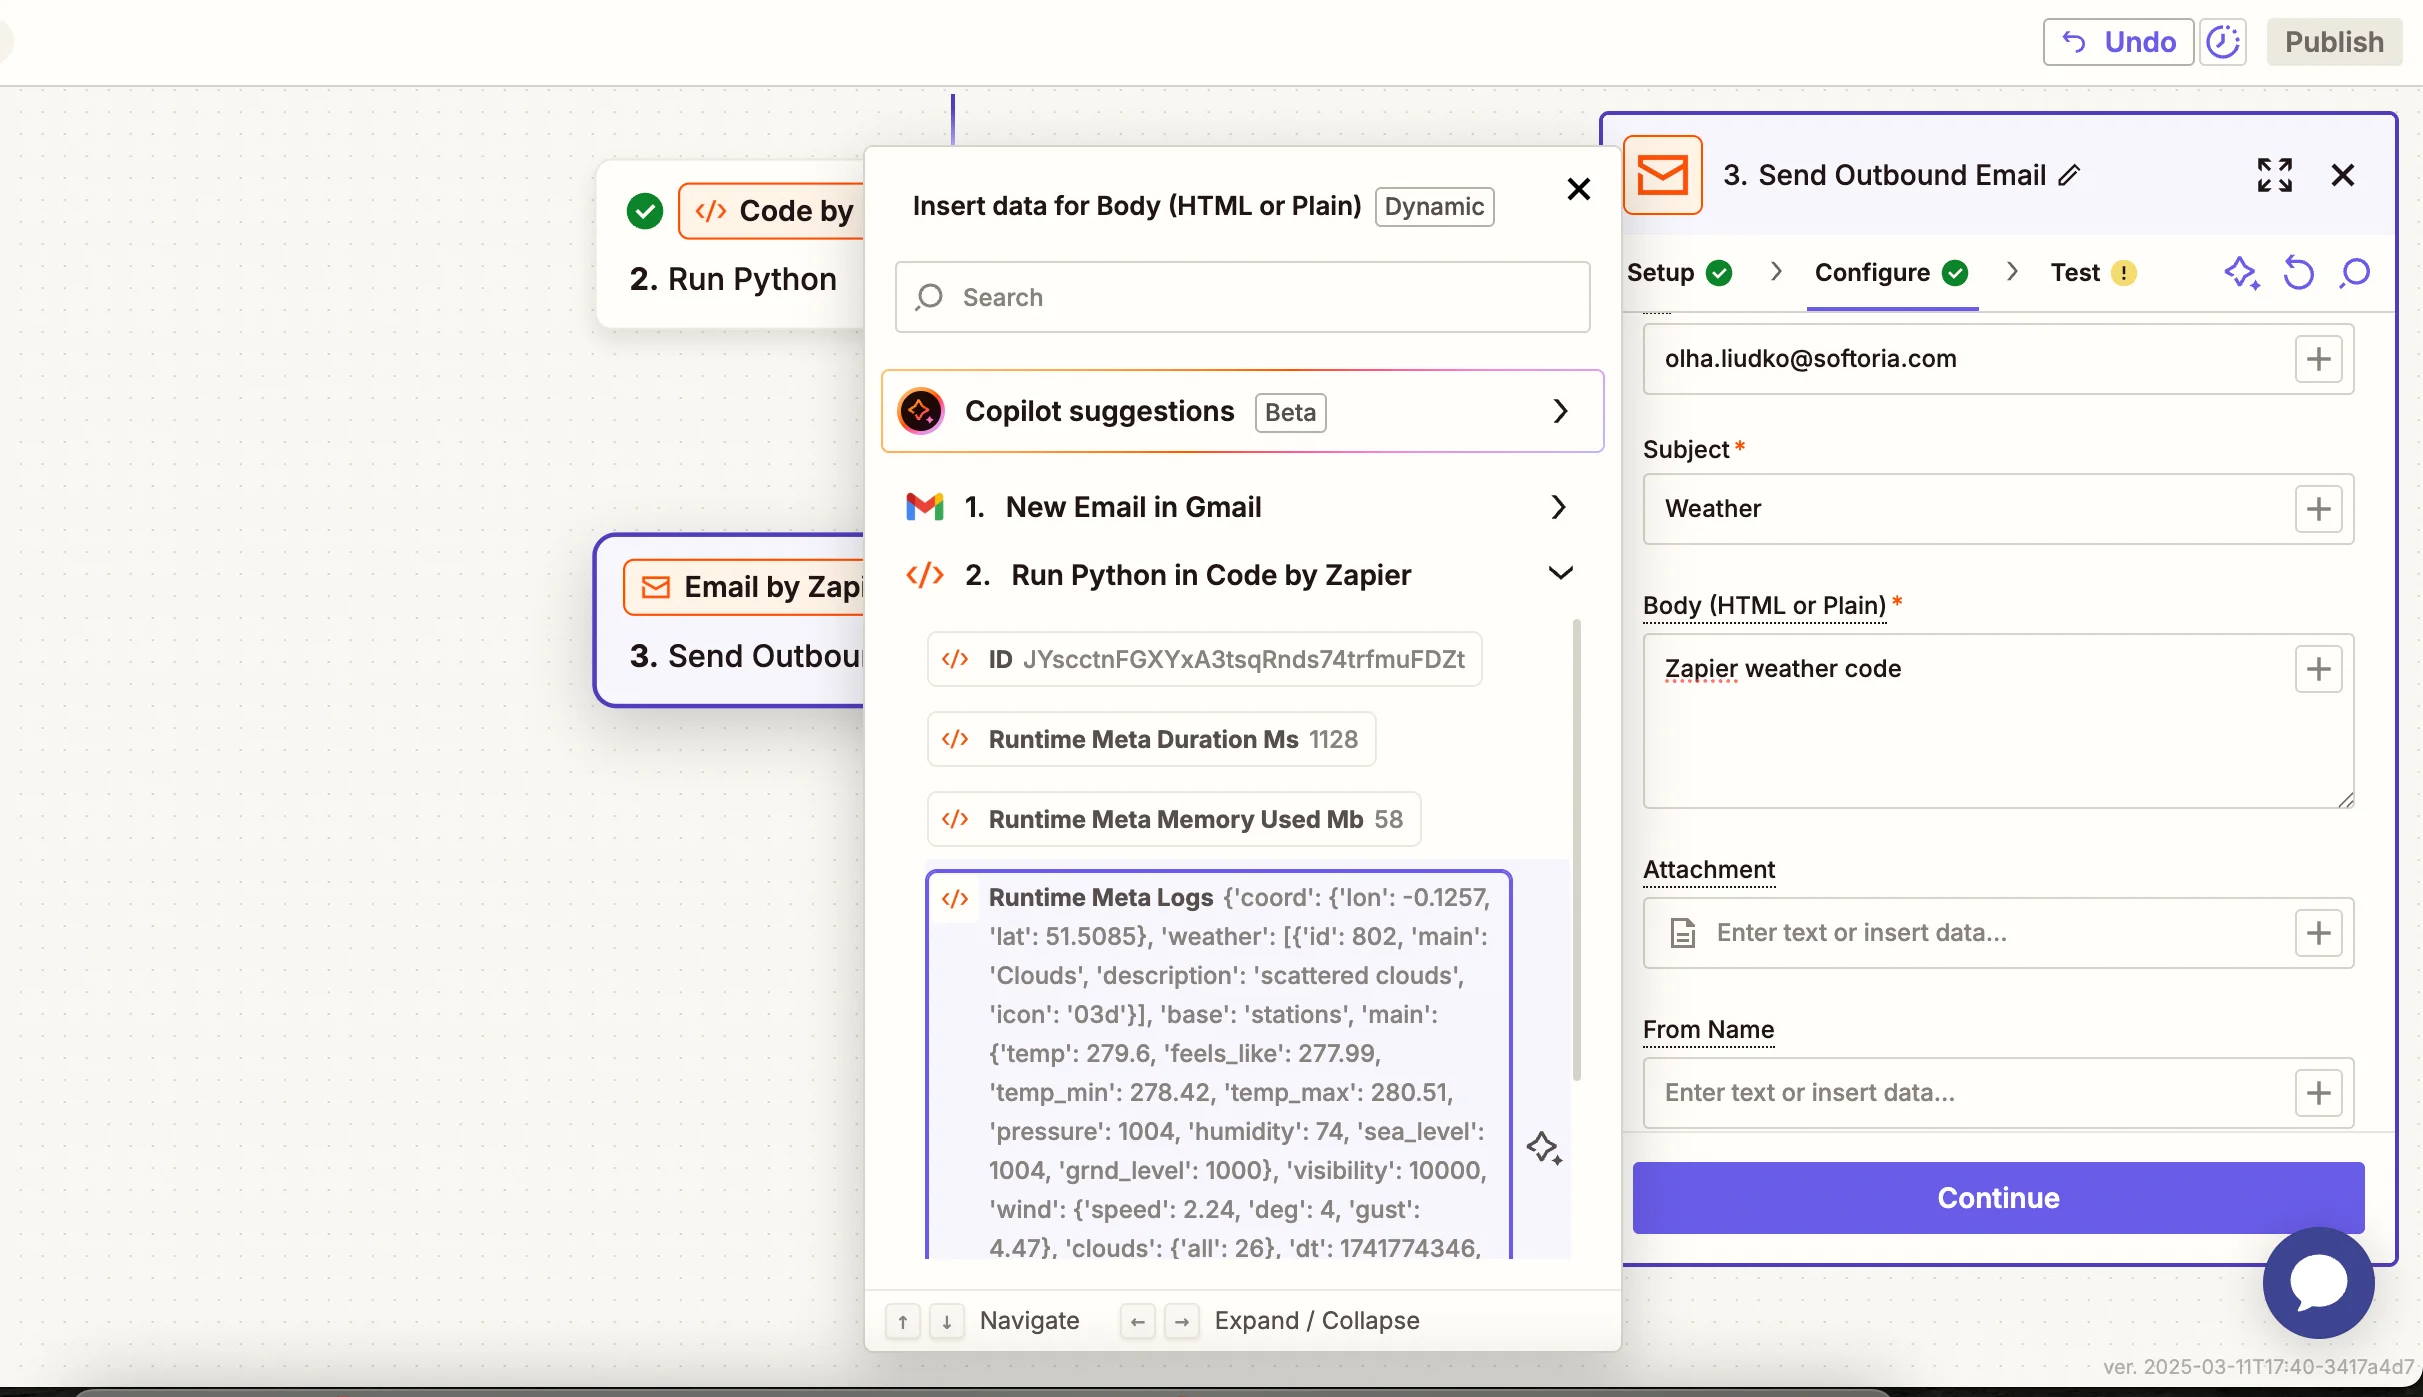
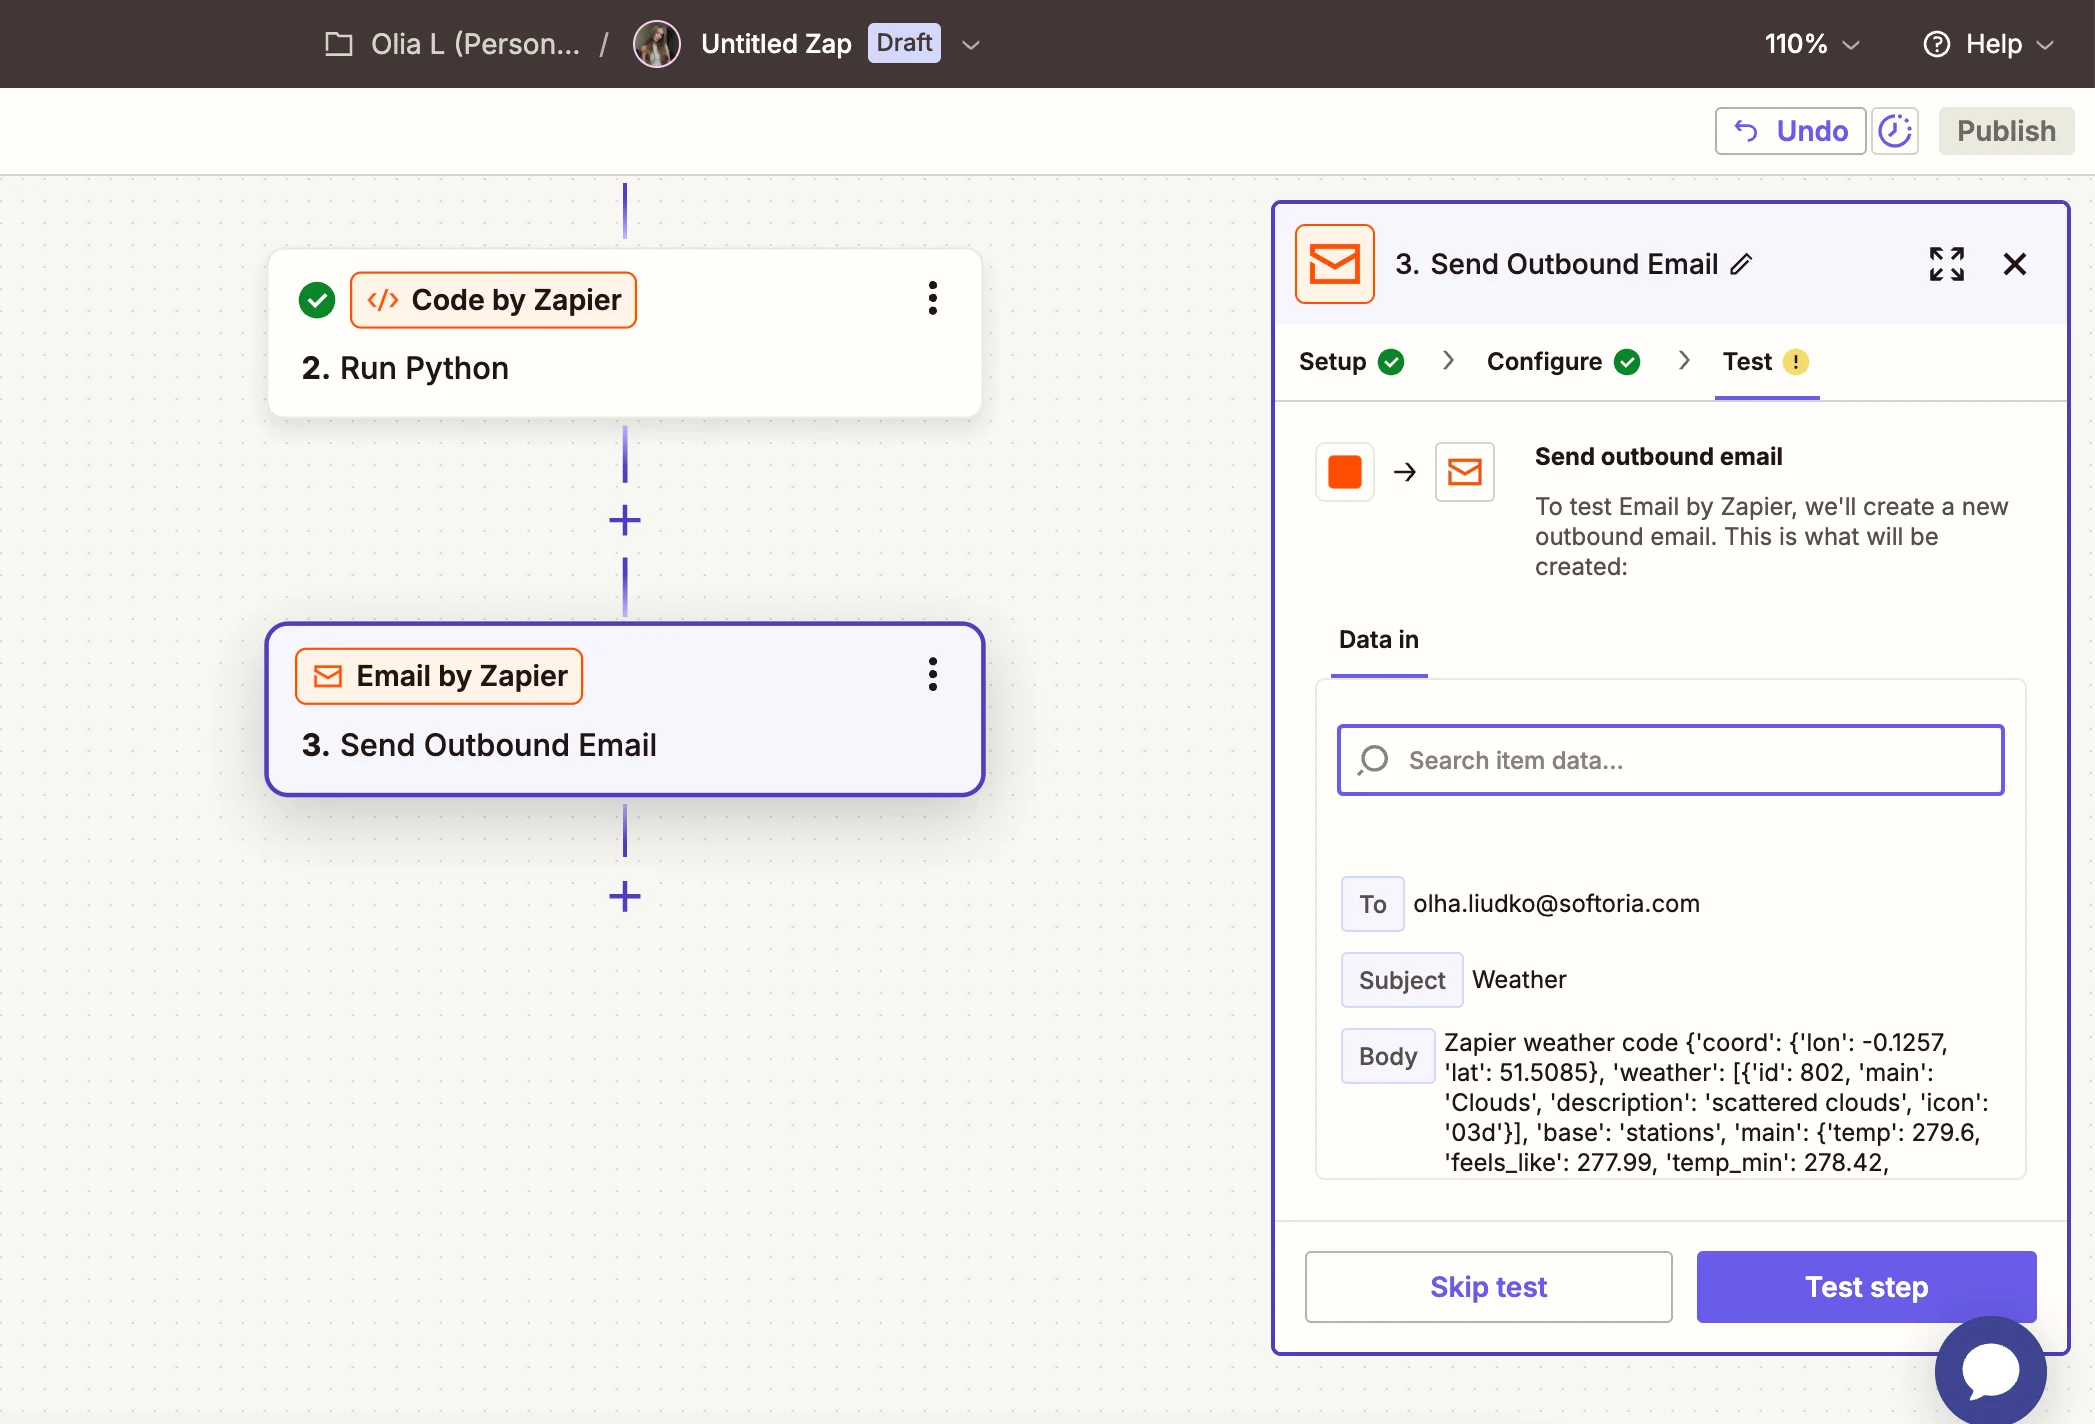
Add a new action to your Zap. → Choose Email by Zapier. → Select the Send Email action. → Configure the email’s recipient, subject, and body, including dynamic content from the API response (e.g., current temperature in the email body). → Test the email action to confirm everything is working properly.
After setting up your workflow, click Turn on Zap to activate it. Now, whenever the trigger occurs, the Python script will run via the proxy, fetch API data, and execute your actions (e.g., save to Sheets, send emails, post to Slack).
Conclusion
This guide shows how to connect proxies using two methods. Choose one that works best for you. Managing Zapier with proxies makes your automation, security, and accessibility flexible and reliable. You can create Zaps to fetch API data, store it in Google Sheets, or send emails. Proxies help hide your IP, prevent access loss, give you access to global data, and distribute requests to avoid rate limits.
If you have any questions, our 24/7 professional human support team is here to help you.
*The information provided is only for educational purposes.

