In this Article
Selenium on its own is great for web automation, but combining it with a proxy keeps you private, avoids blocks, and lets you access content from any region. Simply speaking, it is an open-source tool developed by Jason Huggins that is used to automate or test web applications. It includes modules like Selenium IDE, Grid, Standalone Server, and WebDriver.
In this guide, we’ll walk you through the key steps to set up Selenium with a proxy in Python for web scraping tasks.
Getting Started
First of all, make sure you have Python and pip (Python Package Manager) installed. If not, download Python from the official site, open the .pkg file that you downloaded, and follow the instructions. Let’s look at the basic primary steps:
1. Open your Terminal or Command Prompt. If you’re on Mac, click the Launchpad icon in the Dock, type Terminal in the search field, then click Terminal. If you’re on Windows, type cmd in the Run window. This shortcut will open the Command Prompt or PowerShell terminal.
2. In your terminal type:
python --version
If your version is Python 3, then just add 3 after python. It may apply to other commands as well:
python3 --version
pip is usually automatically installed with Python 3.4+. However, it’s better to check if pip is installed by typing:
pip --version
pip3 --version
3. Use pip to install the Selenium package:
pip install selenium
If you’re using Python 3, try to use pip3 to ensure it’s installed for Python 3:
pip3 install selenium
4. Check if Installation is completed.
After installation, you can verify that Selenium is installed by running:
pip show selenium
Using Web Driver for Selenium
Selenium needs a web driver to interact with browsers like Chrome, Firefox, and others. You’ll have to download the appropriate driver and ensure it’s available in your system’s PATH. We’ll be working with Chrome, the go-to browser for most automation projects.
1. Go to the official ChromeDriver downloads page:
https://developer.chrome.com/docs/chromedriver/downloads
2. Find the link that matches your Chrome version and download the ChromeDriver for macOS.
The file you download will be in a zip. format. Simply double-click to extract it, and you’ll get the chromedriver executable.
For easy access, you should move the chromedriver file to a directory that’s included in your system’s PATH. Common directories include /usr/local/bin or /usr/bin. Use this command:
sudo mv ~/Downloads/chromedriver /usr/local/bin/
***If you see the “No such file or directory” error, it generally means the file path in your command is incorrect, or the file doesn’t exist at the given location. Double-check that you’re in the directory where the chromedriver file is located and that the filename is without any extensions or typos.
When you use the mv command with sudo to move files to directories like /usr/local/bin, macOS will ask you to enter your password. This is your user account password. Type it in and press Enter. Keep in mind that your password won’t show up on the screen as you type (no characters or symbols will appear).
To check if ChromeDriver is installed correctly, type the following command in the terminal:
chromedriver --version/
Creating a basic Python script
Next, download any text editor (VS Code in our case) or use IDE to create a new file named selenium_test.py.
For creating a basic Python script we need to install the webdriver-manager module.
- We can install the package using pip. Run the following command in your terminal:
pip install webdriver-manager/
pip install selenium webdriver-manager/
After running the above command, your script should work as expected:
# pip install selenium webdriver-manager
from selenium import webdriver
from selenium.webdriver.chrome.service import Service
from webdriver_manager.chrome import ChromeDriverManager
from selenium.webdriver.chrome.options import Options
# set Chrome options to run in headless mode
options = Options()
options.add_argument("--headless=new")
# initialize Chrome driver
driver = webdriver.Chrome(
service=Service(ChromeDriverManager().install()),
options=options
)
# navigate to the target webpage
driver.get("https://httpbin.io/ip")
# print the HTML of the target webpage
print(driver.page_source)
# release the resources and close the browser
driver.quit()/
You’ll see this result:
Setting up a free proxy in Selenium
In this part, you’ll find out how to set up a Selenium proxy using Python and try free proxies. Visit this website https://free-proxy-list.net/ and choose a free proxy for your test. In the script, you’ll have to define the proxy address and port. For example, let’s choose this free proxy:
from selenium import webdriver
from selenium.webdriver.chrome.service import Service
from webdriver_manager.chrome import ChromeDriverManager
from selenium.webdriver.chrome.options import Options
from selenium.webdriver.common.by import By
# define the proxy address and port
proxy = "194.5.25.34:443"
# set Chrome options to run in headless mode using a proxy
options = Options()
options.add_argument("--headless=new")
options.add_argument(f"--proxy-server={proxy}")
# initialize Chrome driver
driver = webdriver.Chrome(
service=Service(ChromeDriverManager().install()),
options=options
)
# navigate to the target webpage
driver.get("https://httpbin.io/ip")
# print the body content of the target webpage
print(driver.find_element(By.TAG_NAME, "body").text)
# release the resources and close the browser
driver.quit()/
In the terminal, you’ll get the following response:
{
“origin”: “194.5.25.34:443”
}
This means Selenium is navigating to pages using the proxy server. However, be careful as free proxies can be slow and sell your data.
Selenium Wire
Selenium Wire is a powerful extension of Selenium that lets you intercept and analyze network traffic. By reviewing HTTP requests and responses, you can better understand how a web application interacts with its server. The Chrome driver doesn’t process the username and password automatically, which is why you need a third-party plugin like Selenium Wire.
To install Selenium Wire, run this command into your terminal:
pip install blinker==1.7.0 selenium-wire/
pip3 install blinker==1.7.0 selenium-wire/
DataImpulse Proxies in Selenium
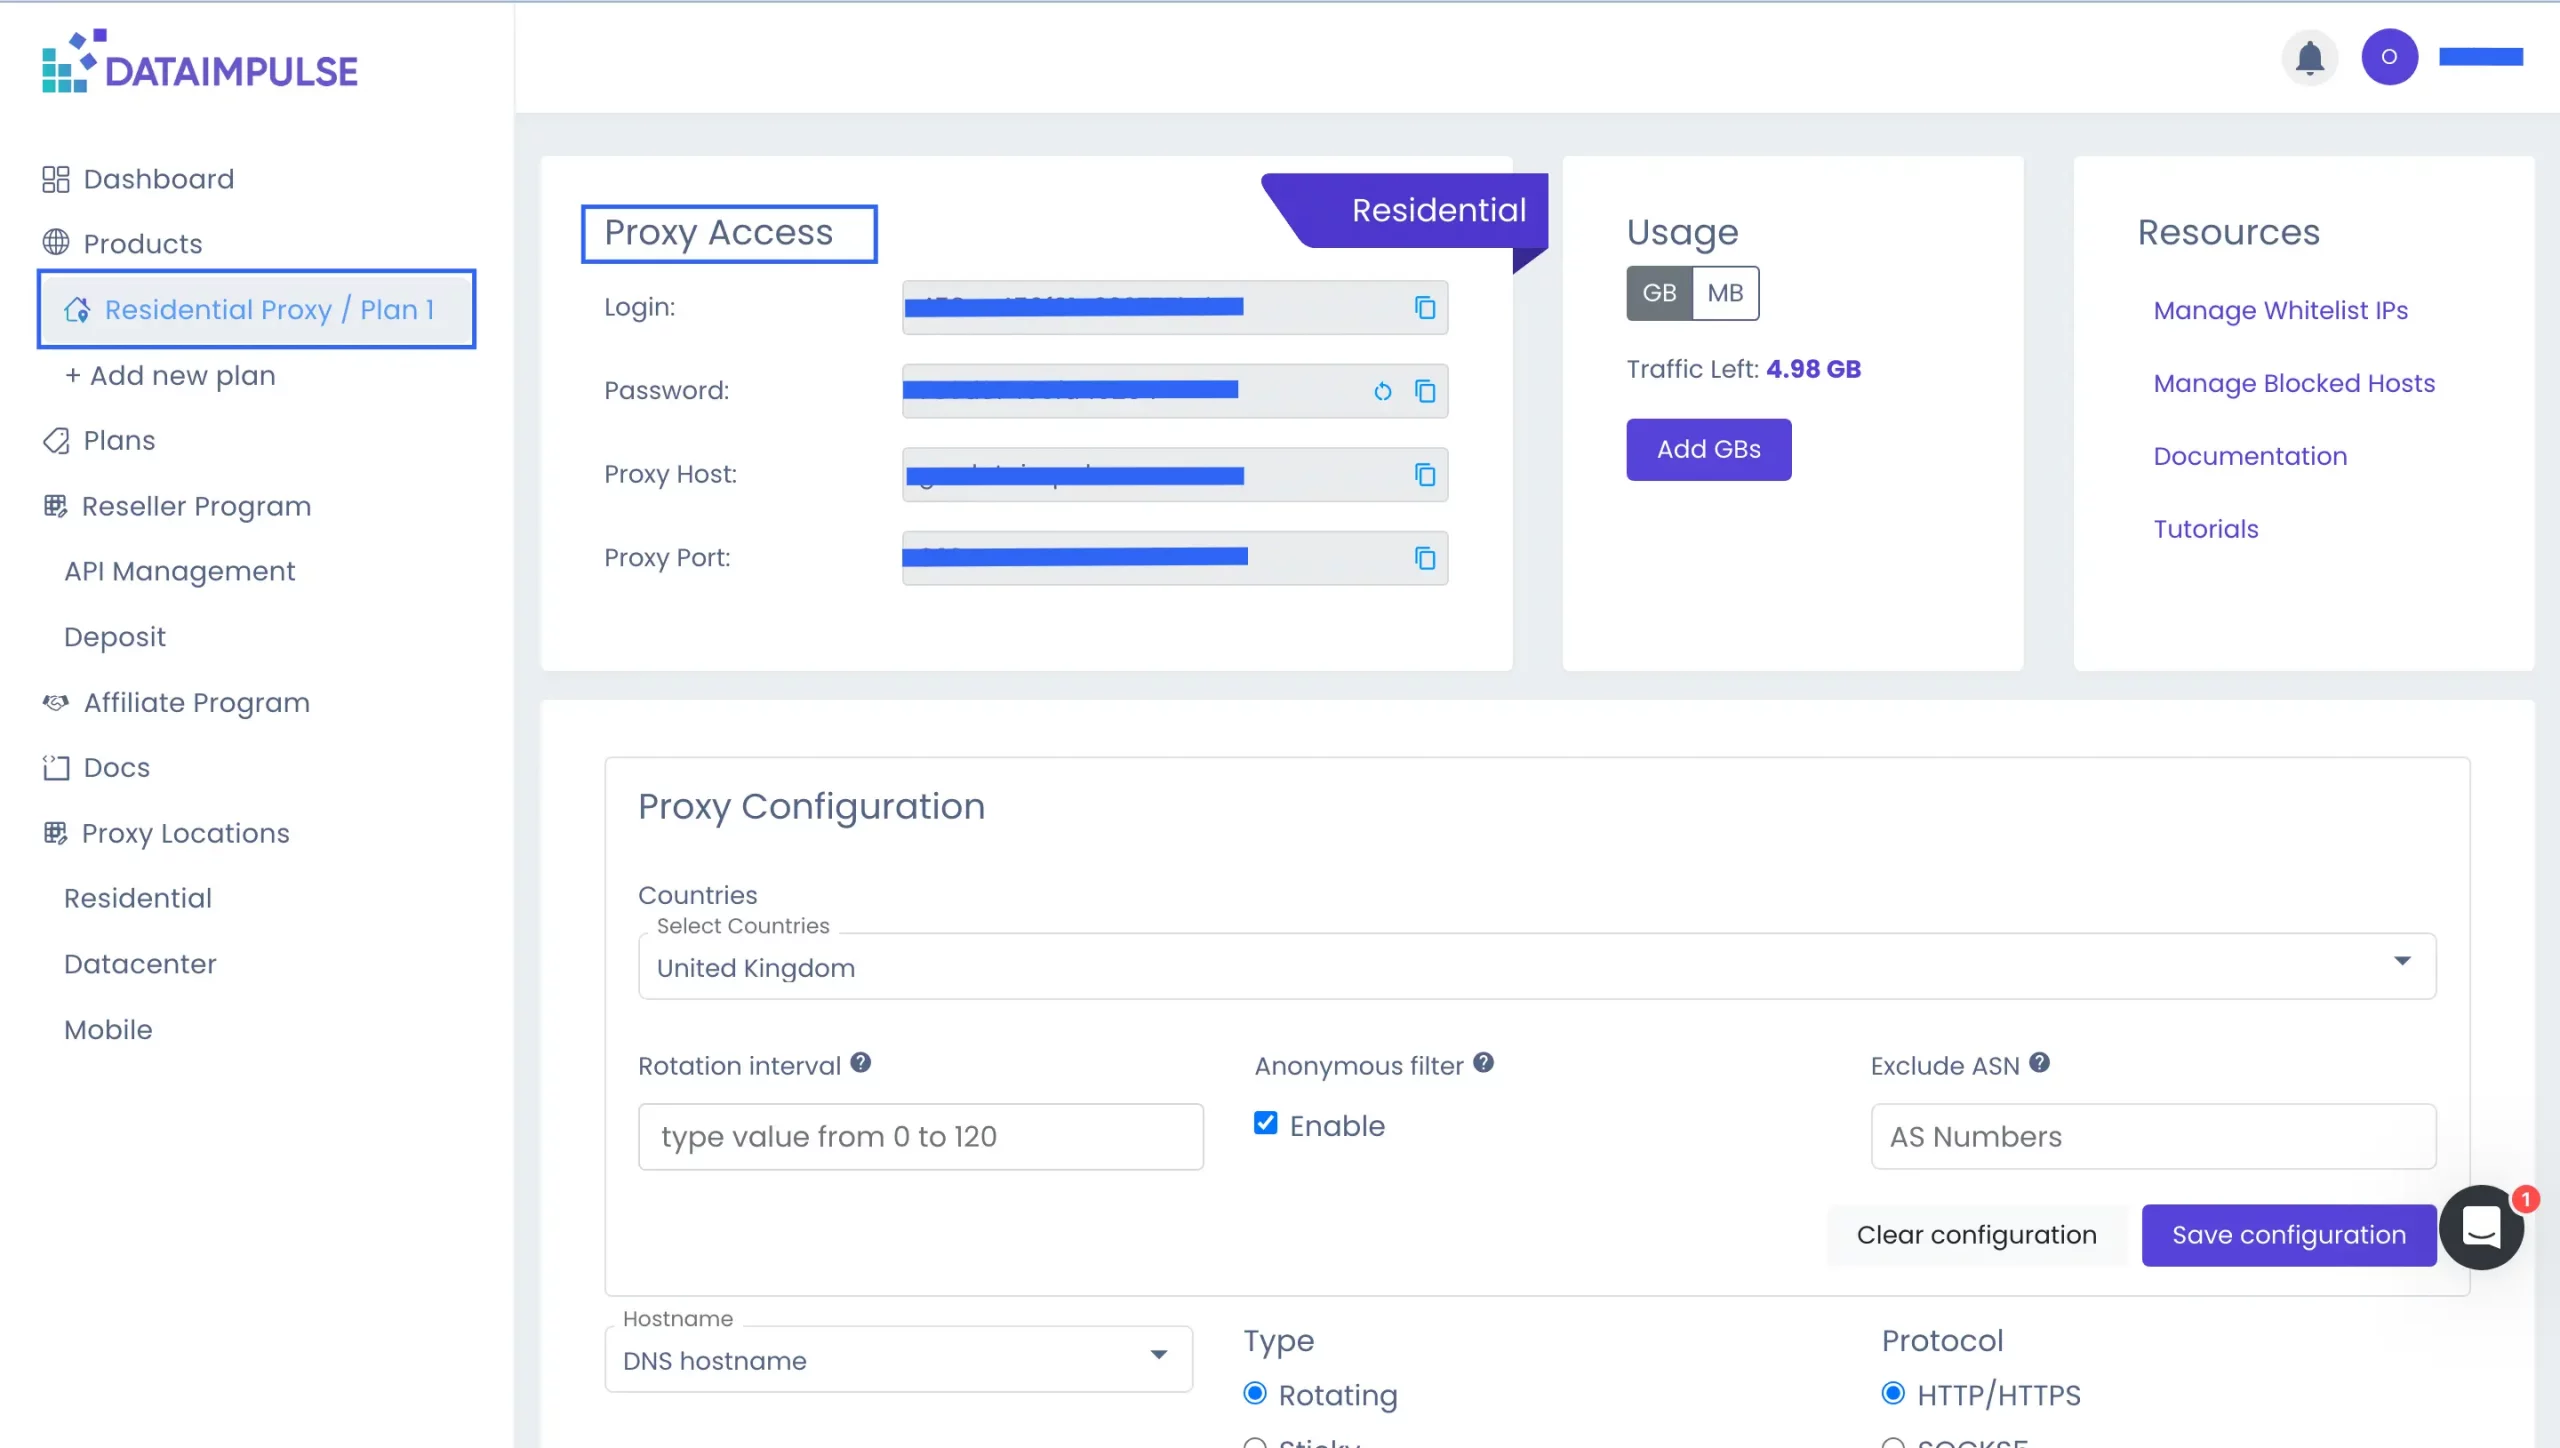
It’s time to finally make use of DataImpulse proxies. With everything installed, we’re ready to continue with proxy authentication. For this step, you’ll need your login, password, address, and port saved in the section of your chosen plan on your DataImpulse dashboard. We are going to use a residential proxy.
Let’s move to the script:
from seleniumwire import webdriver
from selenium.webdriver.chrome.service import Service
from webdriver_manager.chrome import ChromeDriverManager
from selenium.webdriver.chrome.options import Options
from selenium.webdriver.common.by import By
# configure the proxy
proxy_username = ""
proxy_password = ""
proxy_address = "gw.dataimpulse.com"
proxy_port = "823"
# formulate the proxy url with authentication
proxy_url = f"http://{proxy_username}:{proxy_password}@{proxy_address}:{proxy_port}"
# set selenium-wire options to use the proxy
seleniumwire_options = {
"proxy": {
"http": proxy_url,
"https": proxy_url
},
}
# set Chrome options to run in headless mode
options = Options()
options.add_argument("--headless=new")
# initialize the Chrome driver with service, selenium-wire options, and chrome options
driver = webdriver.Chrome(
service=Service(ChromeDriverManager().install()),
seleniumwire_options=seleniumwire_options,
options=options
)
# navigate to the target webpage
driver.get("https://httpbin.io/ip")
# print the body content of the target webpage
print(driver.find_element(By.TAG_NAME, "body").text)
# release the resources and close the browser
driver.quit()/
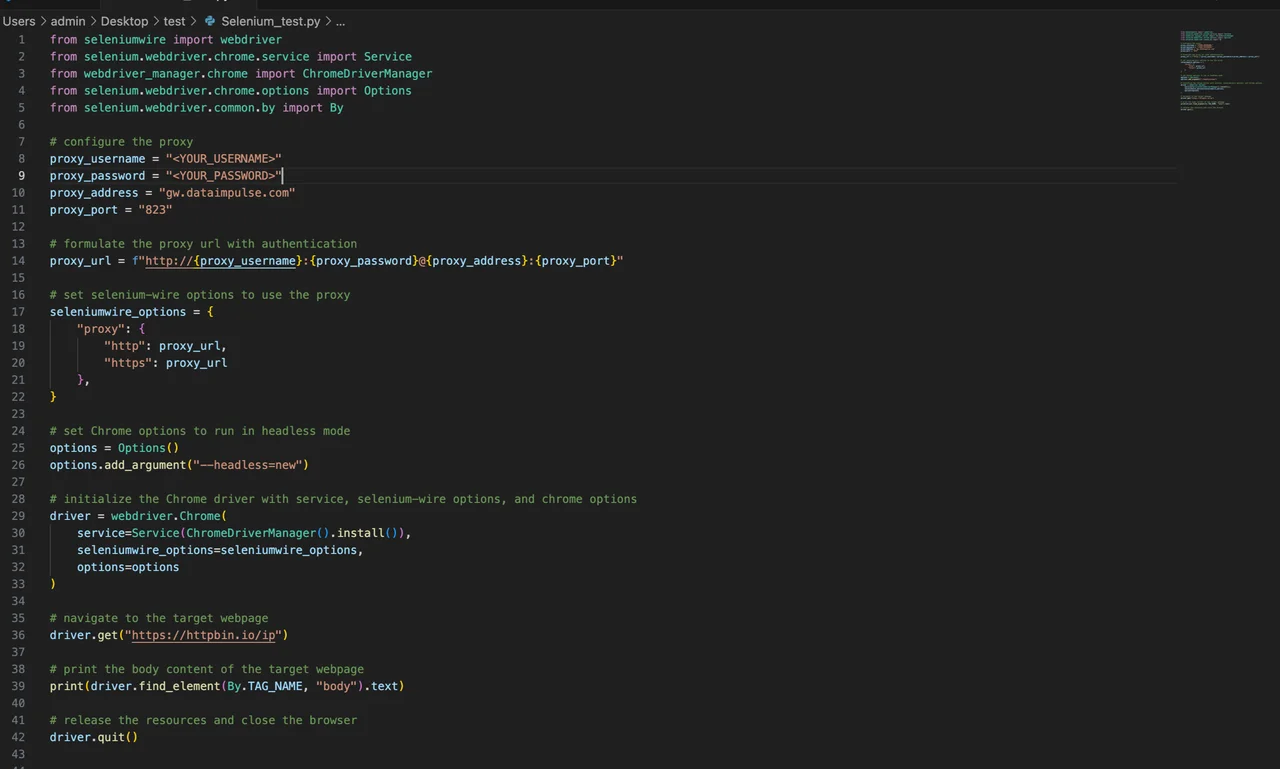
In VS Code, it’ll look like this:
As a result, you’ll get a response with your ‘origin’. It means that the authentication has been completed successfully.
Tips
- Visit official websites only – Download all the necessary programs from the safe official sites.
- Verify compatibility – Double-check that the versions of Selenium, ChromeDriver, and your browser are compatible with each other.
- Update regularly – Regularly сheck Selenium, ChromeDriver, and other tools to make use of the latest features.
- Securely manage login information – Protect and manage your authentication details in a secure way.
- Use virtual environments – Create a virtual environment to keep your dependencies organized and prevent package conflicts.
- Error handling – Add error-handling mechanisms in your scripts to deal with potential problems when using proxies or working with web elements.
Conclusion
If you’re considering setting up Selenium, then definitely give it a try. Using a proxy with Selenium is like adding an extra gear to your engine—it gives you more power and control. Follow our instructions and tips to successfully incorporate all the packages on the first try. Remember it’s better to choose reliable proxies over free ones to enjoy greater speed, security, and more stability.


