Integrating Web scraper (extension) with DataImpulse proxies
A trusted tool, developed by Google, is easy to use even for non-tech specialists and always free, which makes it attention-worthy. In case you scrape locally or want to understand whether scraping is what your business needs before investing in a paid solution, Web Scraper is a good choice. Combined with high-quality proxies, it helps you avoid IP rate limits and anonymity concerns, letting you focus on developing your business.
Web Scraper Extension has two versions – a free browser plugin and a paid cloud version with several plans, which you can try for 7 days for free. This tutorial is devoted to the free extension. Its advantages include:
– able to extract even large volumes of data
– integrates easily with other tools
– offers an intuitive point-and-click interface
– is always free
– can handle dynamic websites with multiple levels of pagination
– works well with JavaScript-based websites
– exports data in several popular formats such as CSV, XLSX, and JSON formats
– provides API access
At the same time, the tool offers limited documentation, and there is no option to configure third-party proxies directly in the extension. However, there are other ways to actually use the extension with DI proxies—we will describe them all.
First things first – to start using the extension, follow these simple steps:
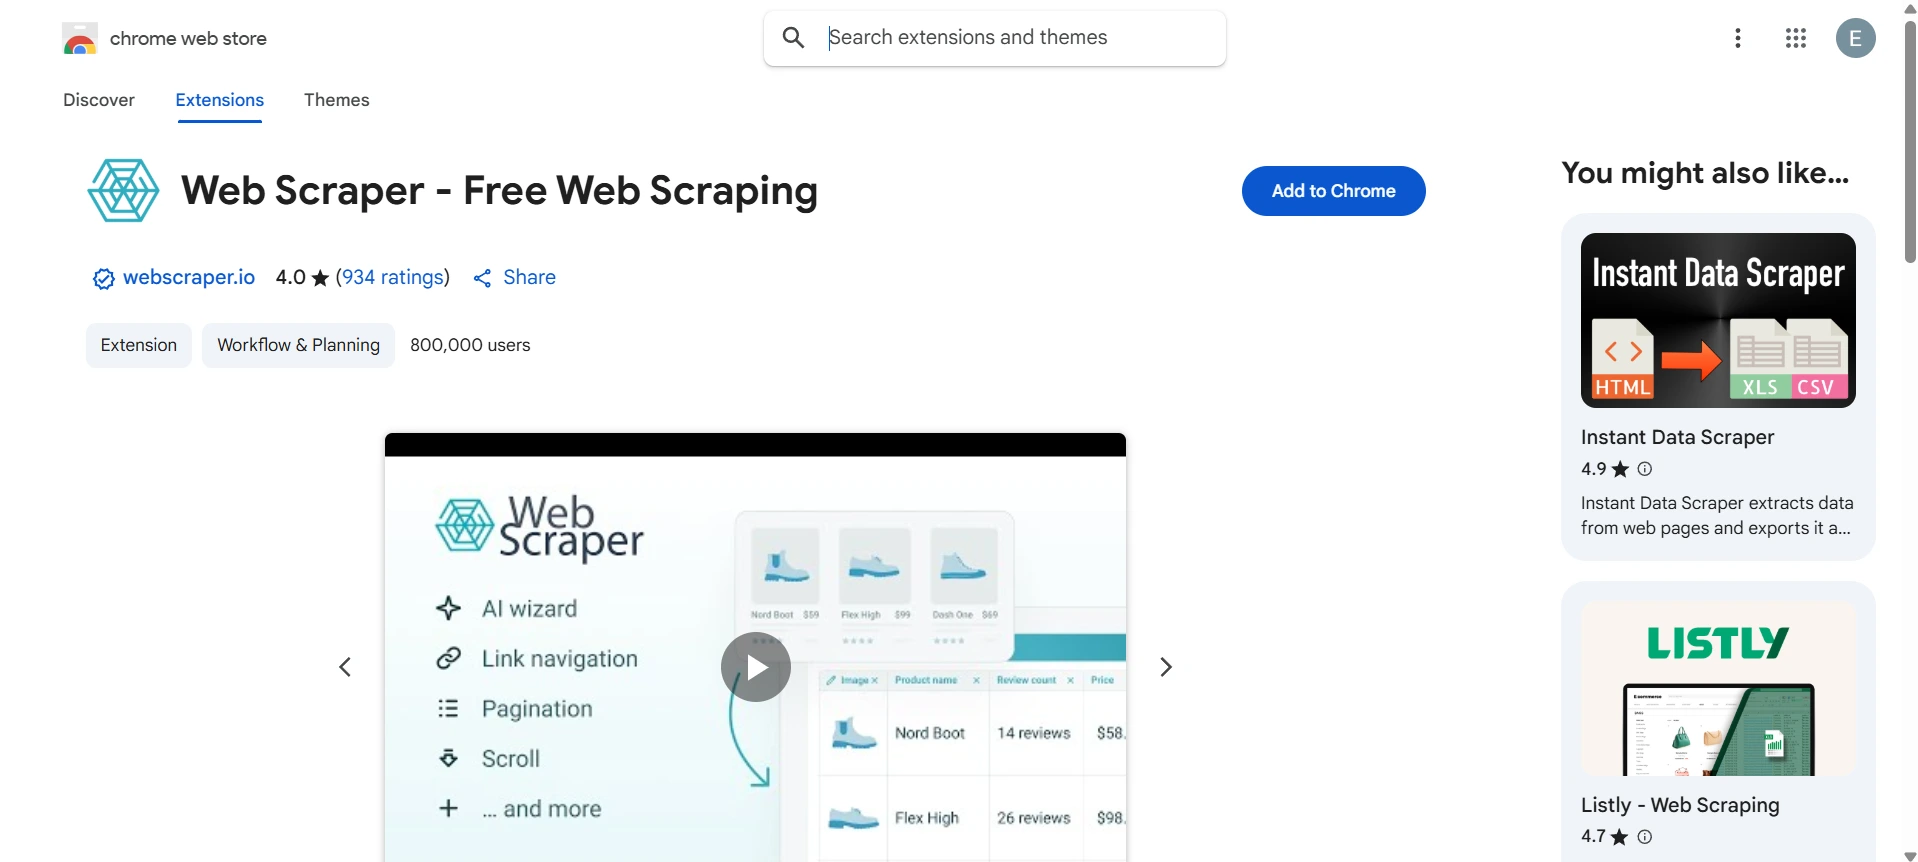
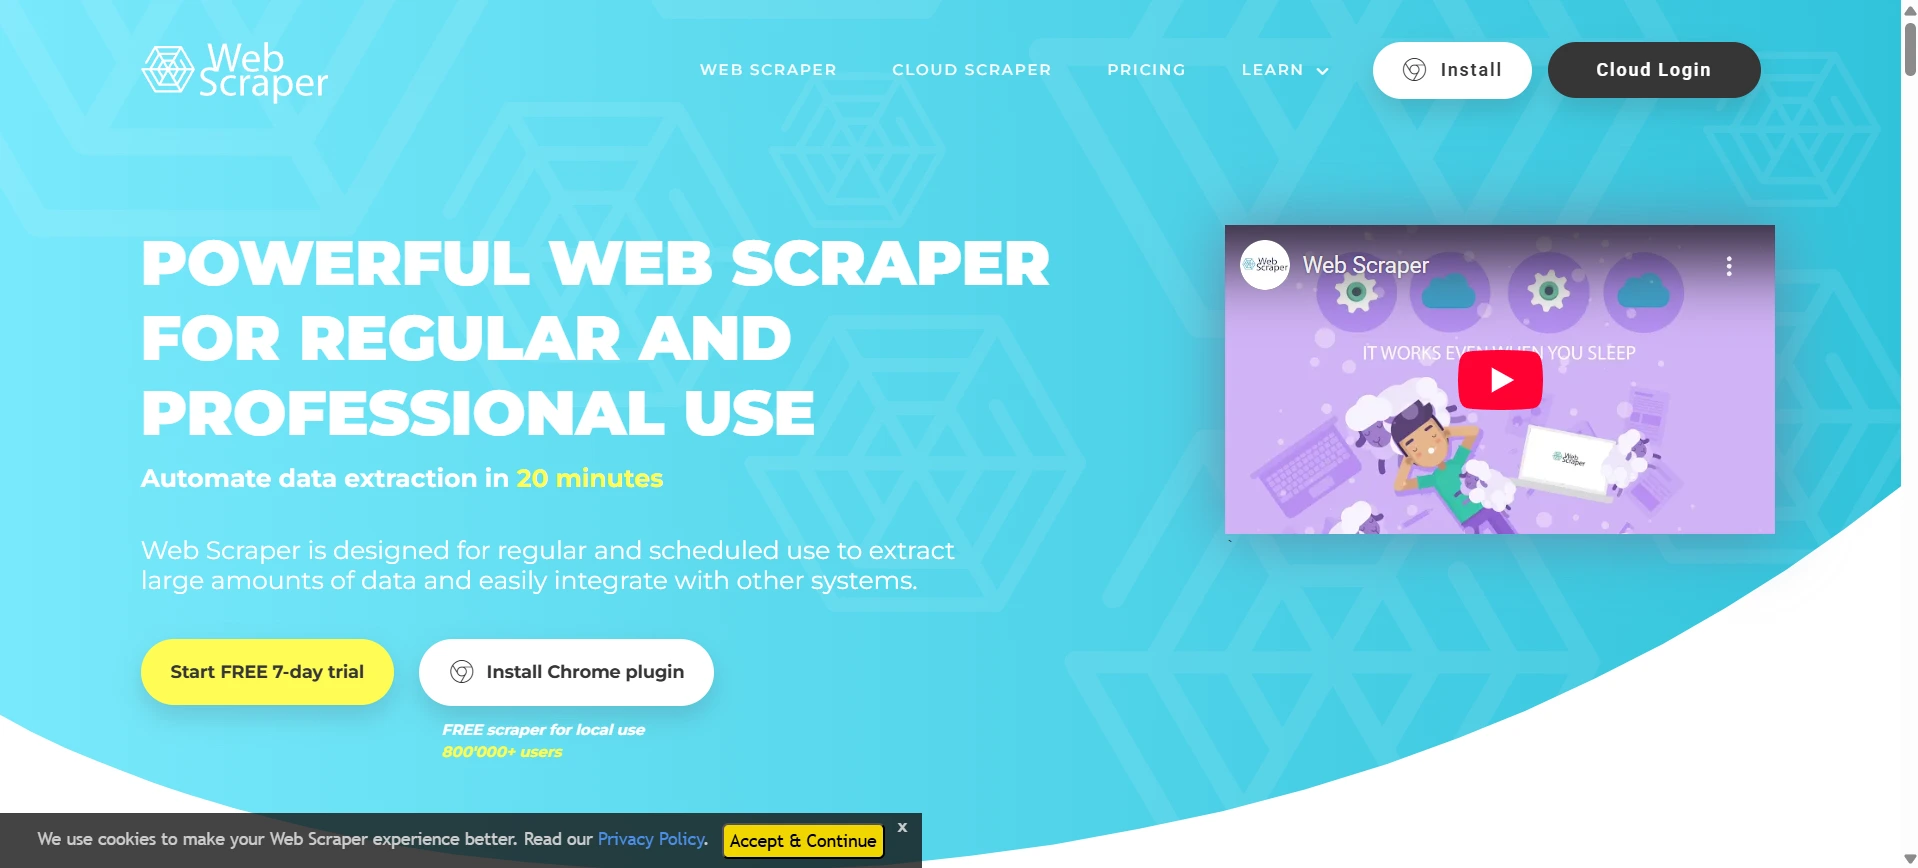
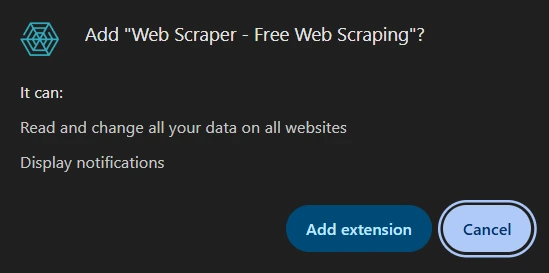
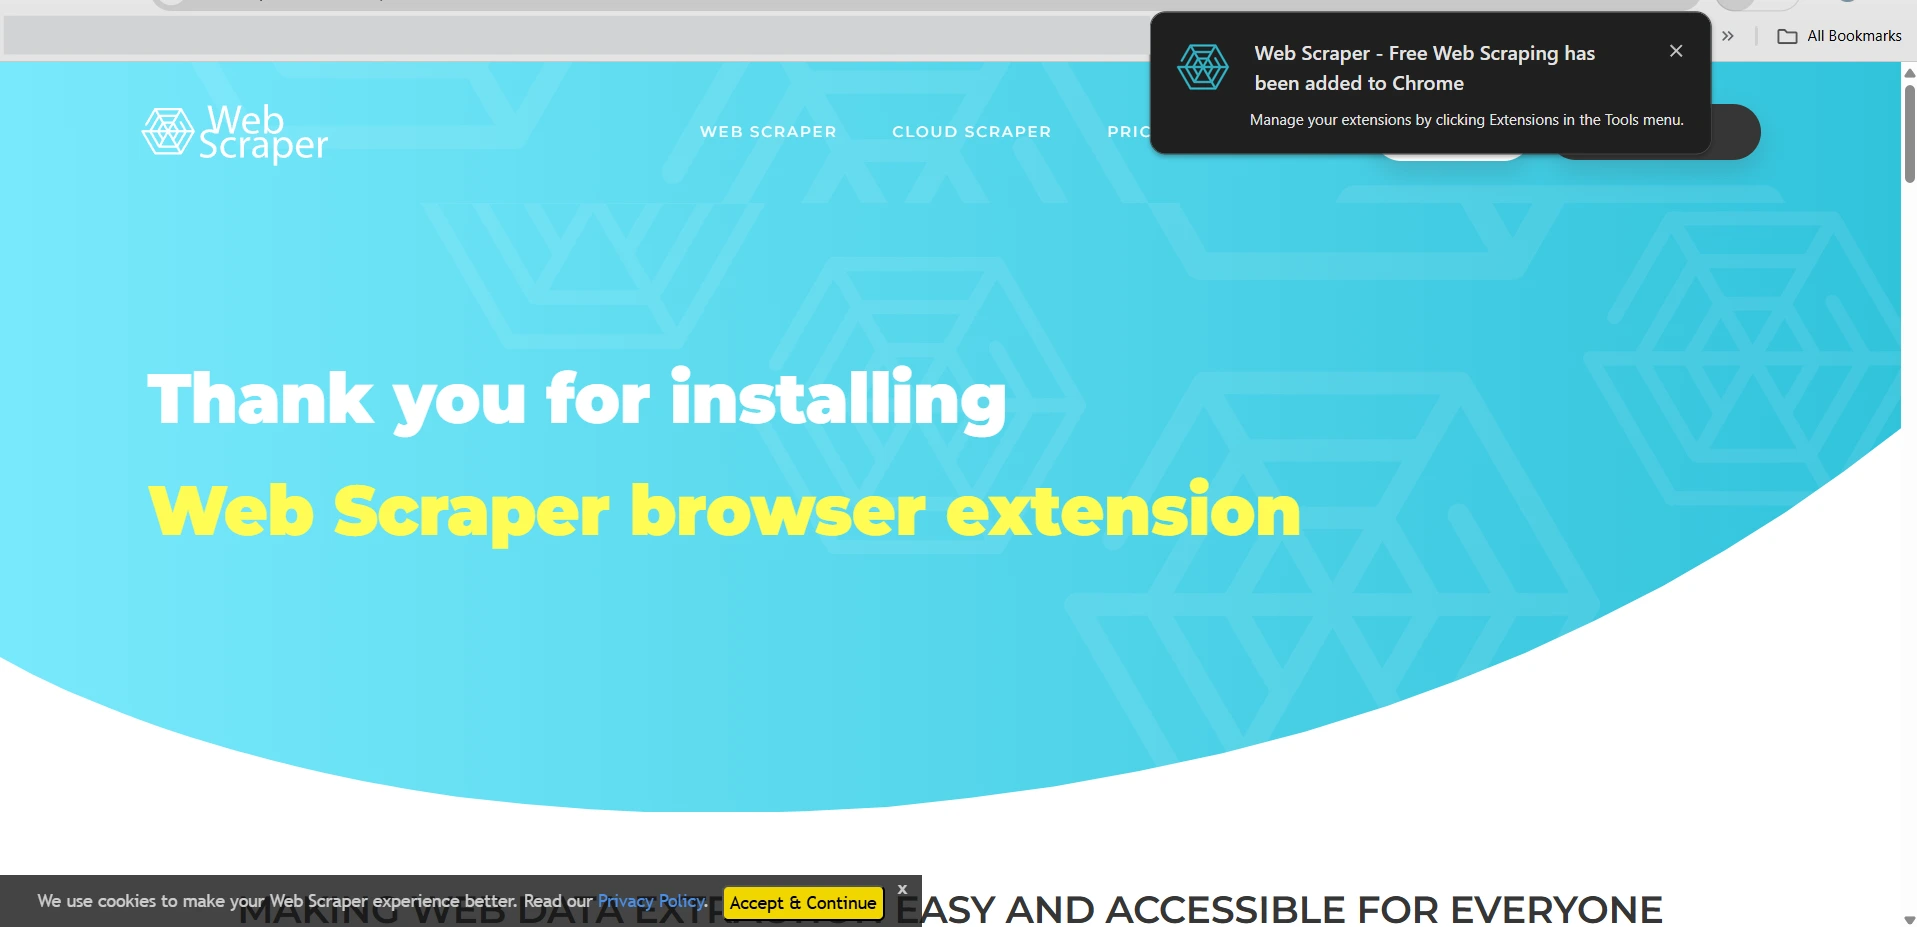
- Install the Web Scraper extension from the official Chrome Web Store. If you go to the extension’s official web page and click Install Chrome plugin, you will be redirected to the Chrome Web Store anyway. A confirmation will appear afterwards.
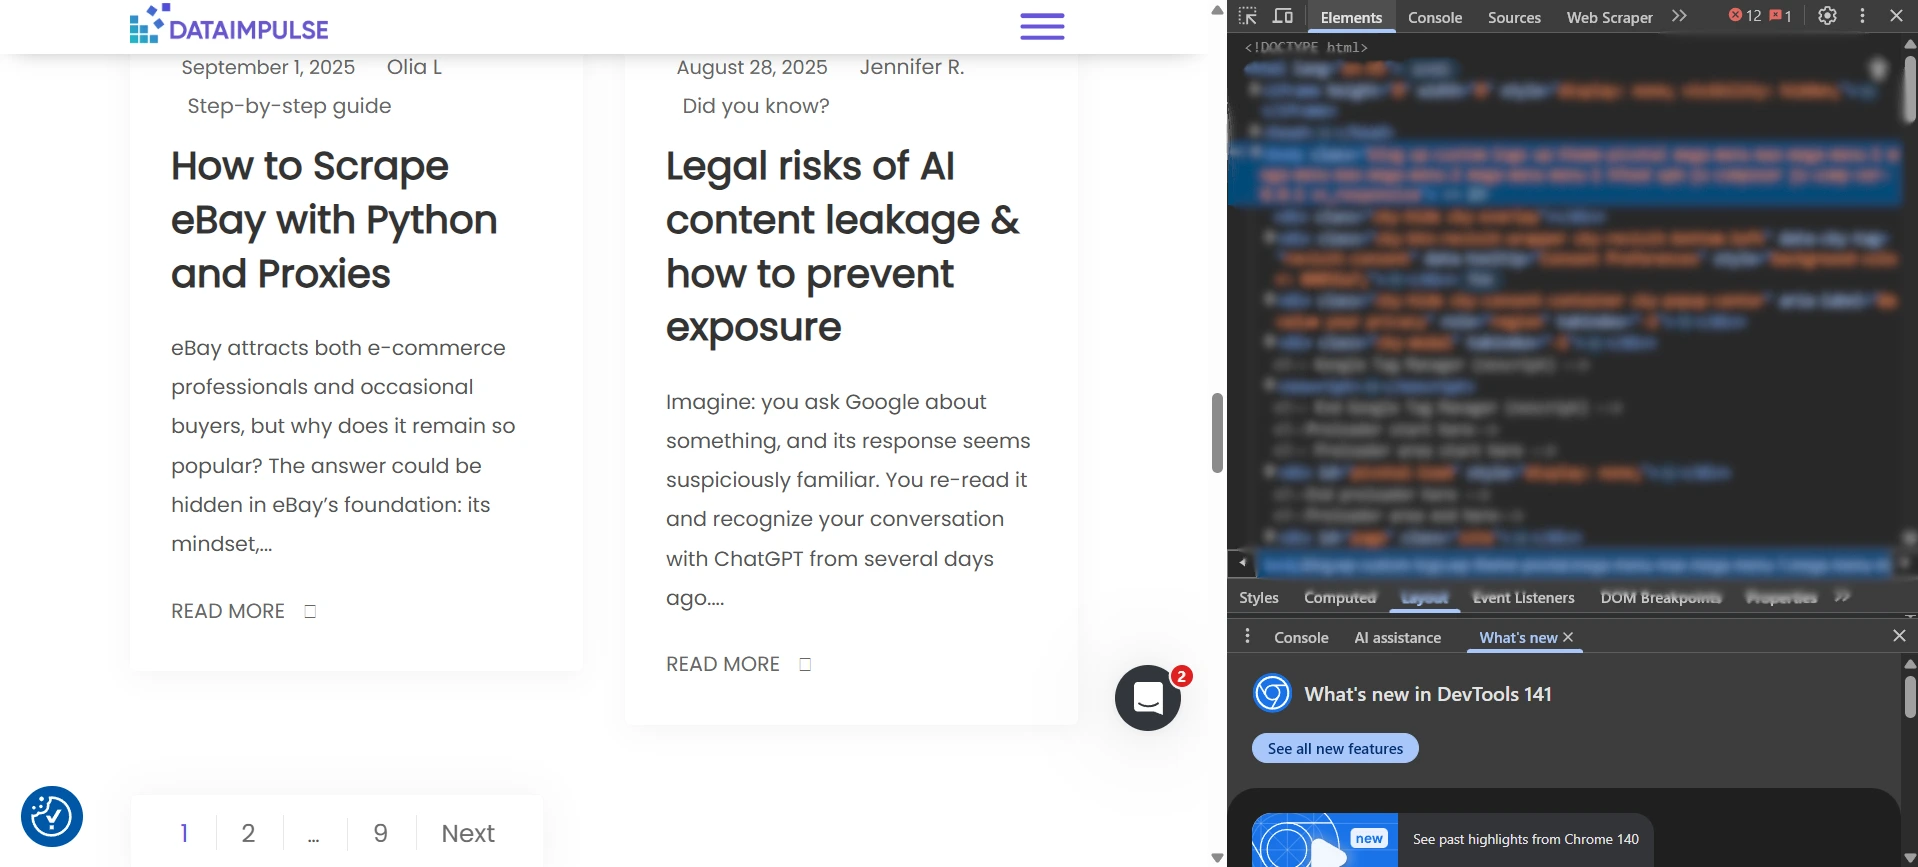
- Open a website you want to scrape. In our tutorial, we are using DataImpulse’s blog as an example.
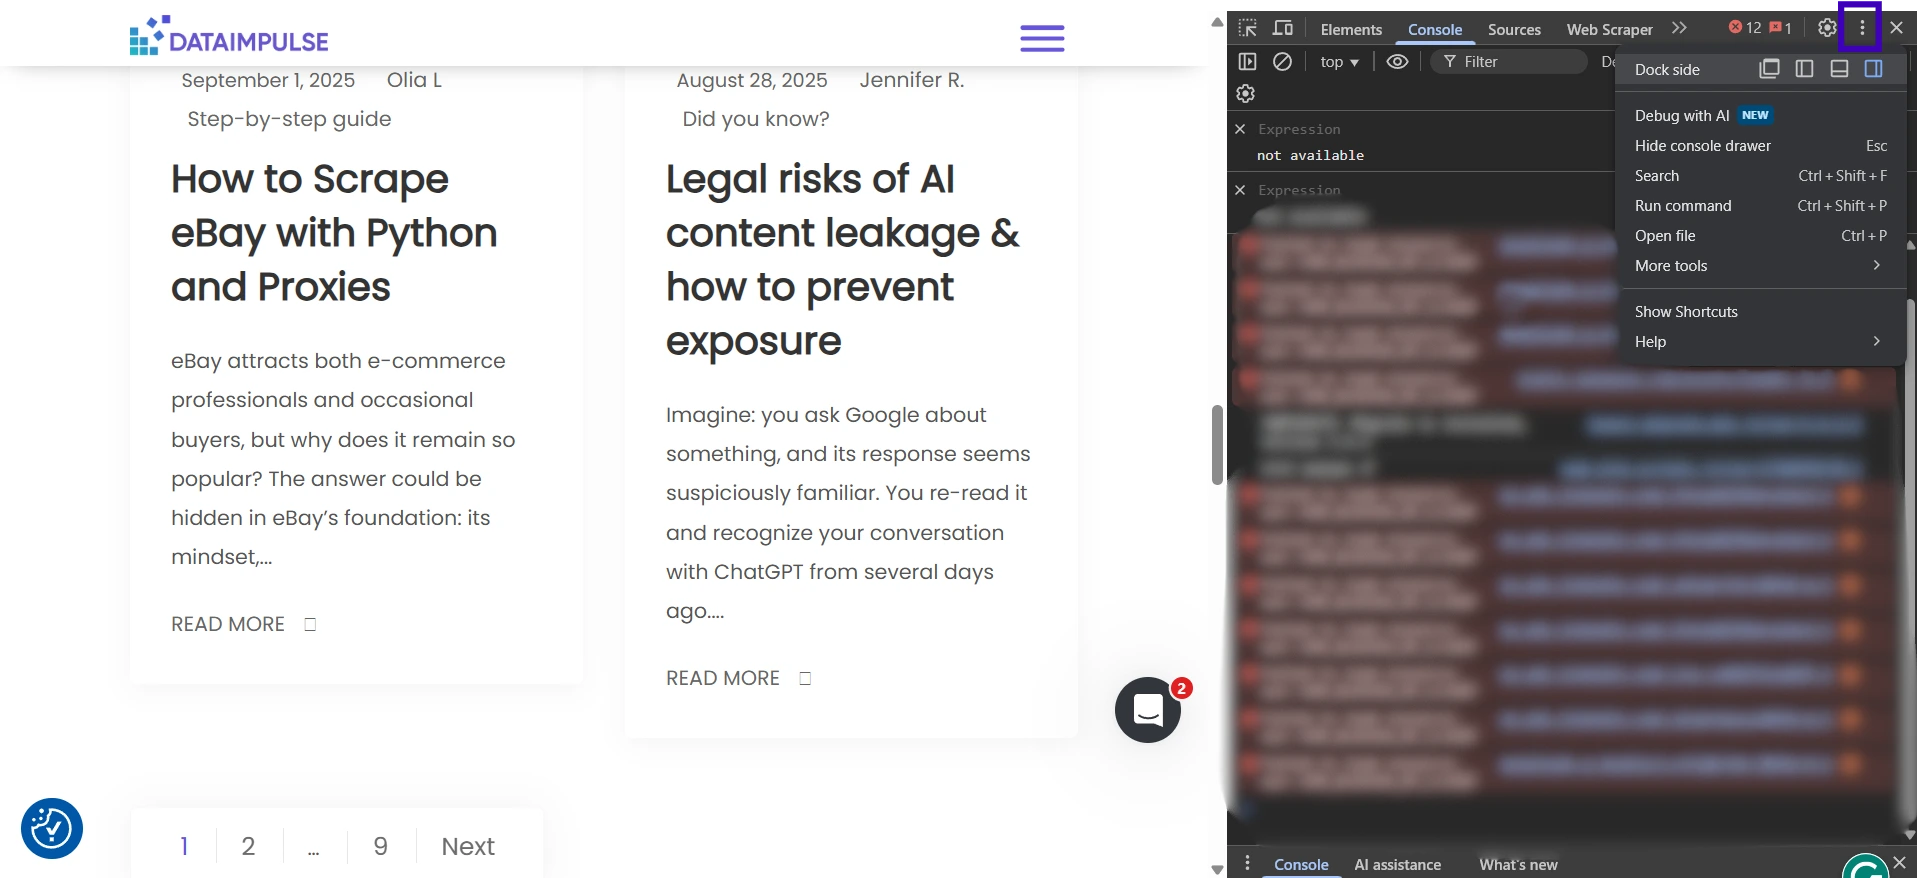
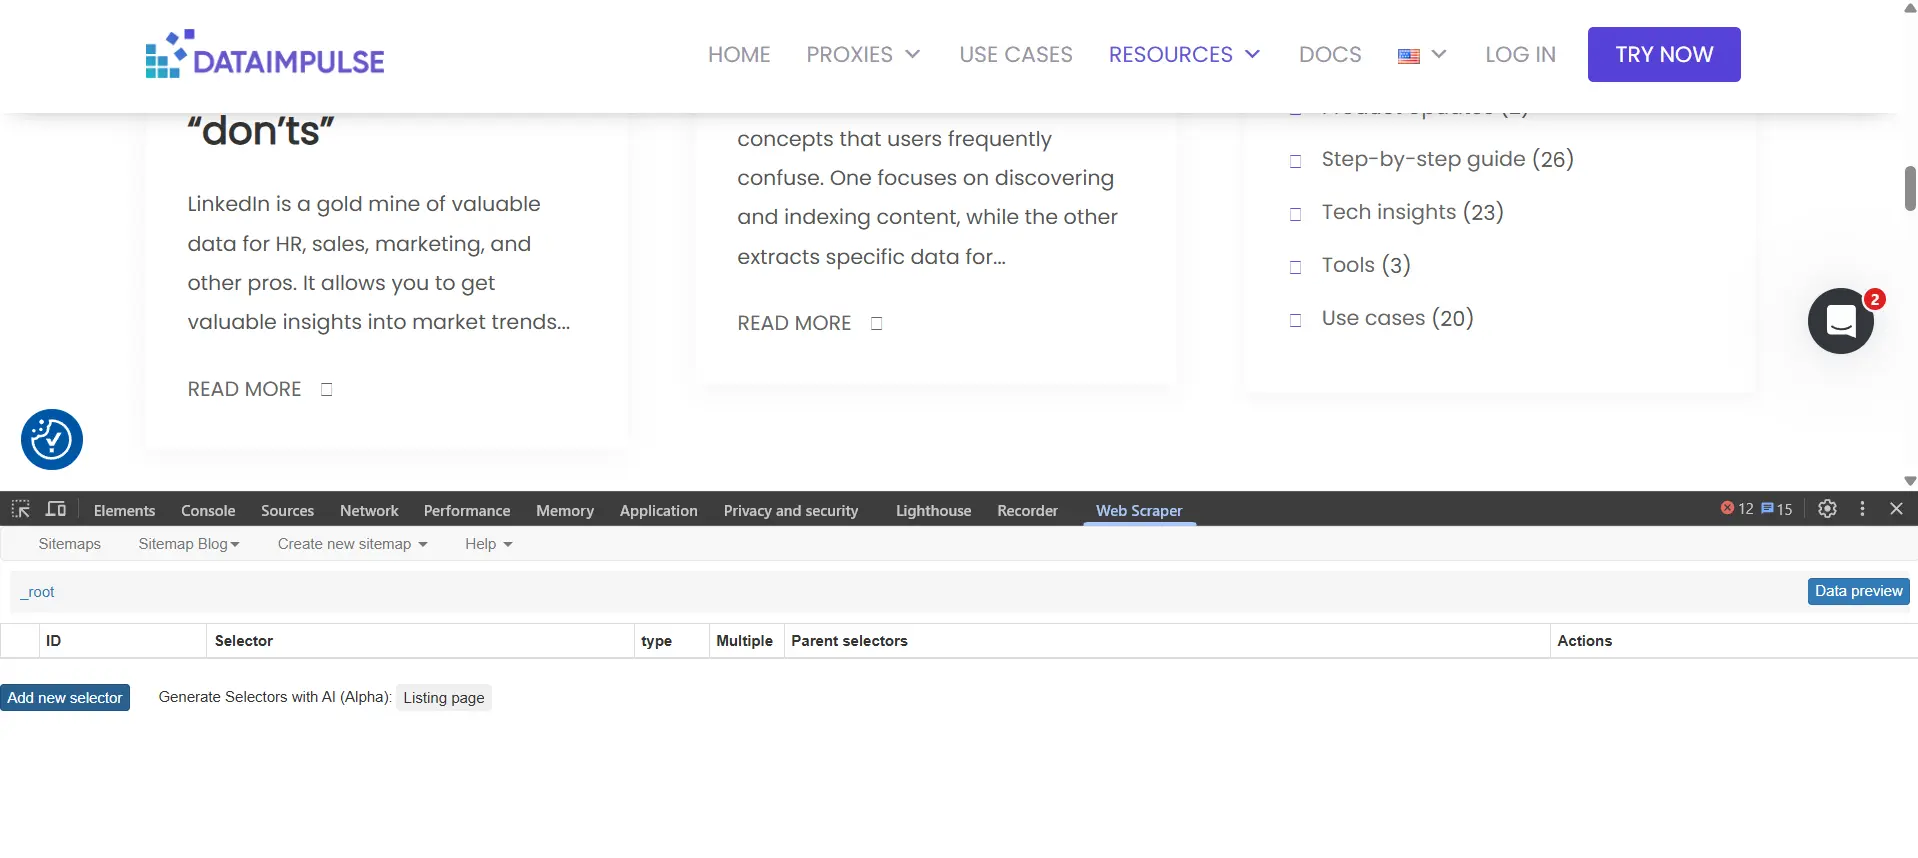
- Launch Developer Tools (Fn+F12 for Windows/Linux or Option + ⌘ + I for Mac). Then, go to the Web Scraper tab. You may need to move Developer tools to the bottom of the browser to start using the extension. To do so, go to the Console tab, click on the three vertical dots, and choose the necessary option in the Dock side section.
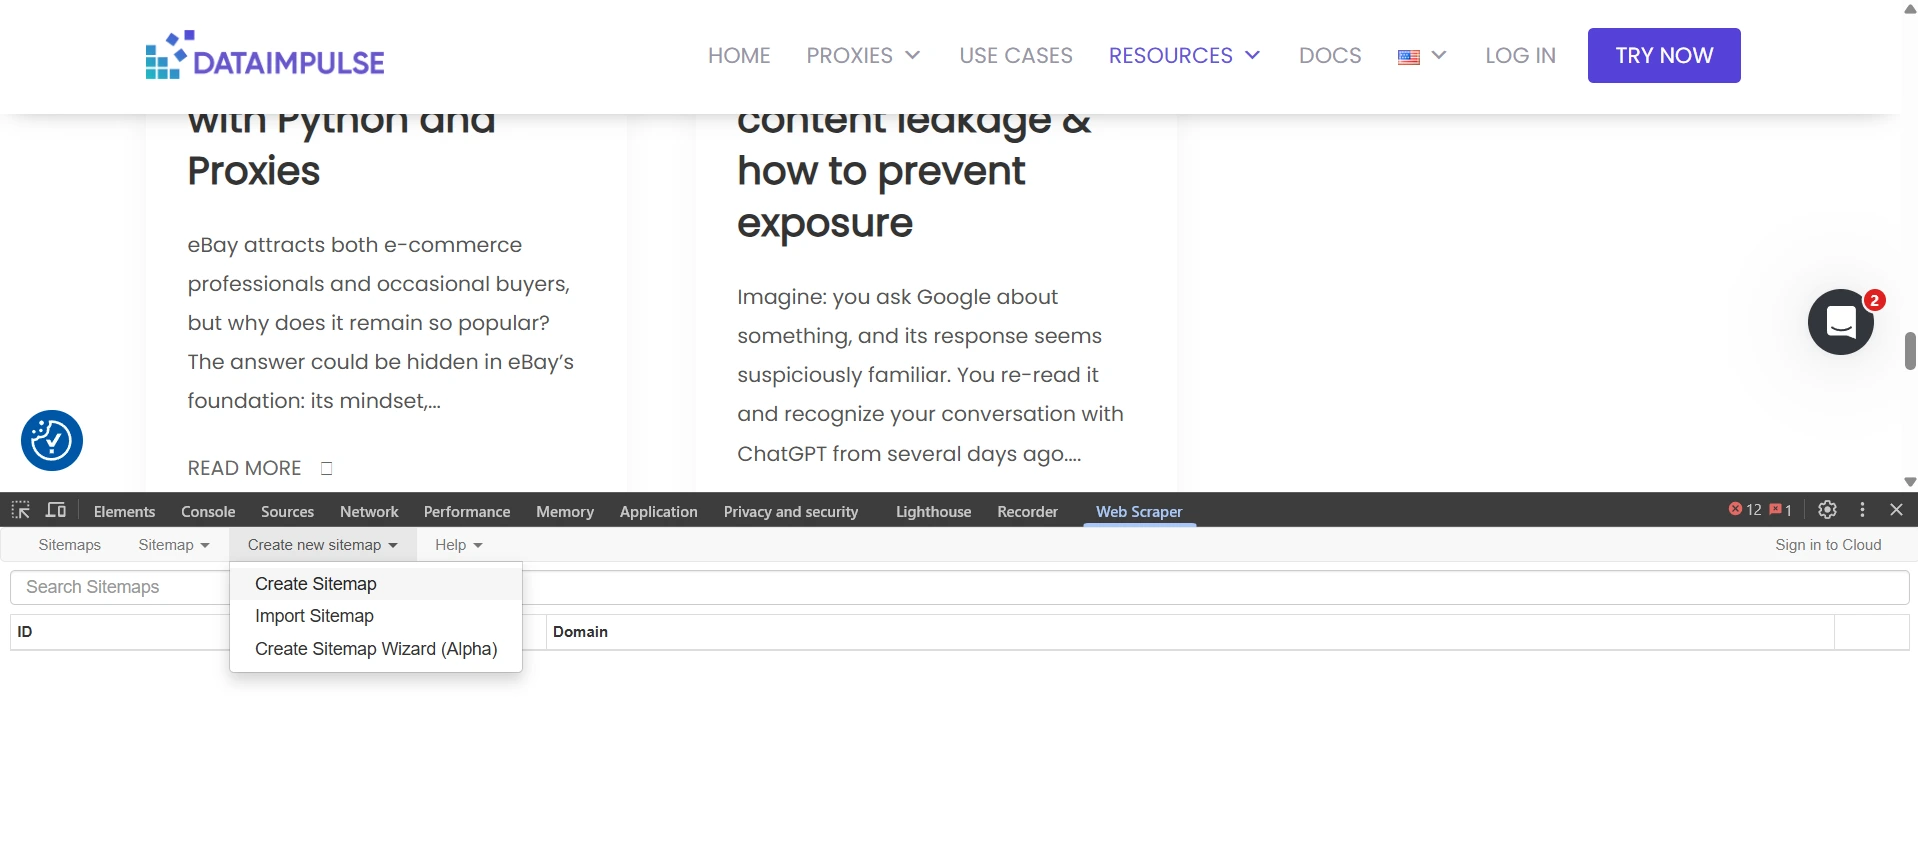
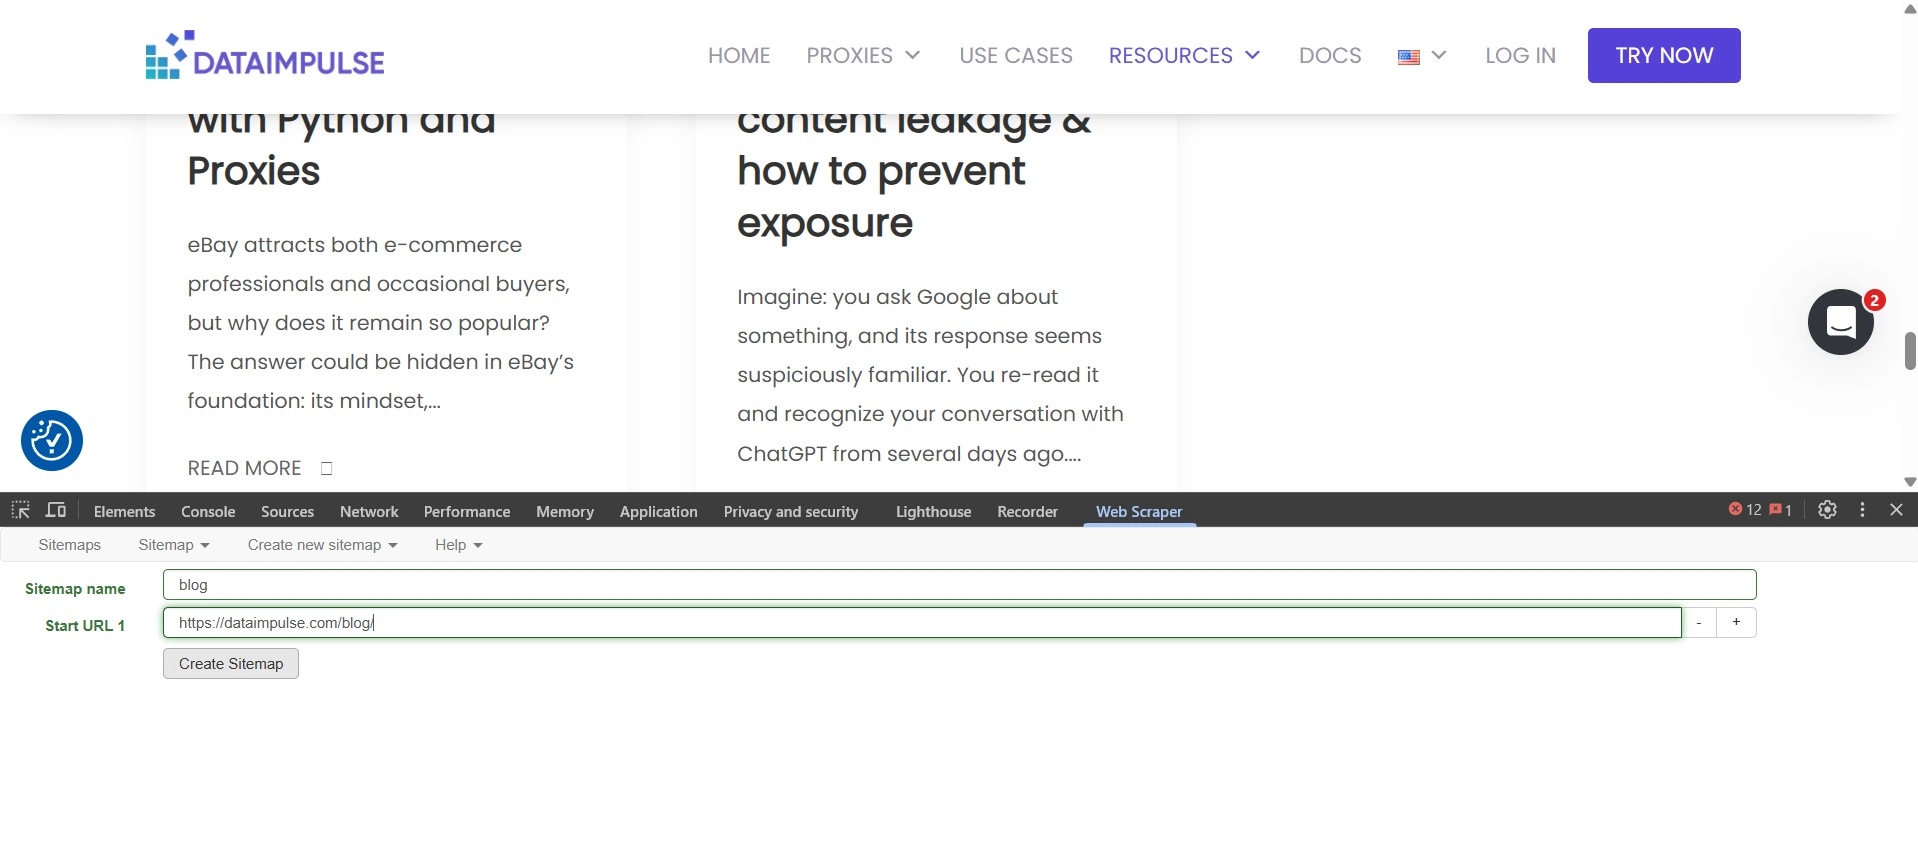
- Switch to the Web Scraper tab, click Create new sitemap -> Create sitemap. Name it, provide a starting URL, and press the button.
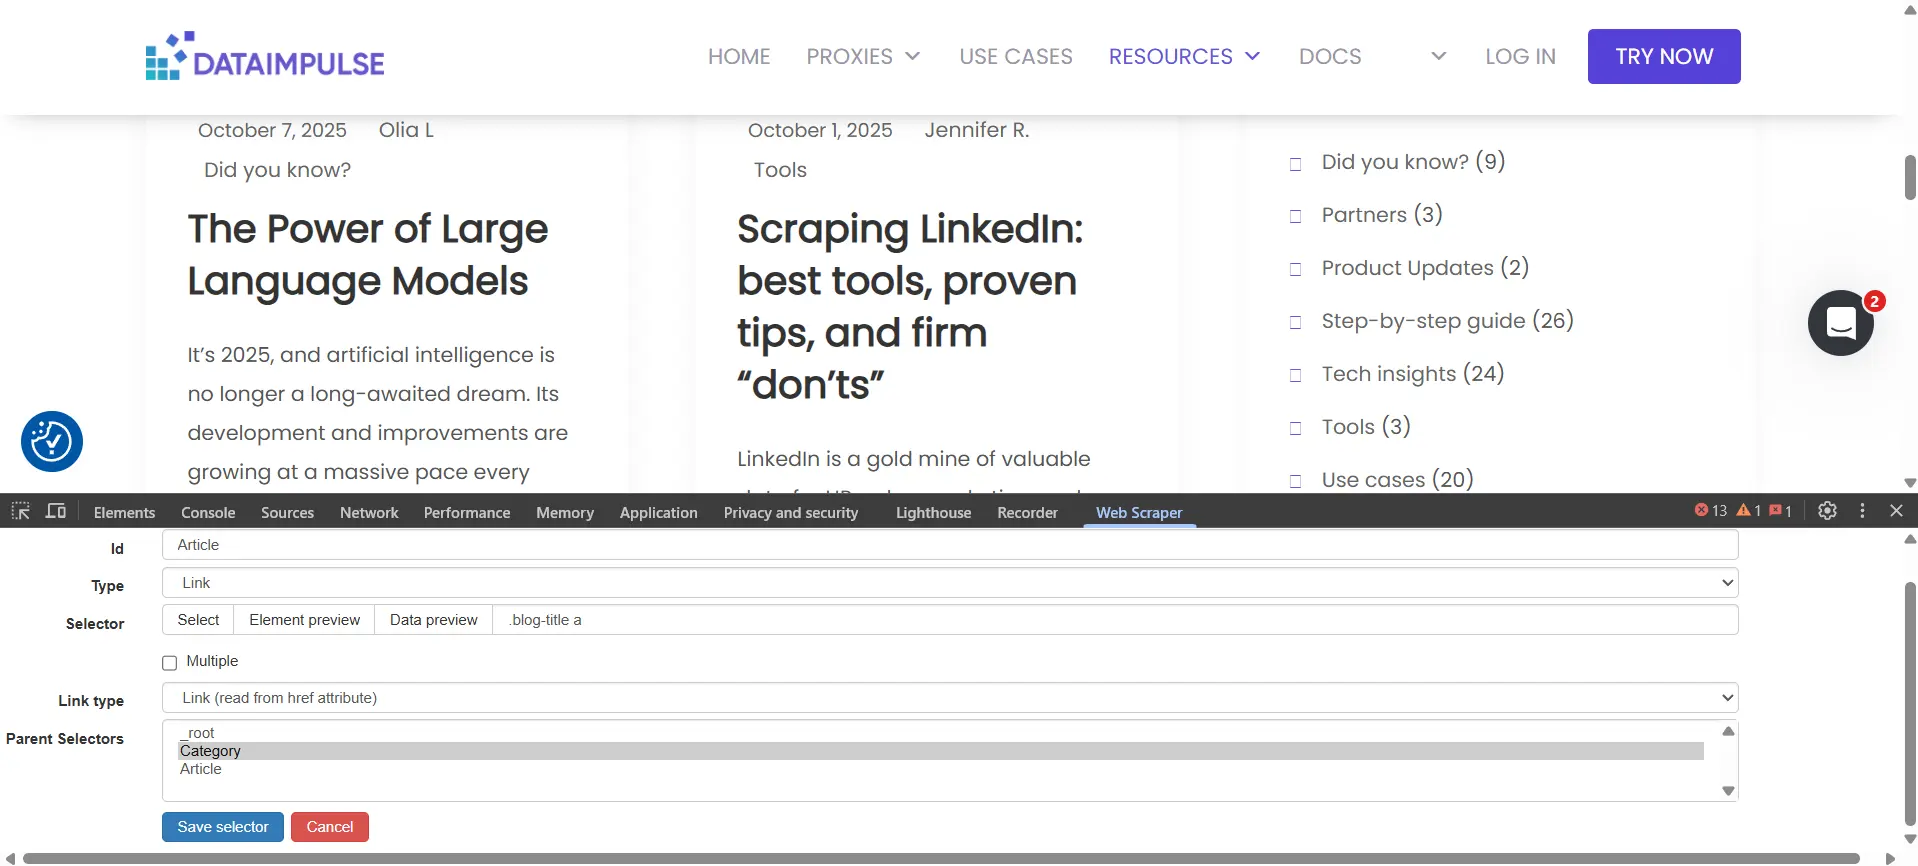
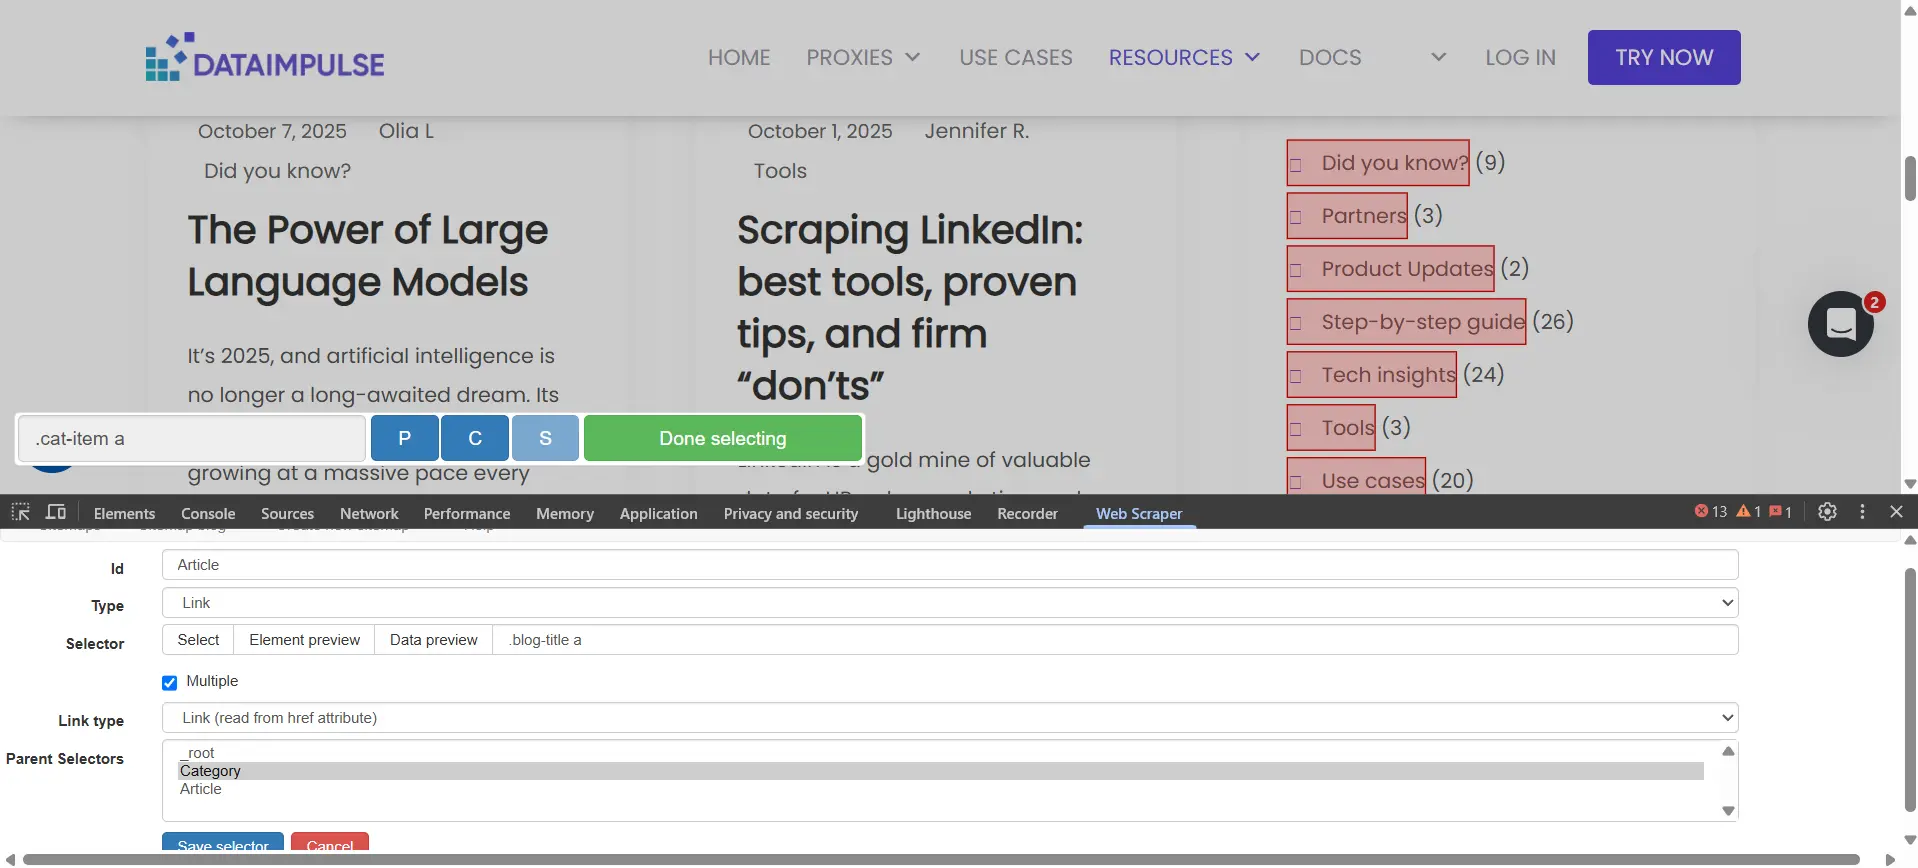
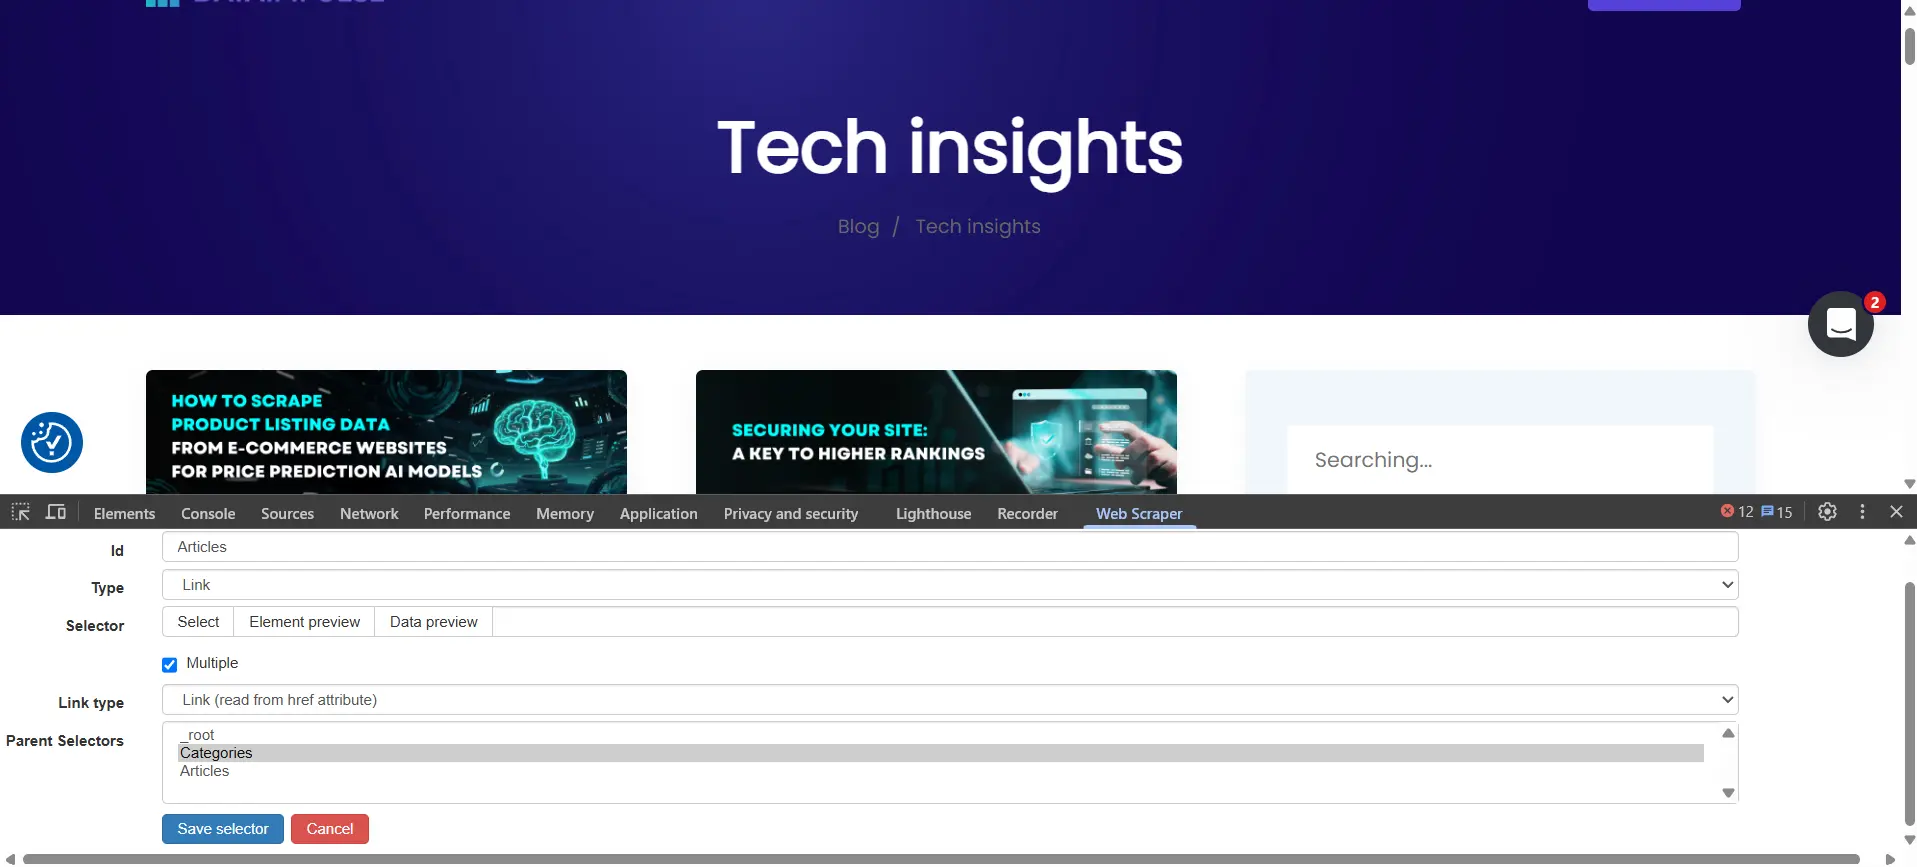
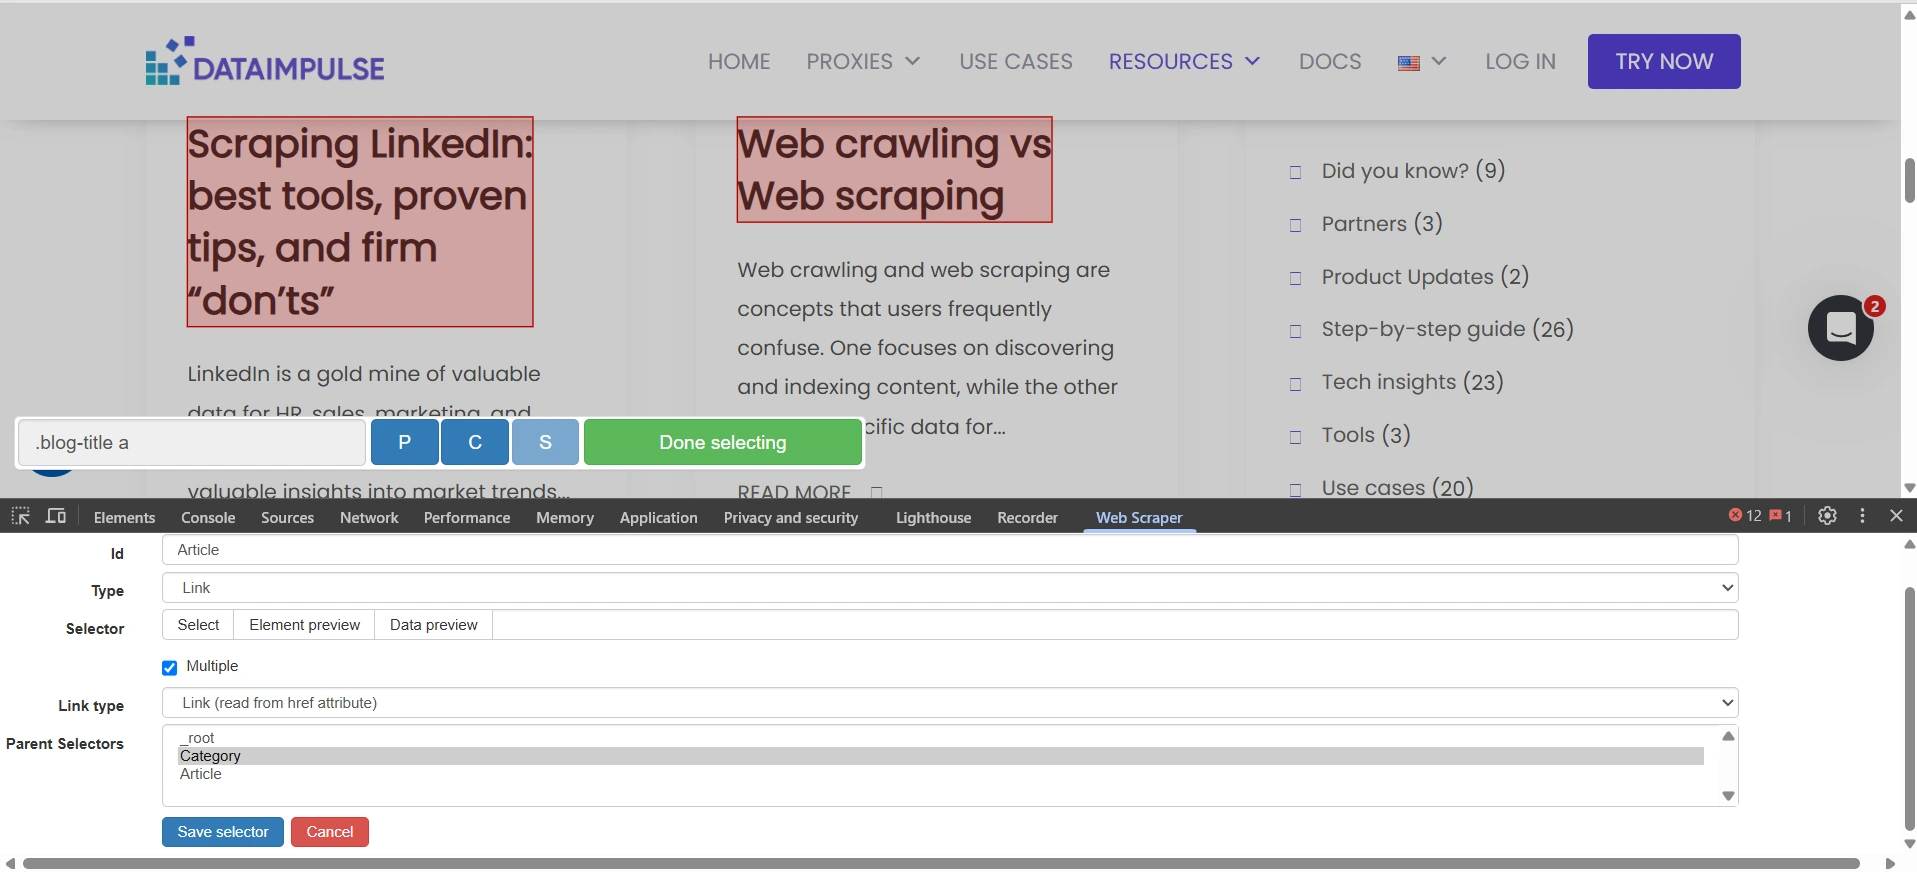
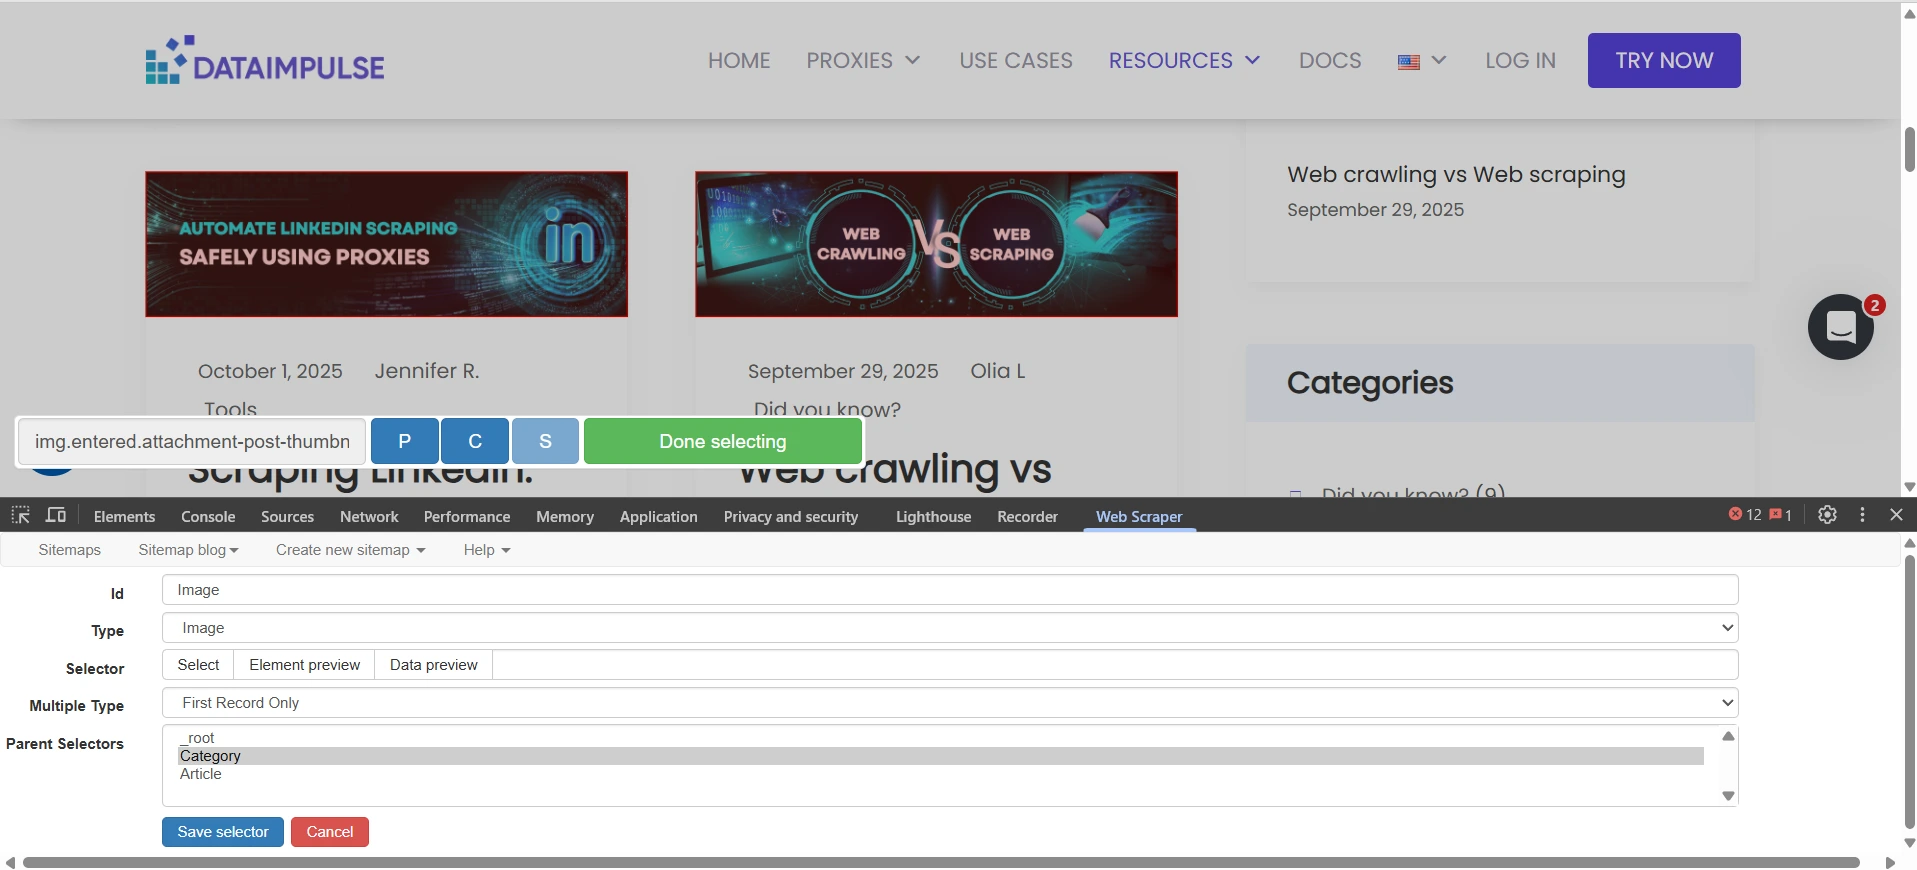
- Now we need to create selectors. Press Add new selector, then fill in its name, choose a type, and check “Multiple” as you will get several items. Then press Select and click on the elements you want to scrape. You don’t need to choose all the elements manually – click two elements of the same type and the extension will catch up automatically. When it’s ready, press Done selecting. You can check whether it’s all working by using Data preview. To finalize, click Save selector. In our example, we start with categories, so we click on the names of two categories, and the extension does the rest itself. Then we want the tool to scrape all the articles in all the categories, so we go to one of them. Next, we click on our existing selector and create another one under it, repeating the steps from above. You can create as many selectors as you wish. Note: dataimpulse.com has multiple levels of pagination, and we need a subcategory to be executed under a category, which is why we clicked on a selector before creating a next one. You may skip entering a root selector if you don’t need that.
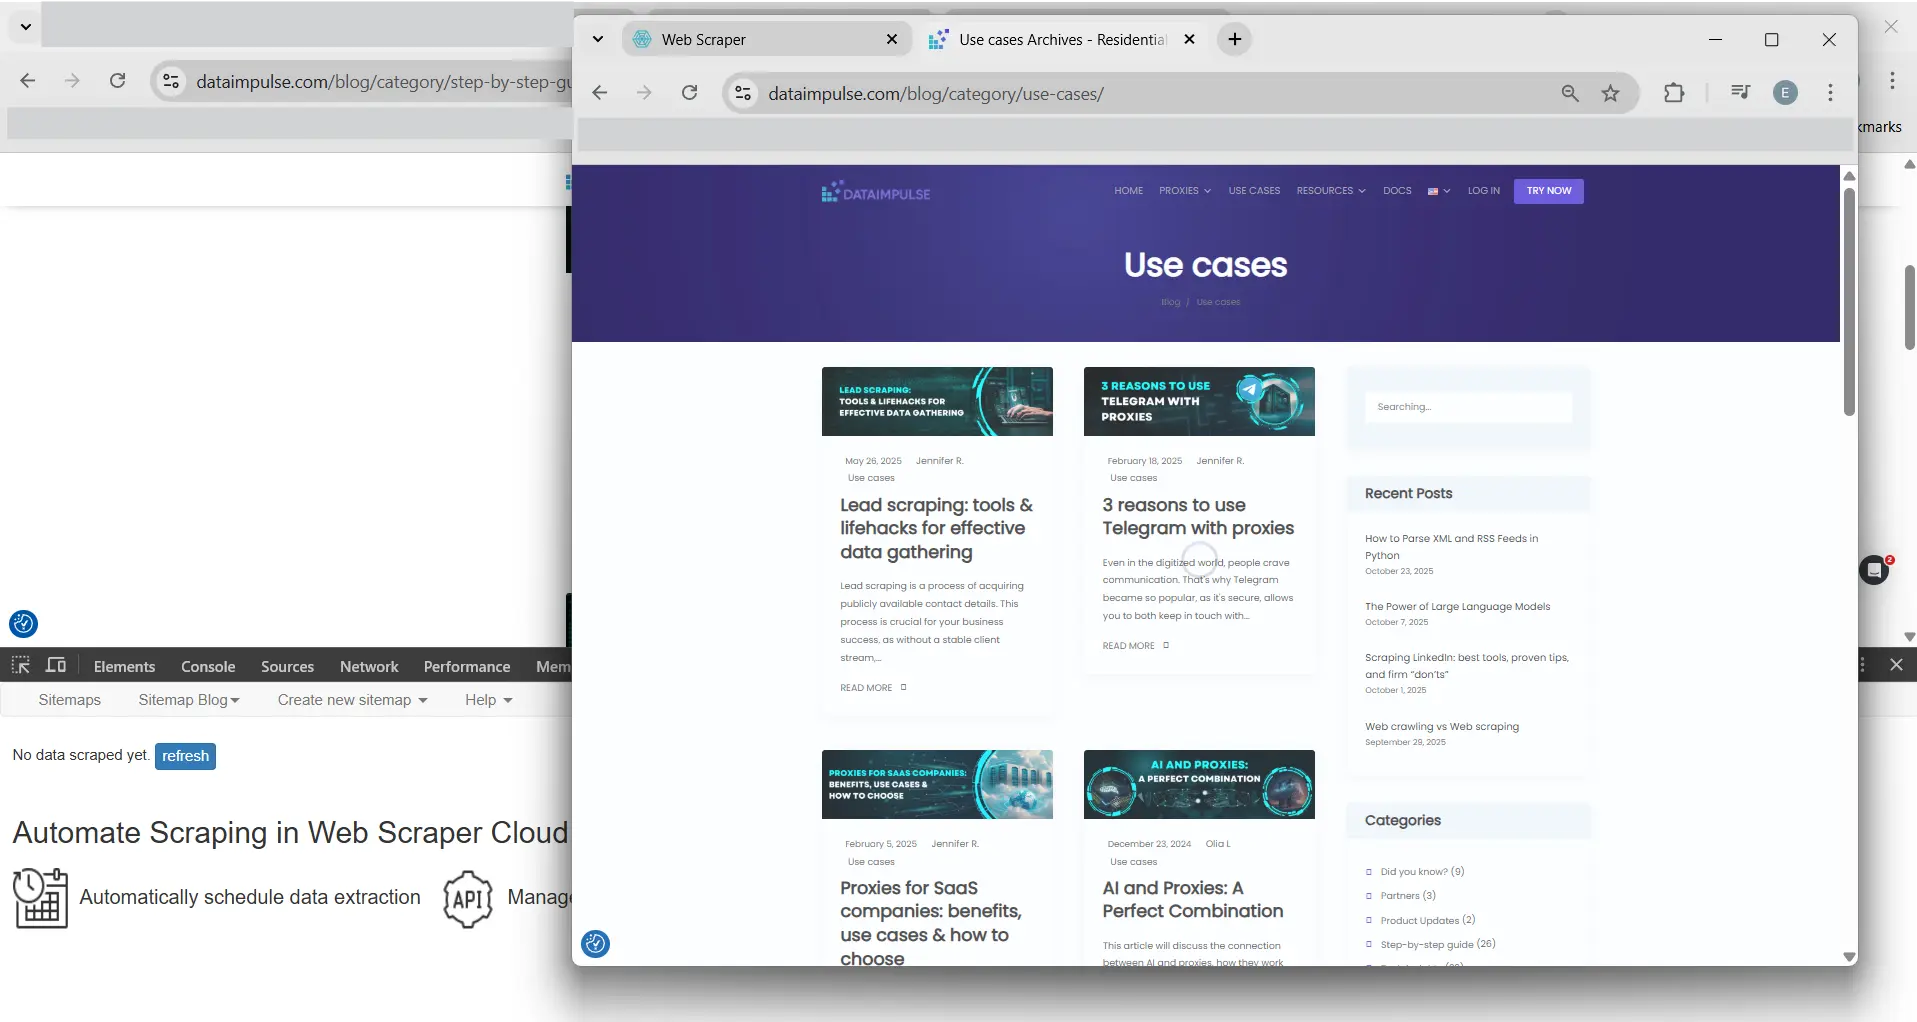
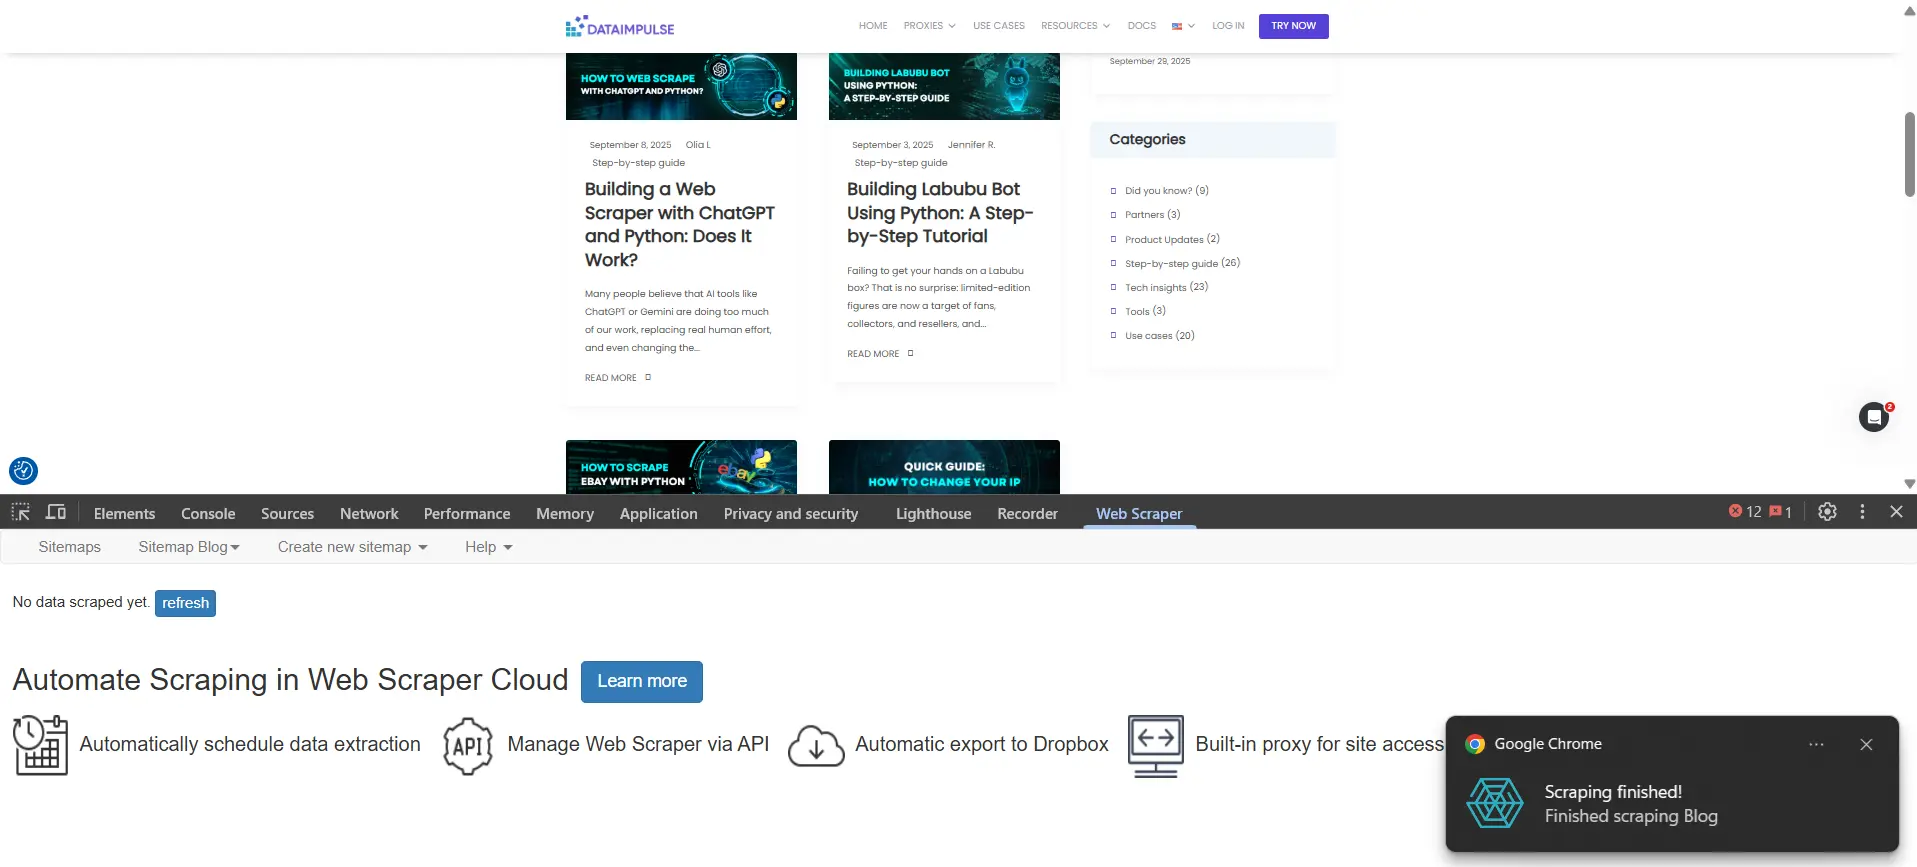
- To execute your scraping project, go to Sitemap (Name) and press Scrape. After adjusting the request interval and page load delay, click Start scraping. The tool will launch a new browser window. Once the extension finishes, you will get a notification. If you see a “No data scraped yet” message, press Refresh next to it to see the data.
Speaking about proxies, there are three options to use DataImpulse proxies with the Web Scraper extension:
- Leverage proxy extensions like SwitchyOmega or FoxyProxy. You can find a selection of proven proxy extensions and step-by-step tutorials on setting them up here.
- Start Chrome with a –proxy-server flag. For Windows, code examples are like that:
# all traffic via an HTTP proxy
chrome –proxy-server=”http://HOST:PORT“
# socks5 proxy example
chrome –proxy-server=”socks5://127.0.0.1:1080″
# per-scheme mapping example
chrome –proxy-server=”http=https://proxy1:8080;http=socks5://127.0.0.1:1080″
Remember that this method may be tricky as it can sometimes expose credentials in process lists.
- Configure proxies on an operating system level. There are detailed manuals for you here for the most popular OSes.
Now, you are ready to scrape the Web safely with proxies!

